Want to know how your clients feel about your service, whether your employees like their jobs, or what your subscribers think of your membership site? You’re in luck! Creating surveys on WordPress with Gravity Forms is just as fast and pain-free as creating any other kind of form.
In this Starter Guide, we’ll discuss the different types of surveys and some of the many benefits of conducting them. Then we’ll run through how to create a survey on your website with Gravity Forms and share some top tips to help you along the way.
Let’s jump in…
WordPress Surveys: An Introduction
There are numerous reasons why you may want to add a survey to your WordPress website. Let’s take a look at some of the different types of surveys that you may want to create, and the benefits of each…
- Product or Service Feedback Survey – Give your customers a voice and gain insight into how they use, and what they think about, your products or services.
- Brand Awareness Survey – Gather valuable feedback on your branding and the impact it is having on your target audience.
- Onboarding Survey – Find out about your new customers’ levels of expertise so you can tailor the onboarding process to suit their individual skillsets.
- Churn Survey – Find out why your customers are leaving and identify key areas for improvement to help boost retention.
- Market Research – Try out new ideas, find out more about potential customers, or get a feel for what your competitors are doing.
- Employee Engagement or Satisfaction Survey – Measure employee engagement or satisfaction to help ensure your employees remain happy and productive.
The above are just a few types of surveys that you may want to create. With Gravity Forms, all of these survey types are possible to build, let’s find out how…
Gravity Forms Survey Add-On
The Gravity Forms Survey Add-On makes it quick and easy to create a survey on WordPress. One of our most popular add-ons, Survey seamlessly integrates with Gravity Forms enabling you to interact with your users to both collect and analyze data.
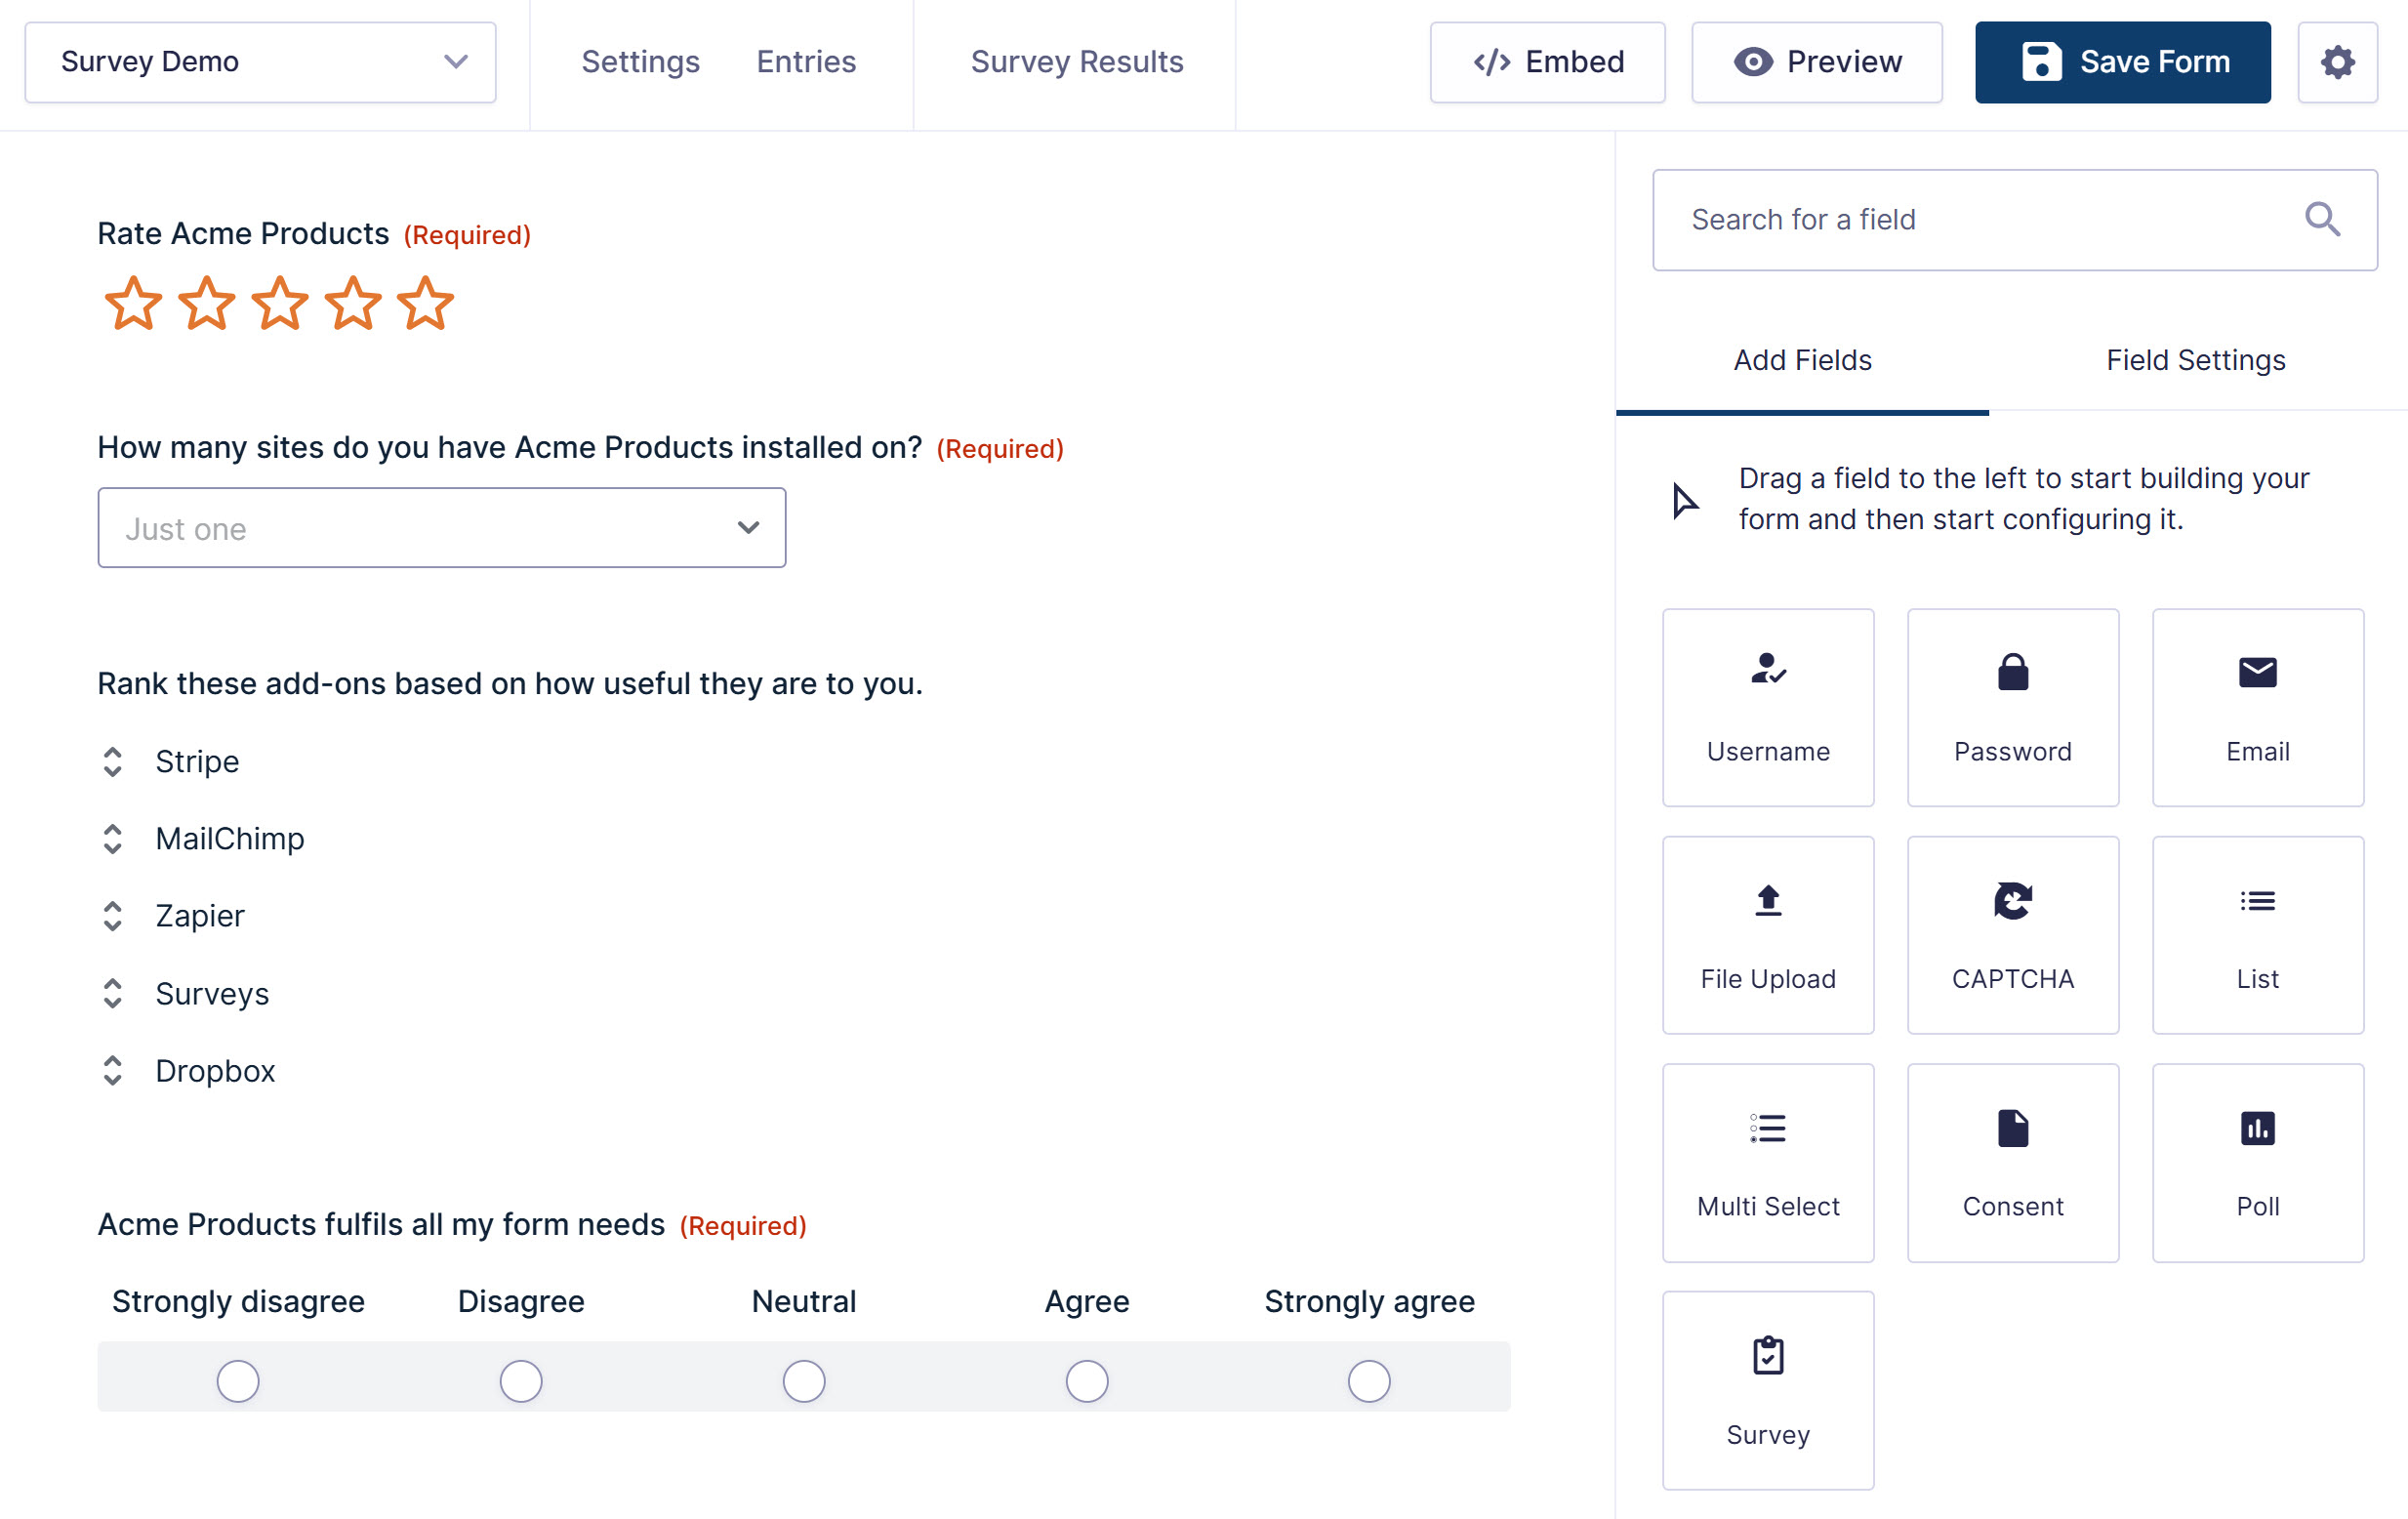
The Survey Add-On adds a Survey field to your form editor – within this Survey field, there are 8 Survey field types from which you can create your questions.
Let’s take a look at some of the most useful and engaging survey field types that you can choose from…
Likert
Users can choose one from a scale of options…

Rank
Users can rank options in their own order…
Rating
Users can choose a star rating…

Checkboxes
Users can select multiple options…

Dropdown
Users can select from a number of dropdown options…

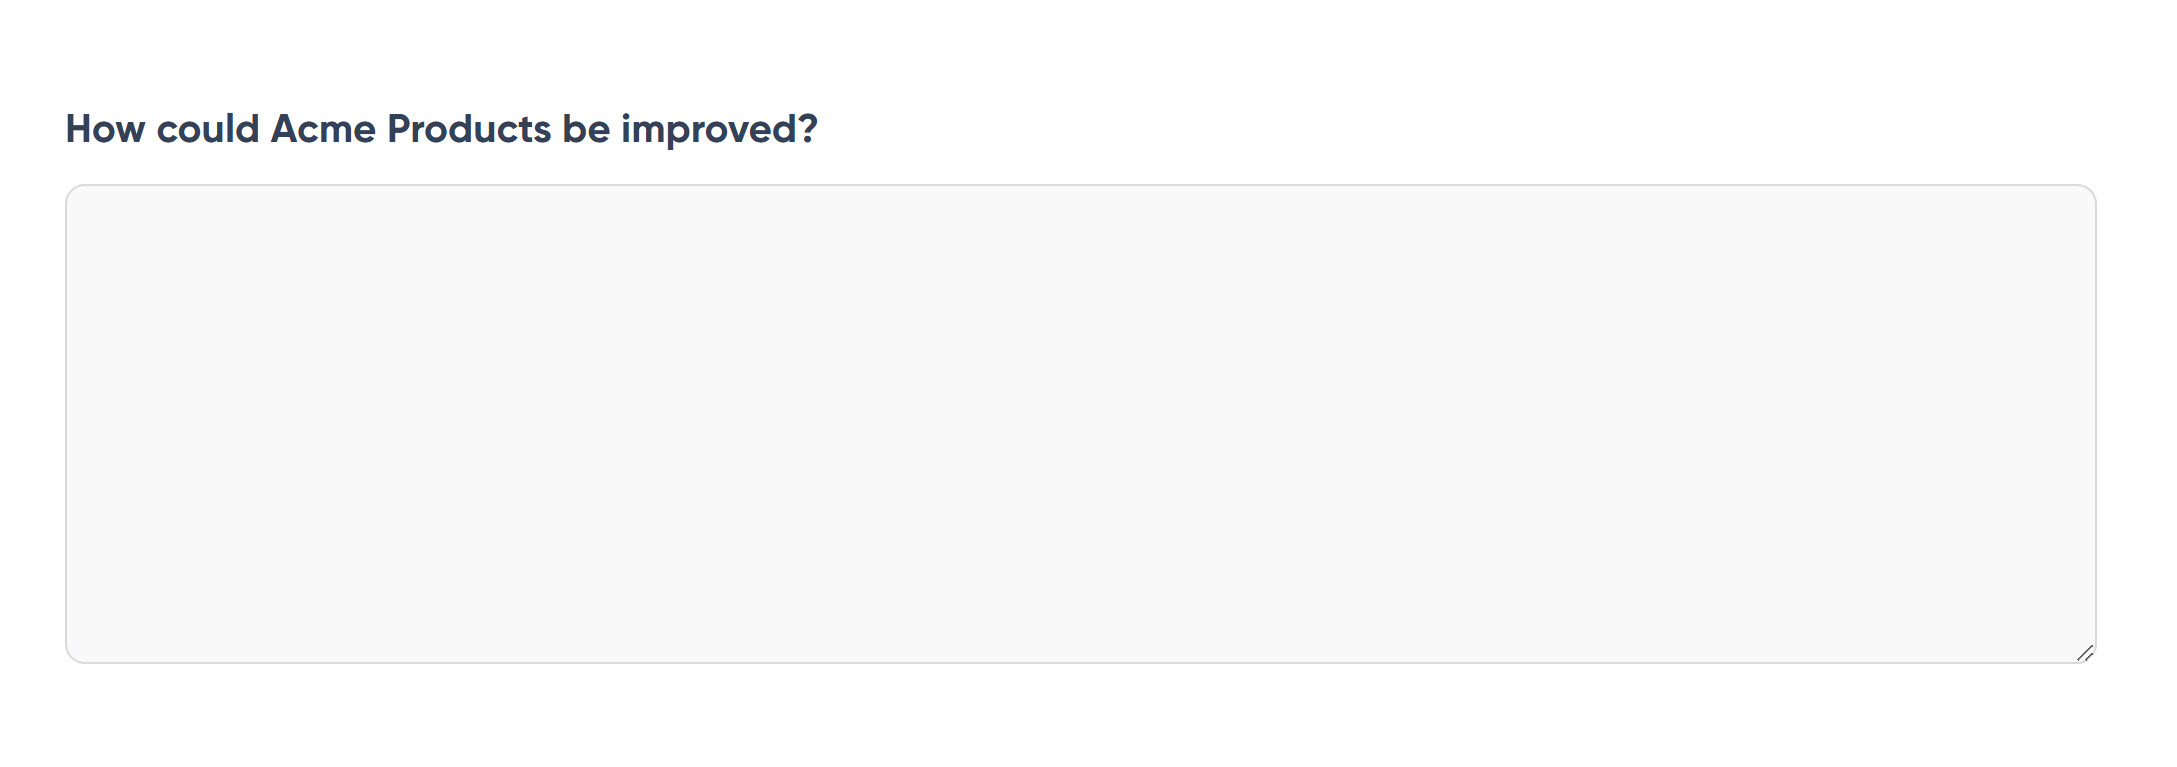
Paragraph Text
Users can input multiple lines of text…
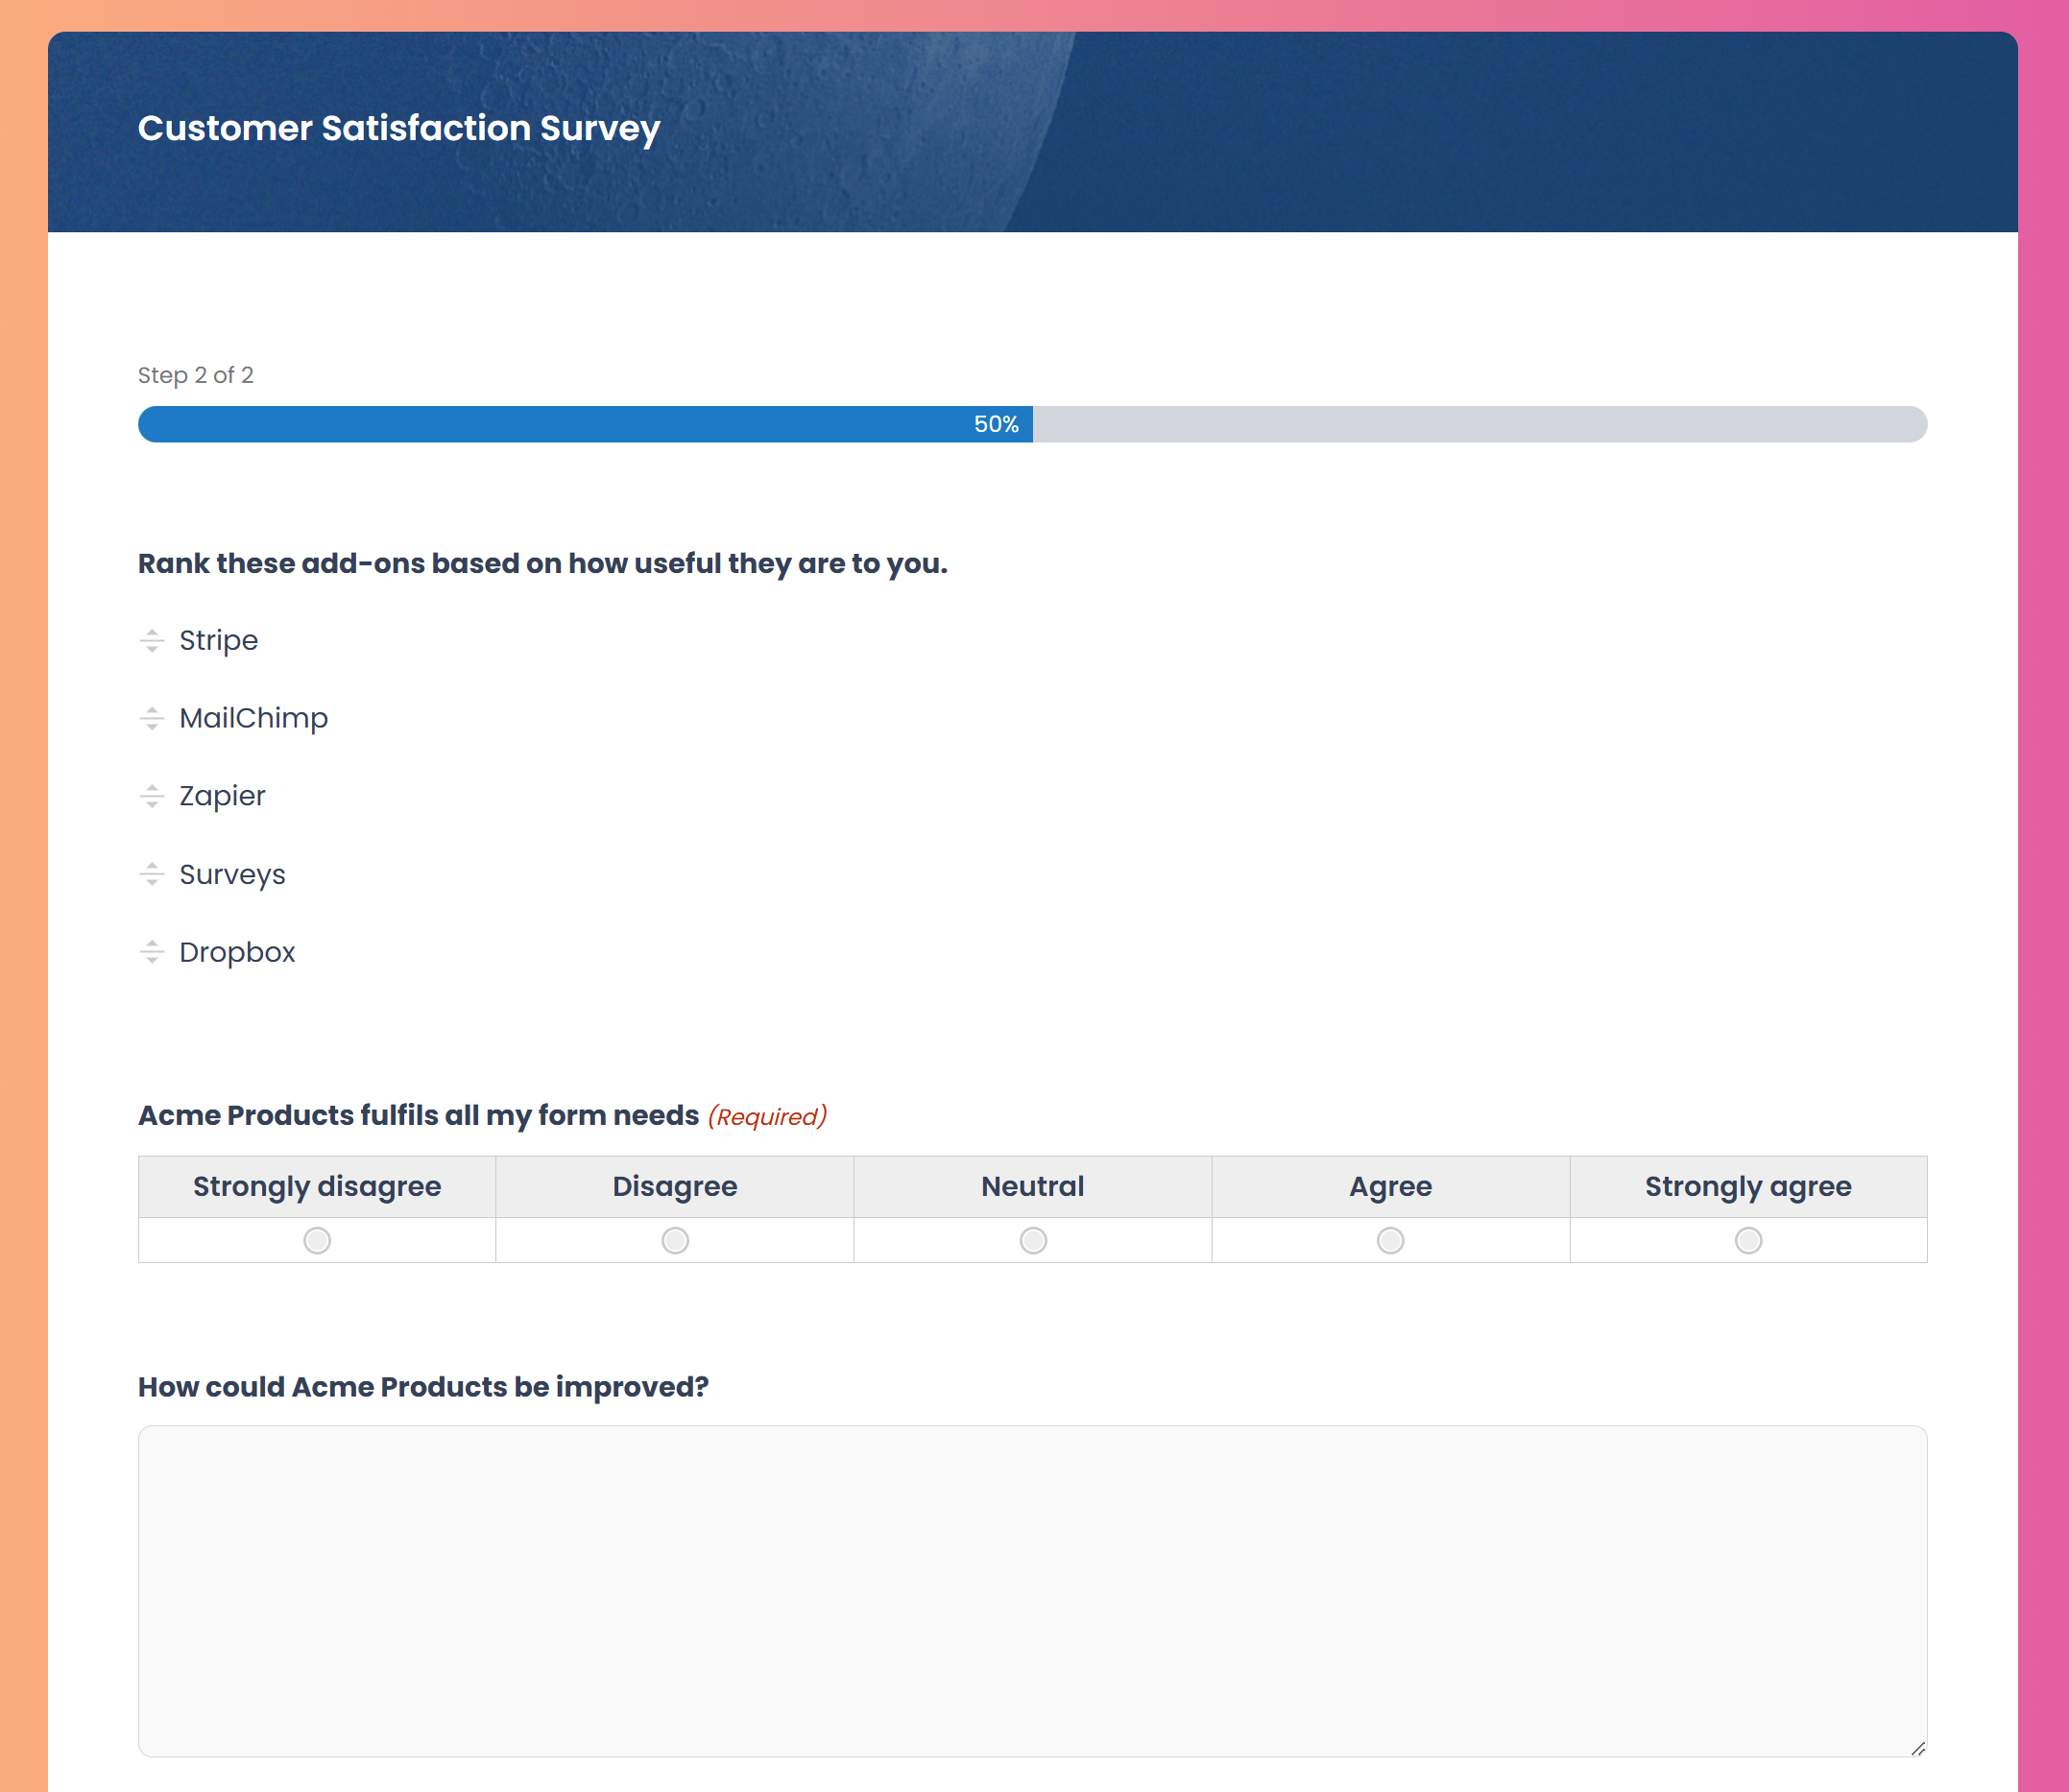
To view a complete survey, check out this Survey Form in our Form Template Library.
How to Create a Survey on WordPress
We’re now going to run through how to create a survey for your WordPress website. To follow along, you’ll need Gravity Forms installed on activated on your site. Alternatively, you can sign up for a free Gravity Forms demo, where you’ll be able to access all the plugin’s features and add-ons, including Survey!
Install the Survey Add-On
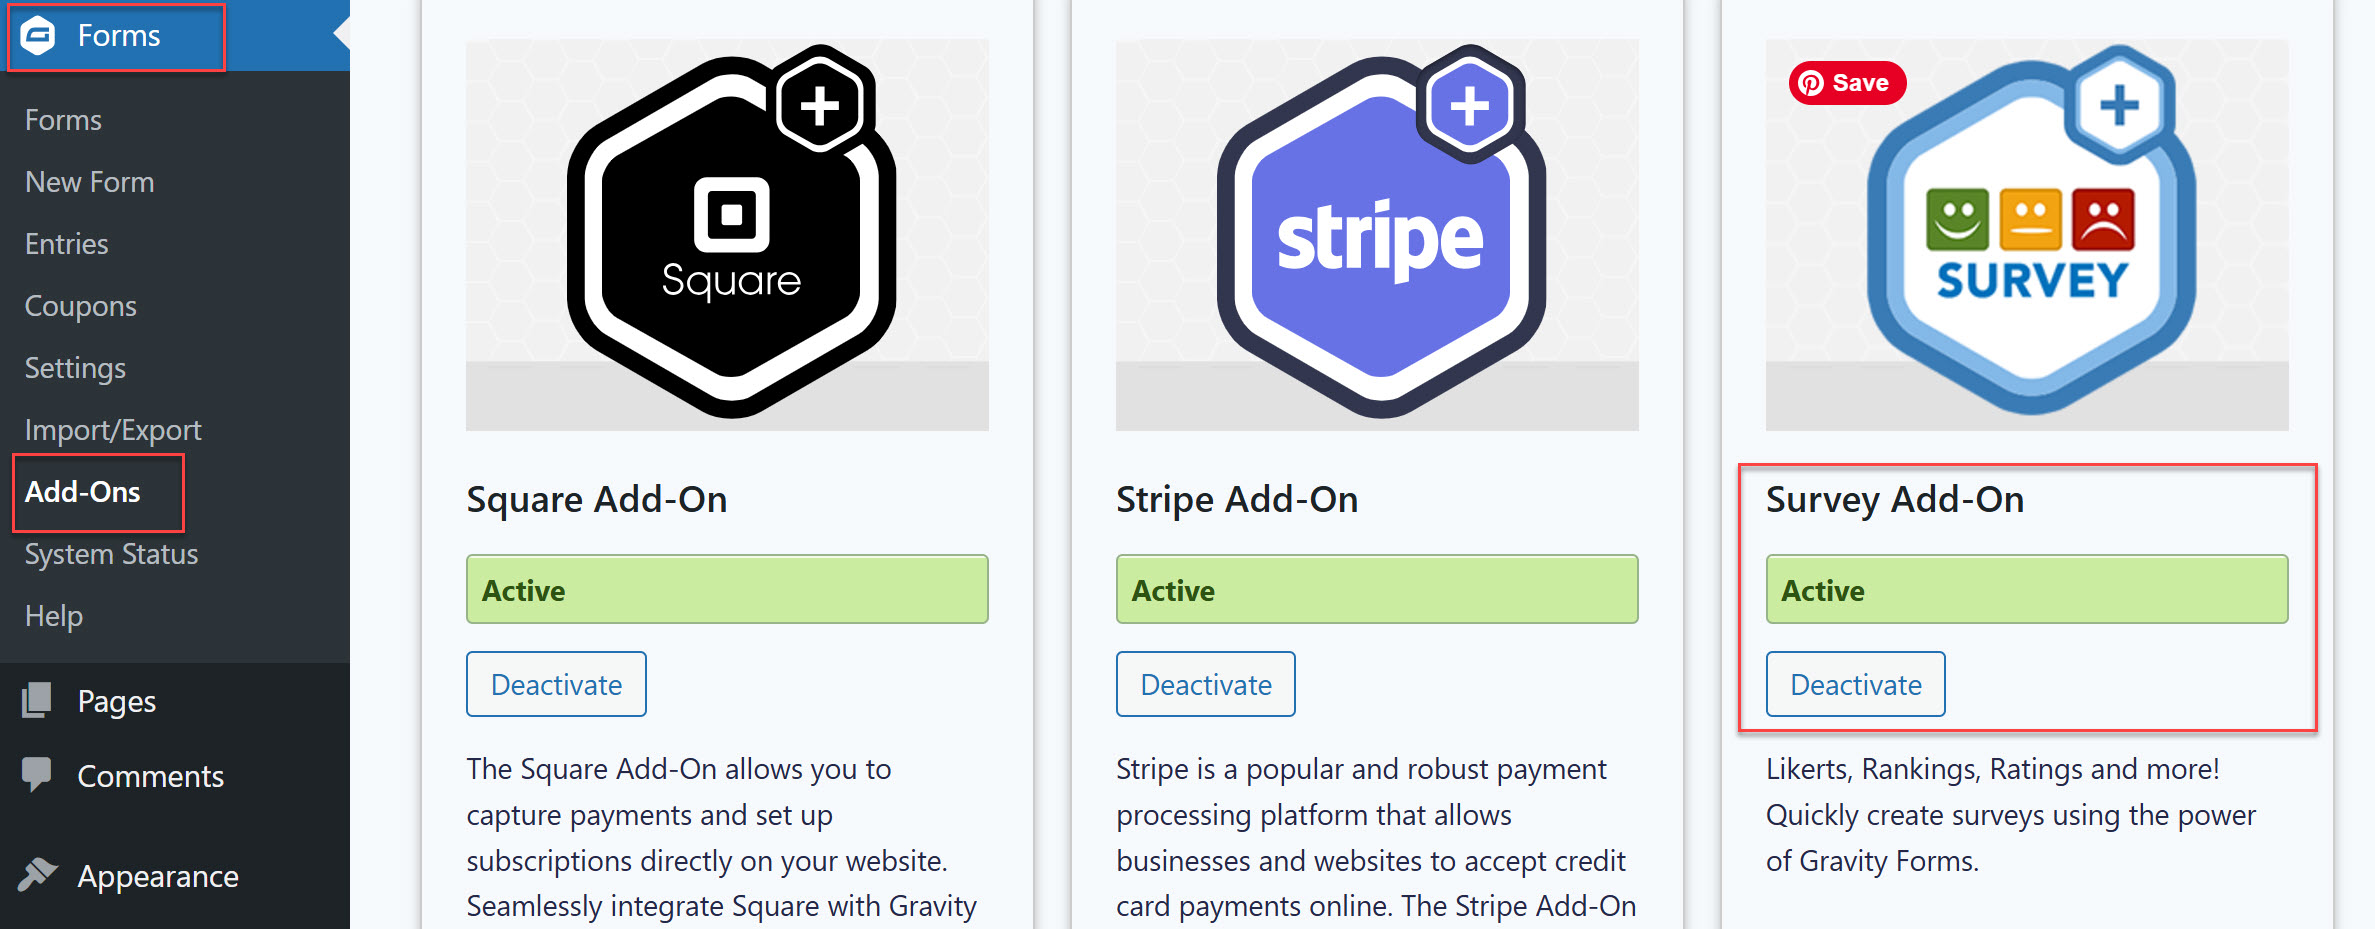
To get started, you first need to install the Survey Add-On. To do so, within your WordPress dashboard, select Forms > Add-Ons from the left-hand menu. Then scroll down the add-on page to Survey and click on Install > Activate.
Create a New Survey Form/Select the Survey Form Template
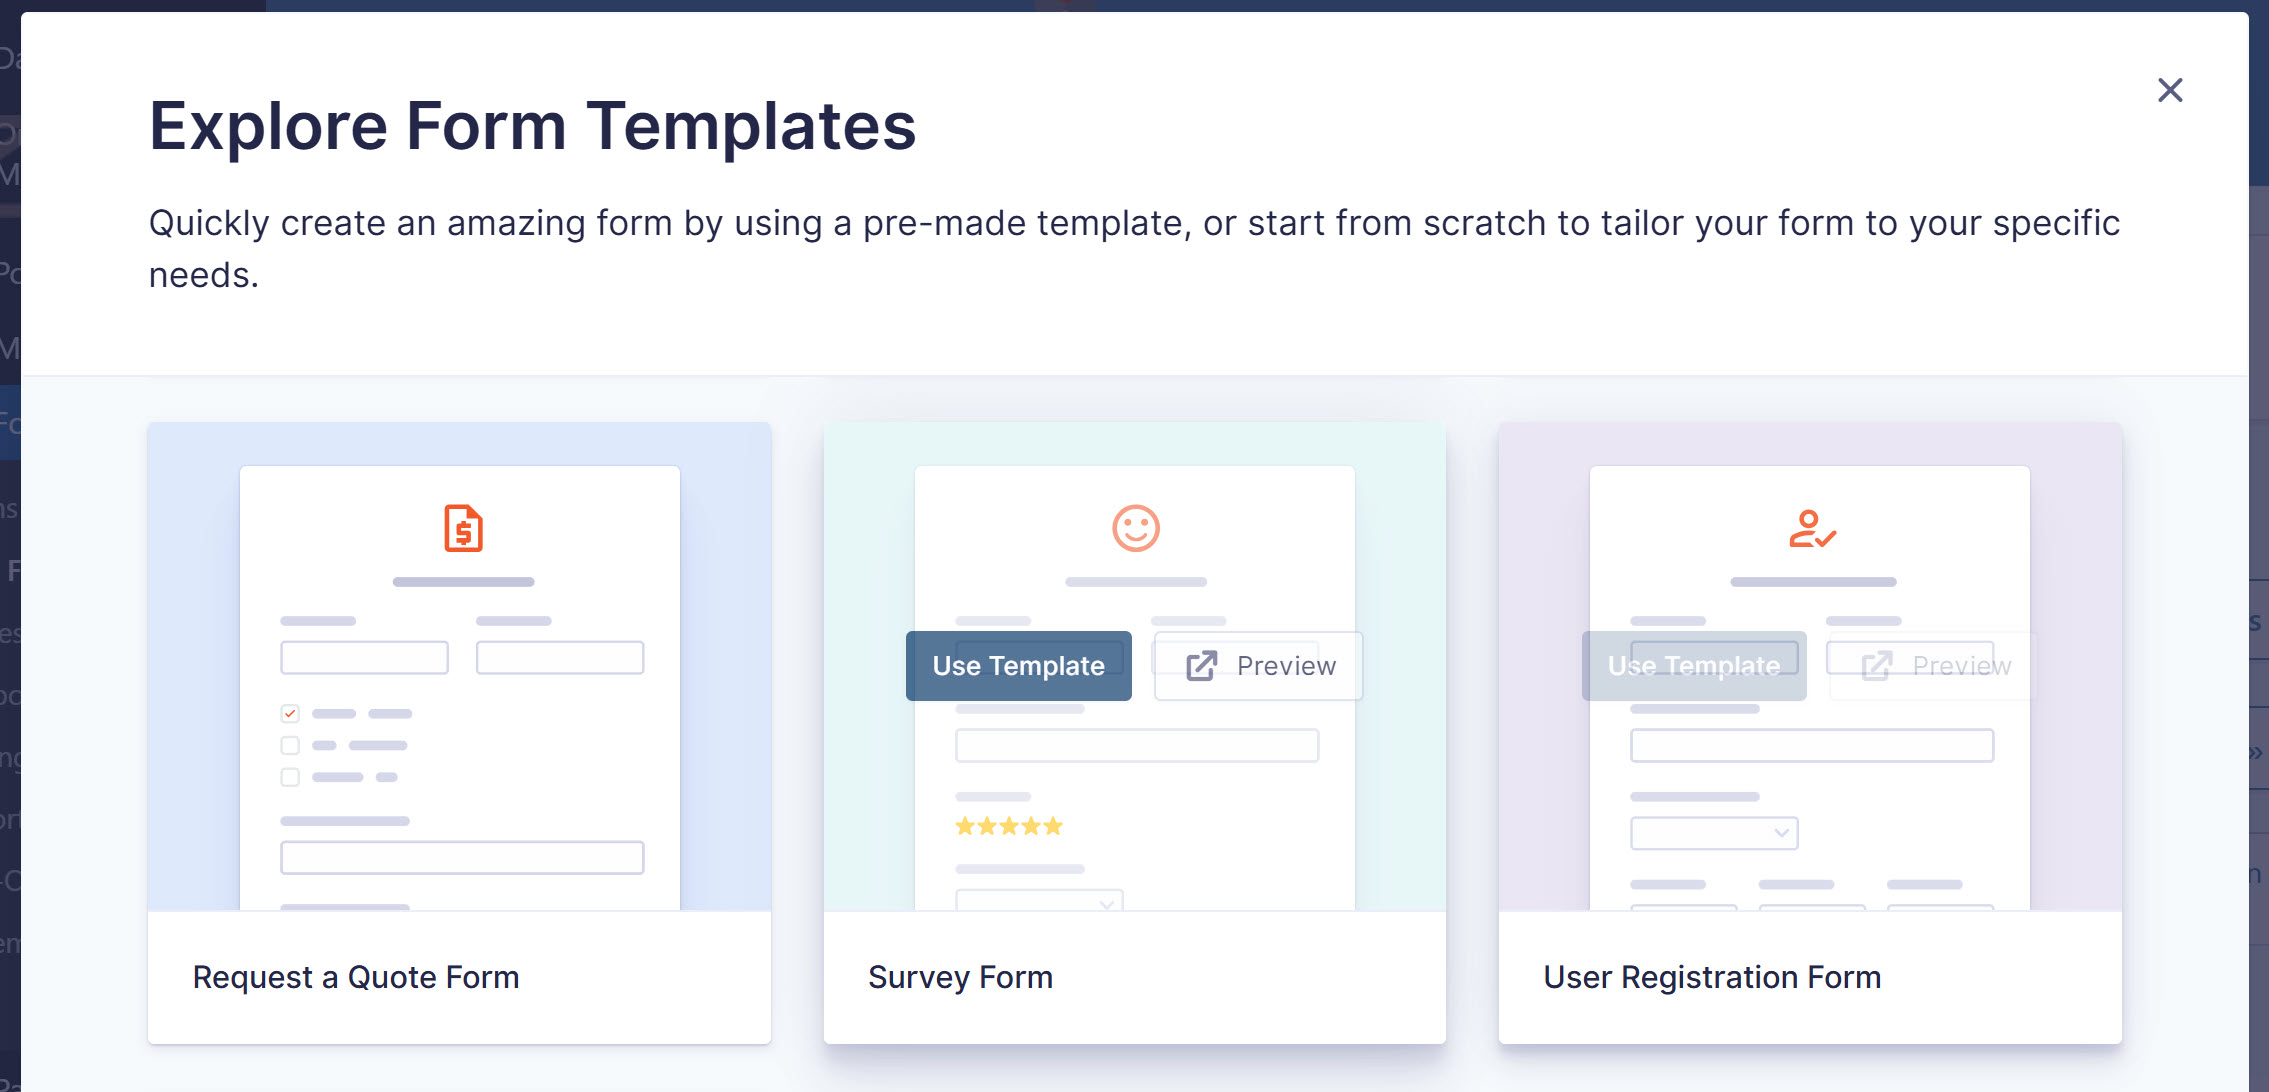
Next, click on Forms > Add New Form to open a new form. Here you’ll have the option of using a Survey template or creating a survey from scratch.
For any new form, you’ll need to give it a name and a description (optional). Equally, once installed, the Survey Add-On can be used in conjunction with any pre-existing form.
Customize the Survey Form Template
If you select to use the pre-built Survey form, you’ll be able to fully customize this template within the form editor.
Here you can easily add or delete fields, alter the survey field type (more on this below), update the text to make it relevant to your survey requirements, configure each field’s settings, and much more.
Add/Configure the Survey Field
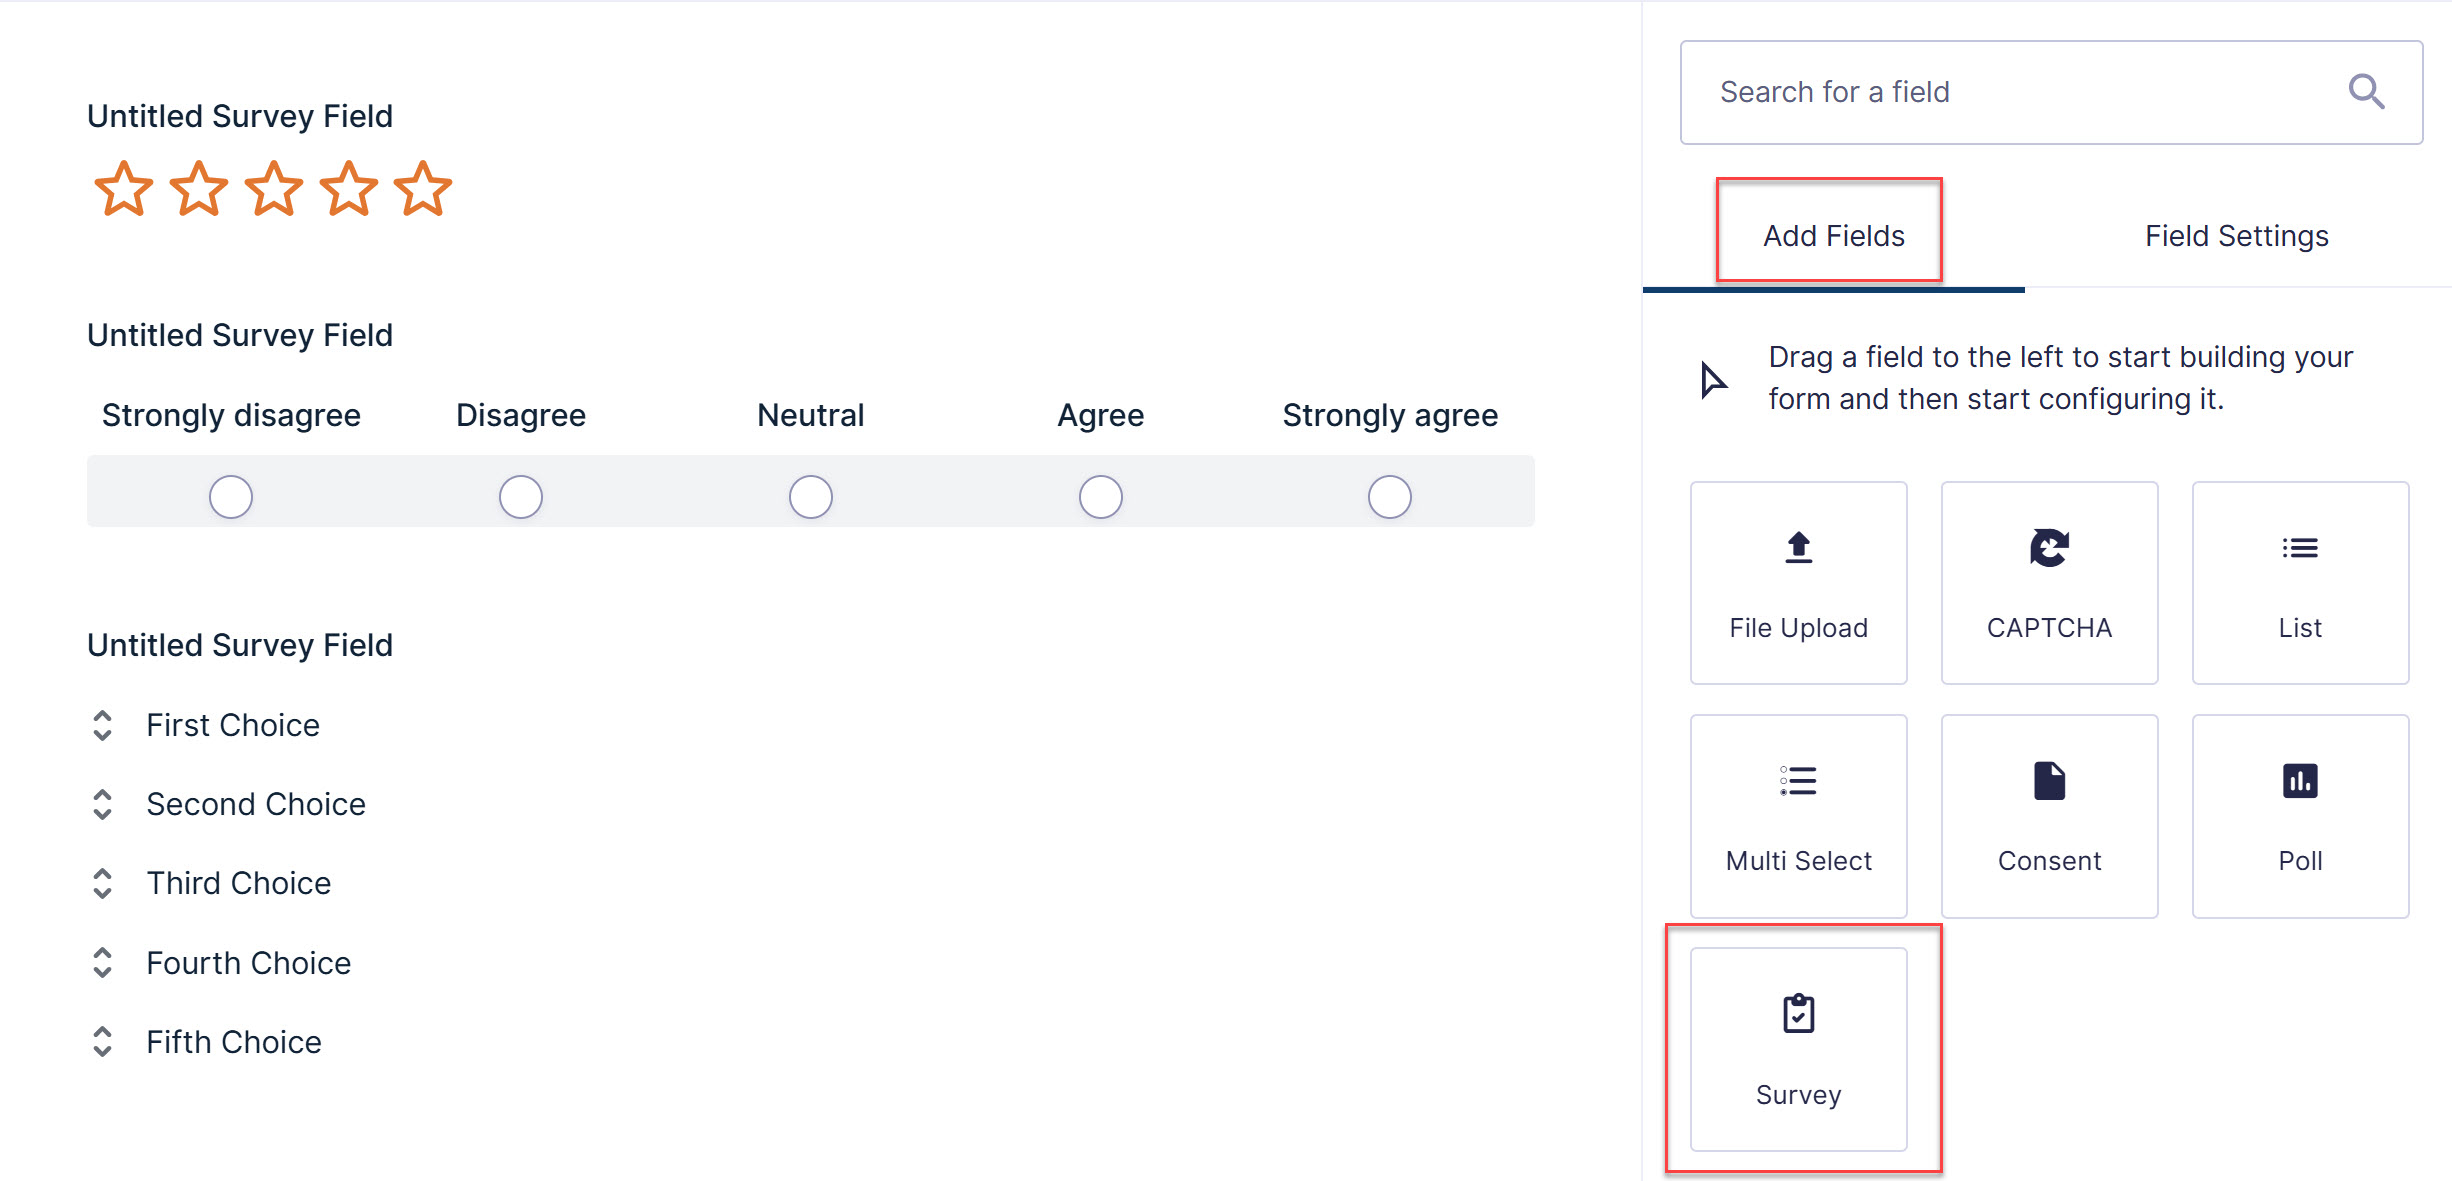
If you’re creating a form from scratch, the Survey field can be located in the bank of Advanced fields on the right.
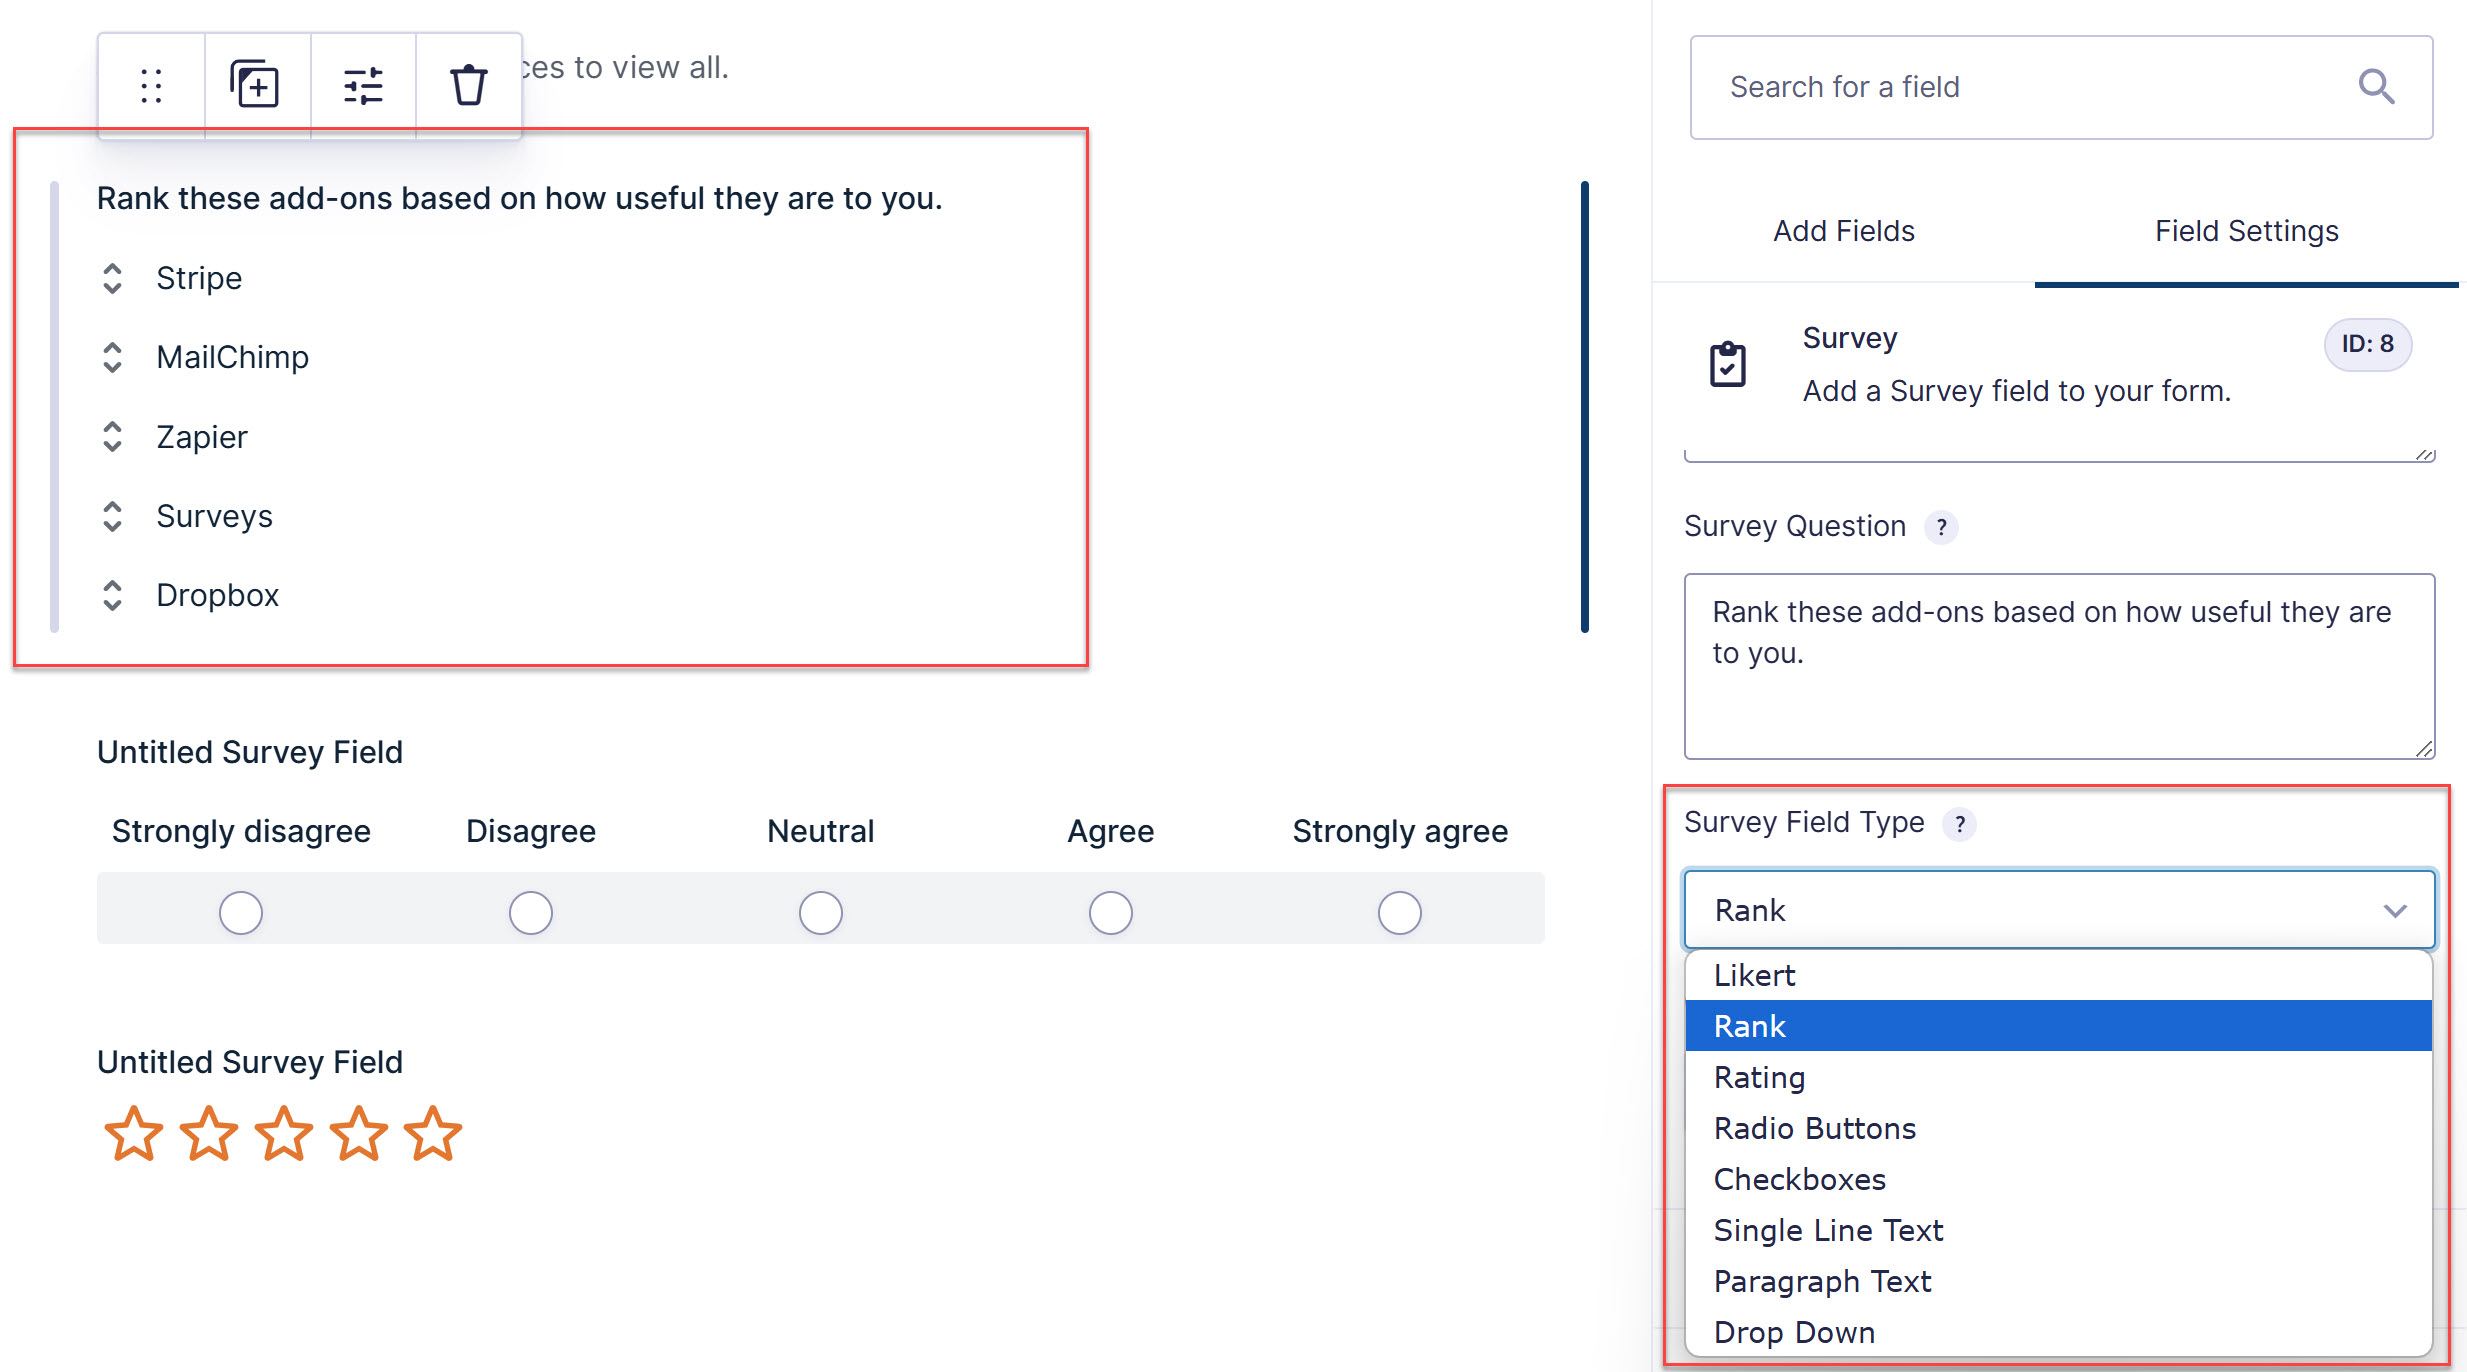
To edit the Survey field, first insert your question in the empty space beneath Survey Question. Then under Survey Field Type, select the type of survey question you want to use.
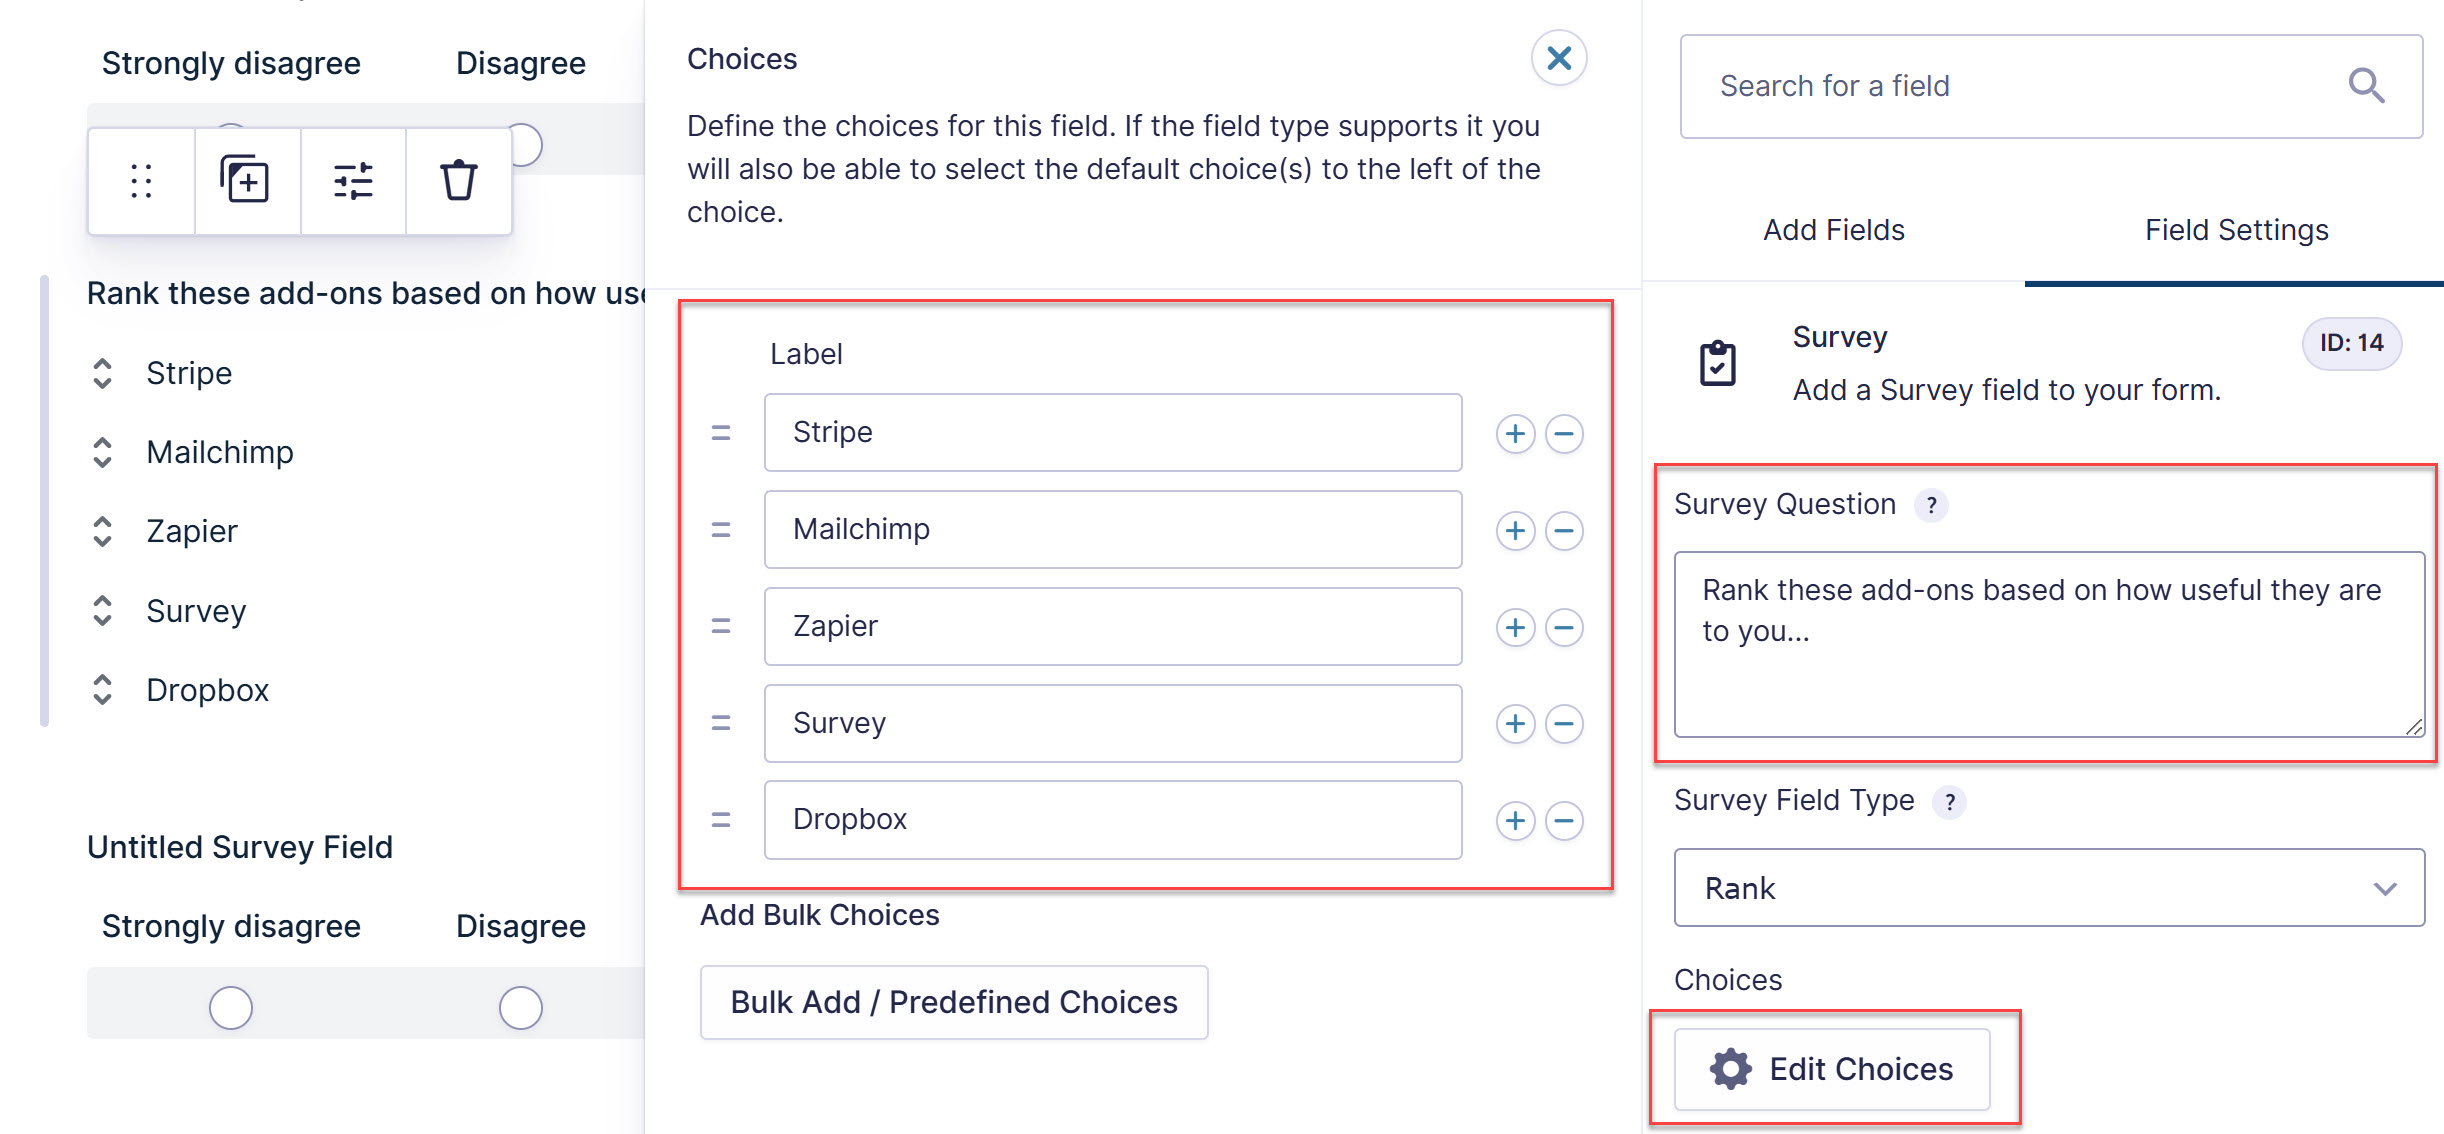
The Choices section of the survey field is where you input the selections for whichever Survey Field Type you choose. Use the plus and minus icons on the right to add or remove options.
Like most Gravity Forms fields, you can also enable conditional logic and dynamically populated data.
For each new survey question you will need to add a new Survey field – once you have finished click Update to save your form. For further details on creating a survey, check out the docs – Survey Guide.
Configure the Form’s Settings
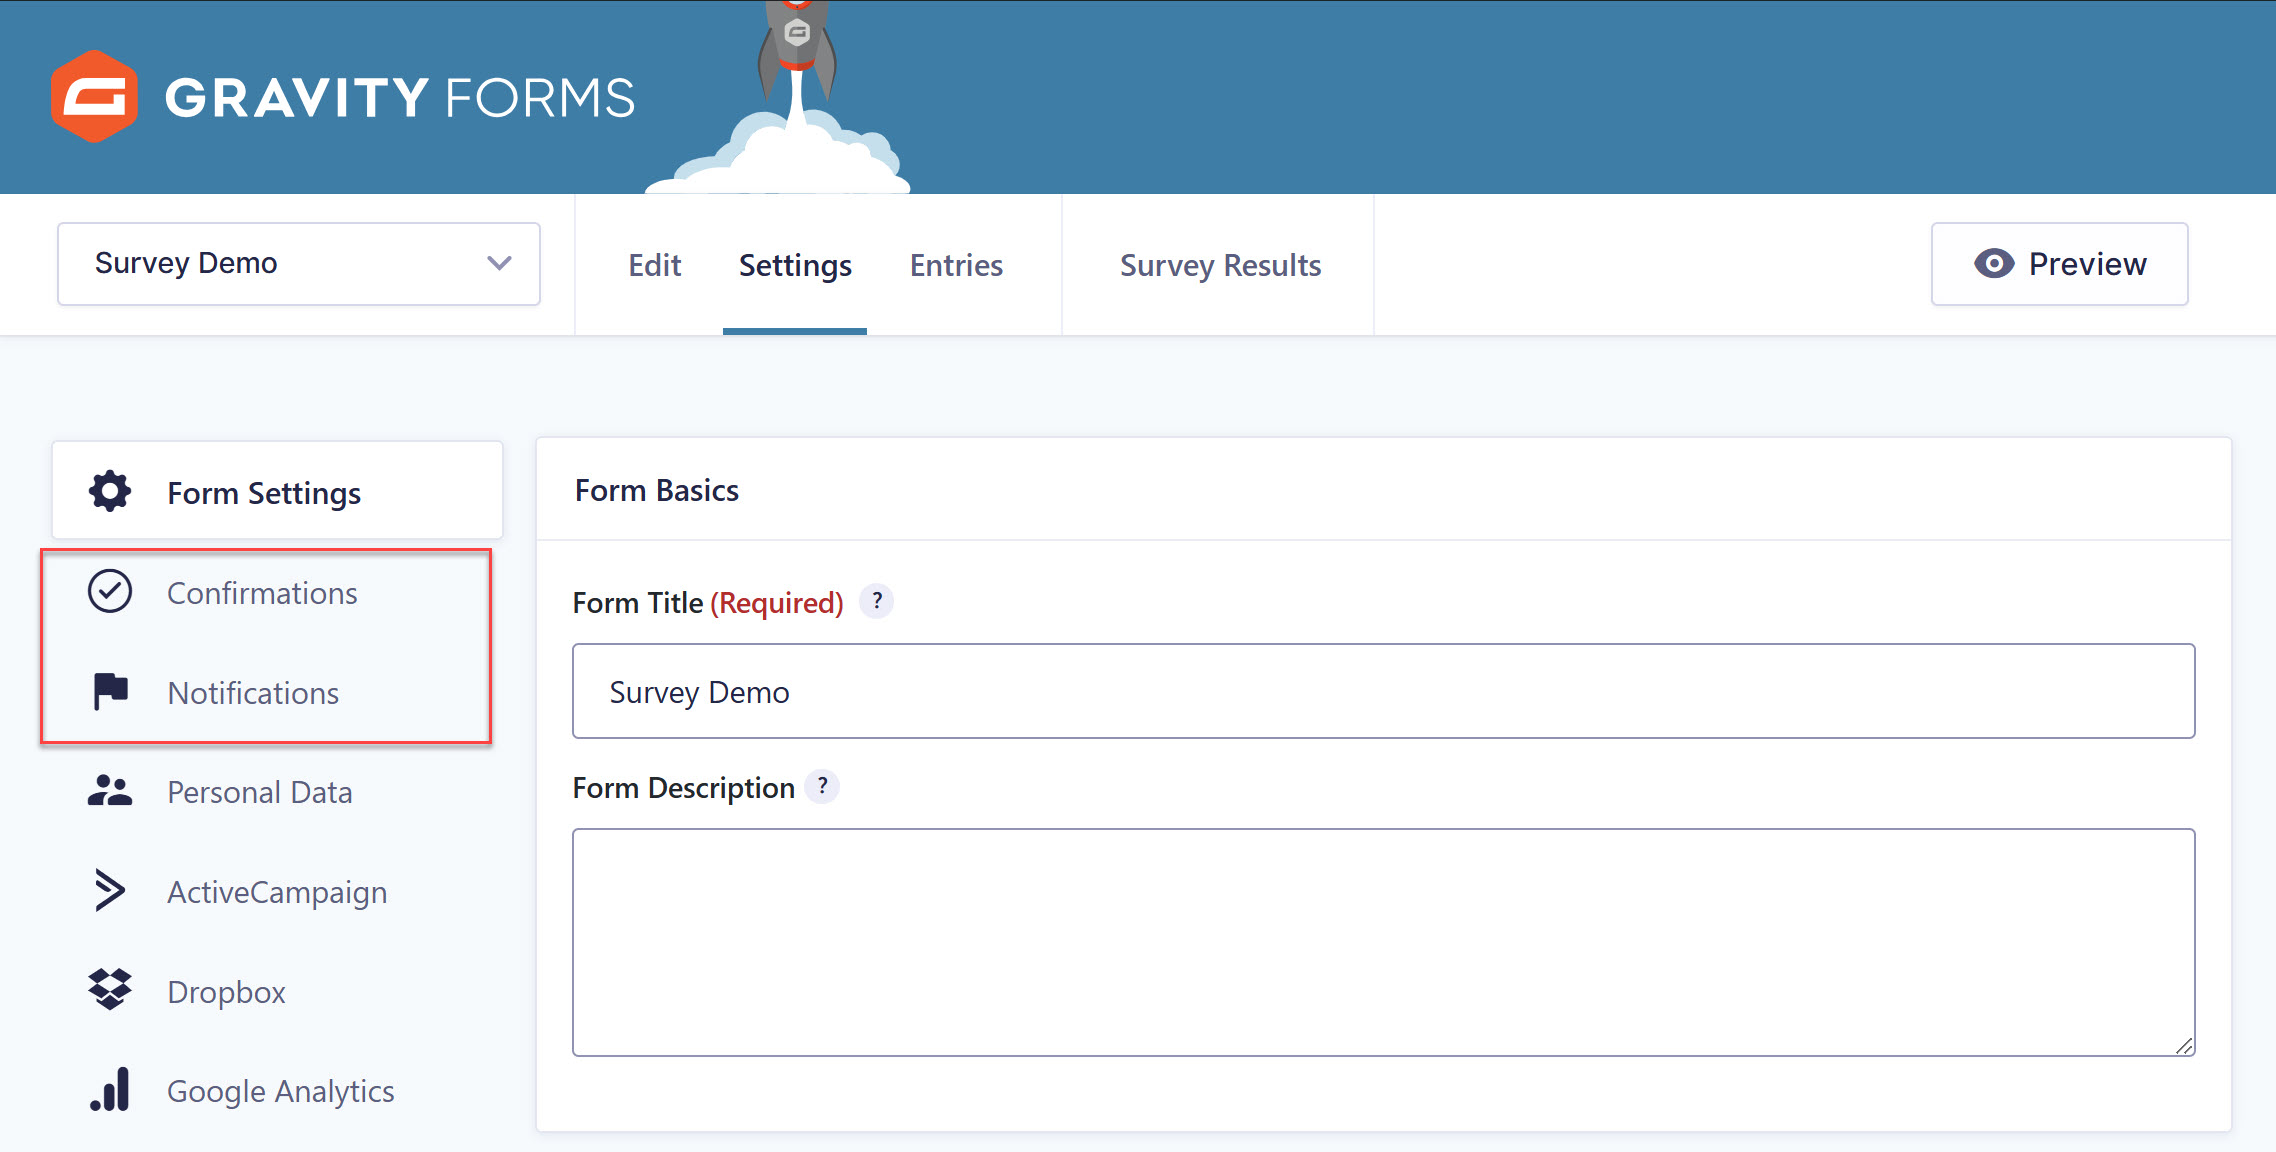
Before you add your survey to a page and make it available to participants, you’ll want to configure a few settings that apply to the entire form. You’ll find them in Settings at the top of the form builder.
Below we will discuss Confirmations, and Notifications, but if you want more information on general Form Settings, check out the docs.
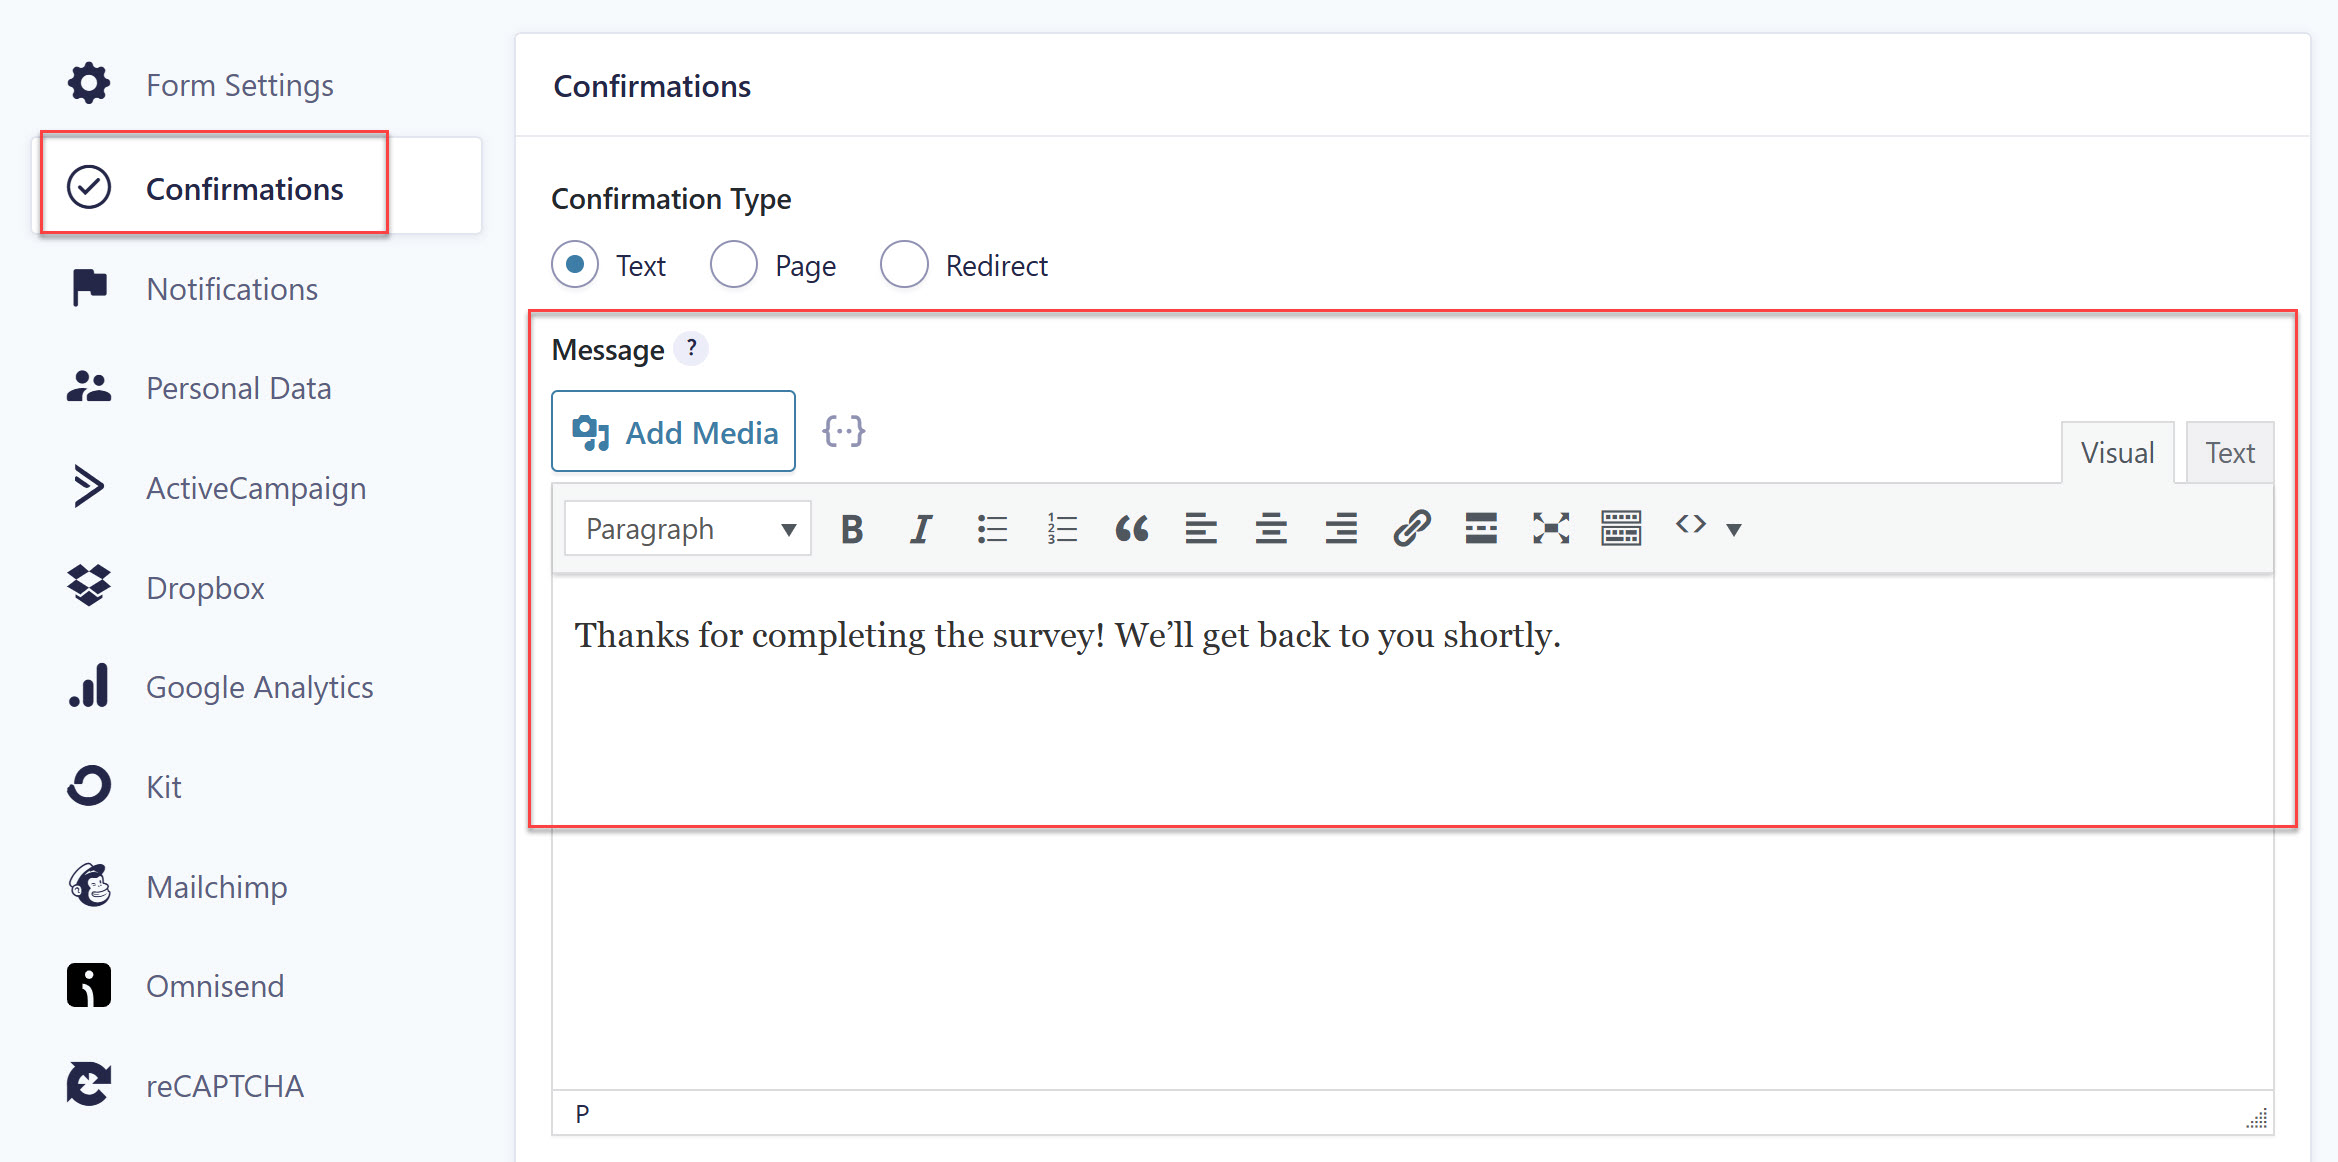
Under Confirmations, you can edit the on-page message users see after they’ve submitted the survey. You’ll want to change the default confirmation to something like “Thanks for completing the survey! We’ll get back to you shortly.”
For more information, have a read of Configuring Confirmations.
Under Notifications, you can configure the notification email/s that are sent out when someone submits a form.
The default admin notification will send a copy of the responses to the WordPress administrator. We also recommend creating a notification that sends an email to the survey participants with their responses or to deliver their incentive.
Again, for more information, have a read of the docs – Configuring Notifications.
Add Your Survey to a Page or Post
The last step is to embed your survey into a page or post on your site. This is a quick task. It’s just like embedding any other Gravity Form.
You can use the Gravity Forms block in the Gutenberg editor (recommended) or add the shortcode in the Classic Editor. Read our guide on Adding a Form to Your Site to help you with this.
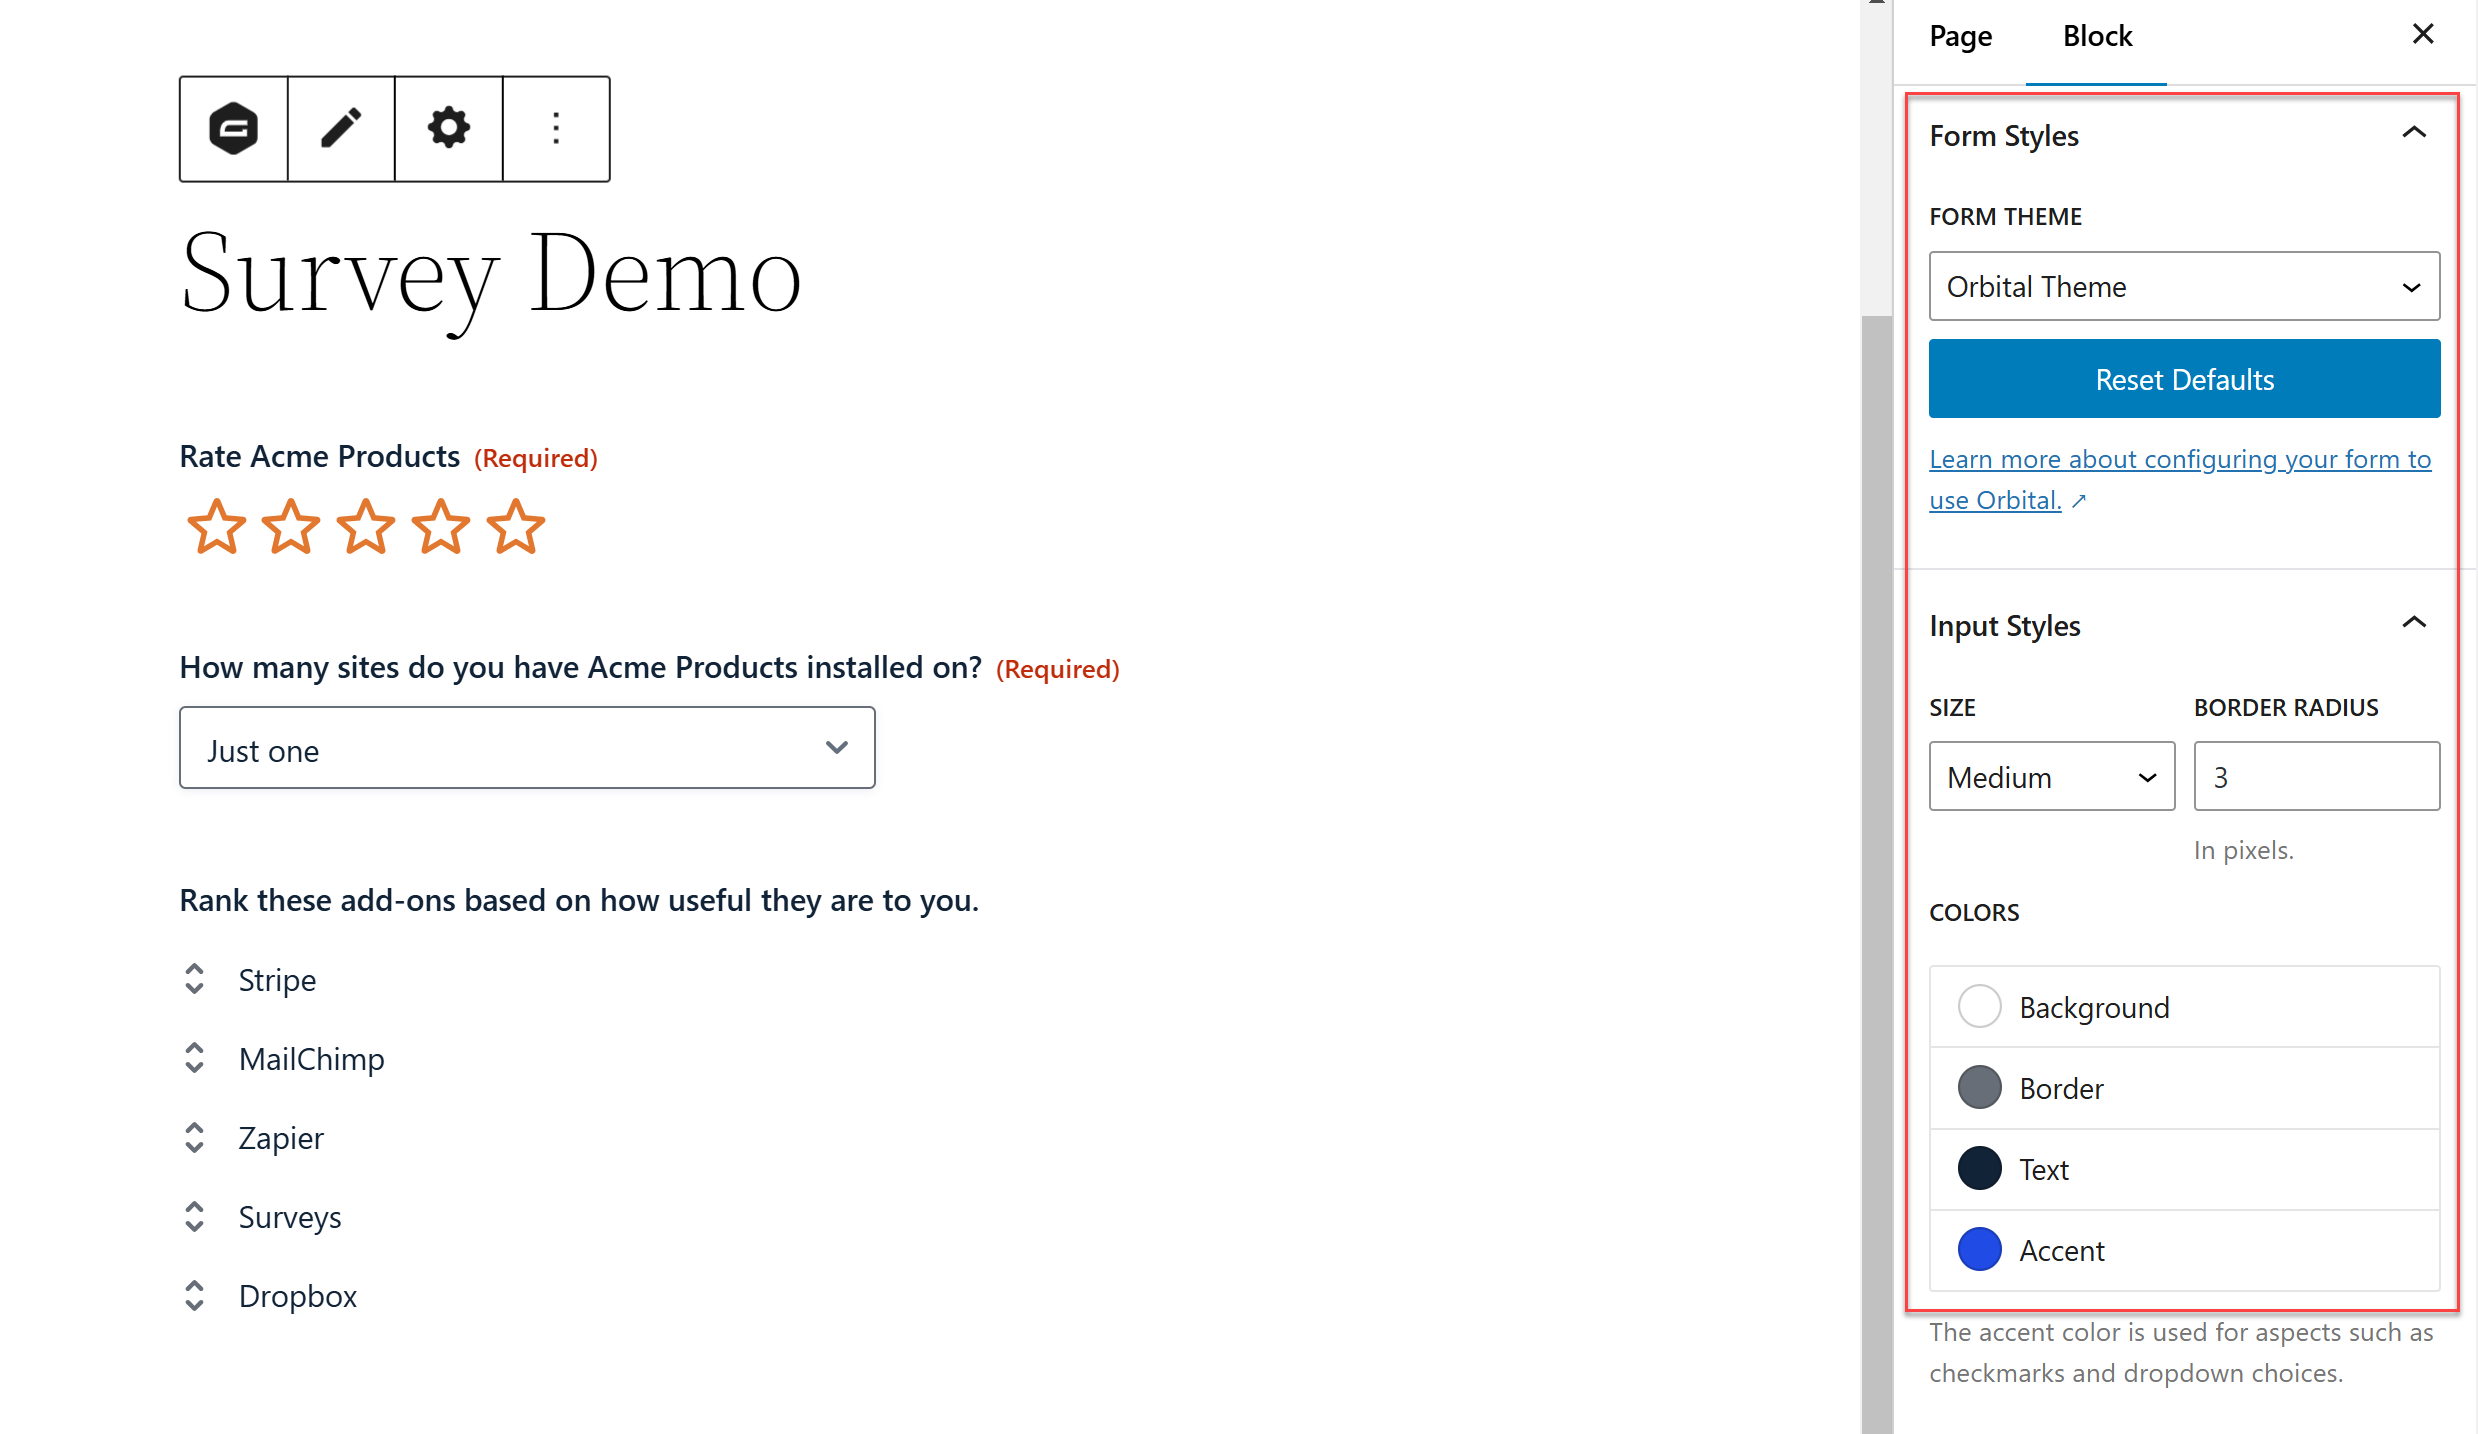
If you are using Gutenberg, you’ll find styling options built into the Gravity Forms block. For more information on how to style your survey, check out this ultimate guide – How to Style Forms in Gravity Forms.
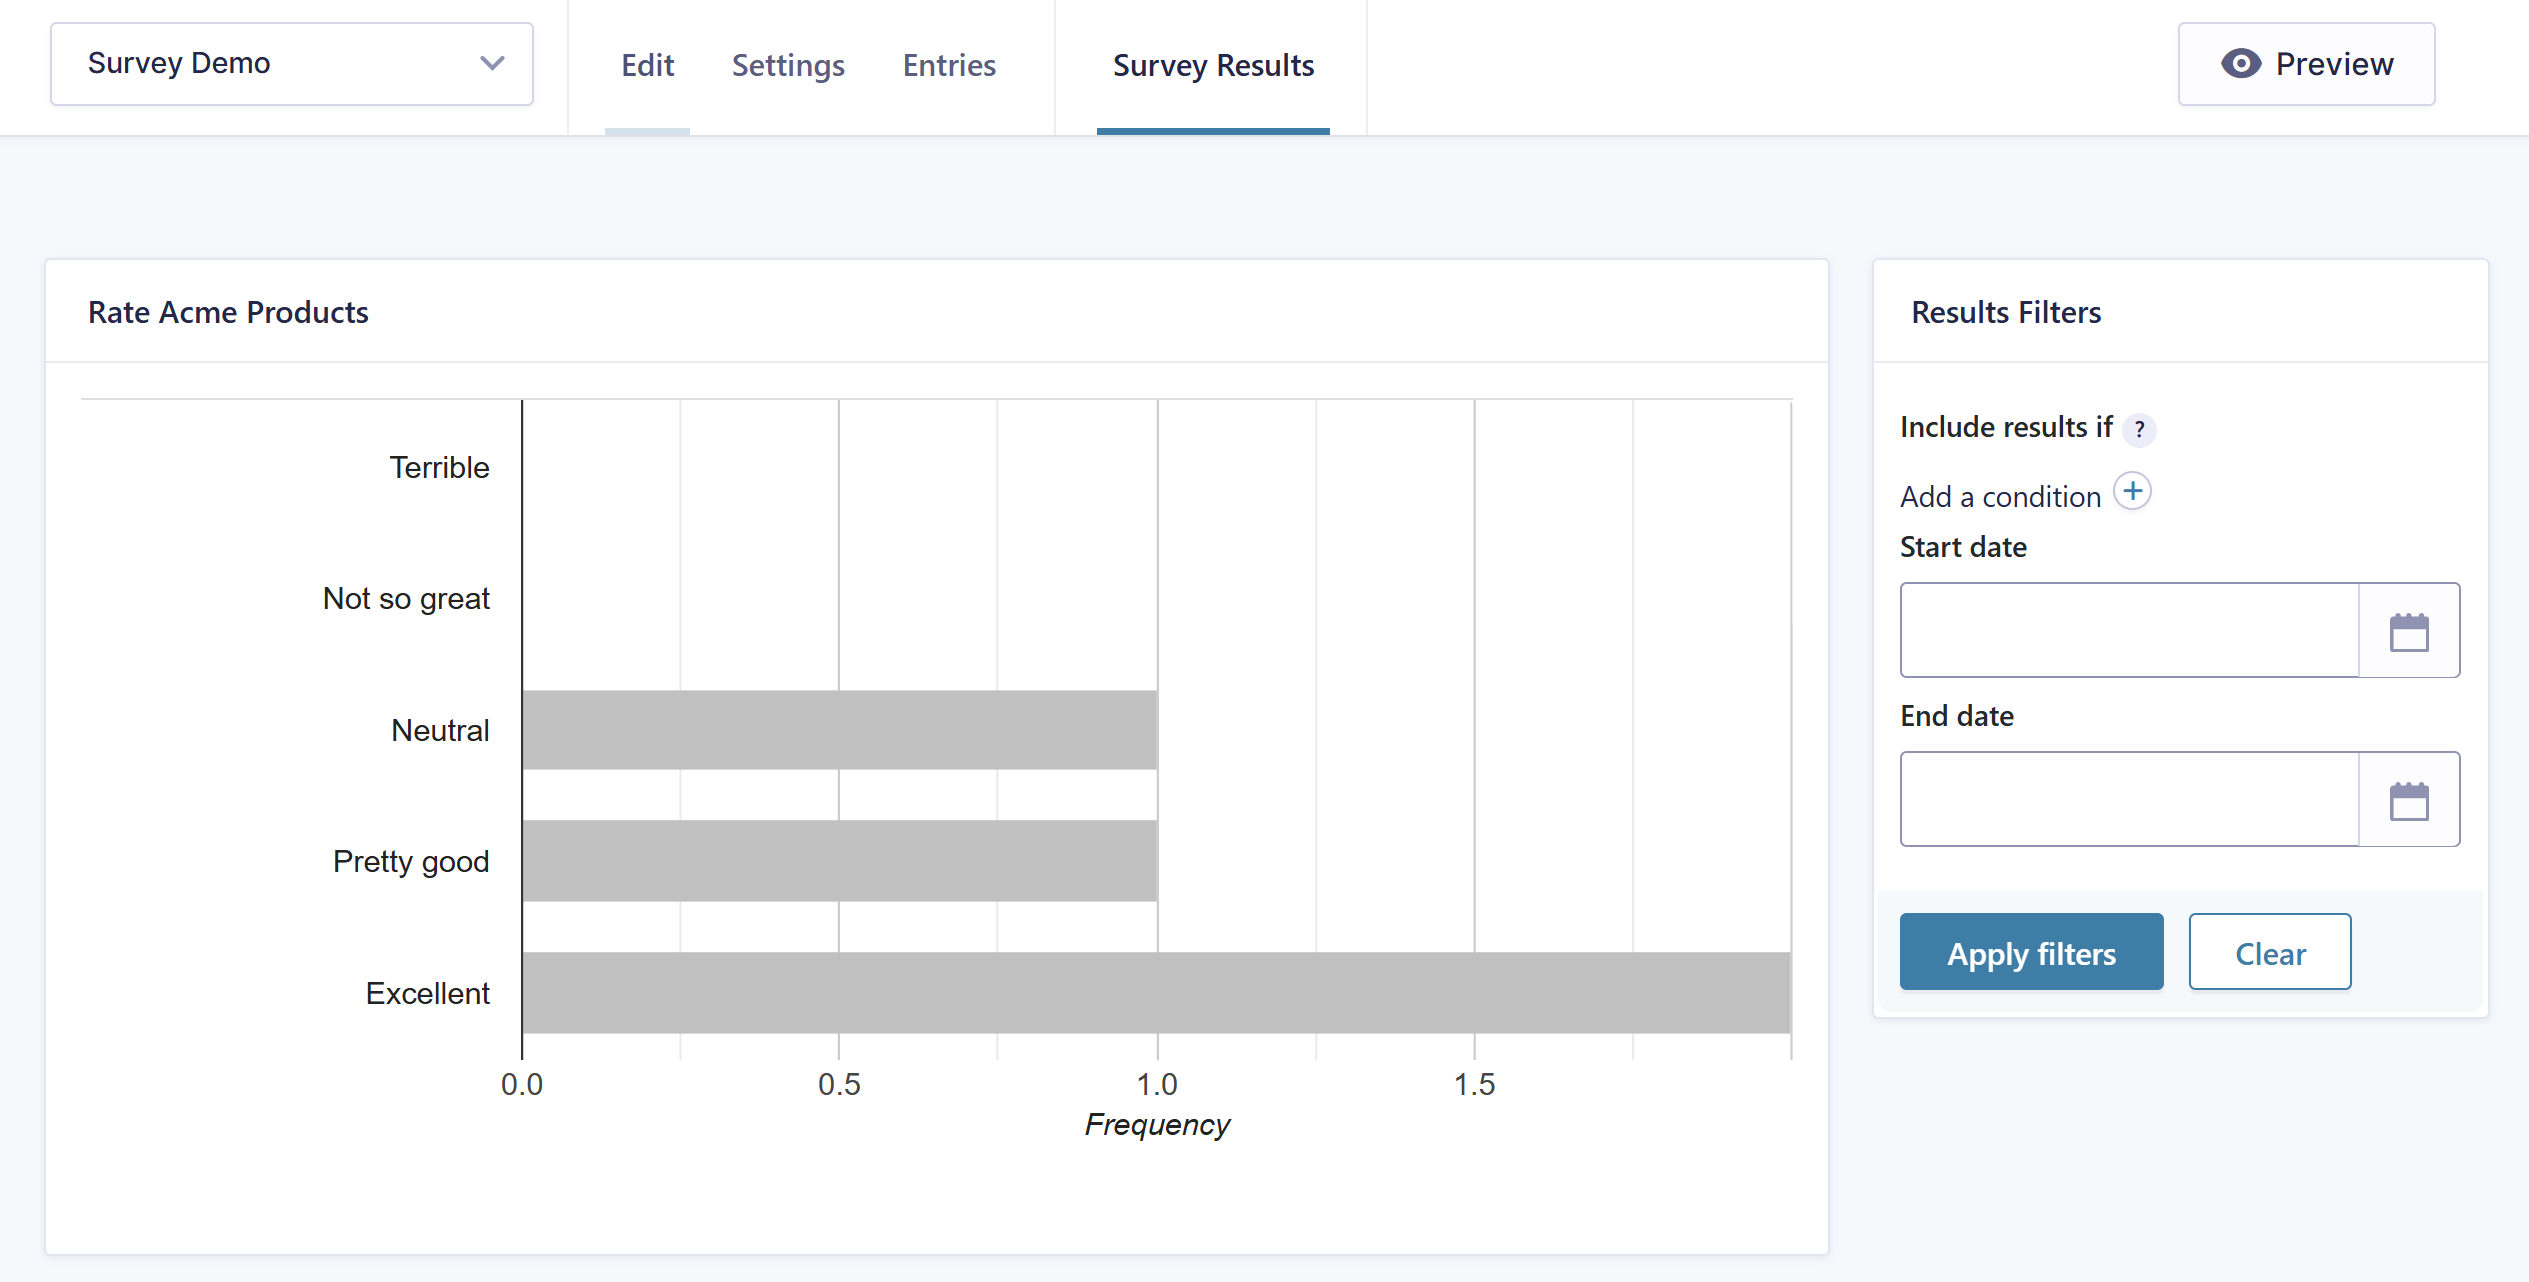
Review Your Results
Once your participants have had some time to take the survey, view the results by clicking the Survey Results tab at the top of the form editor. Gravity Forms breaks down the results so you can get a clear insight into how your users have responded to each question.
If you want to view a person’s response separately, you’ll find them under Entries (next to Settings) in the form builder.
For more information on using the Survey Add-On, check our the Survey Documentation.
Final Thoughts on How to Create a Survey
Creating interactive surveys, that enable you to collect and analyze the data you need, is a quick and easy process with Gravity Forms. Simply install the Survey Add-On, available on our Elite plan, and get started today.
If you don’t have Gravity Forms or the Survey Add-On, don’t worry. As mentioned, you can still test out everything in this article for free inside your own personalized Gravity Forms demo – enjoy!
Newsletter
If you want to keep up-to-date with what’s happening on the blog sign up for the Gravity Forms newsletter!
"*" indicates required fields