Every client site comes with forms you didn’t build, and a steady trickle of “can you just add…” requests that pull you off whatever you were working on.
Gravity Forms MCP lets you hand a lot of those tasks to an AI assistant. You connect Claude, ChatGPT, or your AI tool of choice to the site, tell it what you need, and it builds, checks, or changes the forms while you get on with the real work.
Here are ten jobs it’s good at, each with prompts you can lift straight into a chat.
1. Build a form from a PDF, paper form, or email
The form usually exists somewhere already. It might be a PDF intake form, a printout the client has been photocopying for years, or three paragraphs in an email describing what they want.
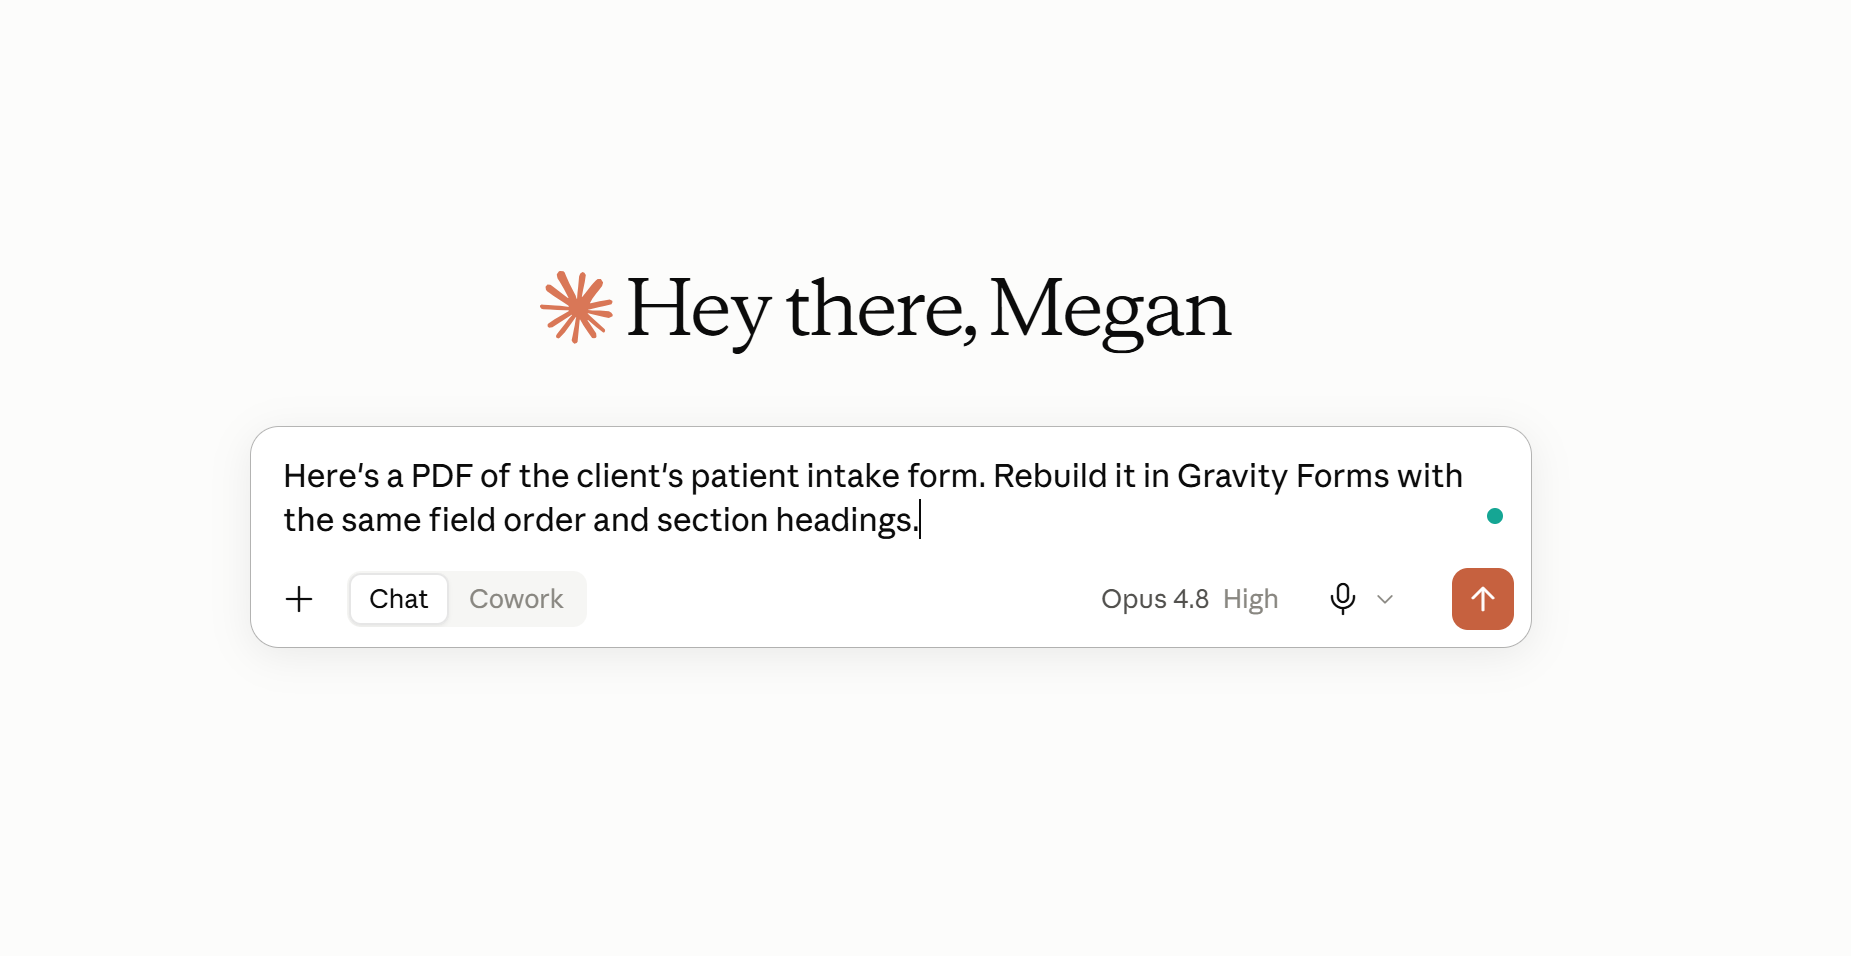
Hand over the file or the text and your AI assistant can rebuild the whole thing in Gravity Forms, matching the field order and section headings, so you’re not retyping any of it.
“Here’s a PDF of the client’s patient intake form. Rebuild it in Gravity Forms with the same field order and section headings.”
“Create a form called Project Inquiry. Name and email side by side. A Budget dropdown (Under $5k, $5k to $15k, $15k and up) next to a Timeline dropdown (ASAP, 1 to 3 months, Just exploring). A Services checkbox list (Web design, SEO, Hosting, Maintenance). A full-width Project details textarea. When Budget is $15k and up, show a Preferred start date field. Notify projects@ and confirm with ‘Thanks, we’ll be in touch within two business days.’”
2. Prototype a few versions when the client isn’t sure
Some clients know exactly what they want. Others will know it when they see it. Rather than building one form, waiting for feedback, and rebuilding, have your AI assistant spin up two or three versions to compare, then refine whichever one they pick.
“Build three versions of a contact form so my client can compare them. One short, with just name, email, and message. One with an inquiry-type dropdown and a phone field. One split across two pages, contact details first and project details second, with a progress bar. I’ll show all three and we’ll go from there.”
3. Get to know a form you didn’t build
You take over a site and find a booking form with thirty fields and conditional logic nobody wrote down. Instead of opening every field to trace the rules, ask your assistant to map them for you.
“Map the conditional logic on the Membership Application form and tell me exactly which fields show or hide, and what triggers each one.”
4. Clear the quick-change tickets
The small requests are the ones that break your focus. Handle them from the chat without opening the editor.
“Add a phone number field to the booking form, right after the email field, and make it required.”
“Add an inquiry-type dropdown to the contact form with General, Support, Billing, and Other.”
5. Run a compliance update across every form
A client needs a consent checkbox on everything that collects personal data, and they have a dozen forms. That’s one request now, not an afternoon of editing.
“Add a required consent checkbox to every form on this site that collects personal information, linked to the client’s privacy policy.”
6. Track down a broken notification
“My form stopped emailing me” is a familiar ticket. Read the setup back in seconds instead of clicking through settings tabs to find the wrong address or a notification that got switched off.
“The contact form stopped sending emails. What notifications are set up on it, and where are they going?”
7. Fill a form with realistic test data
Before real submissions exist, you often want entries to test the reporting, or to show a client how their dashboard will look once it’s live. Ask for a batch.
“Generate 25 realistic test entries for the Event Registration form so I can check the reporting.”
8. Send a client a weekly entry report
Plenty of clients want to know what’s coming in without logging into WordPress. Rather than exporting a spreadsheet every Monday and writing up the highlights, ask your assistant to pull the numbers and draft the update for you.
“Summarize this week’s entries from the Contact and Quote Request forms: how many of each, the most common topics, and anything that looks urgent. Write it up as a short, friendly email I can send to the client.”
9. Clean up before go-live
Launch day, and there are test entries scattered across every form. Clear them in one request. Anything destructive asks you to confirm first, so nothing disappears by accident.
“Before we go live, delete all the test entries from every form on this site.”
10. Duplicate a form to reuse it
When a form works, you rarely need it just once. Duplicate it, rename it, and change the parts that move on, whether that’s next quarter’s event or the next campaign that needs the same setup.
“Duplicate the Q2 Event Registration form, rename it for Q4, and update any fields that mention dates or the event name.”
How to get started
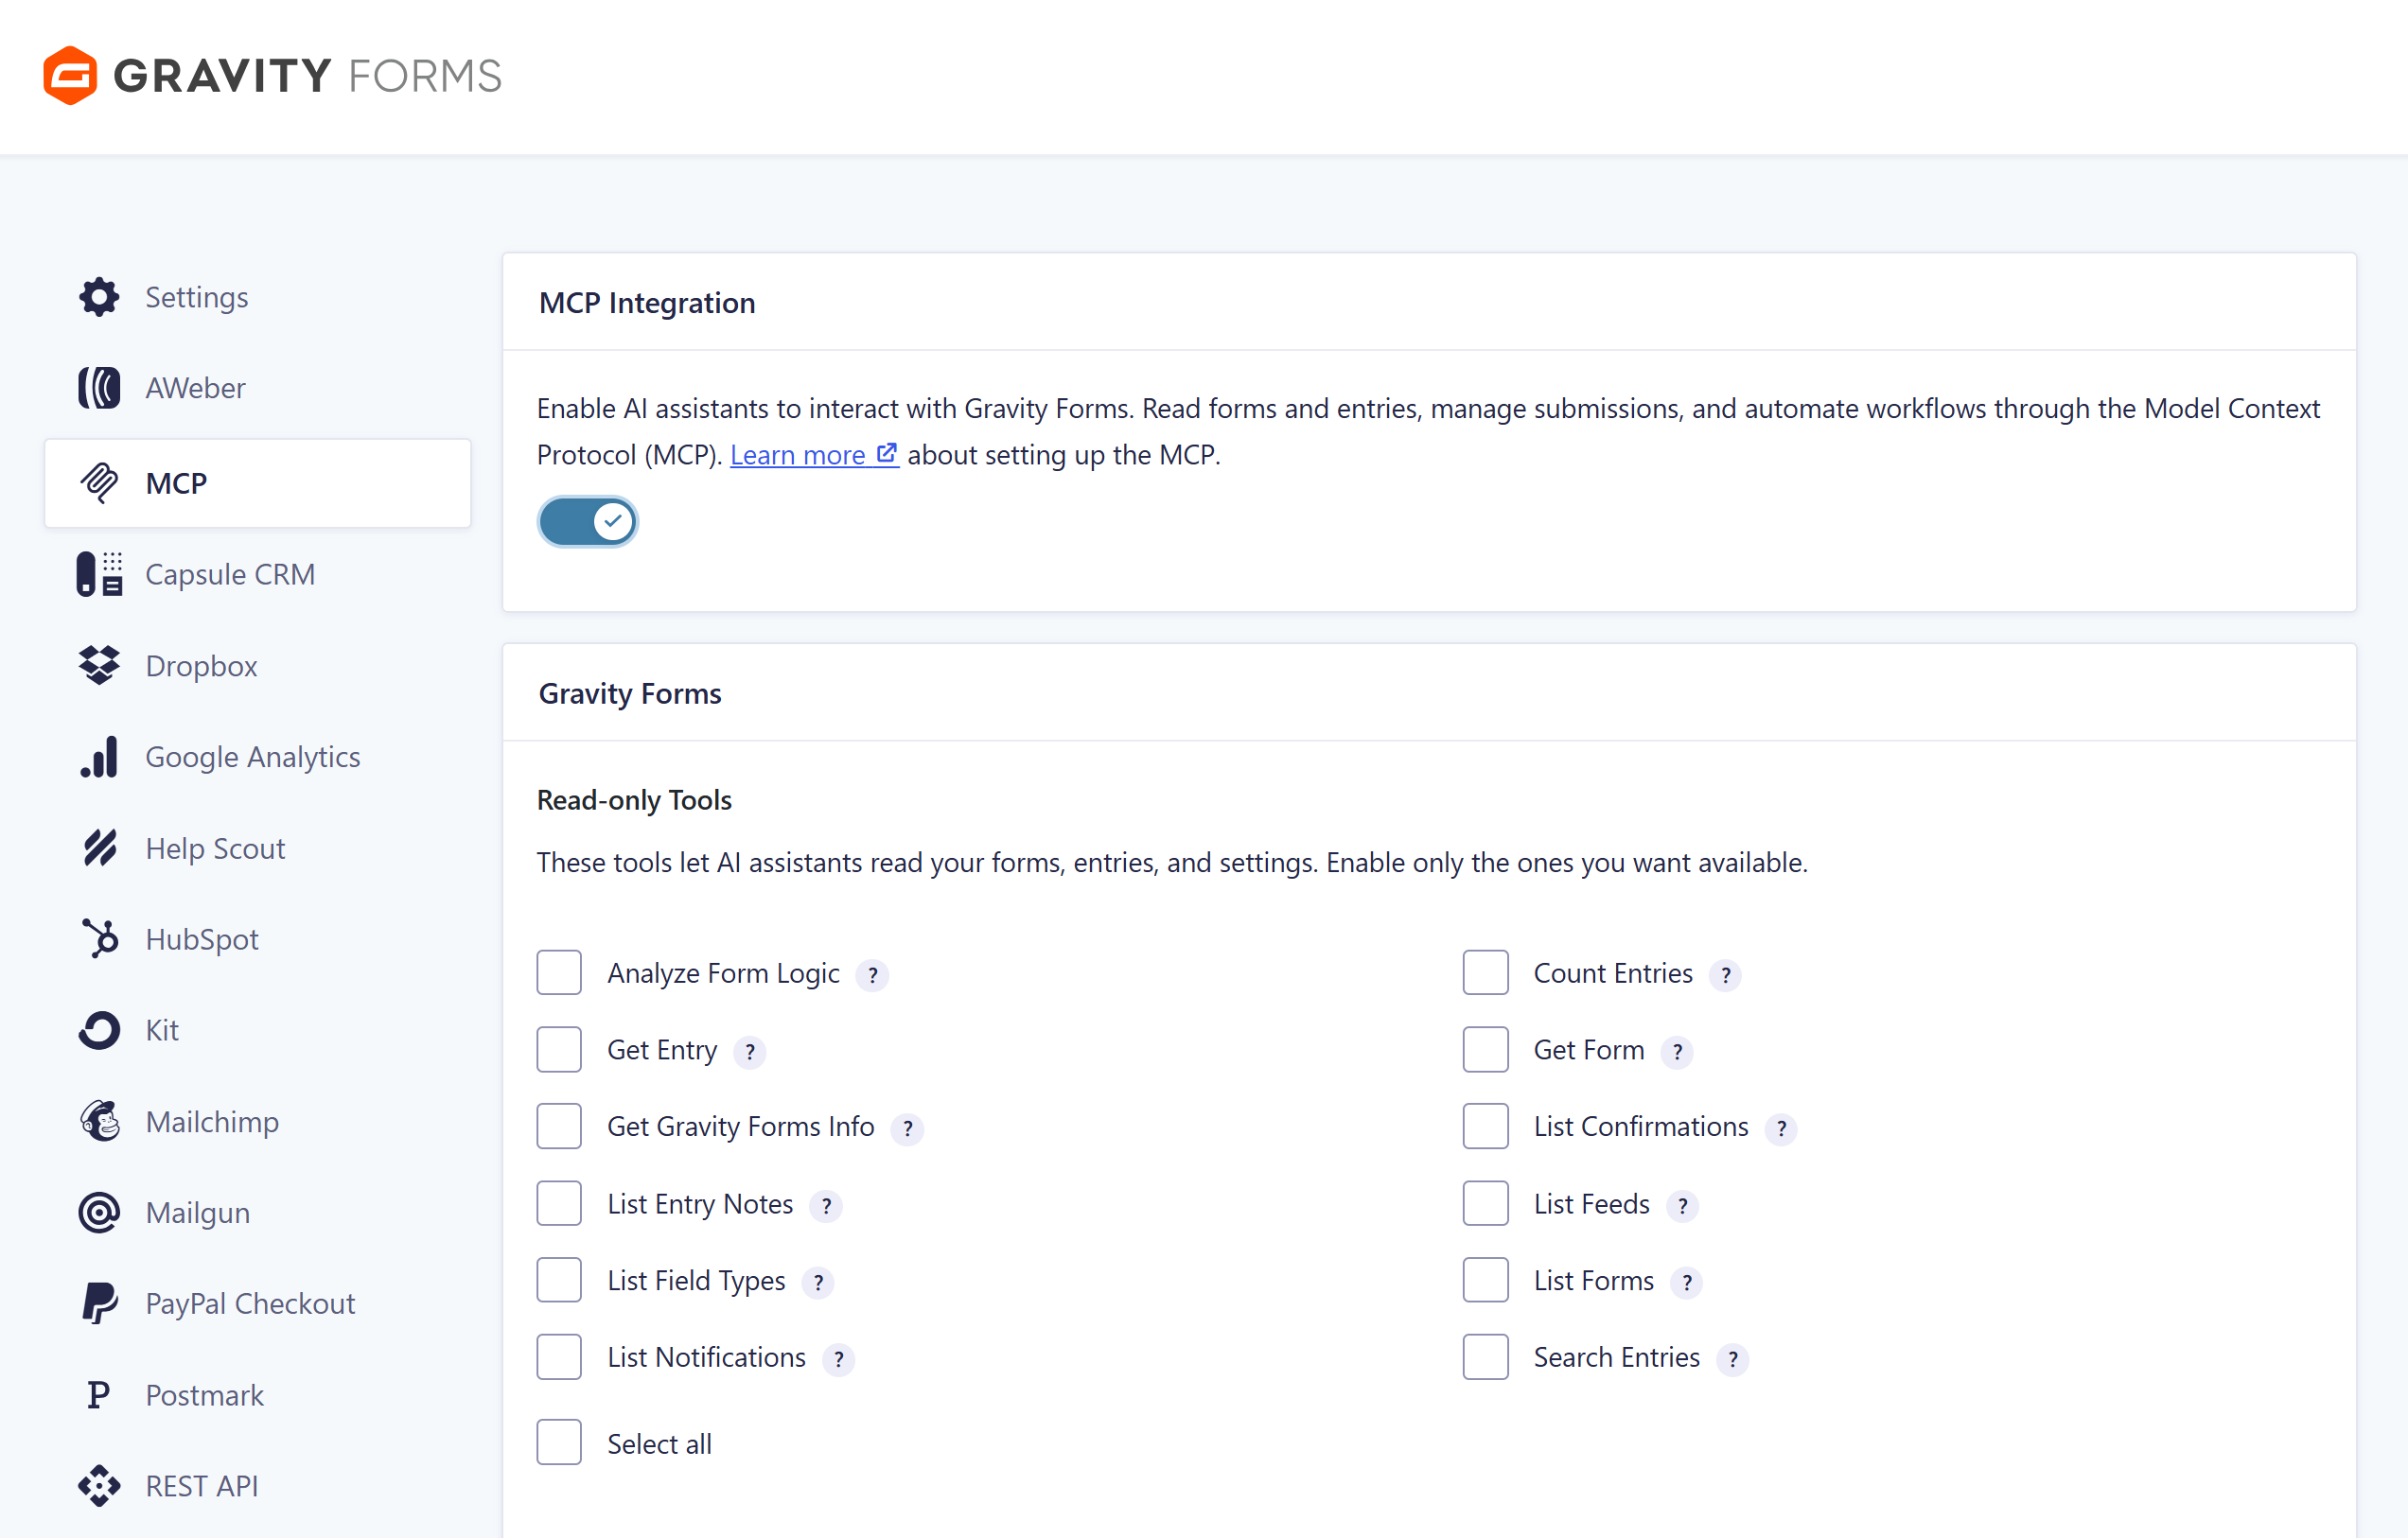
Gravity Forms MCP shipped with Gravity Forms 3.1 and is included with every license, from Basic to Developer. A few things are worth doing in the right order:
- Check your setup – You’ll need WordPress 6.9 or higher on a self-hosted site, with Gravity Forms 3.1 installed and active. WordPress.com isn’t supported at this time.
- Turn it on one tool at a time – MCP starts switched off, with no “all on” option. Flip the master Enable MCP toggle, then switch on only the tools you want. Read-only tools are the safe place to start, since they let your assistant look without changing anything.
- Connect through a dedicated user – Your assistant works as a WordPress user through an application password, so it can only do what that user can do. Set up a dedicated user with the narrowest capabilities the job needs, rather than handing over your admin account.
- Install the agent skills file – Download it from your MCP settings and upload it to your assistant. It works without it, but with the skill installed your assistant is faster, more accurate, and far less likely to trip up on your forms.
- Keep write access on a short leash – Leave write and destructive tools off until you need them. Destructive actions ask you to confirm first, and it’s still worth reviewing changes before you rely on them, and keeping regular backups.
For the full setup, including the configuration for Claude Code, Cursor, and VS Code, check out the Gravity Forms MCP documentation.
As always, if you have any questions or need a hand getting Gravity MCP up and running, our friendly Support team is happy to help!
New to Gravity Forms? Head over to our pricing page to get started, or sign up for a personalized Gravity Forms demo to see it in action.

Newsletter
If you want to keep up-to-date with what’s happening on the blog sign up for the Gravity Forms newsletter!
"*" indicates required fields