We’re excited to announce the release of Gravity Forms MCP – if using an AI assistant is already part of how you work, this one’s for you!
Gravity Forms 3.1 opens the door for AI assistants and automation tools to connect directly to your site and work with your forms. It’s a faster way to work, and you stay in control of every action – from building a new registration form to summarizing this week’s entries.
Read on to find out how Gravity Forms MCP works, what it means for your forms, and how to get started…
What your assistant can do with Gravity Forms
With Gravity Forms MCP, you can connect assistants like Claude and ChatGPT directly to your site, so they can build and edit forms, read entries, send notifications, and more.
It isn’t limited to chat apps either. Developers can connect coding tools like Claude Code, Cursor, and VS Code, along with anything else that supports MCP.
Here’s what that looks like in practice:
- Build and edit forms – Describe the form you need in plain language, and your assistant can create it complete with fields, conditional logic, confirmations, and notifications, right down to generating the field descriptions and help text. It can update existing forms too, so adding a consent checkbox to every form on your site becomes a single request instead of an afternoon of editing.
- Understand your forms – Assistants can list every form on your site, inspect any of them in detail, and audit conditional logic across fields, notifications, and confirmations. If you’ve inherited a complex form with conditional logic you don’t fully trust, your assistant can map out exactly which fields control what.
- Work with entries – Search, filter, count, and update entries by talking to your assistant, or generate a set of realistic test entries for a new build. Questions like “how many event registrations came in this month, and how many chose the vegetarian option?” get answered in seconds, without exporting a thing.
- Submit and validate data – Submissions made through your Gravity Forms MCP Server run through the full Gravity Forms pipeline, so validation rules, notifications, and connected integrations all fire exactly as if the entry came through the form on your site.
- Manage feeds and notifications – Assistants can create and update the feeds that send your form data to PayPal, Stripe, Mailchimp, and other integrations, resend a notification for an existing entry, and add notes to entries so your team can see what happened and when.
The Abilities API: a shared language for WordPress
So how does all of this work? The Abilities API arrived in WordPress 6.9 as a standard way for WordPress core, plugins, and themes to describe what they can do in a format that both people and machines can read. Each ability is a single, clearly defined action with its own inputs, outputs, and permission checks, registered in one central place so that outside tools can discover it.
That last part is what makes this release exciting. Your Gravity Forms MCP Server builds on those abilities using the Model Context Protocol (MCP), the open standard that connects AI assistants to the apps they work with. It gives your assistant a set of tools, one for each job Gravity Forms can do.
Simply put, Gravity Forms MCP is a bridge between your forms and AI. Instead of you working in the form editor, your AI assistant can now do the work with you, and every action still passes through the same WordPress permissions that protect your site today.
Permissions, passwords, and agent skills
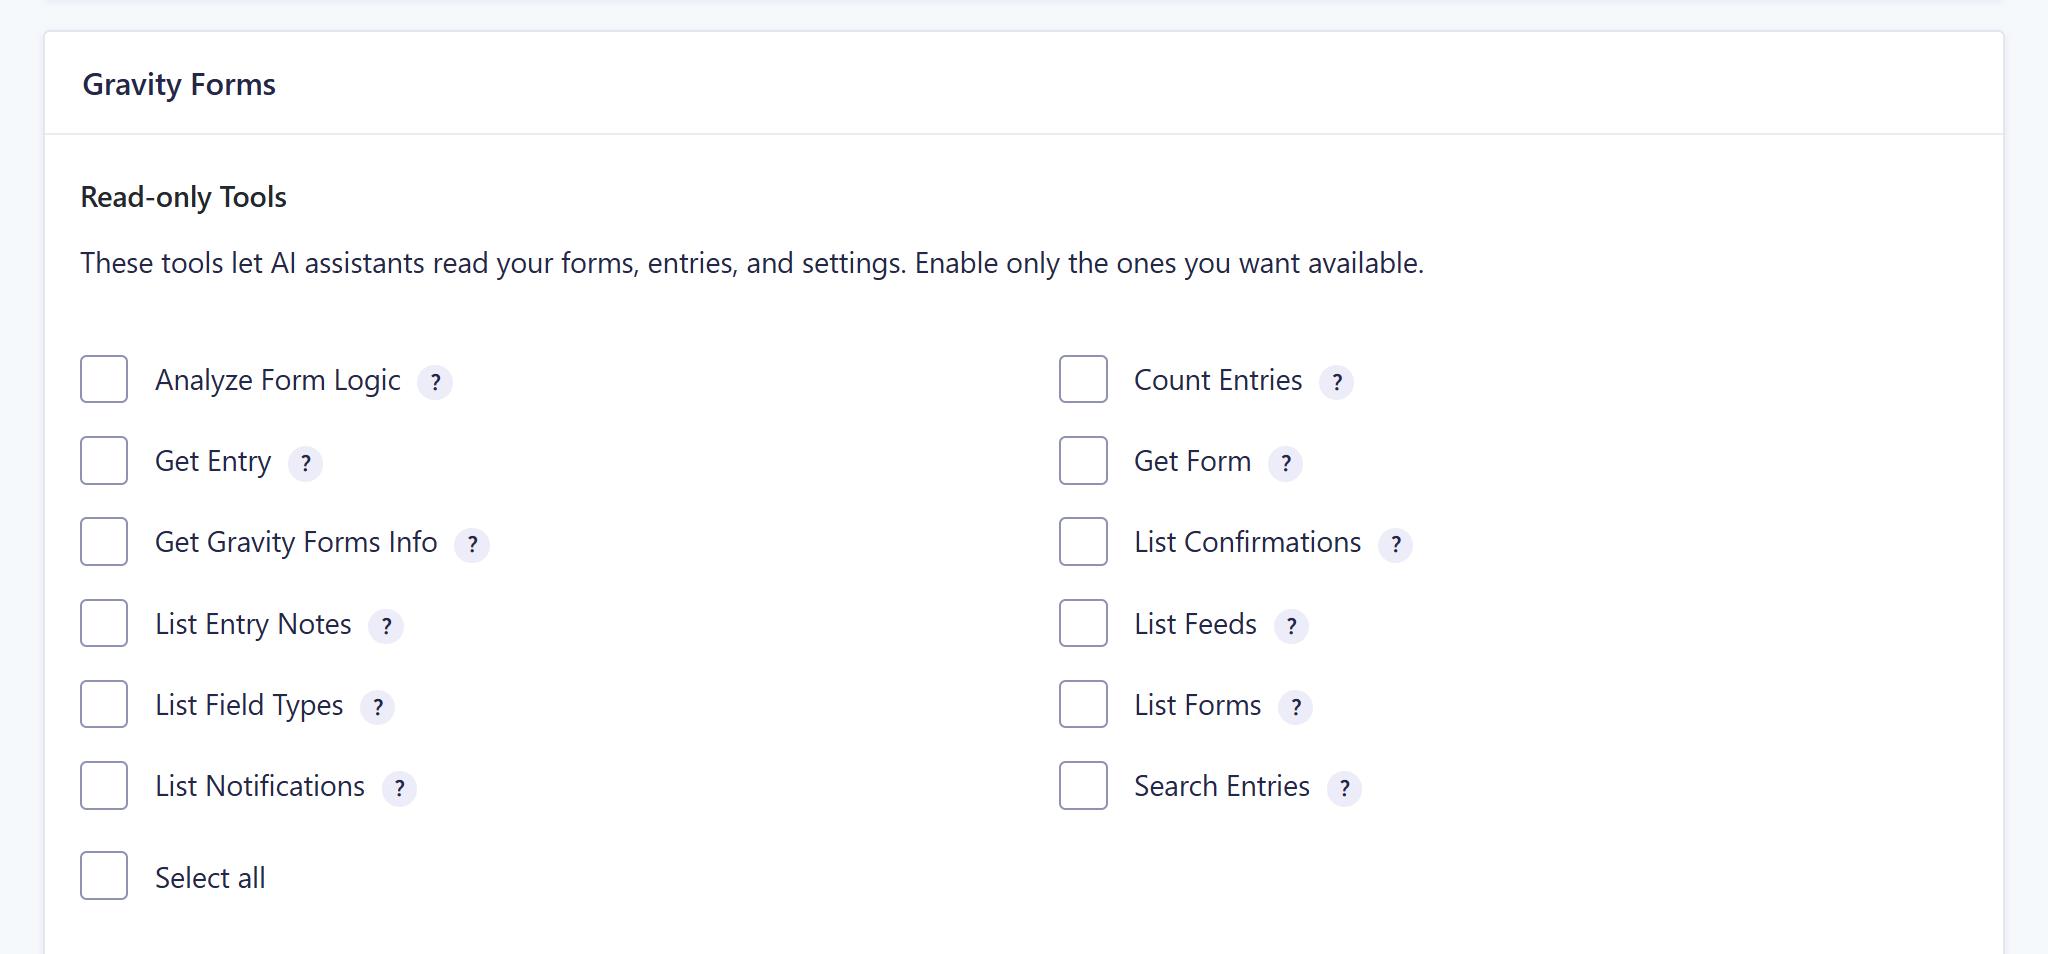
Handing an AI assistant the keys to your forms is a big step, so Gravity Forms MCP is built to be cautious. It ships switched off, there’s no “all on” option, and every tool stays unavailable until it’s switched on individually.
The tools come in two groups:
- Read-only tools let assistants view your forms, entries, and settings without changing anything.
- Write and destructive tools cover creating, updating, and deleting. Destructive requests need your explicit confirmation before they run, so nothing gets deleted by accident.
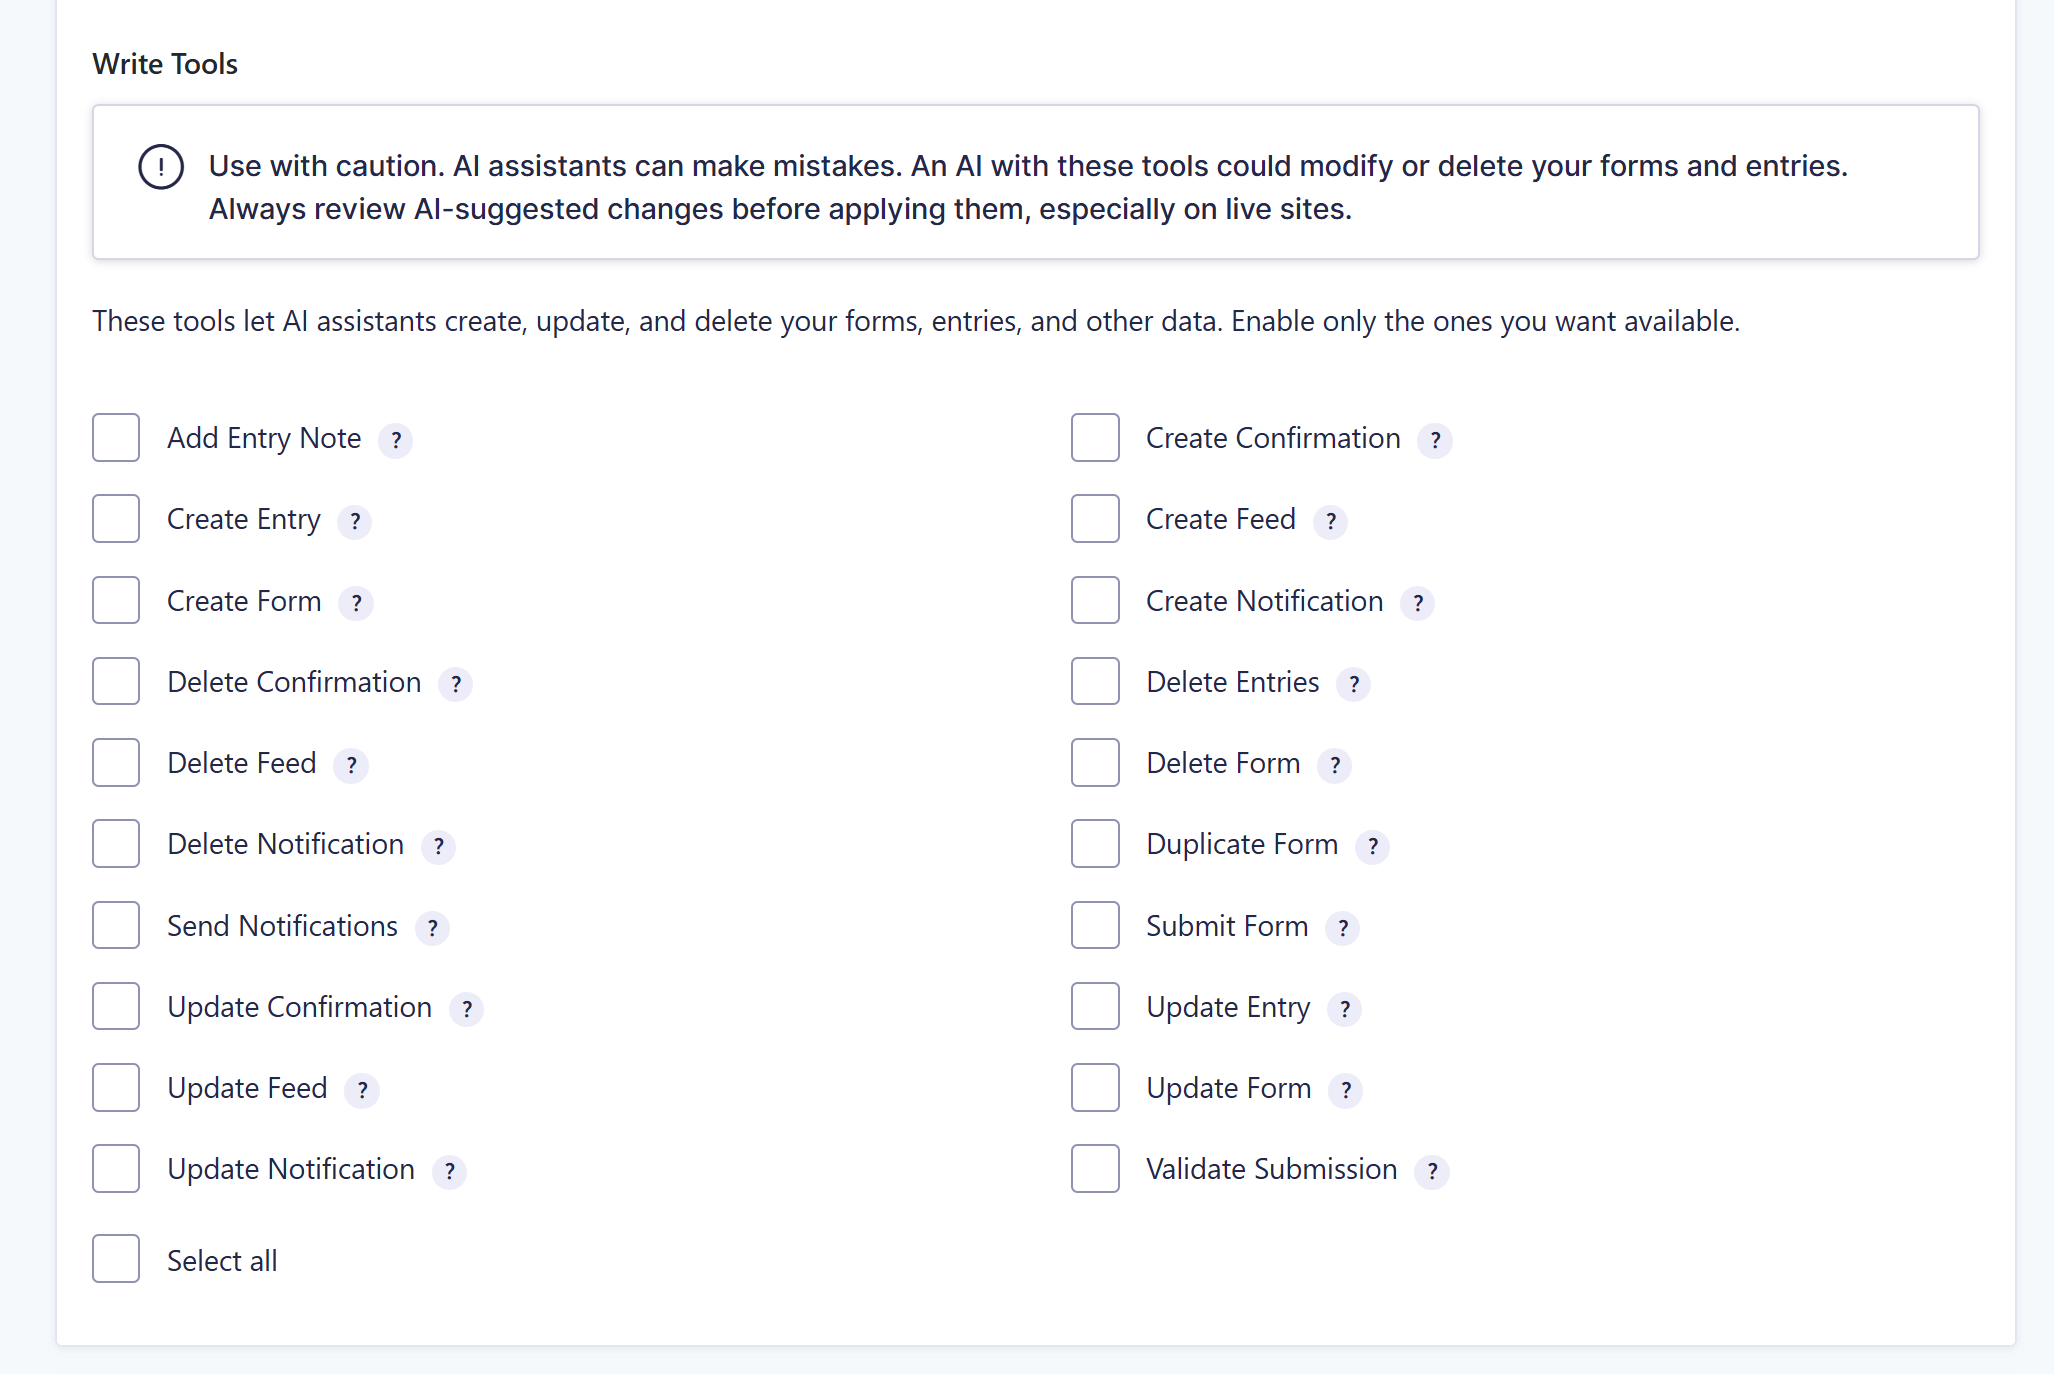
Your assistant also connects as a WordPress user through an application password, so it’s bound by that user’s role and capabilities and can never do anything the user couldn’t do themselves.
We recommend setting up a dedicated user with only the capabilities the connection needs, rather than using your admin account.
Agent skills
Additionally, we provide agent skills as a downloadable file, available from your MCP settings, that you upload to your AI assistant. It teaches the assistant how Gravity Forms works, from the field types available to how conditional logic fits together.
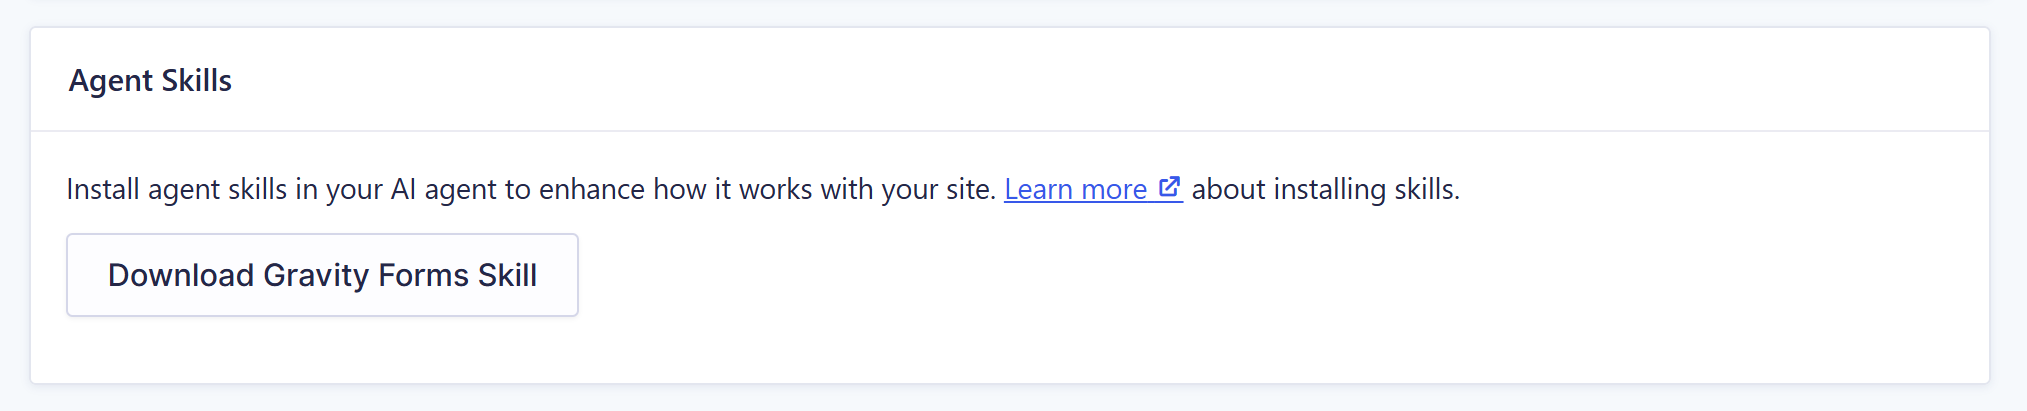
Assistants can use the tools without it. With it installed, they’re faster, more accurate, and far less likely to make mistakes when working with your forms and entries.
Jump in with these prompts!
The best way to get a feel for Gravity Forms MCP is to open a chat and start asking for things. Here are a few prompts to get you started, working up from the simple to the ambitious.
Begin with a few questions about what’s already on your site. Be sure to remind the agent to use the Gravity Forms skill at the start of the chat:
- “Show me all the forms on this site, which ones are active, and when the last entry was submitted on each.”
- “What happens after someone submits my contact form? Show me the confirmation message and the notifications.”
- “Show me the last 10 people who filled in my contact form, just their name and email.”
- “Which of my active forms haven’t received a submission in the last 30 days?”
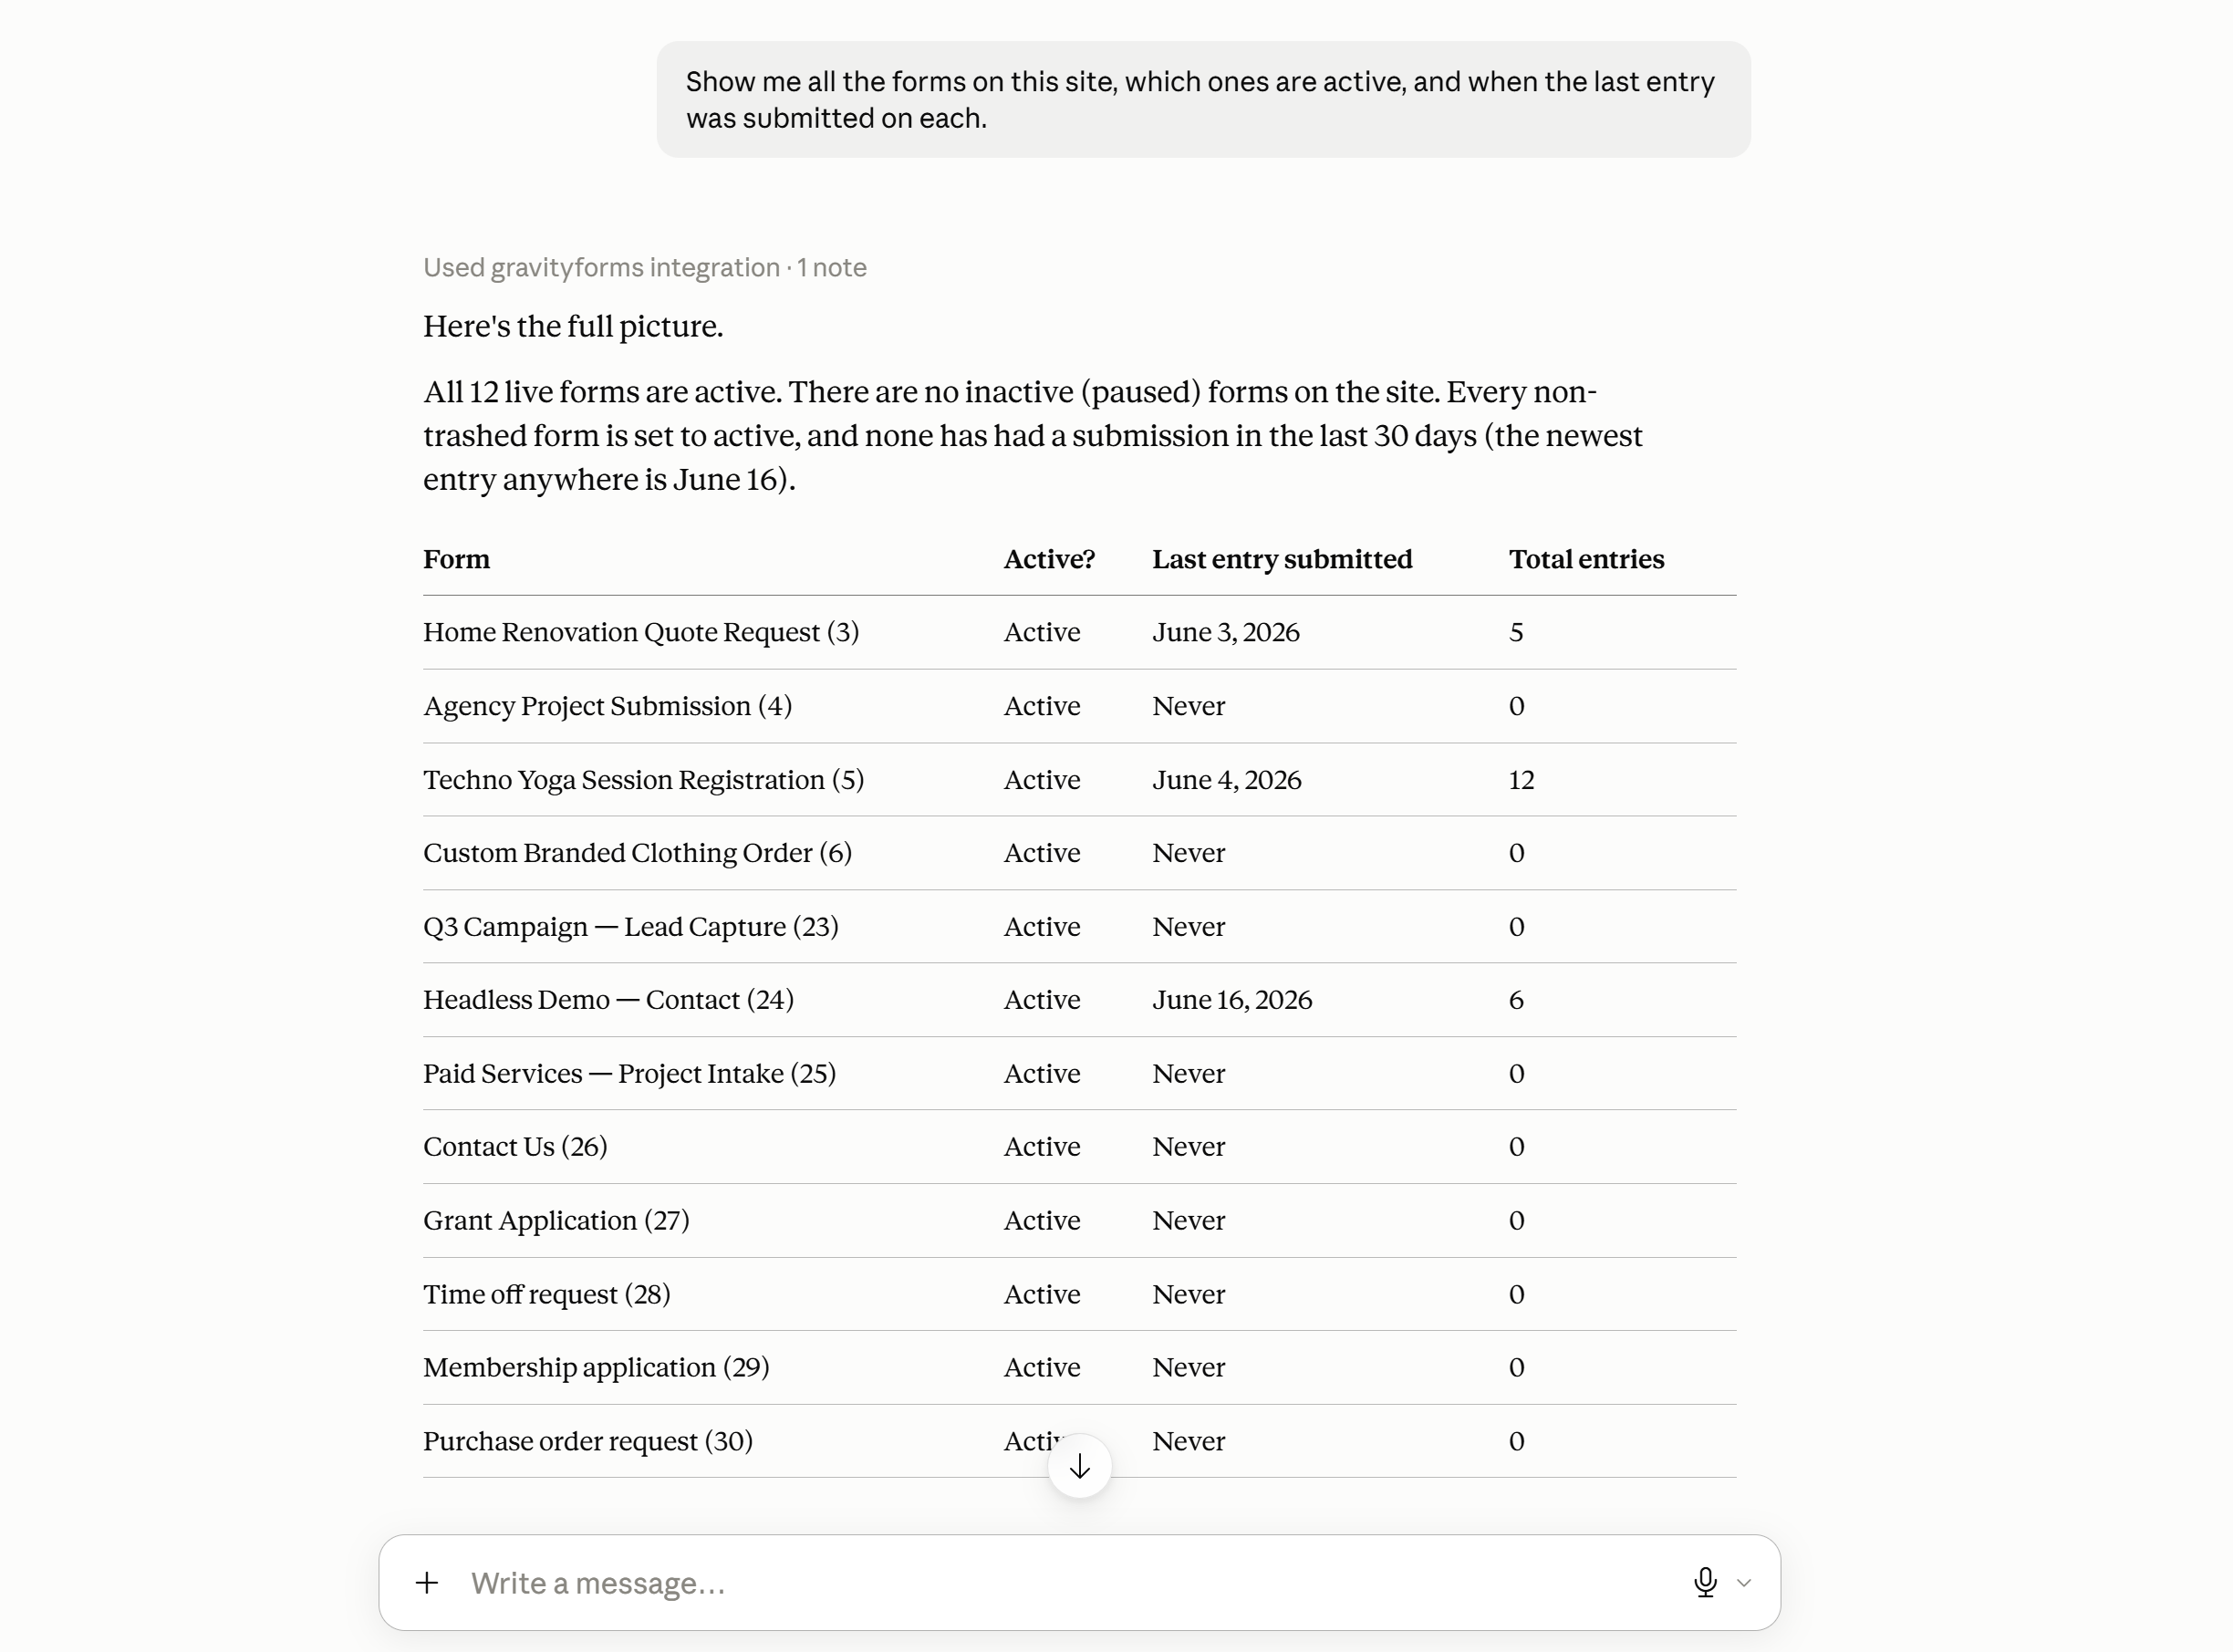
Once you’re comfortable, ask for some actual work:
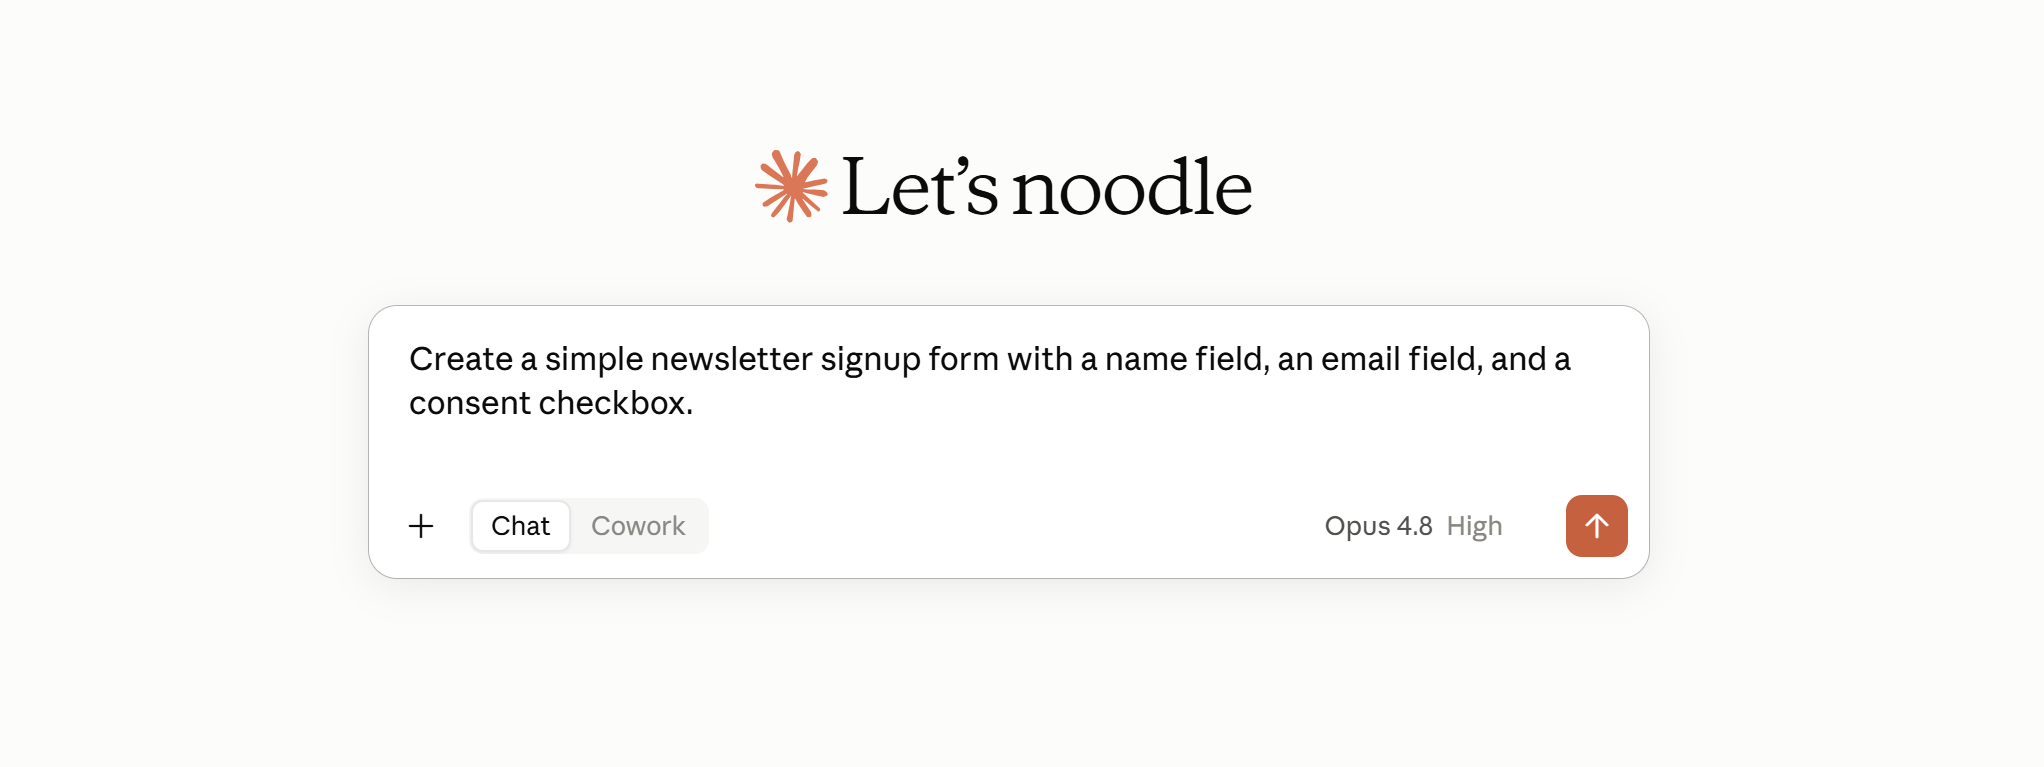
- “Create a simple newsletter signup form with a name field, an email field, and a consent checkbox.”
- “Add a dropdown to my inquiry form so people can tell me what they’re contacting me about. Options should be General Inquiry, Support, Pricing, and Other.”
- “Add conditional logic to my quote request form so a phone number field only appears when someone asks to be called back.”
- “My contact form is too long. Split it into two pages with a progress bar.”
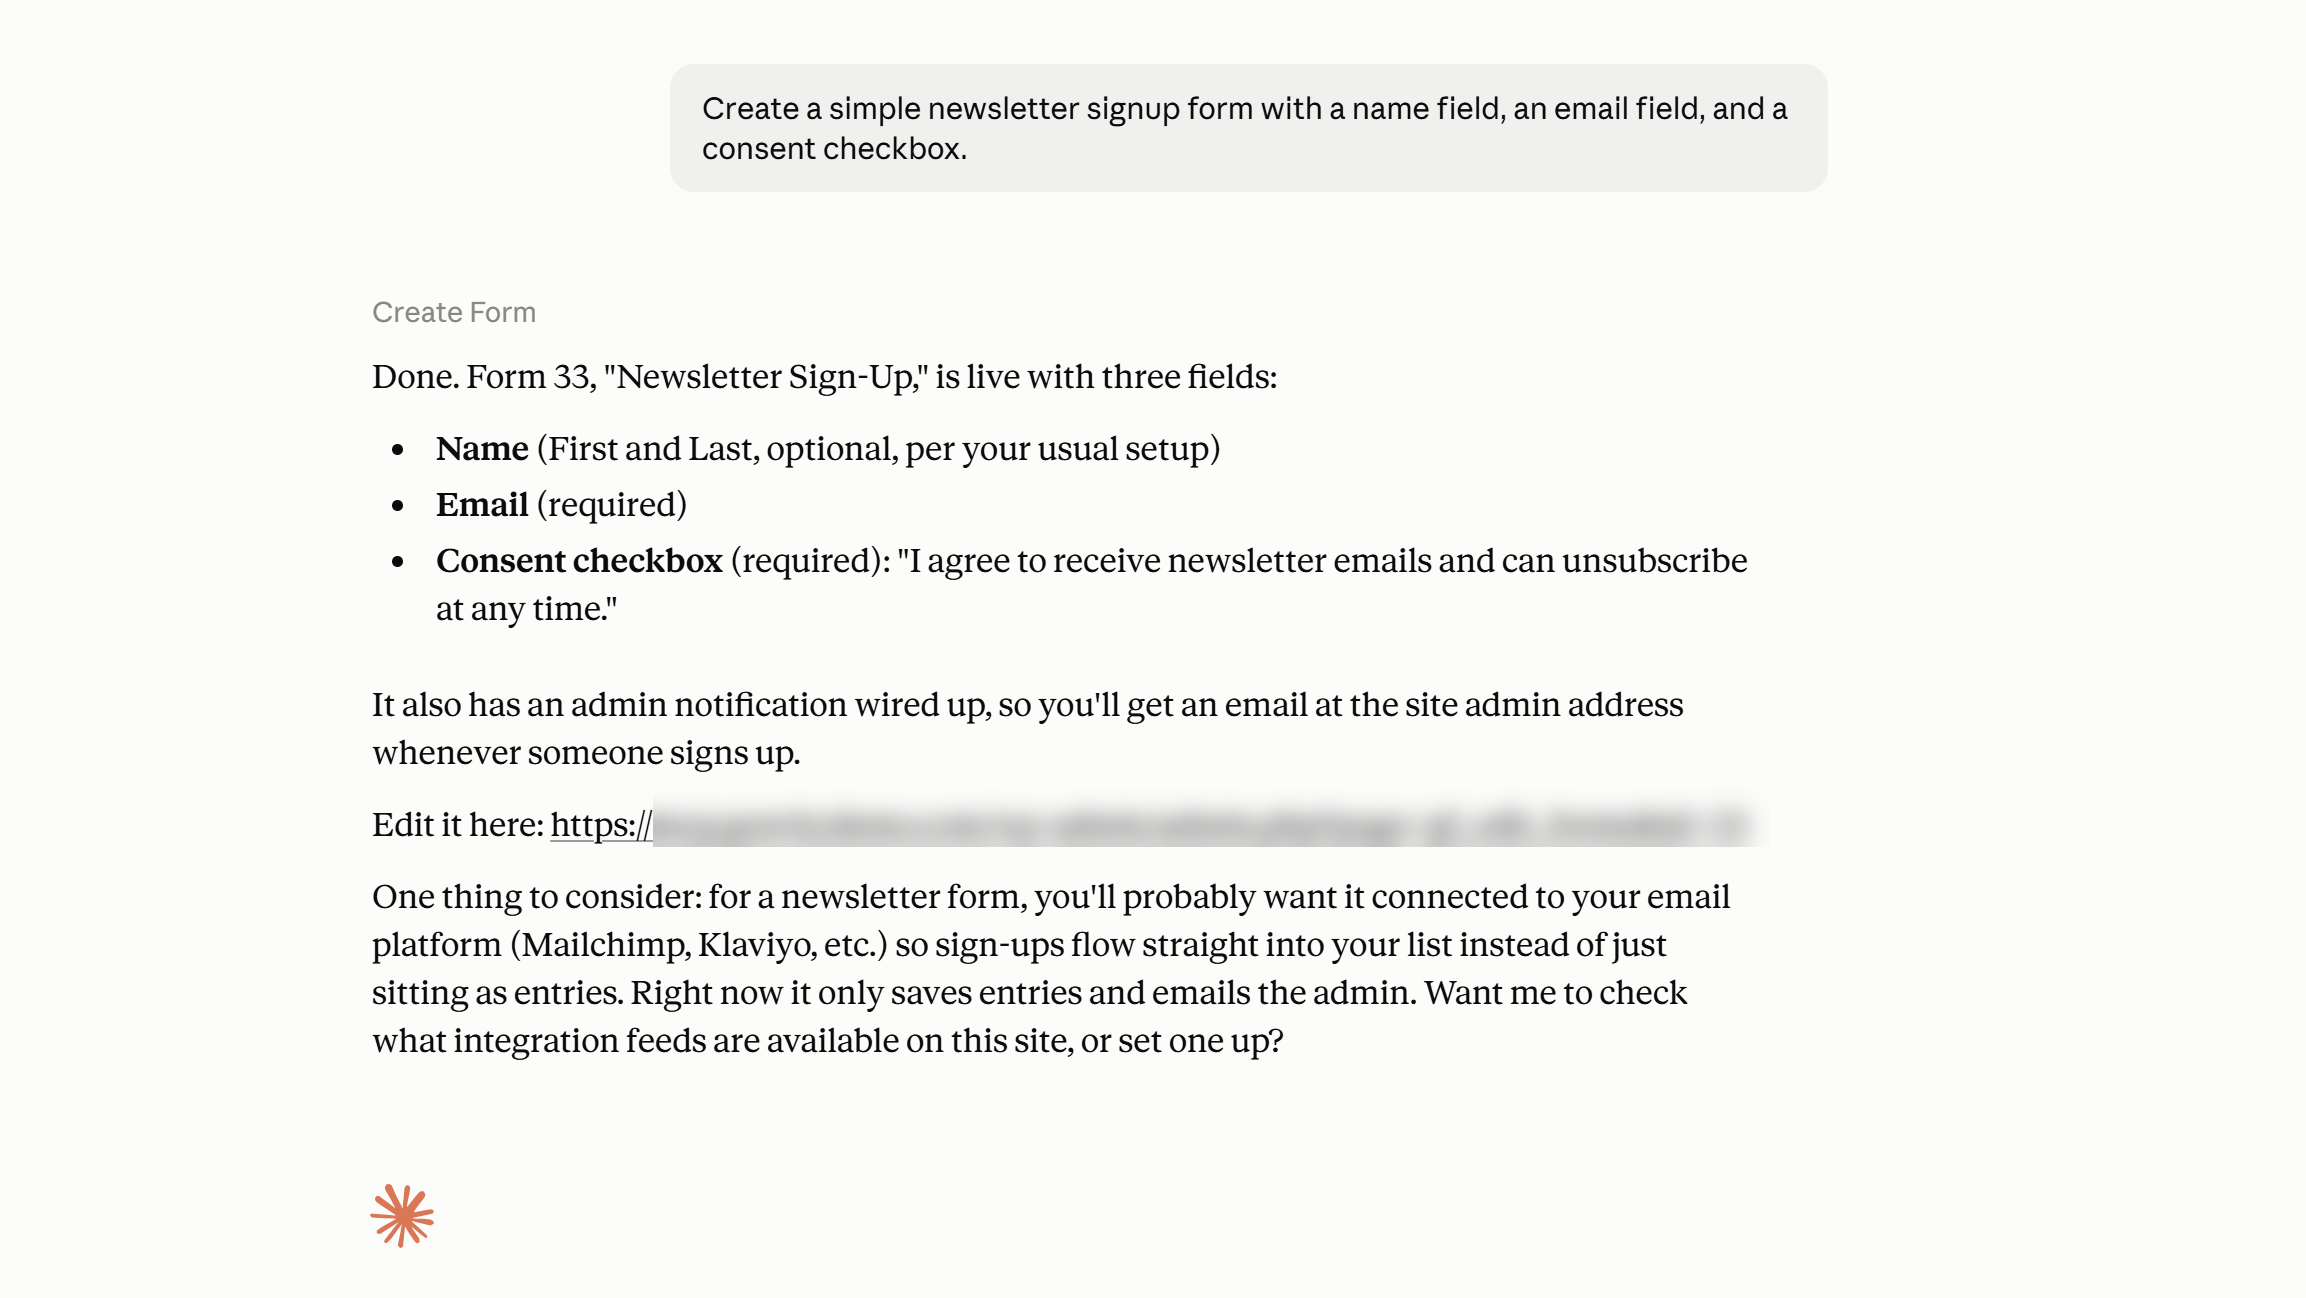
More advanced prompts
And when you want to see how far it goes, describe a whole form in one message, layout and all. This is the kind of build that would take you a good chunk of time in the form editor:
“Create a form called “Event Registration” for a corporate conference. Here’s how I want it laid out:
- First name and last name side by side.
- Email and phone number on the same row.
- Company name should take up about two-thirds of the row, with job title taking the remaining third.
- Add a dropdown for “T-Shirt Size” (S, M, L, XL, XXL) and a dropdown for “Dietary Restrictions” (None, Vegetarian, Vegan, Gluten-Free, Halal, Kosher), and put those two next to each other.
- Then I need three session preference dropdowns in a row, “Morning Session”, “Afternoon Session”, and “Evening Event”, each with choices like Workshop, Panel, Networking, and Skip.
- Add a full-width textarea for “Special Accommodations” and a full-width consent checkbox that says “I agree to the event terms and photo release policy.”
- Set up an admin notification on submission and a confirmation message that says “You’re registered! Check your email for details.”
That one description gives you the layout, the choices, the notifications, and the confirmation message.
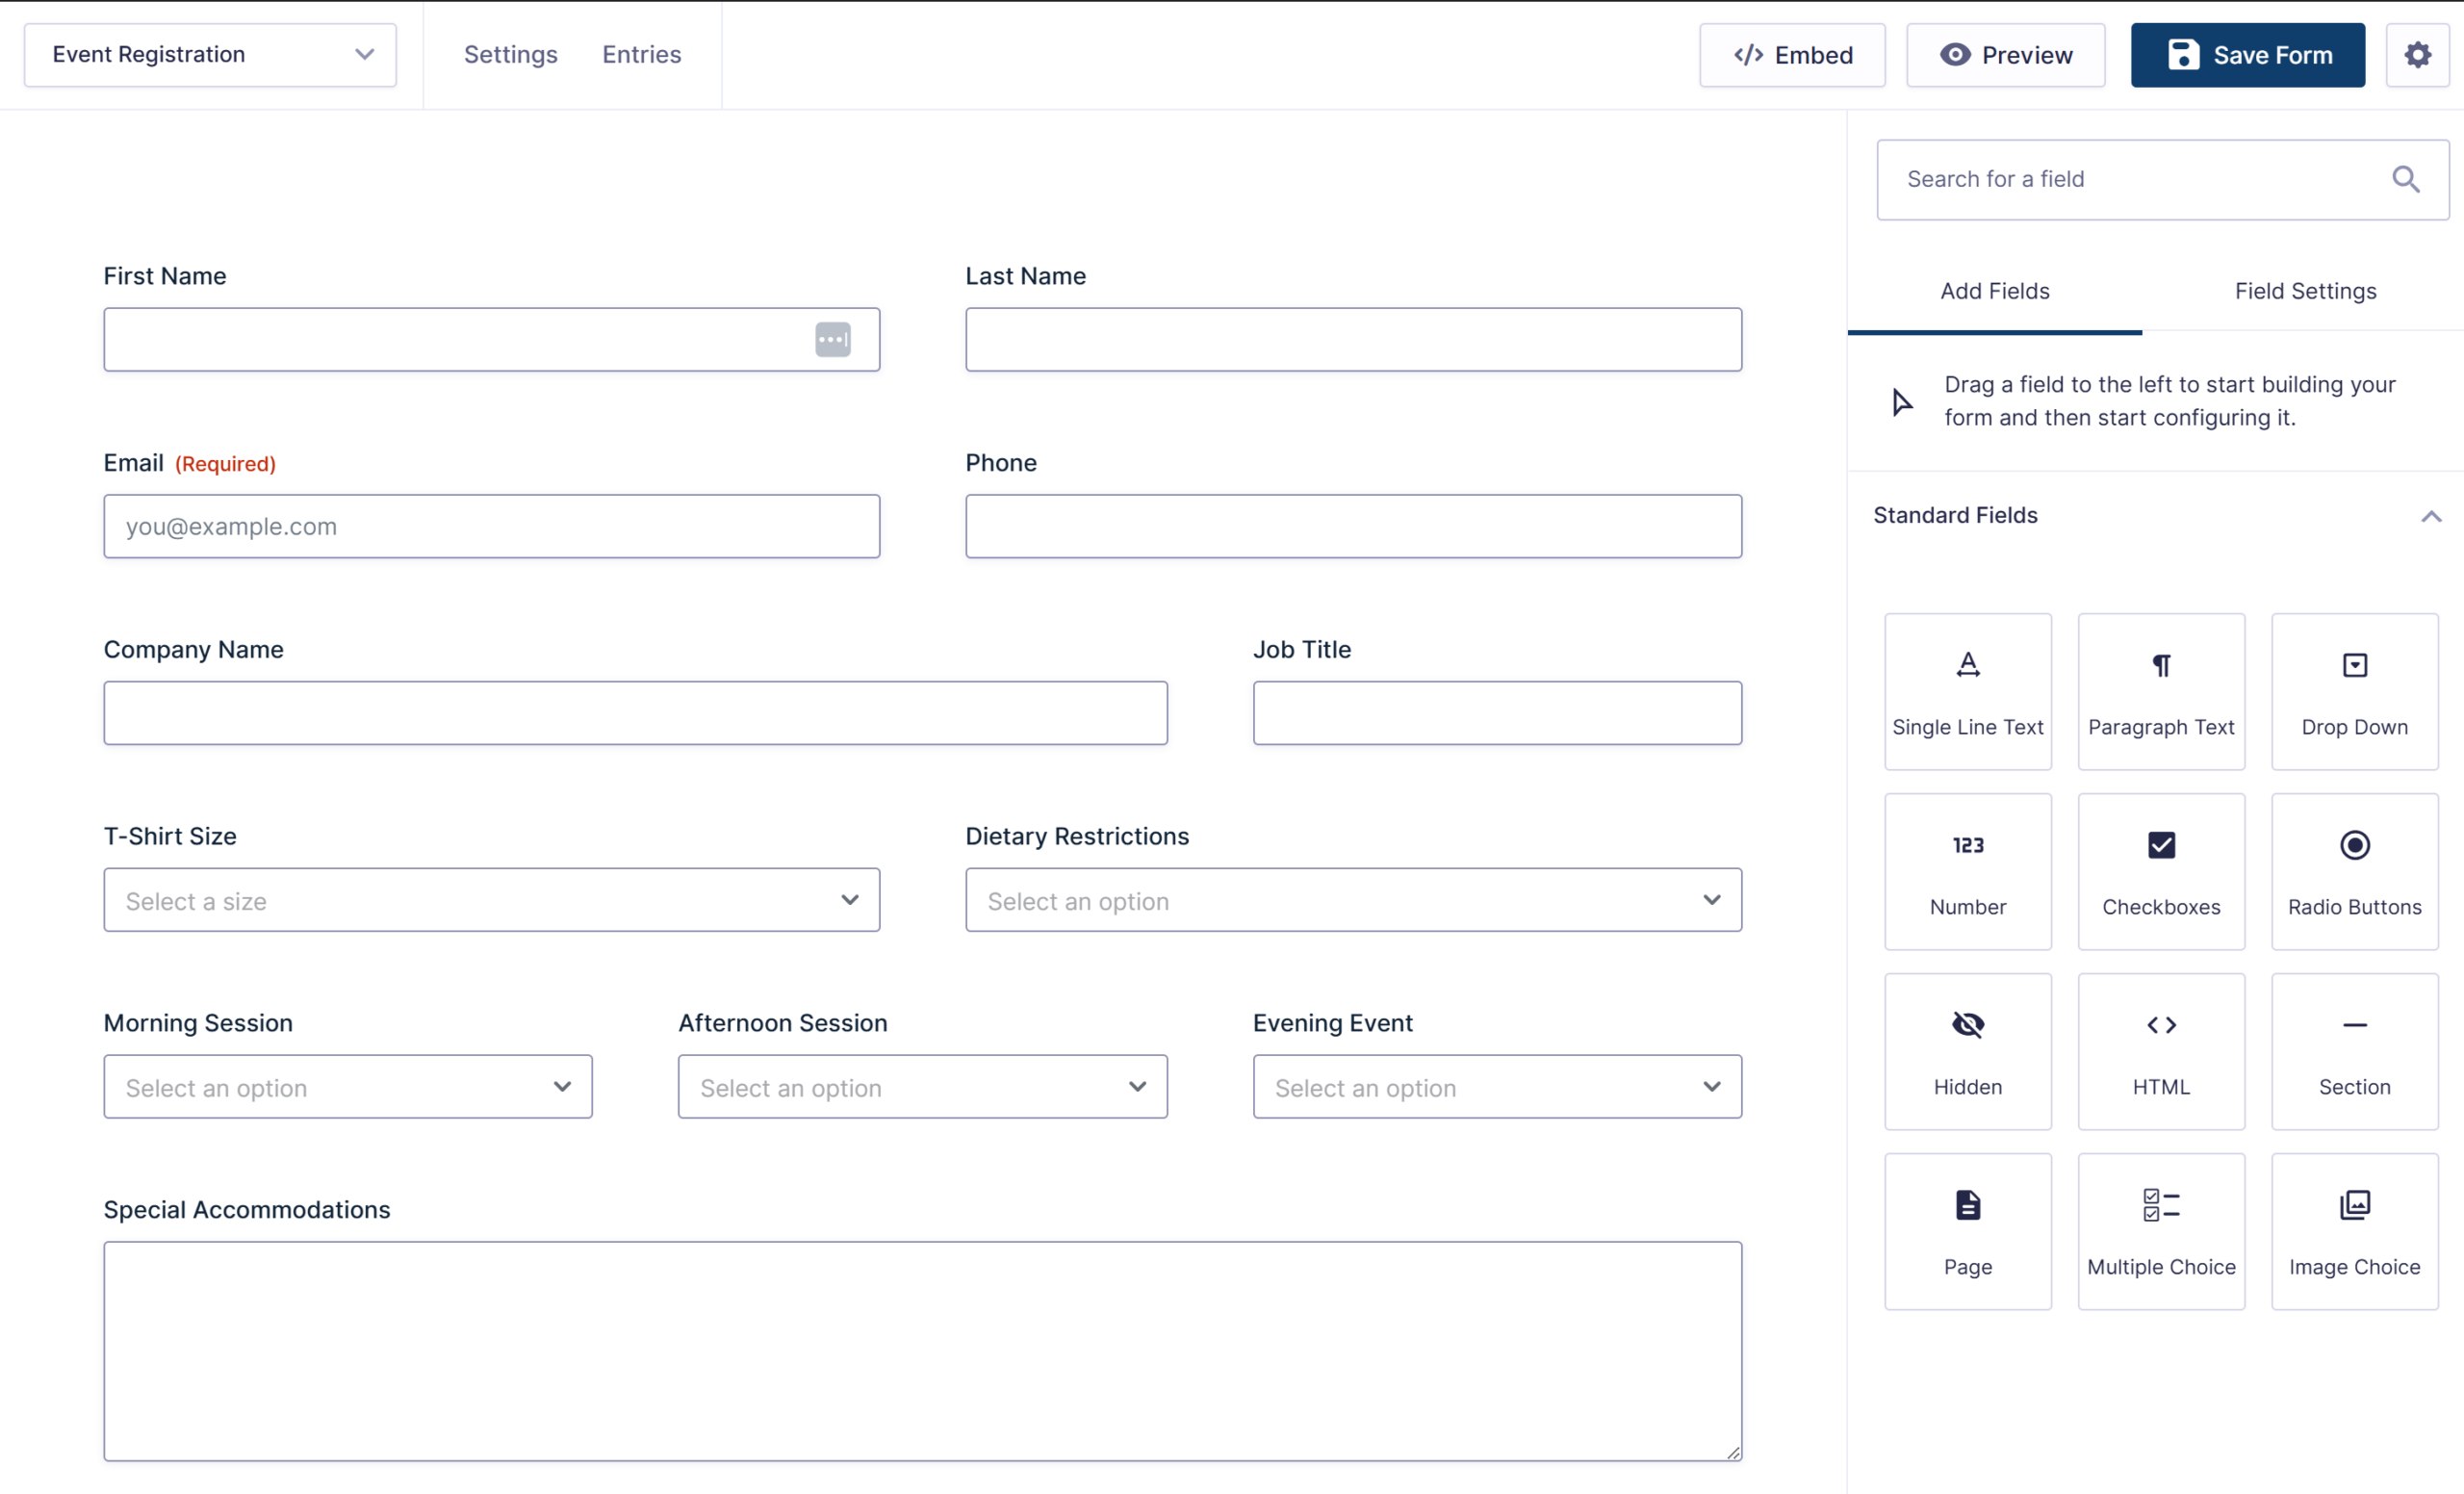
Change the details to suit whatever you’re building, whether that’s a school trip consent form, a volunteer sign-up, or a job application with file uploads for CVs and portfolios.
For more use cases and prompts, check out the documentation.
Get started with Gravity Forms MCP
Gravity Forms MCP is included in Gravity Forms 3.1 and is available with every Gravity Forms license: Basic, Pro, Elite, Nonprofit, and Developer.
For all active license holders, here’s how to get up and running...
- You’ll need WordPress 6.9 or higher on a self-hosted site, with Gravity Forms installed and active. WordPress.com isn’t supported at this time, and on older versions of WordPress the MCP settings will show as unavailable.
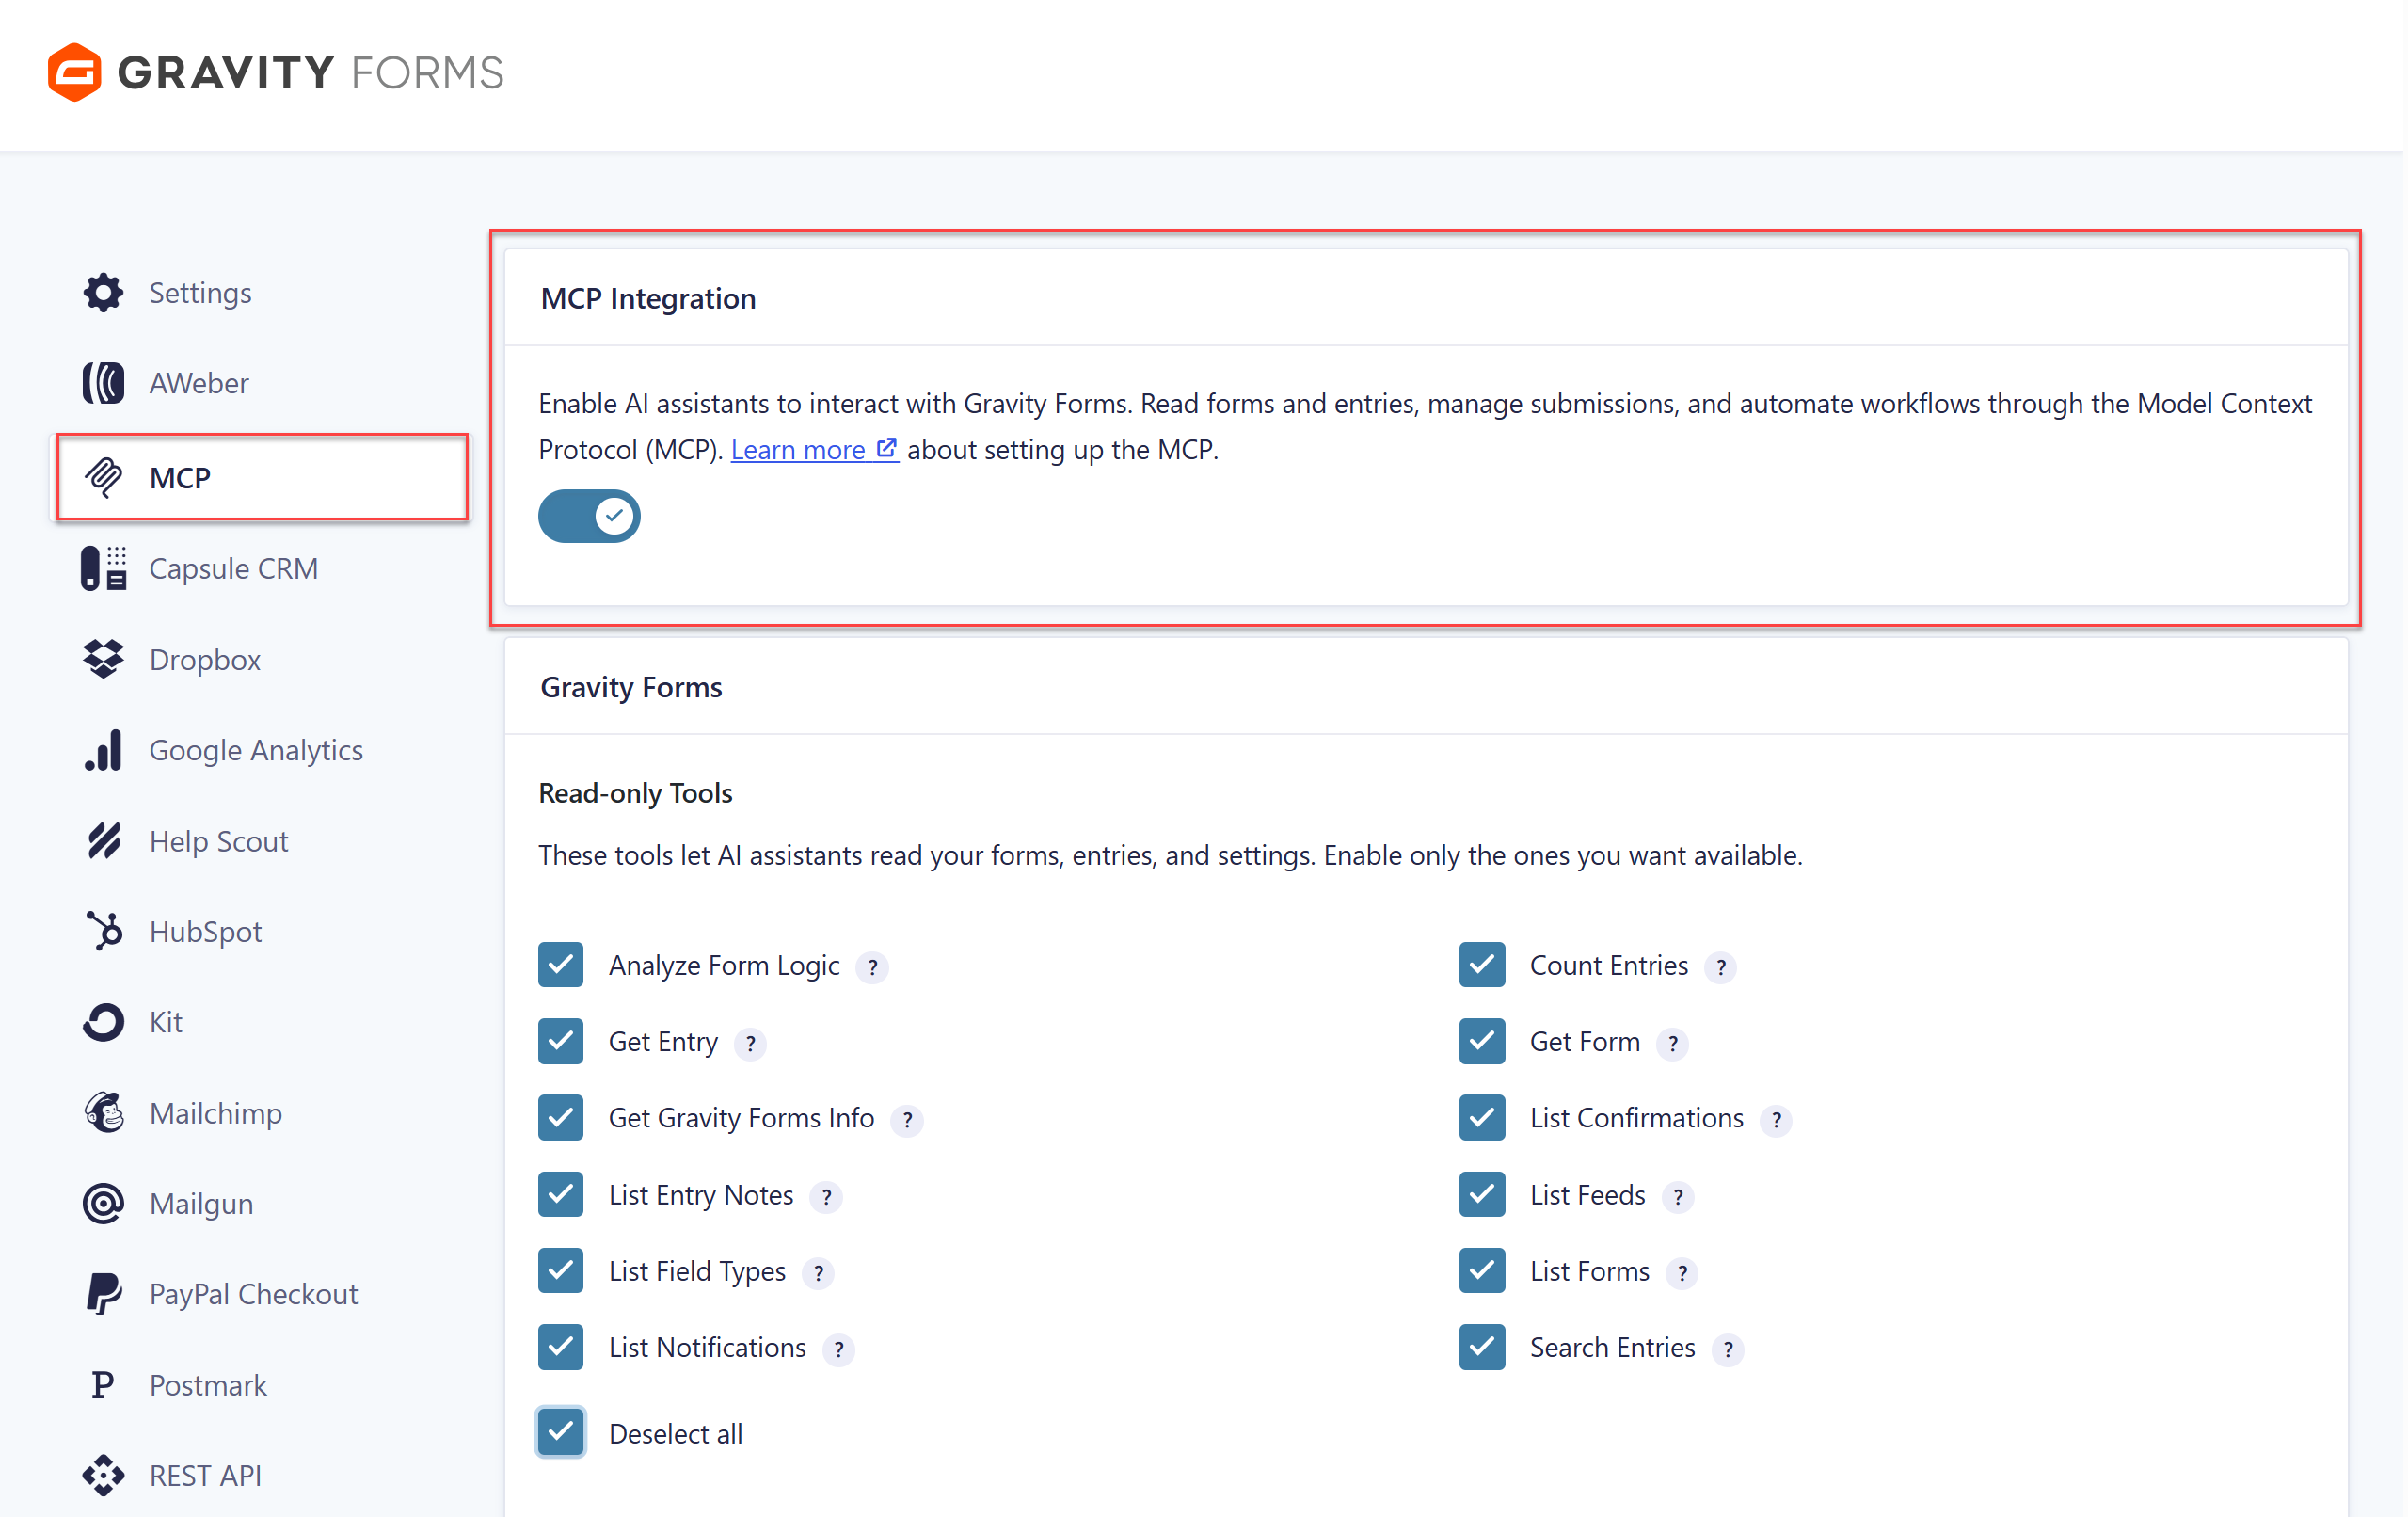
- Turn on the master Enable MCP toggle in your Gravity Forms MCP settings. The rest of the settings appear once you’ve saved.
- Turn on the individual tools you want your assistant to use. Read-only tools are the safe place to start, and write and destructive tools are best left switched off until you need them.
- Create an application password in WordPress for the connection. It’s only shown once, so save it somewhere safe. We recommend creating it on a dedicated user account that has only the capabilities the connection needs.
- Stick with the Dedicated Endpoint option unless you have a reason not to. It gives Gravity Forms its own direct connection, so your assistant can see every tool straight away.
- Download the agent skills file from your MCP settings and upload it to your assistant.
- Add your endpoint URL, username, and application password to your AI client’s configuration file, then restart the client. The documentation covers this for Claude Desktop, Claude Code, Cursor, and VS Code.
Note: AI assistants can make mistakes. Enable write access only when you need it, review any changes before you rely on them, and keep regular backups.
For more information, check out the Gravity Forms MCP documentation.
Update to Gravity Forms 3.1
Gravity Forms 3.1 is available now to all customers with an active license.
If you have automatic updates enabled, you’re all set. If not, open your WordPress dashboard, head to your plugins page, and click to update to version 3.1. You can also download the latest version from within your Gravity Forms Account.
Note: Caching and script optimization plugins or services can sometimes affect form functionality after an update. We recommend clearing your website, CDN, and browser caches once Gravity Forms 3.1 has been installed.
As always, if you have any questions about this release or need a hand getting your Gravity MCP Server connected, our friendly Support team is happy to help!
New to Gravity Forms? Head over to our pricing page to get started, or sign up for a personalized Gravity Forms demo to see it in action.
Gravity Forms 3.1 changelog
- Added the Abilities API integration.
- Added support for detecting links/URLs in supported fields. This includes Single Line Text, Paragraph, List, and Hidden fields with the No Links/URLs setting enabled, as well as Name, Address, and Phone fields using the International (unformatted) format. When a link or URL is detected, the field can fail validation, or, if the Advanced Honeypot is enabled, the submission can be flagged as spam.
- Fixed performance issue on product forms with large number of radio option fields.
- Fixed format of tooltip on field Visibility setting.
- Fixed an issue with Option field pricing labels that can be displayed incorrectly when field is hidden/shown with conditional logic.
- Updated the minimum WordPress version (for support) on the System Status page to 7.0.
- Renamed the Honeypot to Advanced Honeypot.
- API: Fixed an issue where the draft submission is not saved when using
GFAPI::submit_form()with$input_values['gform_save']set and the honeypot is enabled.

Newsletter
If you want to keep up-to-date with what’s happening on the blog sign up for the Gravity Forms newsletter!
"*" indicates required fields