With Gravity Forms, it only takes a couple minutes to create a powerful, lead generating contact form. Find out how in this video tutorial.
Contact forms are great for lead generation and are super easy to build with Gravity Forms.
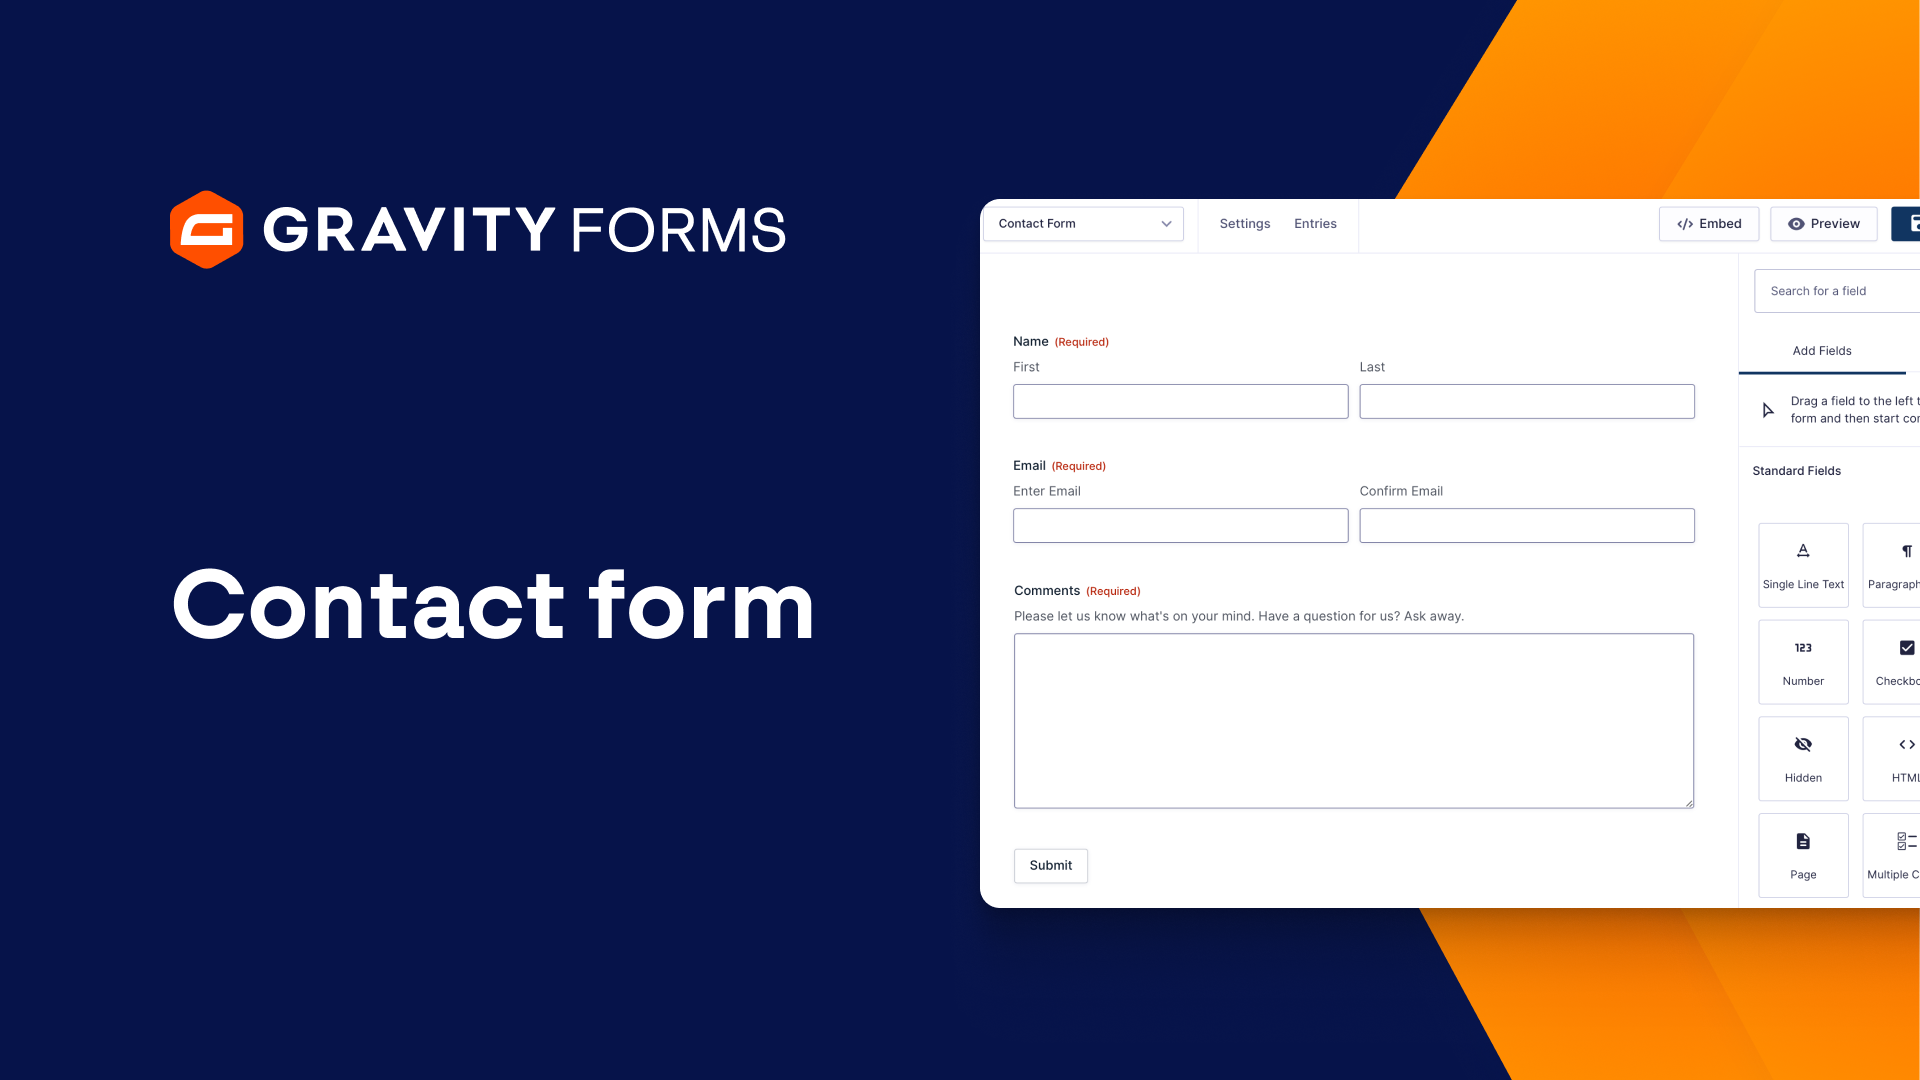
In this video, we’re going to show you how to build a simple contact form in under two minutes.
Using the drag and drop form editor, I’m going to add the fields that I want this form to have.
Under the ‘Advanced Fields’ section, I’ll add a Name, Email, and Phone field.
I’ll use the field settings panel to set the Name and Email fields to ‘required’, so that these fields have to be filled out before the form is submitted.
Next, under Standard Fields, I’ll add a Single Line Text and Paragraph Text field so that the user can enter their subject and message.
I’ll set these fields to required and add a description to them so that the user knows what information to put in each field.
Finally, I am going to add a CAPTCHA field to help prevent bot spam.
After I save my form, I’m going to go to the form settings and set up the confirmations and notifications for this form.
I’m first going to edit the default confirmation message the user will see when they submit the form to something more personalized.
Next, I’m going to set up a notification message to be sent to my email address whenever this form is submitted.
I want to make sure this message includes information submitted on the form.
Once I save, I can embed the form on a WordPress page or post and it is good to go.
Once you’ve got your contact form added to your site, you’re ready to start collecting and managing leads.
For more Gravity Forms tutorials, check out our video library.
From everyone on the Gravity Forms team, thanks for watching.
Summary
Contact forms are a great way to generate leads and are easy to create with Gravity Forms. In this video, we’re going to show you how to build a simple contact form in under two minutes.