Video Tutorial
Building a Payment Form with PayPal

Gravity Forms makes it easy to set up one time or recurring payments for your business.
Let’s take a quick look at how to build a payment form using the Gravity Forms PayPal Checkout Add-On.
To get started, I’m going to create a new form.
With the Form Template Library, you can use and customize a pre-existing form, or create your own form from scratch.
Then, from within the form editor, I’m going to add a product field for the item I am selling.
I’ll then use the Field Settings to update the name and price of my product.
Since my product comes in multiple colors, I’m going to add an Option field so that the user can select the color they want.
My product normally comes in black or white, but the user can select other colors for an additional fee.
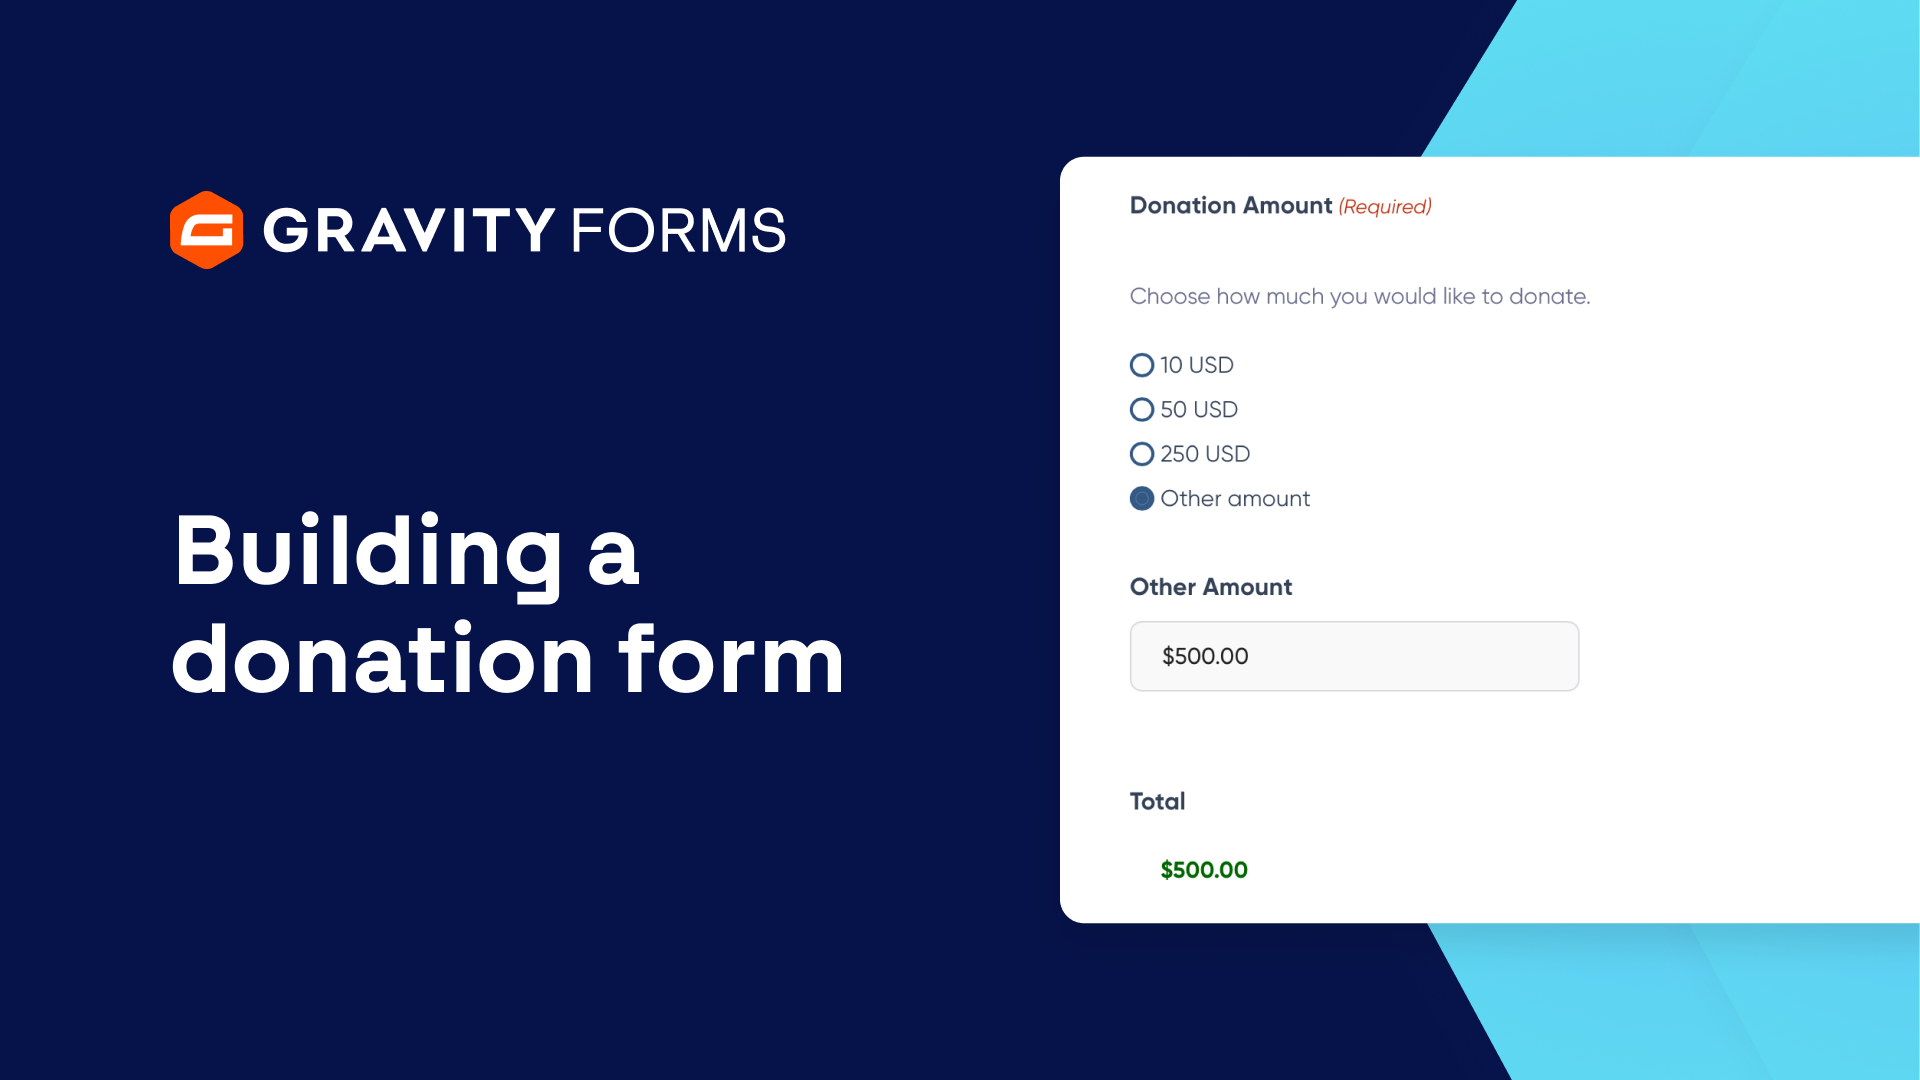
I’ll then add a Total field so that the user can see the subtotal of their order before the shipping fee is added.
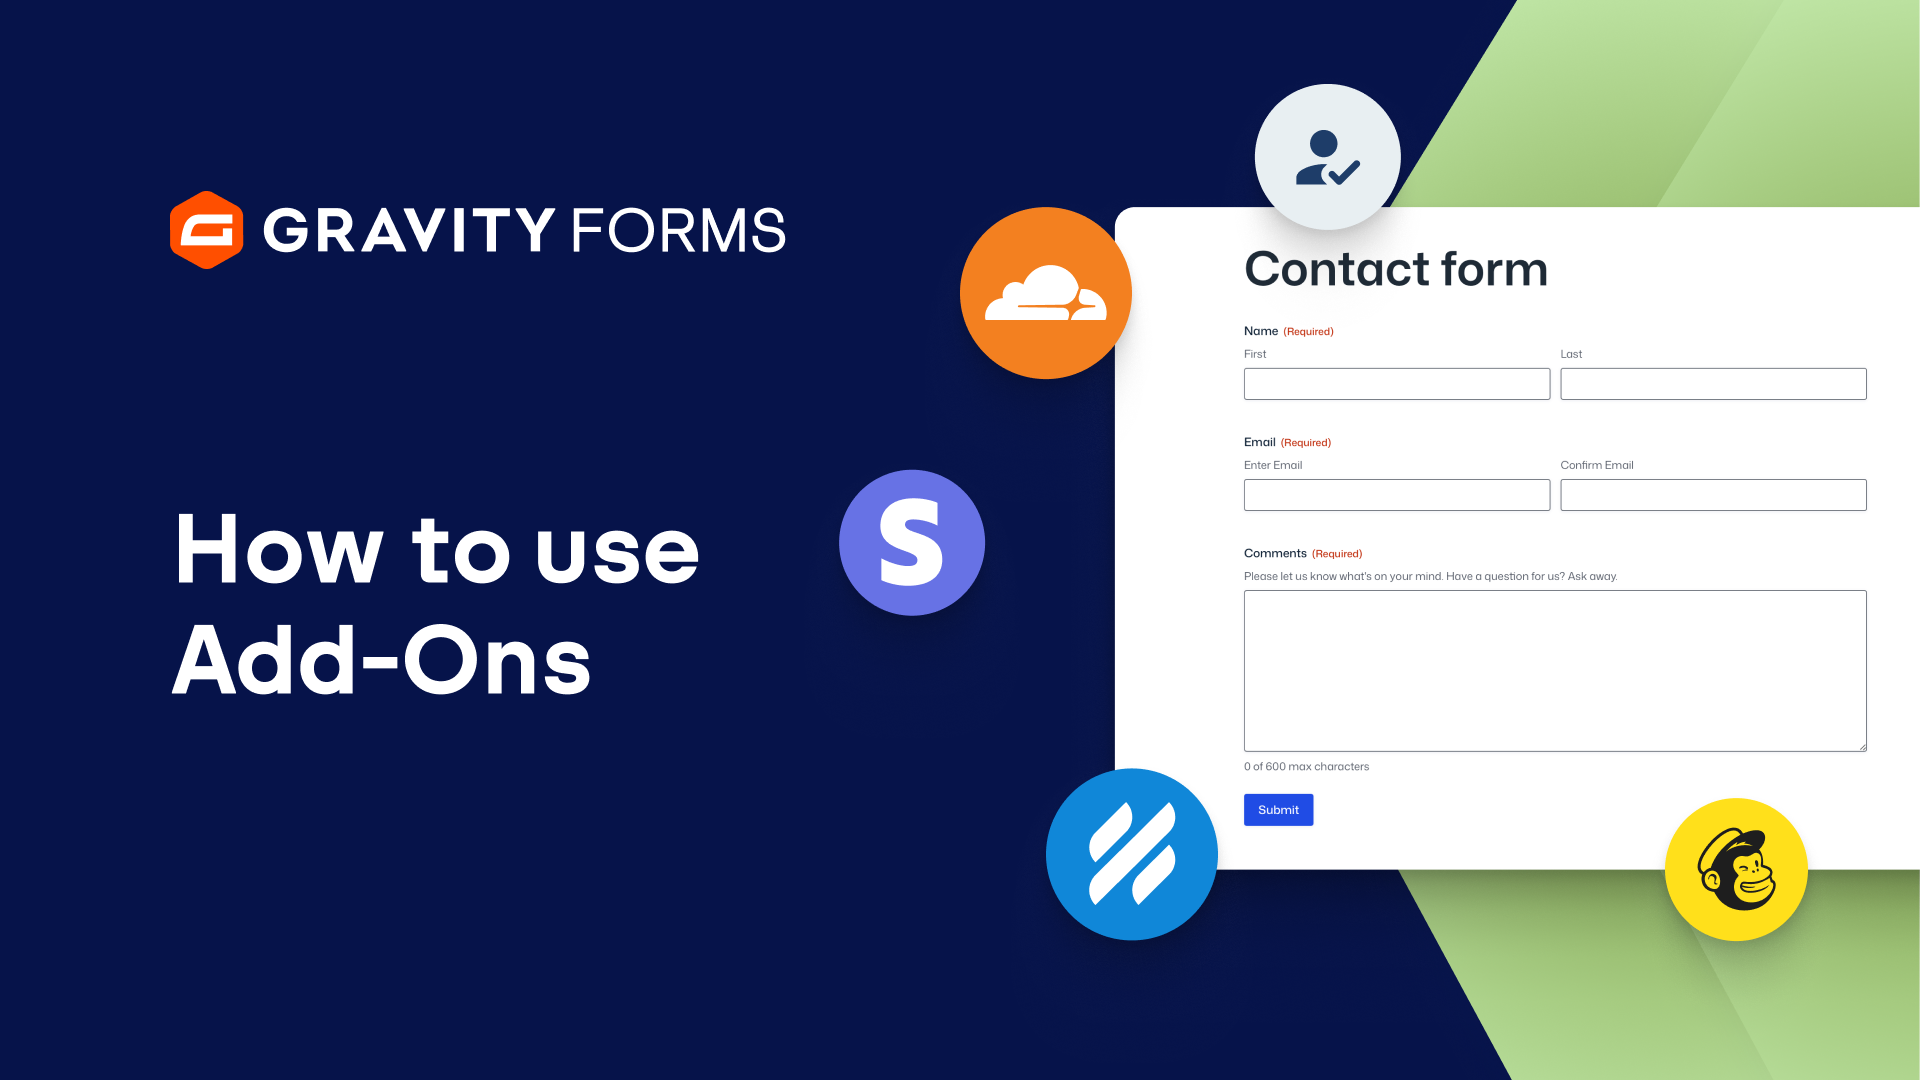
Next, I’ll add a Name field, Email field, and Address field to collect the user’s contact and billing information.
I’m going to duplicate the Billing Address field to create the Shipping Address field.
Within the field settings, I’m going to display the option to use the values submitted in the Billing Address field and set this choice to be active by default.
Now, when a user fills out this form, a checkbox will appear by default below the Shipping Address indicating that it is the same as the Billing Address.
I’m then going to add a Shipping field, set the Field Type to Drop Down, and use the Edit Choices flyout to enter my shipping options.
I’ll also add another Total field, so that the user can see the final price of their order, including shipping.
Next, I need to add a payment option.
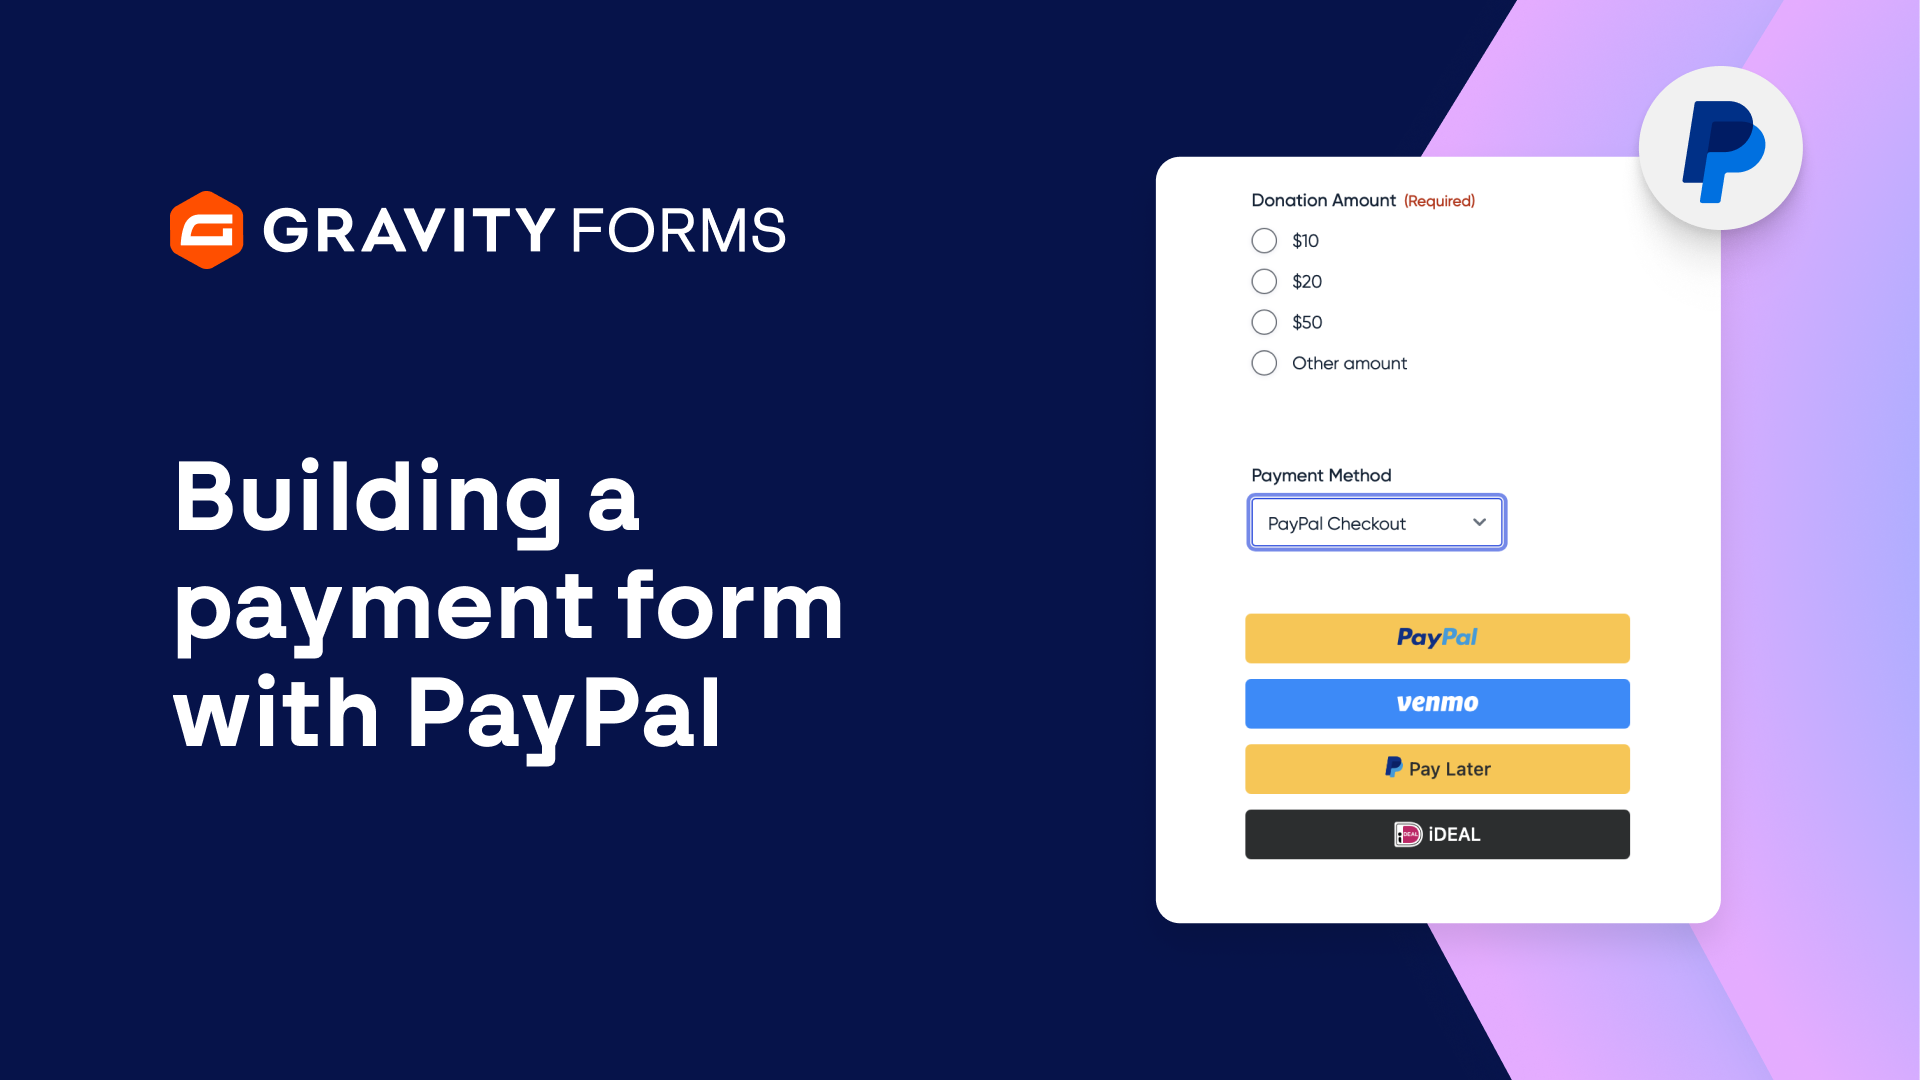
The Gravity Forms PayPal Checkout Add-On lets you easily integrate your forms with PayPal.
To get started with it, you need to first install the add-on and sync it with your PayPal account.
Once set up, I can add a PayPal field to my form and use the Field Settings to configure the Supported Payment Methods, Default Payment Method, and Supported Credit Cards.
I’m also going to customize the appearance of the PayPal Smart Payment Buttons, which will replace the Submit button on my form.
Finally, I’d like to make my form more accessible to users by making it a multi-page form.
Multi-page forms are a great way to help your forms appear less daunting to the user, by spanning the content across several pages.
I’ll save my changes and see how my form looks on a page.
Everything looks great!
The form is divided into three pages, and with the Gravity Forms PayPal Checkout Add-On, taking payments is a breeze.
For more Gravity Forms tutorials, check out our Video Library.
From everyone on the Gravity Forms team, thanks for watching.
Summary
Gravity Forms makes it easy to set up one time or recurring payments for your business. In this video, we take a look at how to integrate your forms with PayPal using the Gravity Forms PayPal Checkout Add-On.