
Mollie is ideal for any website that takes online payments. Its broad range of features, ease of use, and stringent security, make Mollie a good fit for all – from small neighborhood businesses to large websites with a global customer base.
In this article, we’ll talk about Mollie, the features it offers, and who should consider using it. We’ll also show you how to sync Gravity Forms with Mollie, so you can take full advantage of this integration.
Mollie: An Introduction
Mollie is a European payment processor with headquarters in Amsterdam and used by more than 110,000 customers throughout Europe.
Mollie is used by both businesses small and large. It’s feature-rich, easy to use, and integrates with your website, easily facilitating accepting and managing online payments.
Some of the advantages of using Mollie to accept online payments include:
- One contract and one integration for all payment methods — Mollie allows you to access all major payment methods through a single contract.
- All major payment methods accepted — you can accept all major credit cards such as Visa, MasterCard, American Express, and Maestro.
- Quick setup — create a free Mollie account, connect it with Gravity Forms, and start taking payments on your website.
- Easy to use dashboard — Mollie dashboard allows you to find details about any order. You can filter by order number, customer name, amount paid, and more thanks to powerful, built-in filters.
- One time payments — with Mollie, you can accept one time payments for your products and services.
- No hidden fees — with Mollie, you only pay for successful transactions. And fees range from €0.10 – €1.00.
- Security — Mollie takes security seriously, employing a Three Lines of Defence model. As a part of that model, independent Compliance and Audit officers regularly review Mollie’s internal structures to ensure security. On top of that, they are fully PCI-DSS Level 1 certified which means all sensitive information is encrypted and secure.
Mollie And Gravity Forms: Are They Right For Your Business And Website?
The Gravity Forms Mollie Add-On is available with our Pro and Elite licenses, and enables you to sync your forms with your Mollie account.
If you’re wondering if Mollie is right for you, here are a few use cases for using Gravity Forms and Mollie to accept payments on your website:
- Sell physical and digital products — if you sell a handful of products, there’s no need for a complex eCommerce plugin. You can accept payments using Gravity Forms and the Mollie Add-On.
- Sell tickets for an online event — another way to use Gravity Forms and Mollie is to sell tickets for an online conference, meetup, or an event. You can take payments as well as register attendees and collect all the necessary information you need to make your event a success.
- Accept payments for services — if you’re a service provider, you can use Gravity Forms to create in-depth client questionnaires and you can also immediately get paid for your services thanks to the Mollie Add-On integration.
- Take donations for your non-profit organization — if you run a non-profit organization, you can use Mollie to accept donations on your website.
- Charge for virtual workshops — with more and more businesses looking to move their operations online during a pandemic, you can use Mollie to charge for virtual workshops for your clients and customers.
Now that we’ve covered how you can use Gravity Forms and Mollie to take payments on your website, let’s go through the setup process.
Get Started With Gravity Forms And Mollie
To use Gravity Forms and Mollie, you’ll need an active Gravity Forms Pro or Elite license and a Mollie account. You’ll also need an SSL certificate to ensure the information captured by your payment form is safe, secure, and encrypted.
With that out of the way, let’s go through the steps necessary to integrate Mollie with Gravity Forms.
Step 1: Install Gravity Forms
If you don’t already have Gravity Forms, the first step will be to install the plugin on your WordPress website. As mentioned earlier, you’ll need a Pro or an Elite license so keep that in mind when purchasing Gravity Forms.
Once you’ve purchased the Gravity Forms plugin, download the zip folder with the plugin files from your account area. Save it to your computer.
Login to your WordPress dashboard and then go to Plugins > Add new > Upload. Press the Choose File button and locate the Gravity Forms plugin folder on your computer.
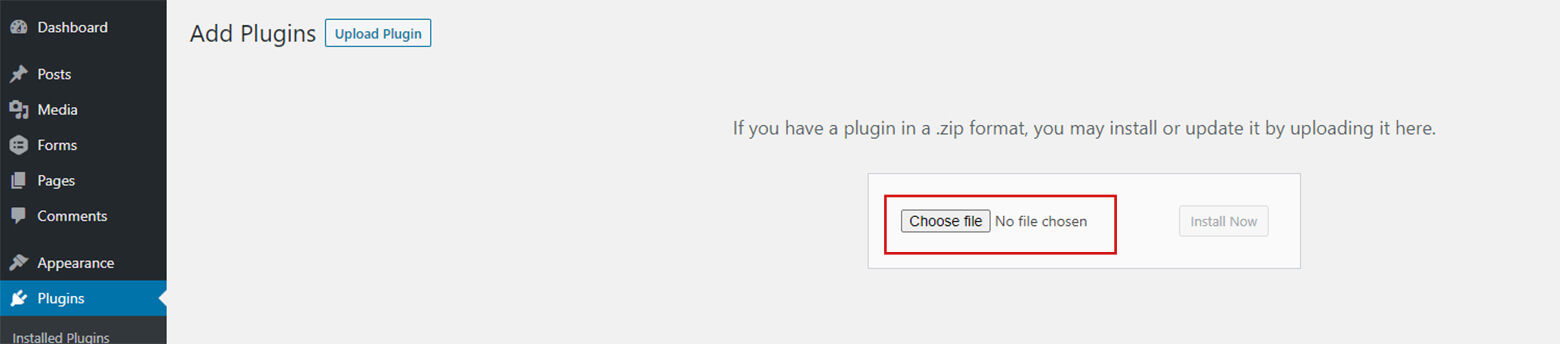 Select it and then press Install Now. Once the plugin has been installed and activated, follow the instructions to register the plugin with Gravity Forms.
For more information on how to get started with our plugin, check out this video tutorial – How to Install Gravity Forms on Your WordPress Website.
Step 2: Import A Payment Form Template
Now that your Gravity Forms plugin is active, you need a payment form that you’ll use to accept payments with Mollie. The good news is that you don’t have to start from scratch. You can import a premade form template from our template library.
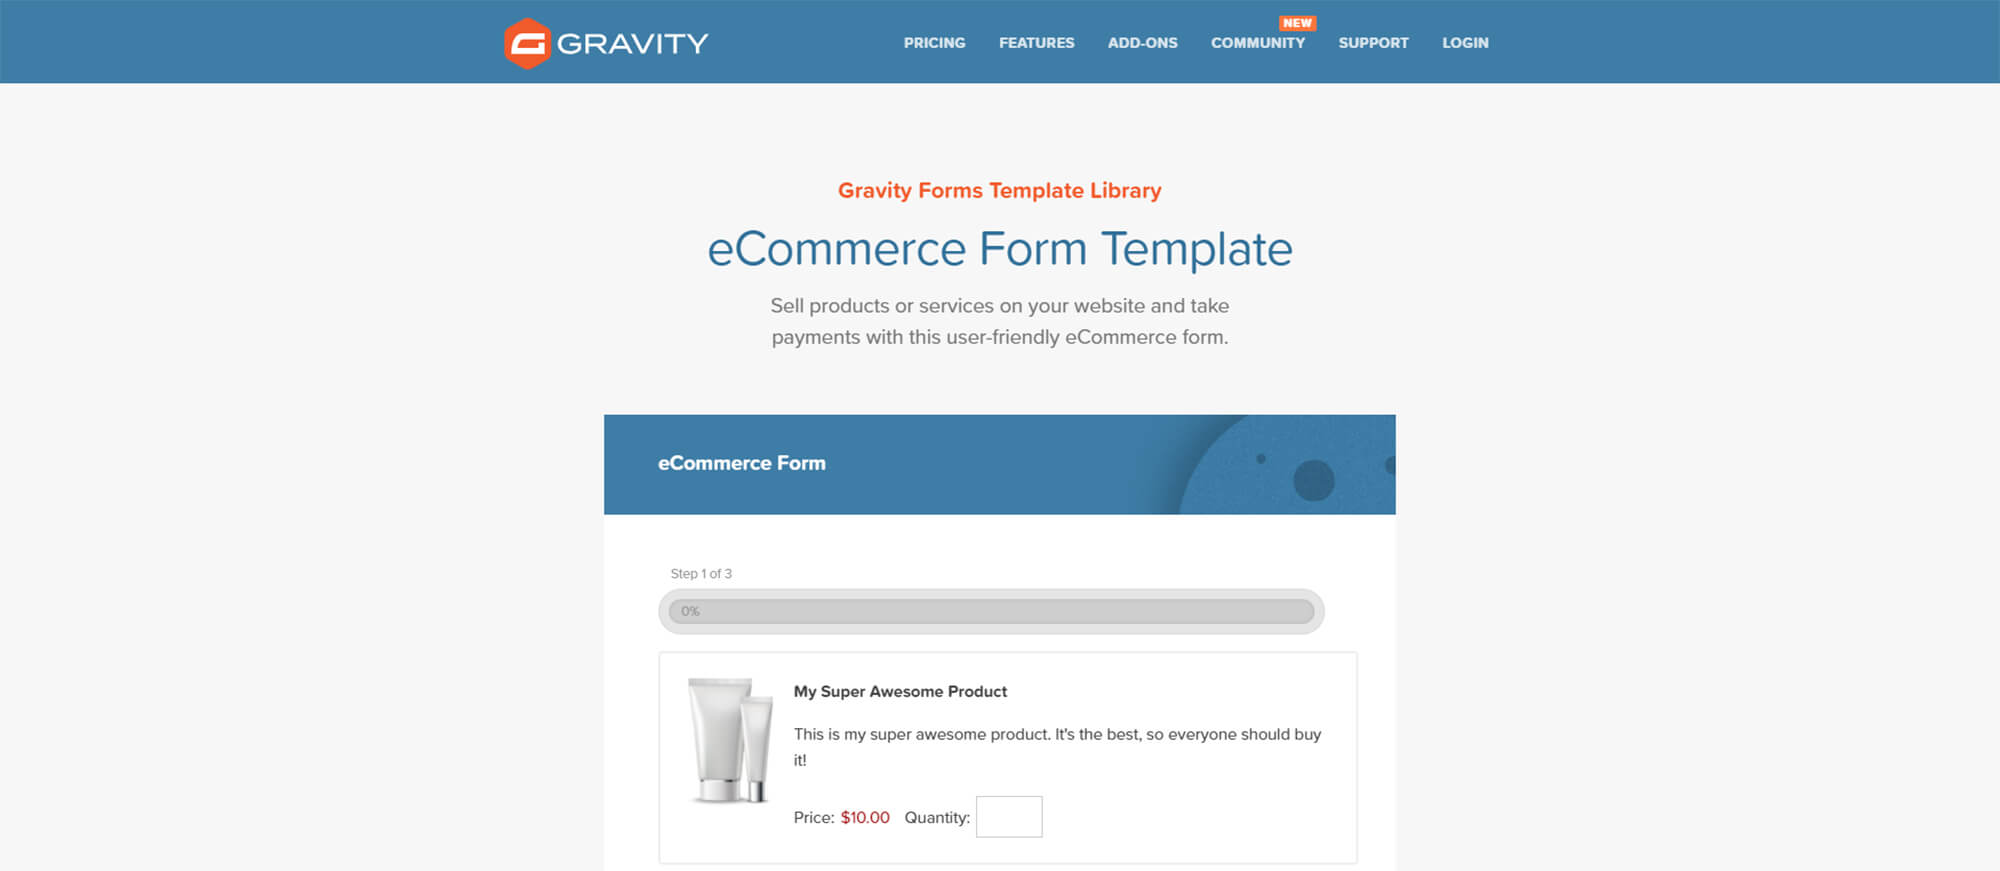 To import the template, download it from our template library and save it onto your computer.
Then, in your WordPress dashboard, go to Forms > Import/Export. Click on Import Forms and select the form template in the .json format. Click Import.

For more information on how to start selling products online with our free eCommerce form template, check out this article – Starter Guide: How to Sell Products On Your WordPress Website.
Step 3: Install And Configure the Mollie Add-On
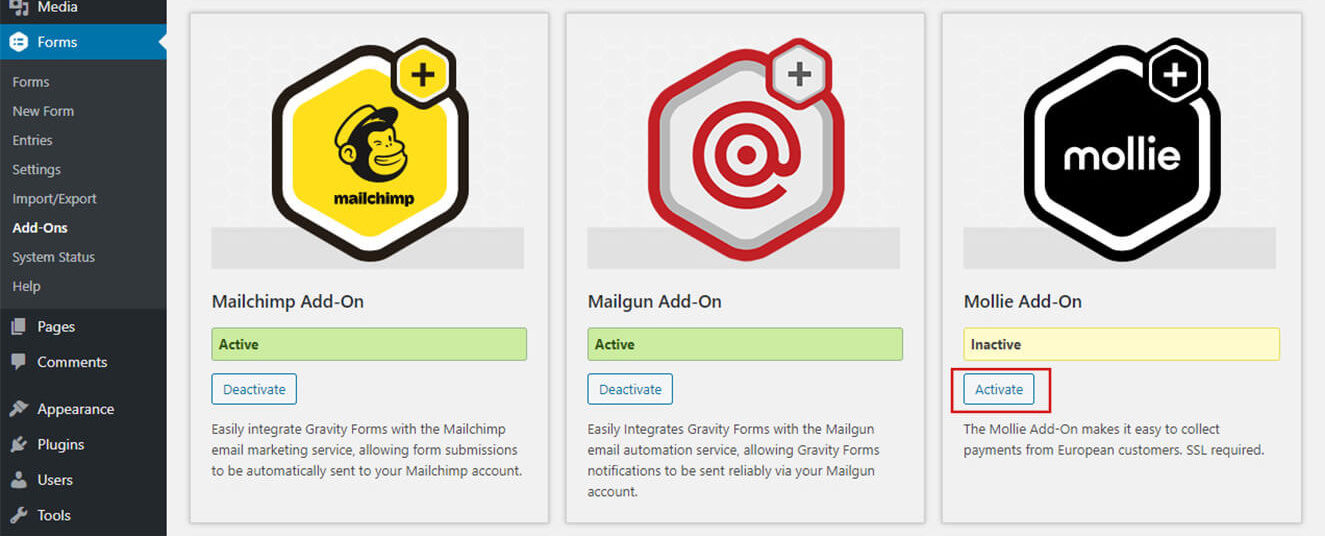
The last step is to install and configure the Mollie Add-On. Go to Forms > Add-Ons and scroll down until you see the Mollie Add-On. Click on Activate.
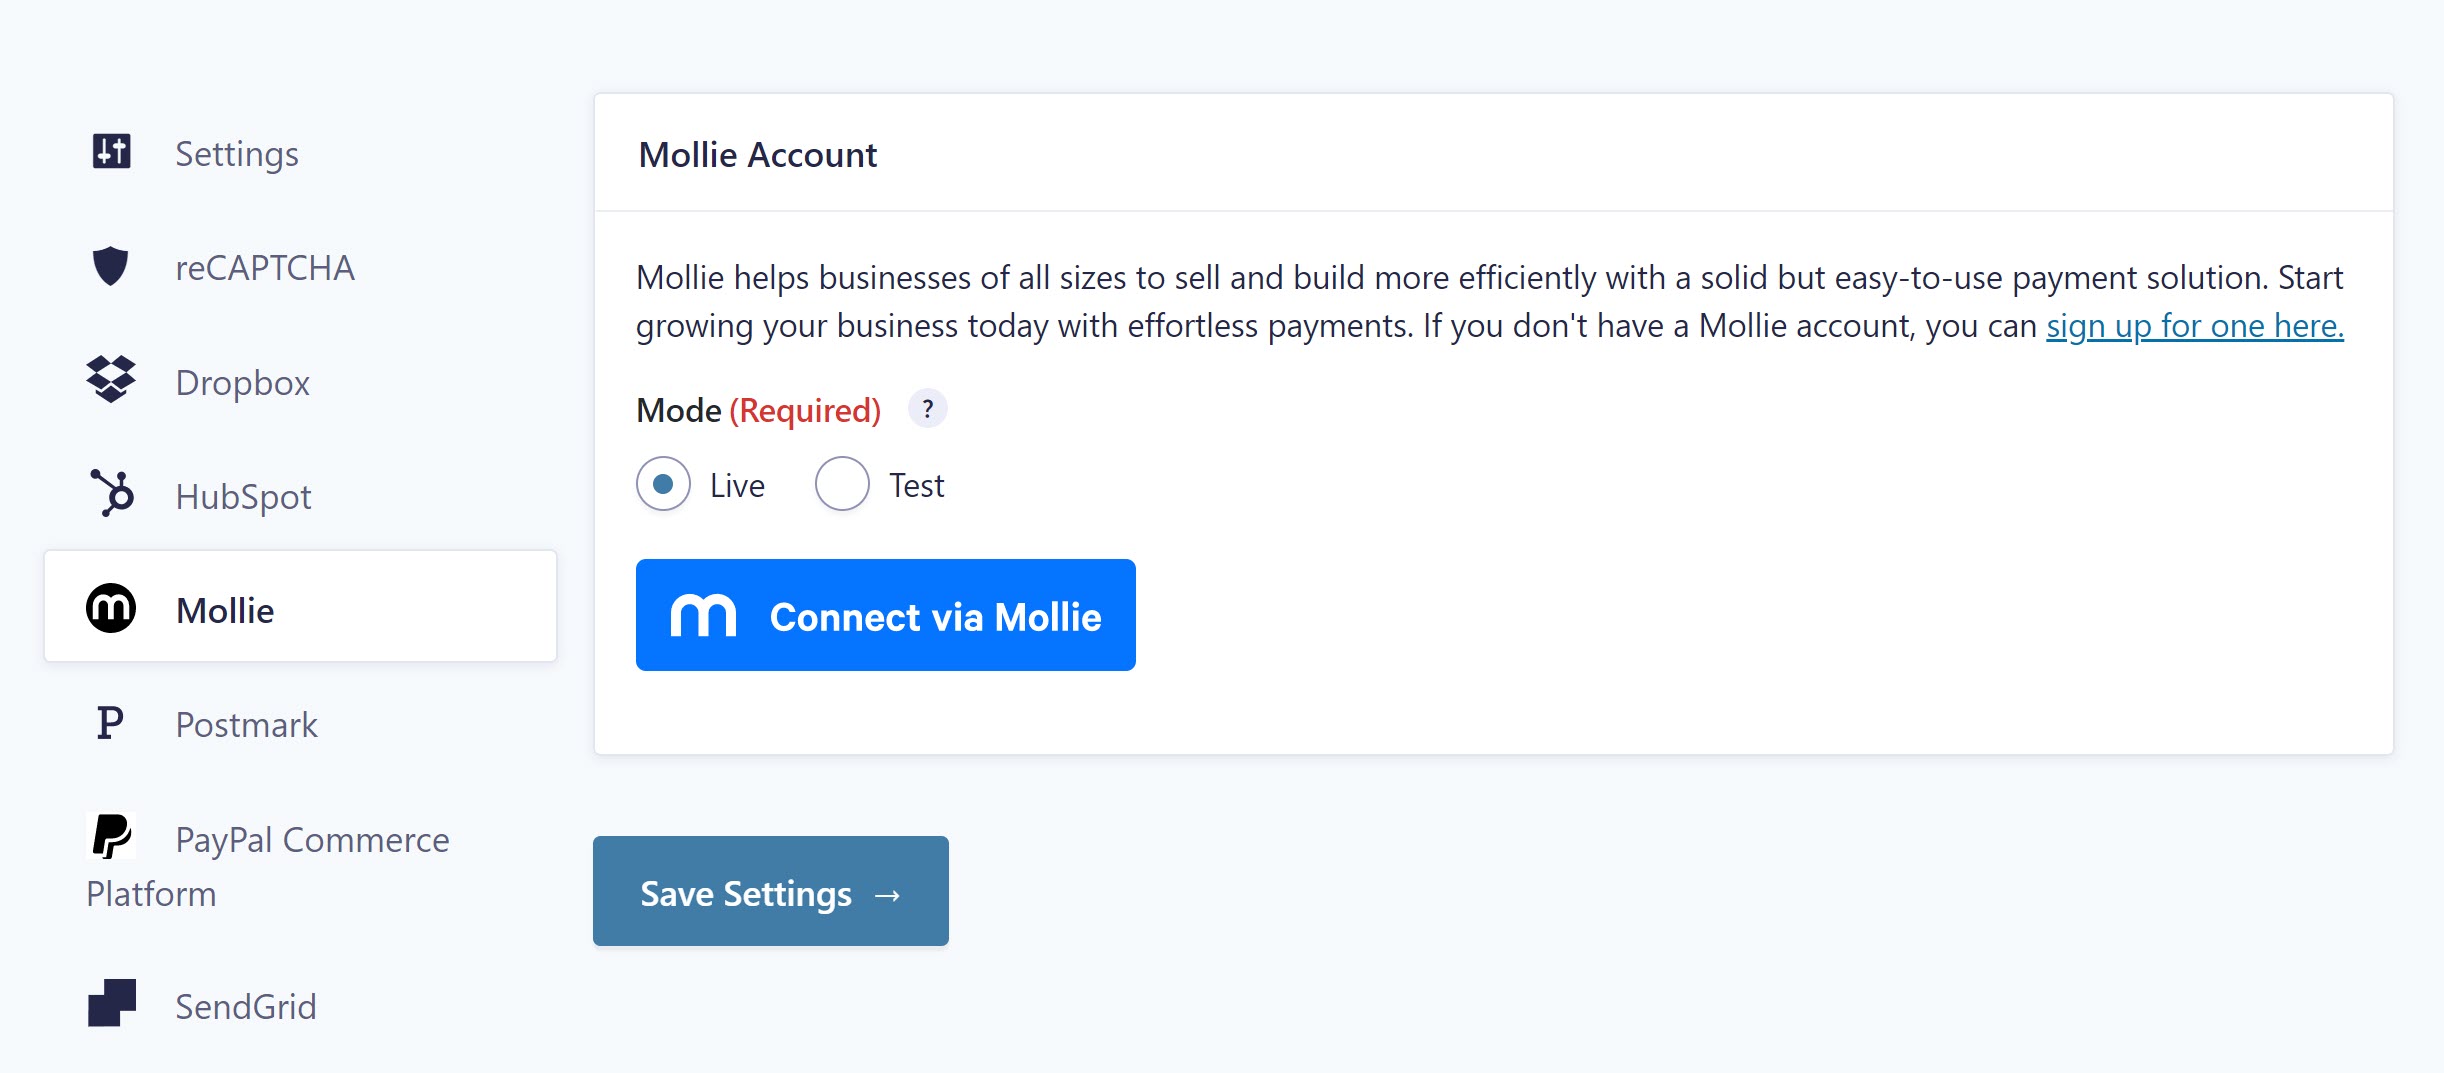
 Once the Mollie Add-On has been activated, go to Forms > Settings > Mollie. On this page, you’ll need to connect your Mollie account with your WordPress website.
You’ll also need to choose between Live and Test mode. Keep in mind that as soon as you set the mode to Live, payments will go through.
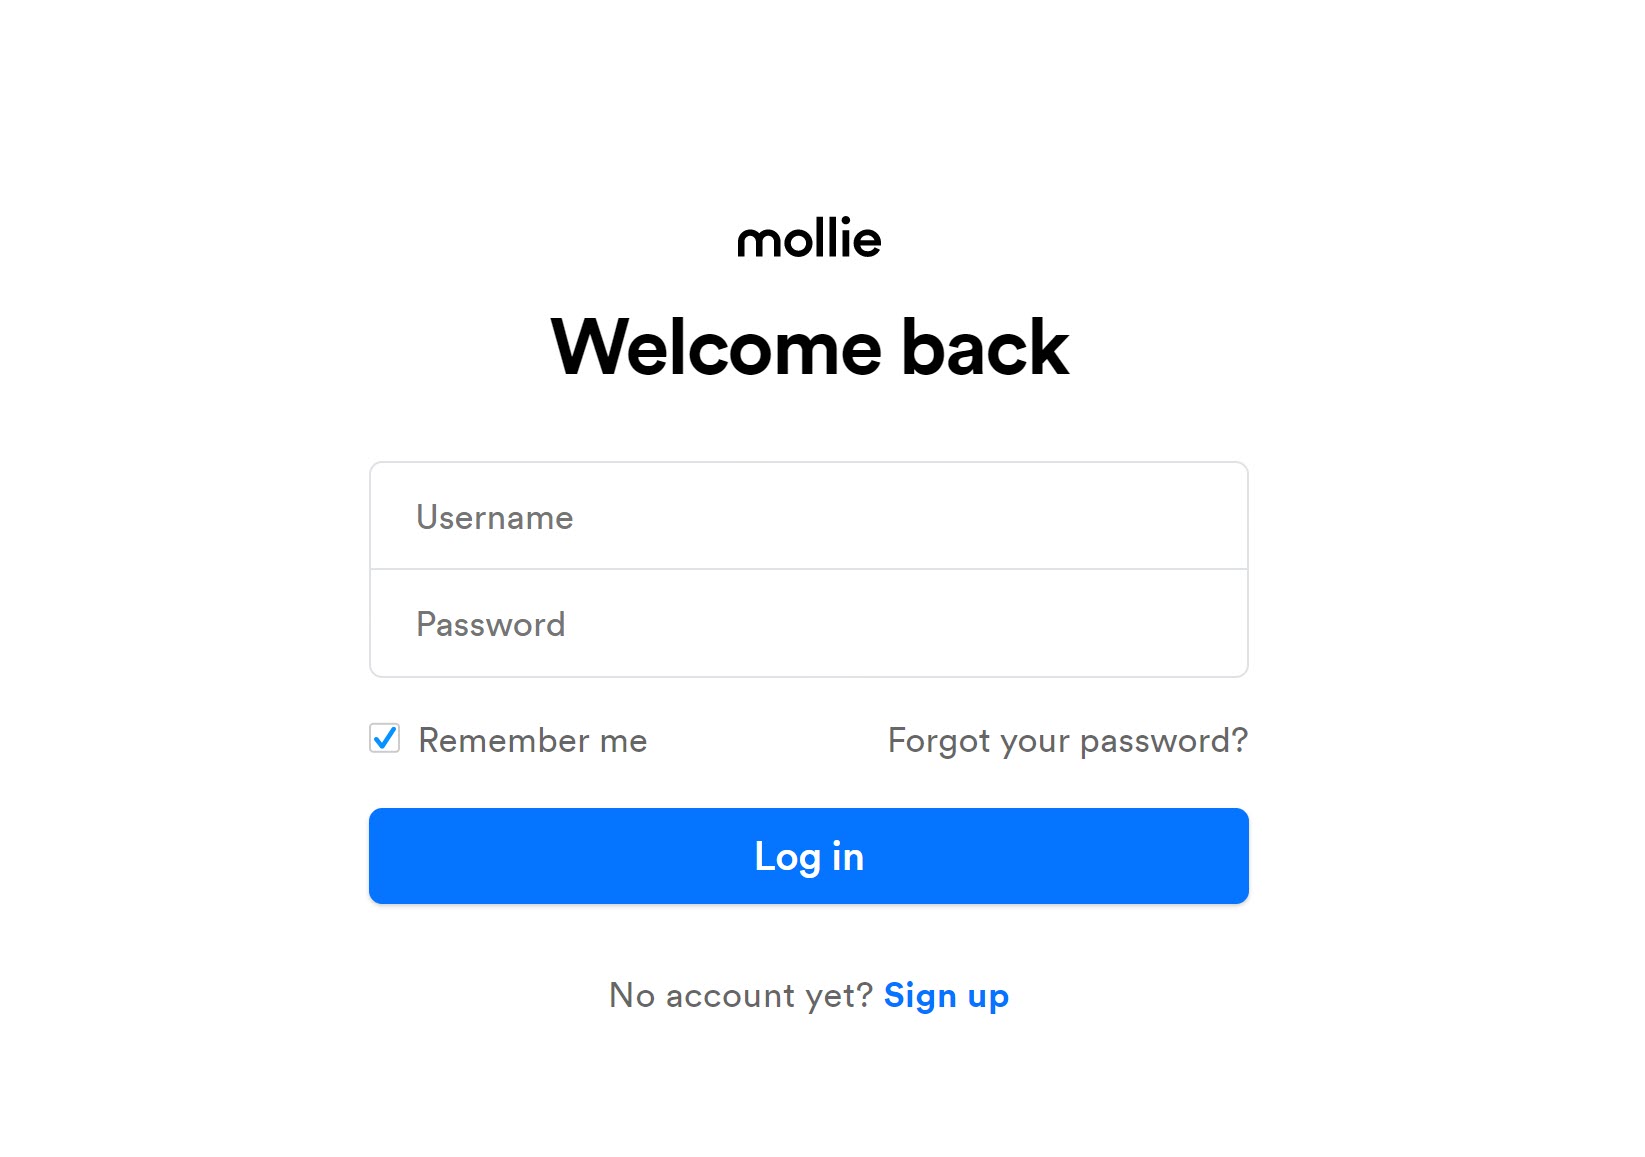
 Simply sign into your Mollie account and grant permissions to Gravity Forms when prompted. You’ll then be brought back to your WordPress dashboard.
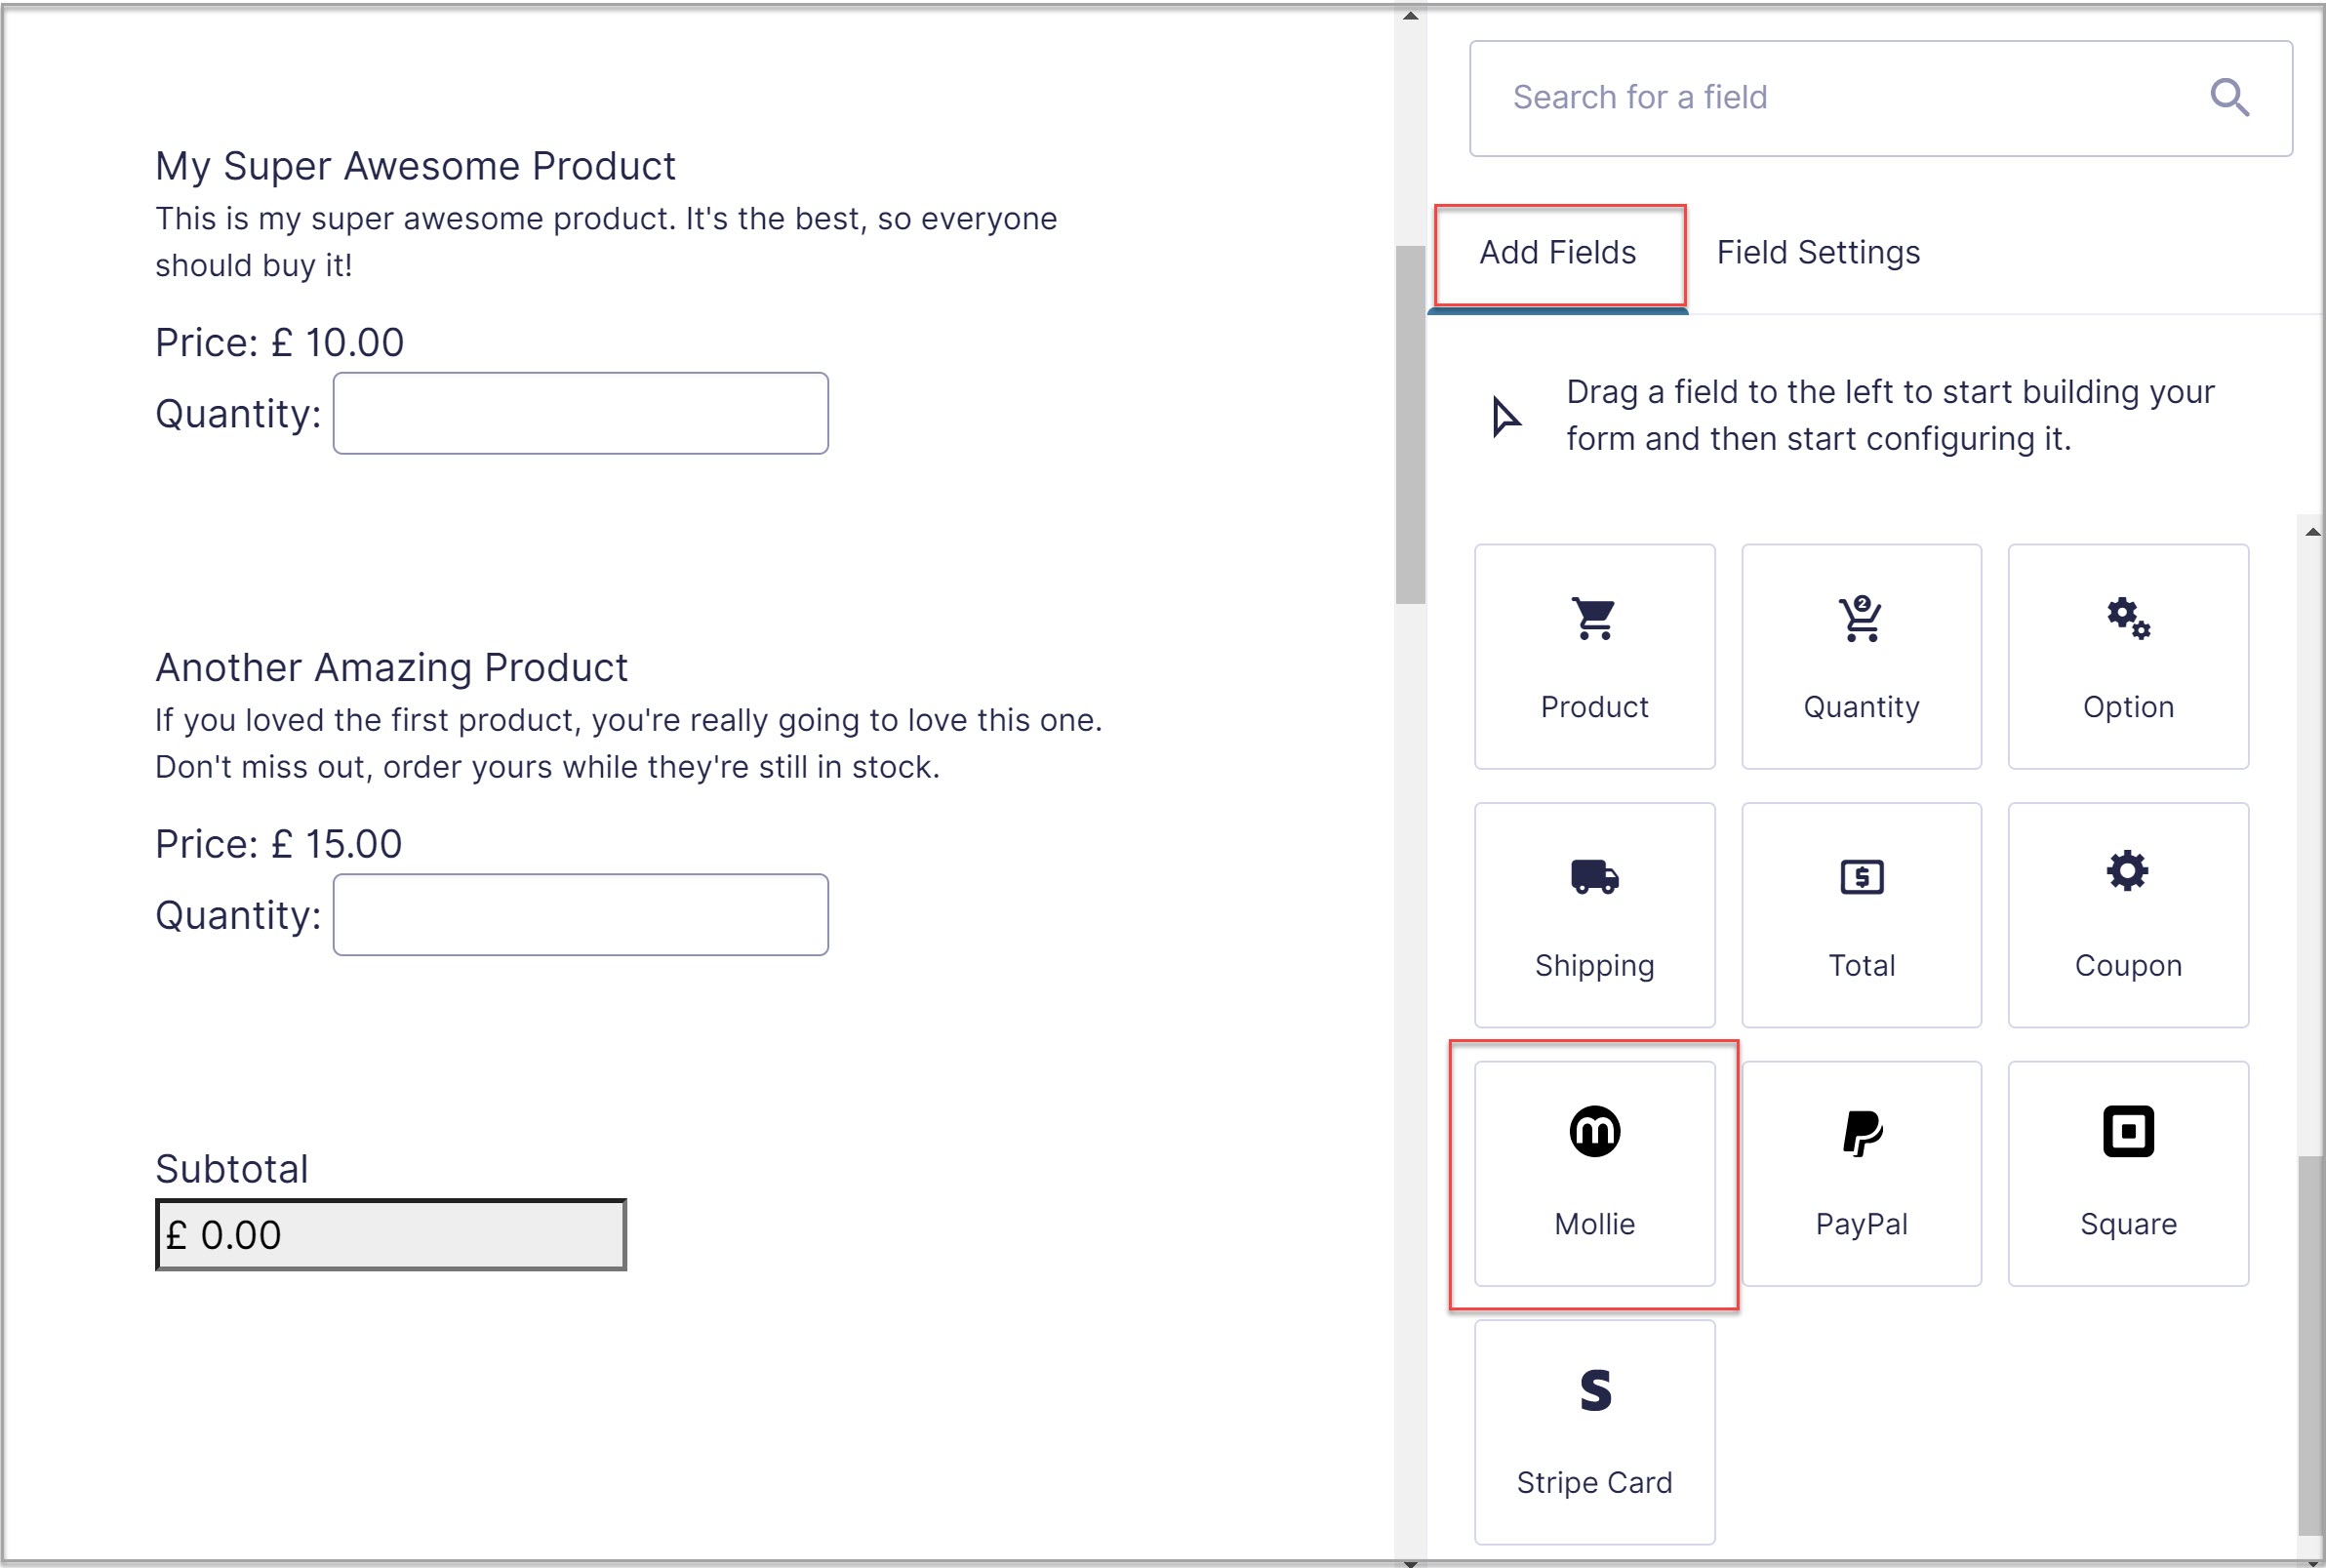
 Go to your Forms and select the imported payment form template or one of your existing forms. Click on Edit and then expand the Pricing Fields section. Now, drag the Mollie field over to your form.
The Mollie field adds the Credit Card and Cardholder Name input along with Payment Method selection.
 Lastly, you need to configure the Mollie Form Feed, which you will find under Form Settings. The Mollie Add-On will then sync seamlessly with your Mollie account and match the Gravity Forms Currency Setting. You can also customize form label settings and choose the style for the credit card icon.
For more in-depth information on how to set up the Mollie Add-On on your website, check out the articles on our documentation site.
Once you’ve configured the form to your liking, you’re ready to start accepting payments on your WordPress website.
Final Thoughts
If you’re still shopping around for a way to take payments on your website, don’t worry. Simply sign up for a free personalized demo of Gravity Forms and see for yourself why Gravity Forms is the preferred choice of WordPress site owners all over the globe.
Take our form templates for a spin, explore our intuitive drag-and-drop form builder, and see how you can extend any form on your site with powerful features and add-ons.
Any questions on how to accept payments with Mollie and Gravity Forms? Feel free to ask away in the comments below…
Newsletter
If you want to keep up-to-date with what’s happening on the blog sign up for the Gravity Forms newsletter!
"*" indicates required fields