Setting Up an Email Drip Campaign with Gravity Flow
For a written guide, be sure to check out our blog.
Integrating Gravity Forms with Gravity Flow gives you the power to quickly and easily create drip campaigns – with no additional email marketing service needed and all from within your WordPress dashboard.
Drip campaigns are great for providing information to people, convincing people to make a purchase, delivering email course content, and much more.
In this video, we’ll look at how to set up a drip campaign using Gravity Flow, so you can send an automated sequence of emails on a custom schedule.
Before we get started, make sure you have Gravity Forms and Gravity Flow installed and set up.
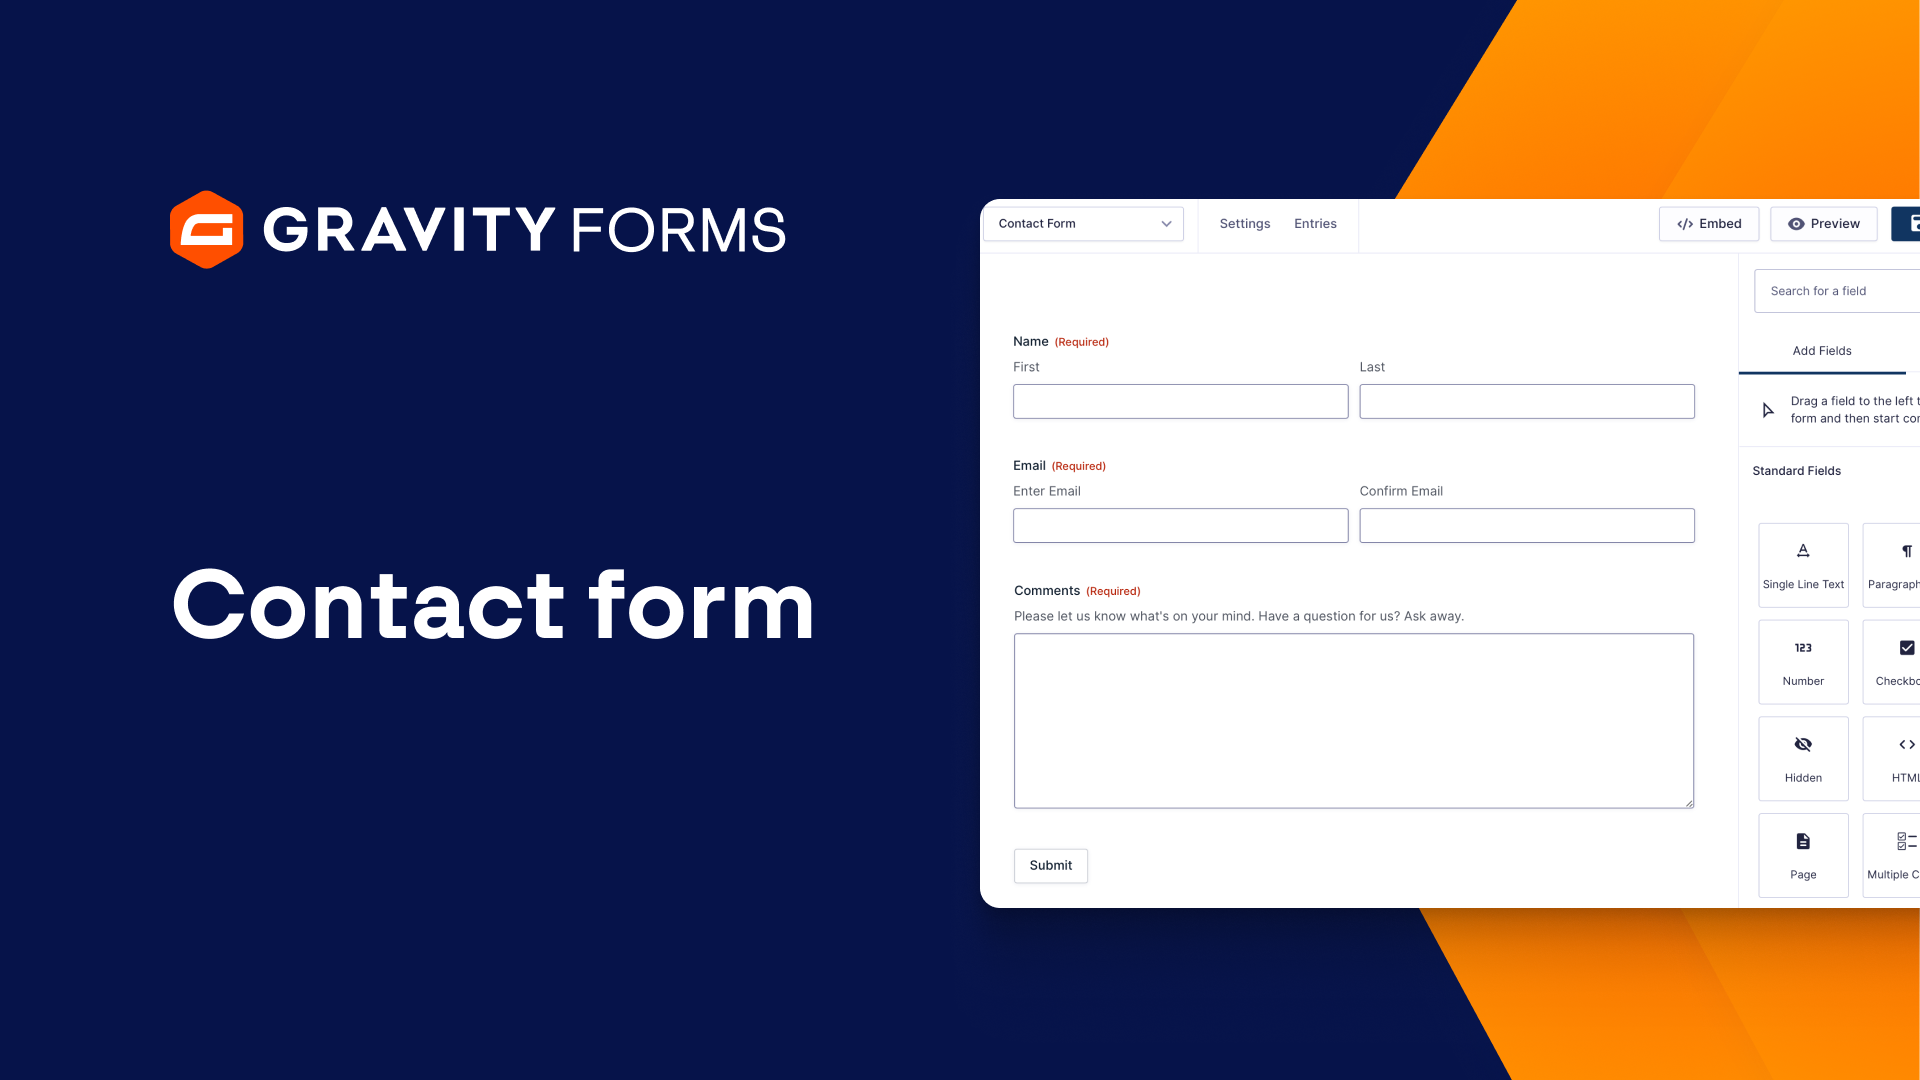
Firstly, navigate to the form settings for the form you would like to use in your drip campaign.
For this example, I am going to use a webinar registration form.
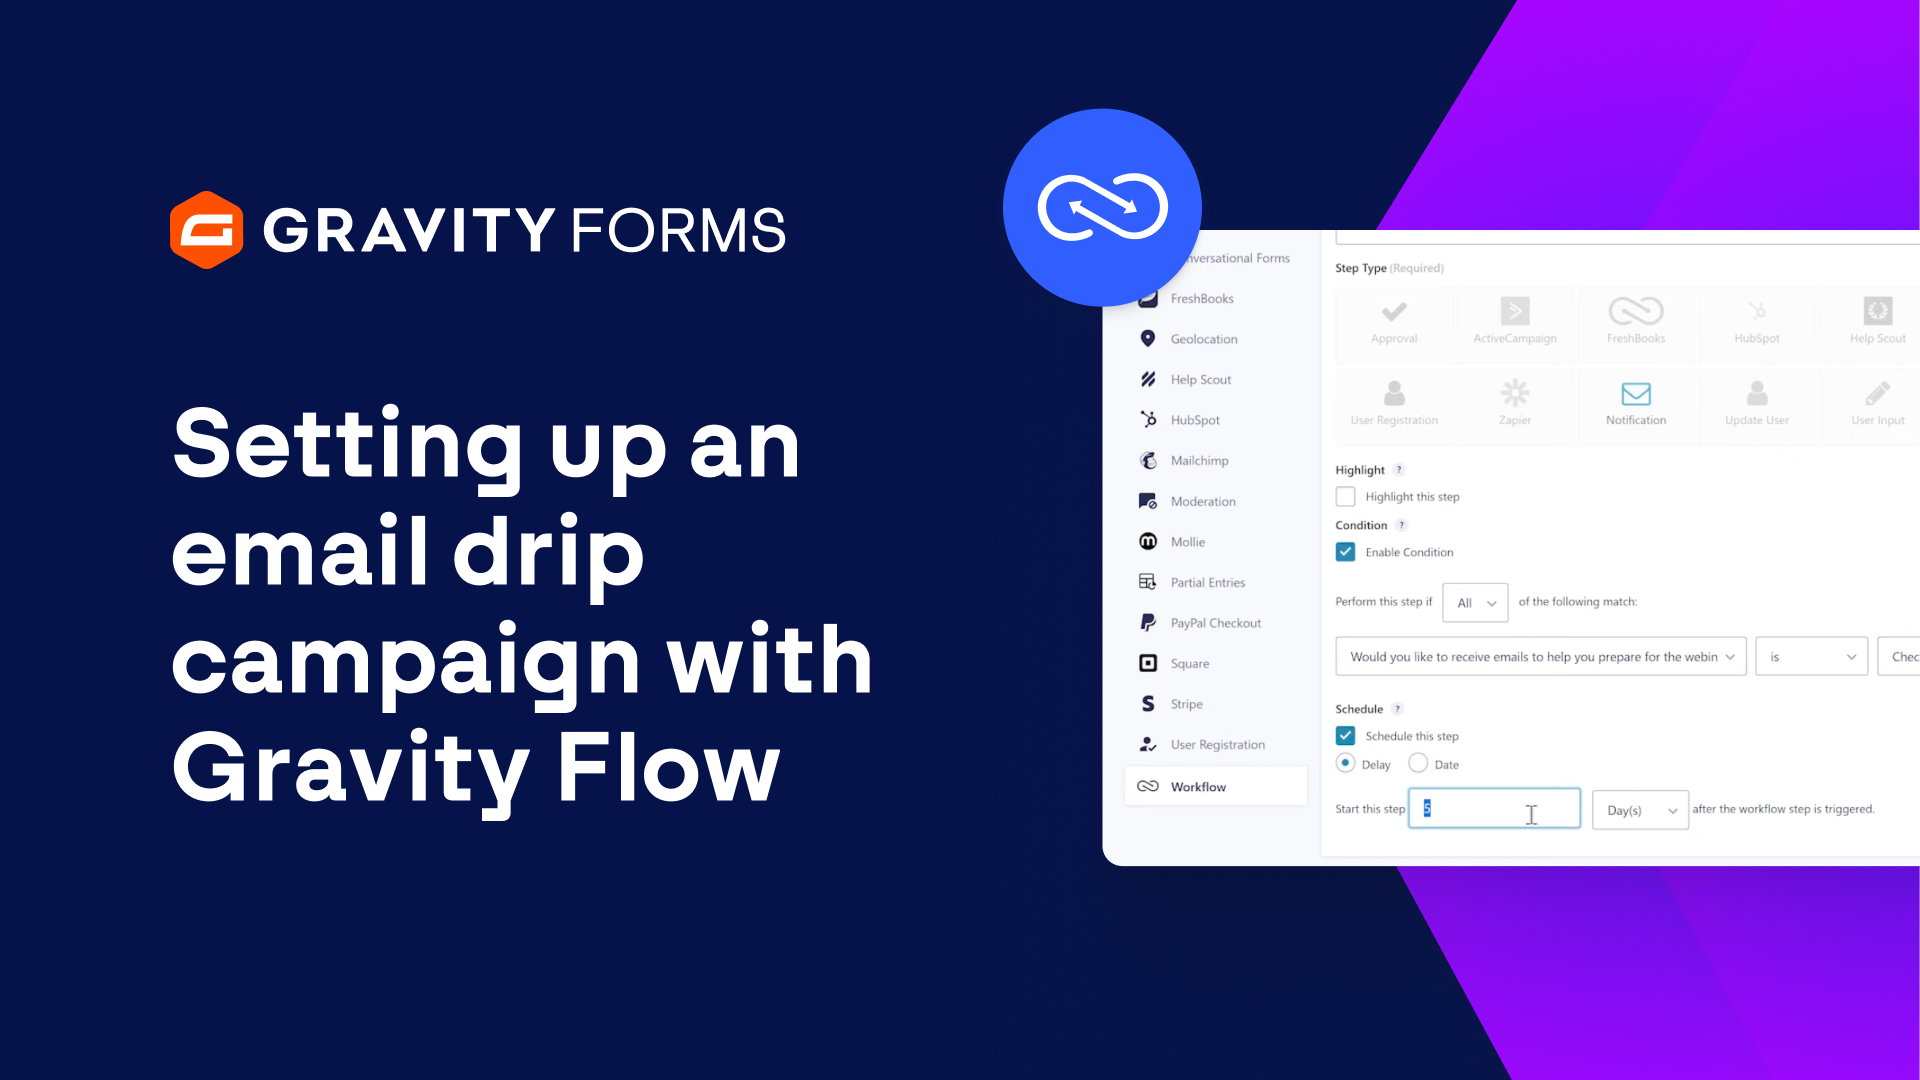
Open the Workflow tab and select ‘Add New’ to create a new workflow step.
I’m going to create a new workflow step for each email I would like to send to people that plan on attending my webinar.
Give the workflow step a name and description, and then set the Step Type to ‘Notification’.
The Notification Step Type tells Gravity Flow that you want to send an email to the person who submitted this form.
If needed, you can also set up conditional logic for this workflow step.
Conditional logic for a workflow step allows you to define if a step should be processed or skipped.
For instance, you can use a consent field on your form to allow users to opt in to your drip campaign and then set the conditional logic to ensure the step only emails the user if they agreed to be part of your campaign.
If the user does not wish to opt in to your drip campaign, none of the steps for this workflow will be triggered.
The schedule option allows you to control when an email is sent, which is important when setting up a drip campaign.
For example, you could use the delay schedule type to send an email one hour after the form is submitted, one day, two days, and so on.
It’s important to note that when using the delay schedule type, scheduling will work based on when the previous step was completed.
For instance, if you have two workflow steps and both are set to be sent one day after the workflow step is triggered, the second email will not be sent until one day after the first email is sent.
Alternatively, you could use the date schedule type to configure an email to be sent on a specific date, rather than factoring in when the person submitted the form.
Next, you’ll want to customize the notification that gets sent to the user when this form is submitted.
You can choose whether or not you would like your Gravity Forms Admin Notification to be sent, as well as enable workflow notifications.
For this example, I am going to set up a workflow notification email to be sent to the email address that the user entered on the form.
In the body of the email, I am going to let the user know they have successfully signed up for the drip campaign as well as give the user the option to opt out of the drip campaign using the Workflow Cancel Link merge tag.
For the ‘Next Step’ drop-down at the end, I’ll want to use the ‘Next step in list’ option, since there are additional email notifications in my drip campaign that I will need to set up.
Once I’m done with this step, I am going to select ‘Update Step Settings’ to save everything.
I’m then going to duplicate this step two times, for a total of three emails to be sent to users as part of my drip campaign.
For each additional step, I’ll need to modify the name, description, and schedule of the step, as well as the content of the email.
I’ll schedule my second email to be sent one day after the first email is sent, and my third email to be sent two days after the second email is sent.
With each new step, I am going to provide the user with additional information that will help them prepare for my webinar.
Lastly, I am going to set the ‘Next Step’ dropdown for my third step to ‘Workflow Complete’, since this is the final email in my campaign.
Once I have set up and saved all three workflow steps, I’ll be ready to start my drip campaign using my webinar registration form.
Thanks for watching!
Summary
Integrating Gravity Forms with Gravity Flow gives you the power to quickly and easily create drip campaigns from within your WordPress dashboard – no additional email marketing service needed!
Drip campaigns are great for providing information to your customers, convincing leads to make a purchase, delivering email course content, and much more.
In this video, we’ll look at how to set up a drip campaign using Gravity Flow, so you can send an automated sequence of emails on a custom schedule.