For more information on using Microsoft 365 / Outlook with Gravity SMTP, check out our documentation.
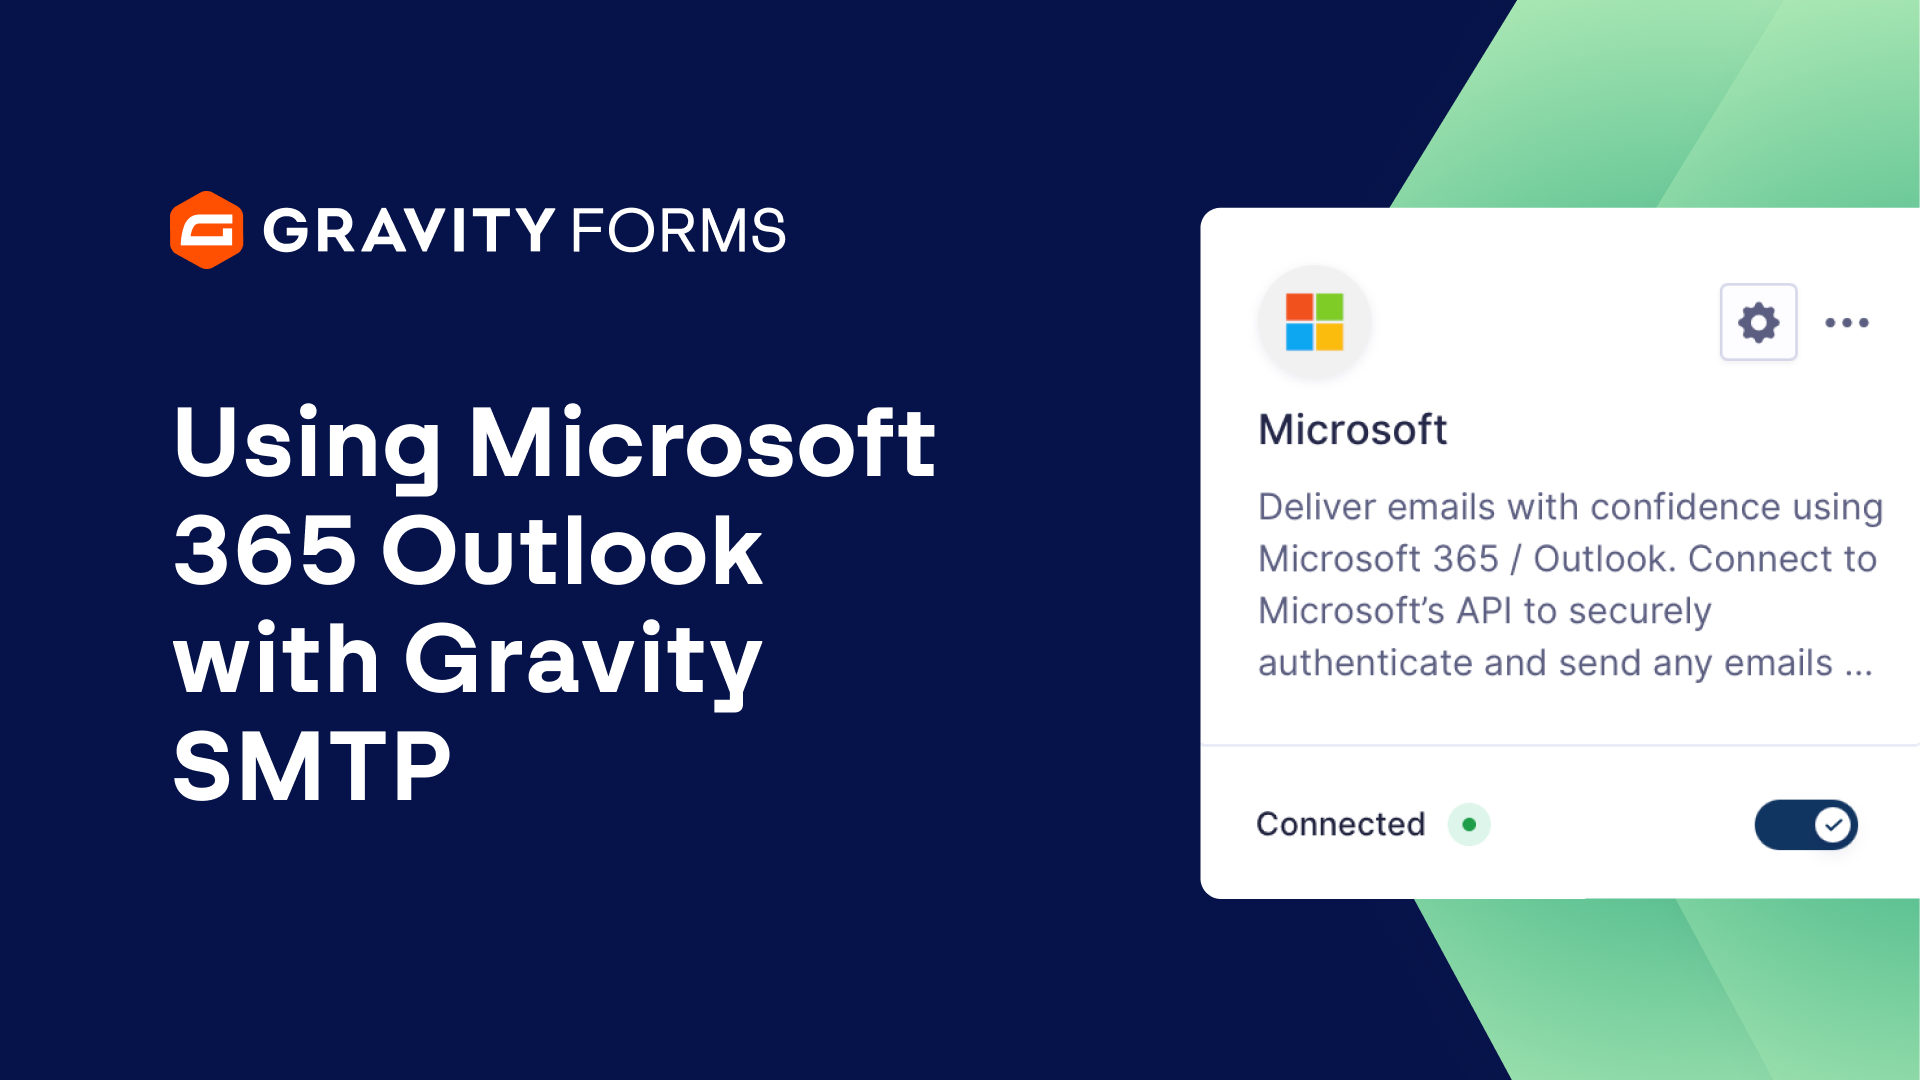
Gravity SMTP gives you the power to send emails from your WordPress site using Microsoft 365 / Outlook.
In this video tutorial, we’ll show you everything you need to know to get started using Gravity SMTP and Microsoft 365.
Please note that, to follow along with this video, you’ll need a Microsoft Azure account with a valid subscription, a Microsoft-based email address with email-sending permissions, and an active Gravity SMTP license.
If you’ve never used Gravity SMTP, you can check out our guide on getting started, linked in the video summary.
Also note that Outlook accounts come with outgoing volume limitations, which may change without notice and are affected by Microsoft’s usage and spam prevention rules.
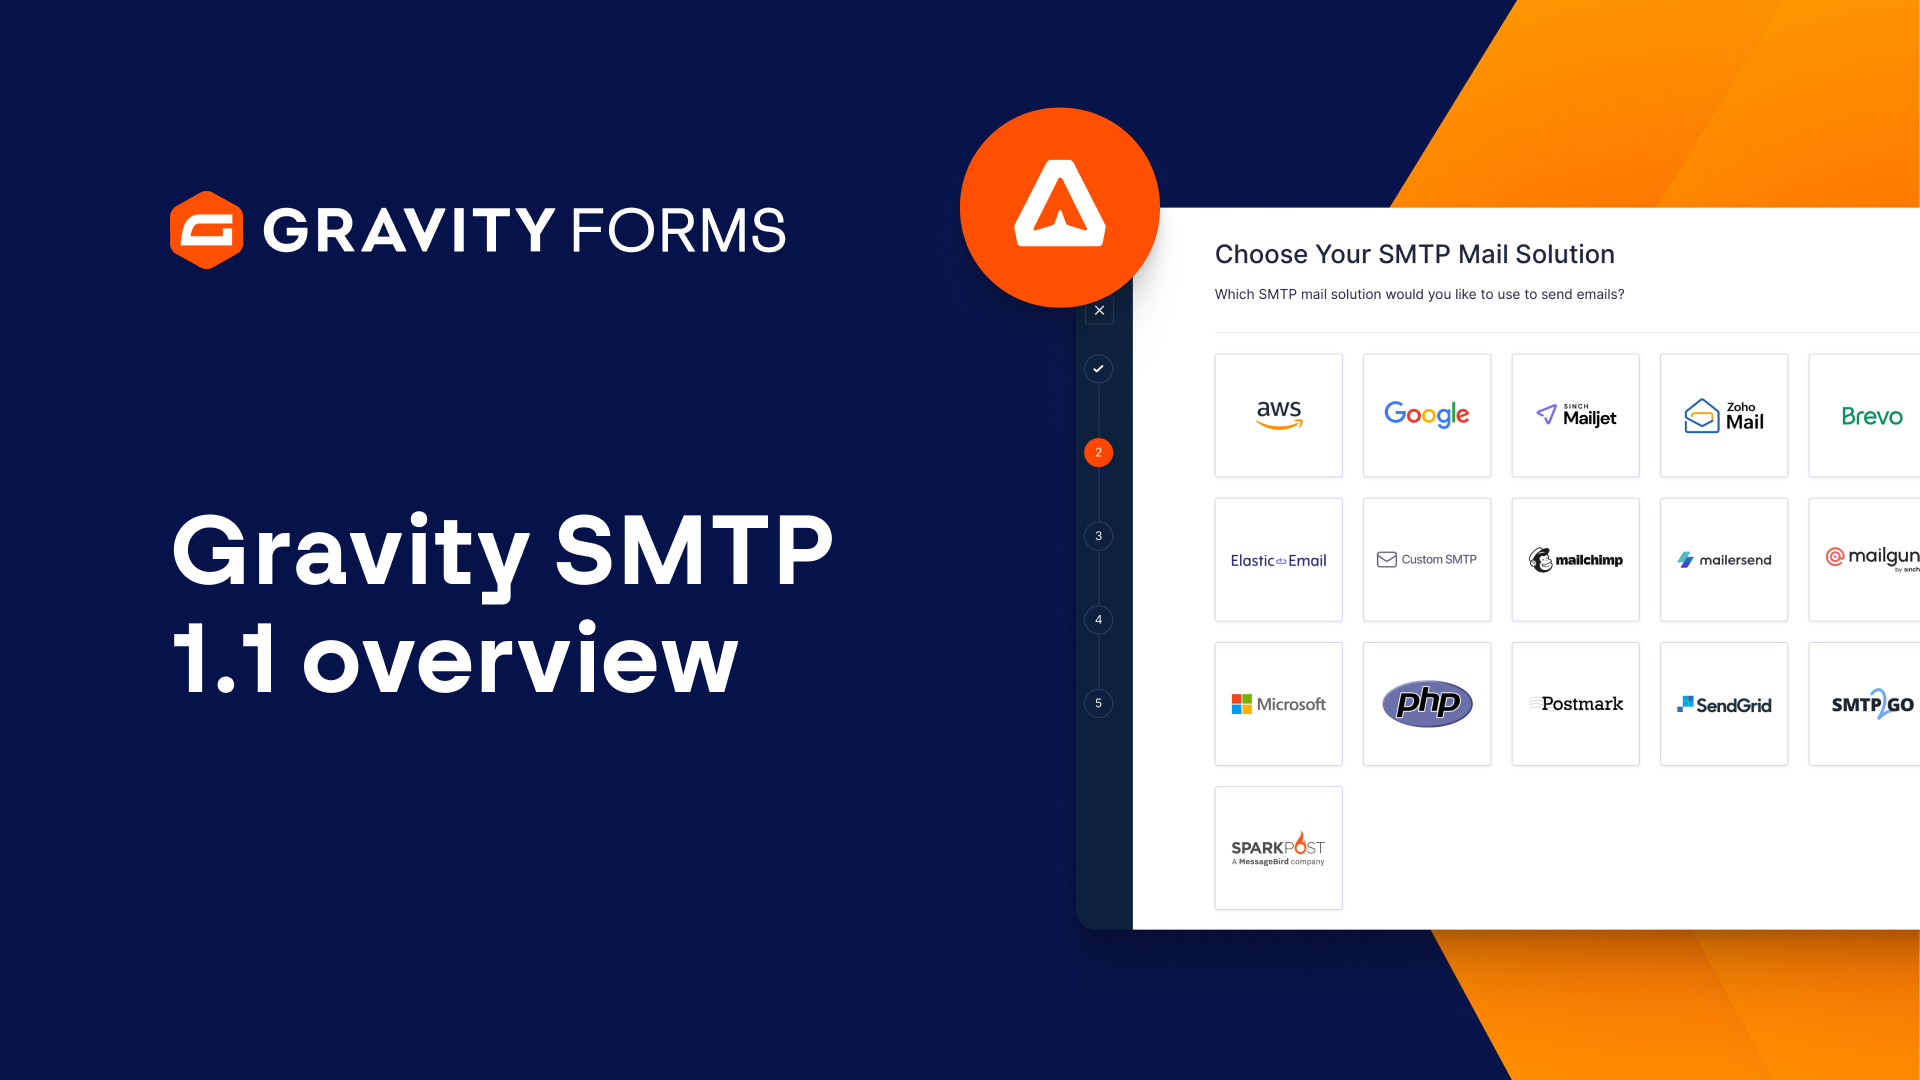
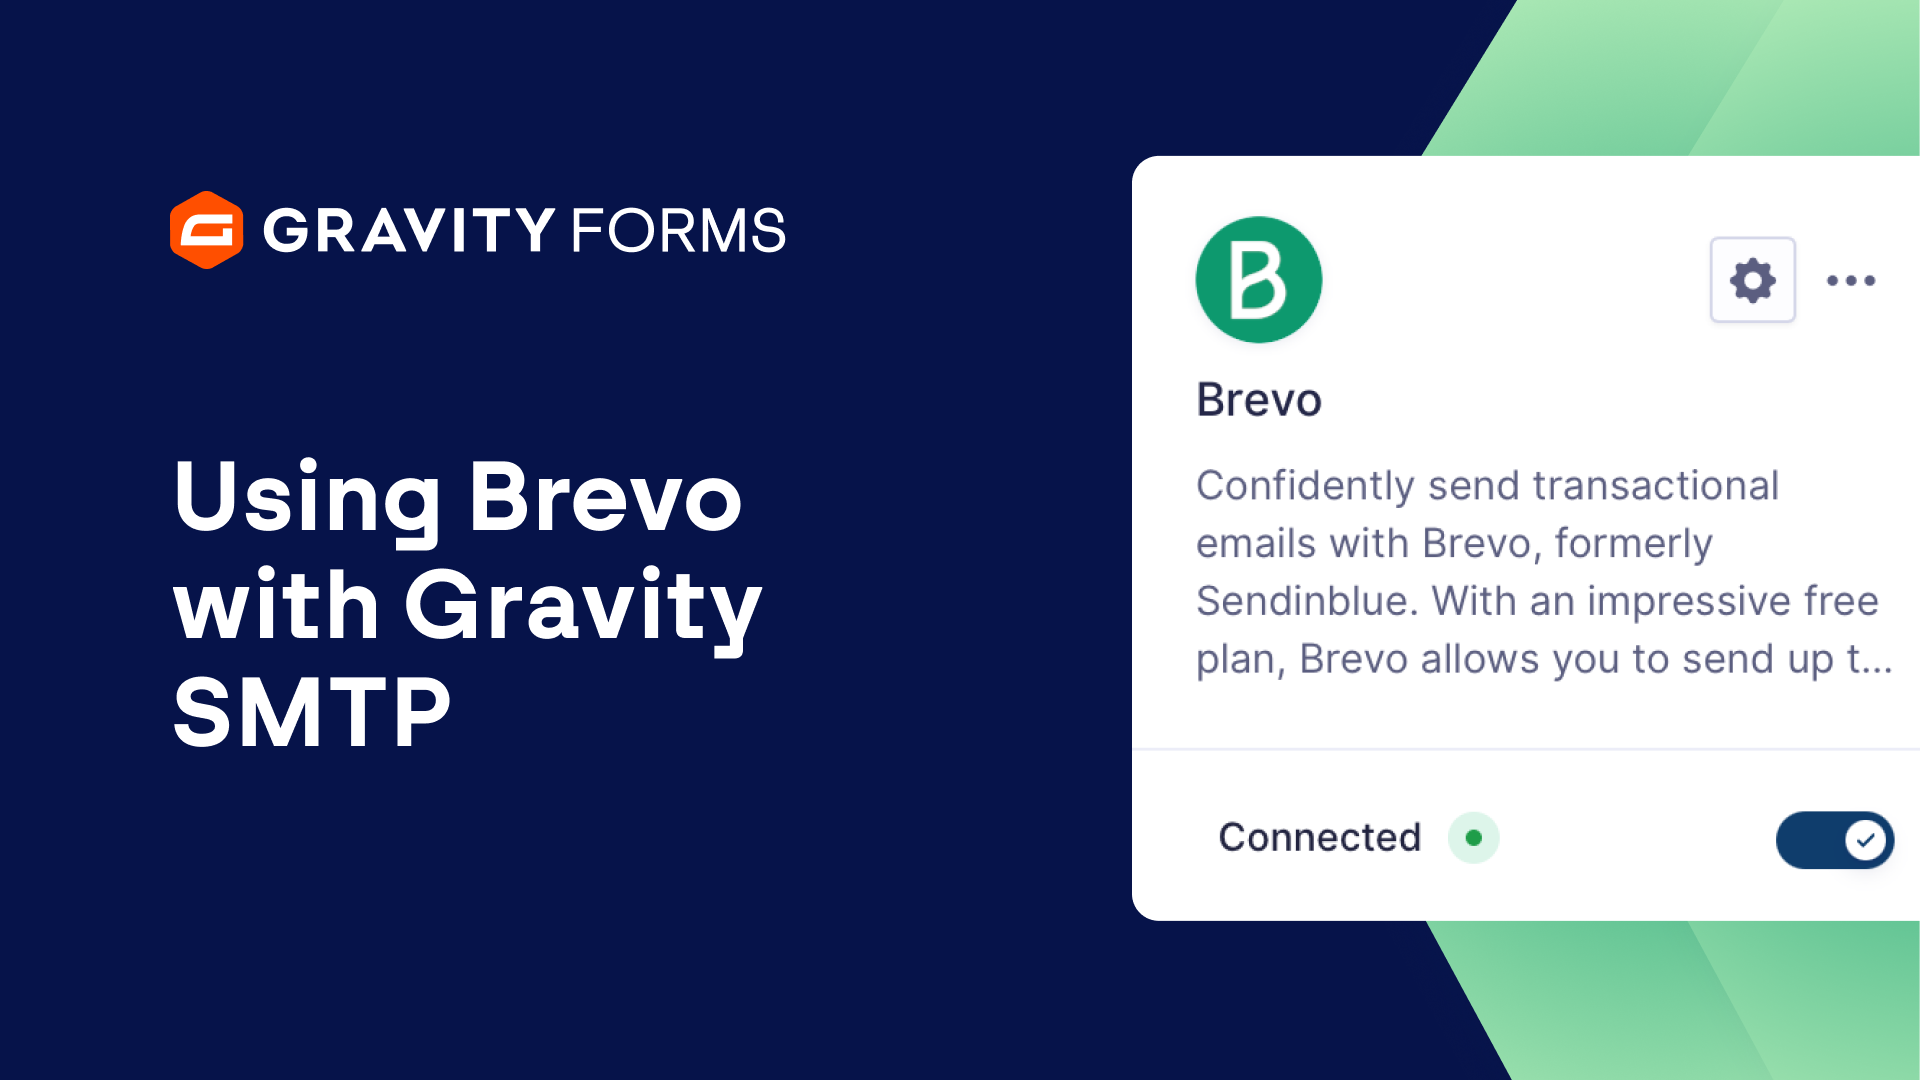
Instead, we recommend a service built specifically for transactional email sending, such as Brevo or Postmark, both of which are integrated with Gravity SMTP.
To begin, navigate to your Azure Portal and sign in.
You can easily access your Azure Portal by following the link in the video summary.
Once you’ve logged in, use the search bar at the top of the page to search for and select “App Registrations”.
Then, select “New Registration” and give your app a descriptive name, such as “Gravity SMTP”.
Next, choose your account type.
If the app is being created with a School or Work account, choose the second option.
If the app is being created with a personal account, choose the third option.
You can learn more about each option by selecting “Help me choose…:”
Below the Redirect URI section, set your platform to “Web”.
You’ll then want to navigate to your WordPress dashboard and head to the Gravity SMTP Microsoft 365 / Outlook settings.
Copy the appropriate Redirect URI, either the one for personal accounts or the one for School or Work accounts, and paste it into the “Redirect URI” field within your Azure Portal.
Then, select “Register”.
After registration, navigate to the “Authentication” tab and double check the supported account types and redirect URI and ensure both settings are correctly configured.
Next, navigate to the “Overview” section of your Azure Portal and copy your Application (client) ID.
Save this ID in a secure location, we will use it in just a minute.
Select “Certificates & secrets” in the left sidebar and then click on “+New client secret”.
Give the client secret a logical name and set the expiration timeframe to “365 days”.
Select the “Add” button to save the description and expiration, then copy the password from the “Value” column and save it in a secure location.
This value will not be accessible after you leave this page, so be sure to save it in a location you can access in the future.
Head back to your WordPress dashboard and open the Gravity SMTP Microsoft 365 / Outlook Settings.
Paste your Application ID and Client Secret into their respective fields and then select “Sign in with Microsoft”.
Follow the prompt on screen to sign into your Microsoft account and accept all permissions.
Once you’ve connected with Microsoft, choose whether you want to force a Default From Email or a Default From Name, then save your changes.
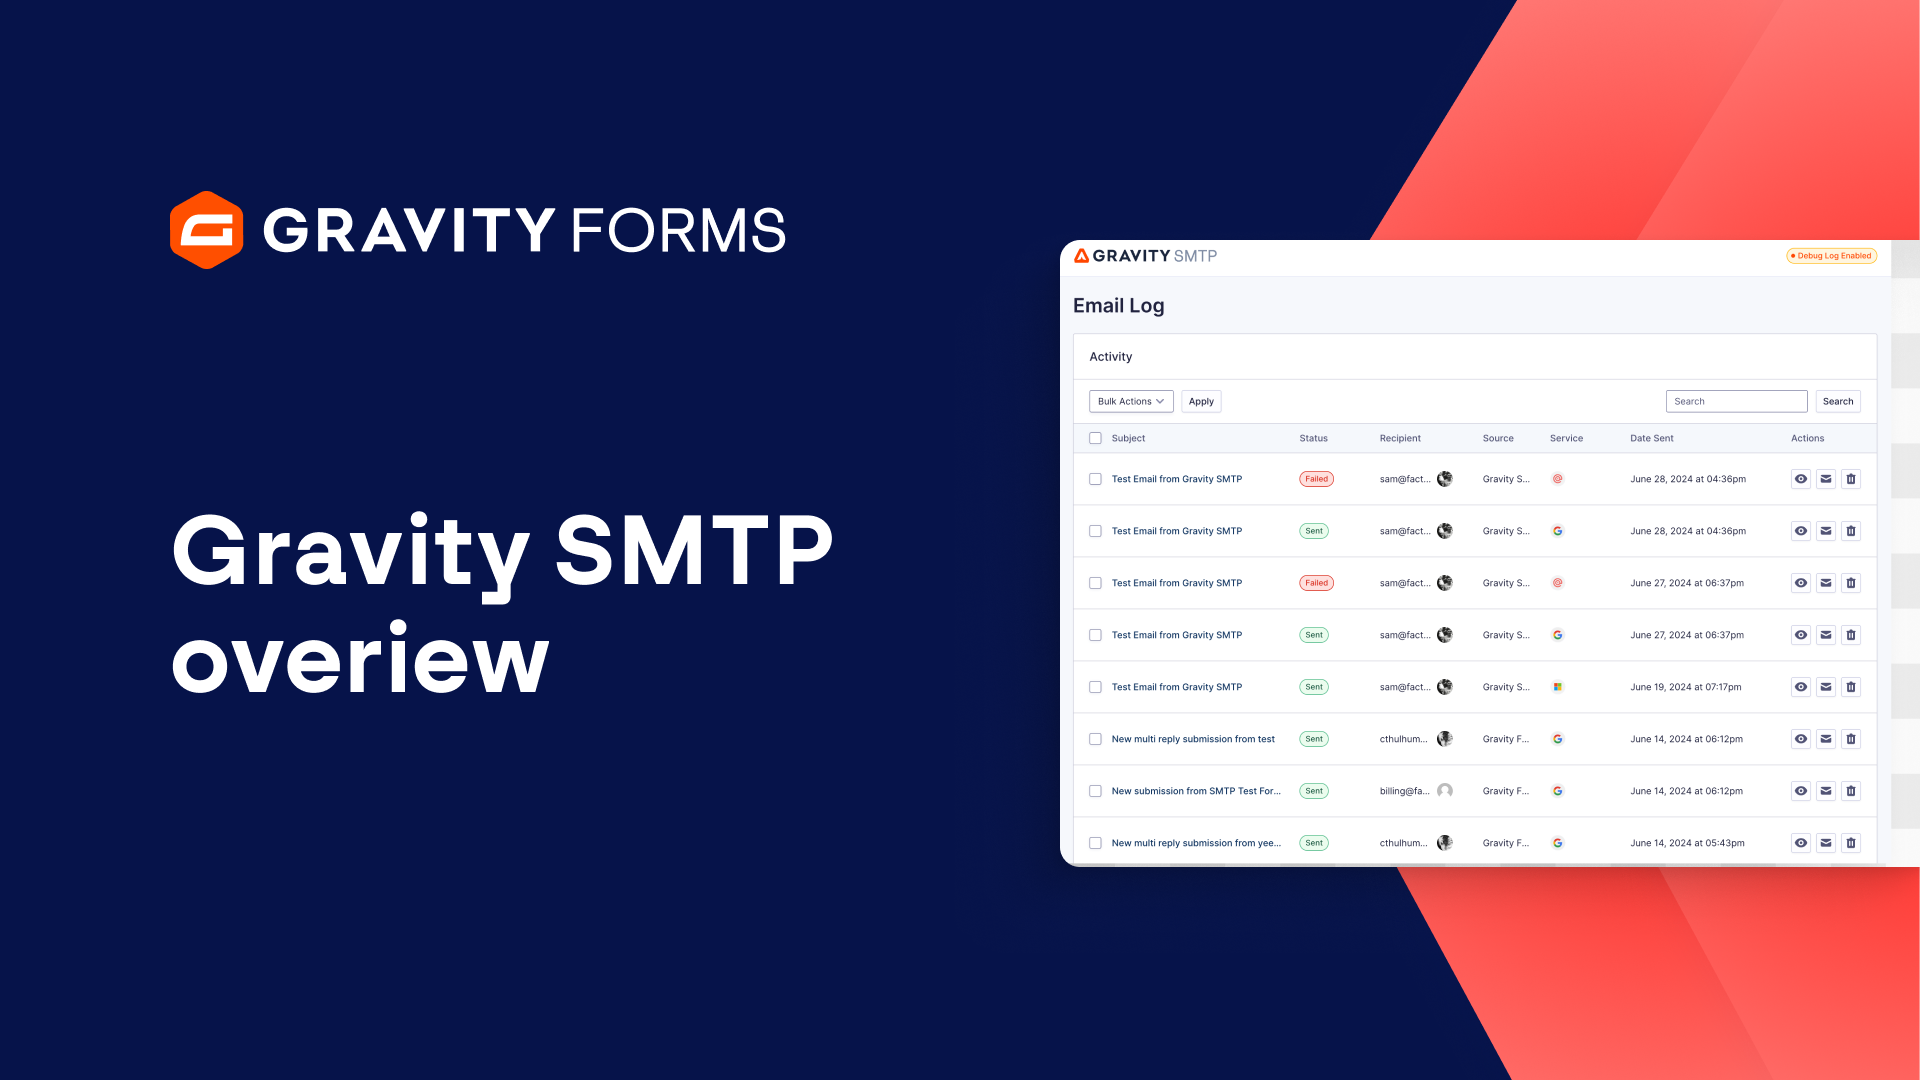
Then, ensure that the “Connected” toggle is turned on and then head to the “Tools” page to send a test email and verify that everything is working correctly.
Now you’re ready to start sending emails with Gravity SMTP and Microsoft 365 / Outlook.
For more guides and tutorials on all things Gravity SMTP, be sure to check out our video library.
From everyone on the Gravity team, thank you for watching!
Summary
Gravity SMTP gives you the power to send emails from your WordPress site using Microsoft 365 / Outlook. In this video tutorial, we’ll show you everything you need to know to get started using Gravity SMTP and Microsoft 365.
If you’ve never used Gravity SMTP before, be sure to check out our guide on getting started with it, linked here.