Accepting Recurring Donations with Gravity Forms and PayPal
For more information on using the Gravity Forms PayPal Checkout Add-On, check out our docs site.
If you’re looking to accept recurring monthly donations on your WordPress site, Gravity Forms and PayPal have you covered.
With the PayPal Add-On, your users can give donations via PayPal, Venmo, Pay Later, and country specific payment options on just about any device.
Let’s take a look at how to get started accepting donations with Gravity Forms and PayPal.
First, install and activate the Gravity Forms PayPal Checkout Add-On from within your WordPress dashboard.
Then, navigate to the Gravity Forms Settings page and select ‘PayPal Checkout’.
You can use the ‘Connect with PayPal’ button to seamlessly sync your forms with PayPal.
Next, navigate to the form you’d like to use to accept payments, or create a new one, if needed, either from scratch or using our donation form template.
Add the PayPal field to your form, and then use the Field Settings to specify if you want to accept additional payment methods like Pay Later and Venmo, as well as credit cards.
You can also customize the appearance of the PayPal Smart Payment Buttons, which will replace the submit button when visitors use PayPal Checkout as their payment method.
Be sure to save your form once you’re done.
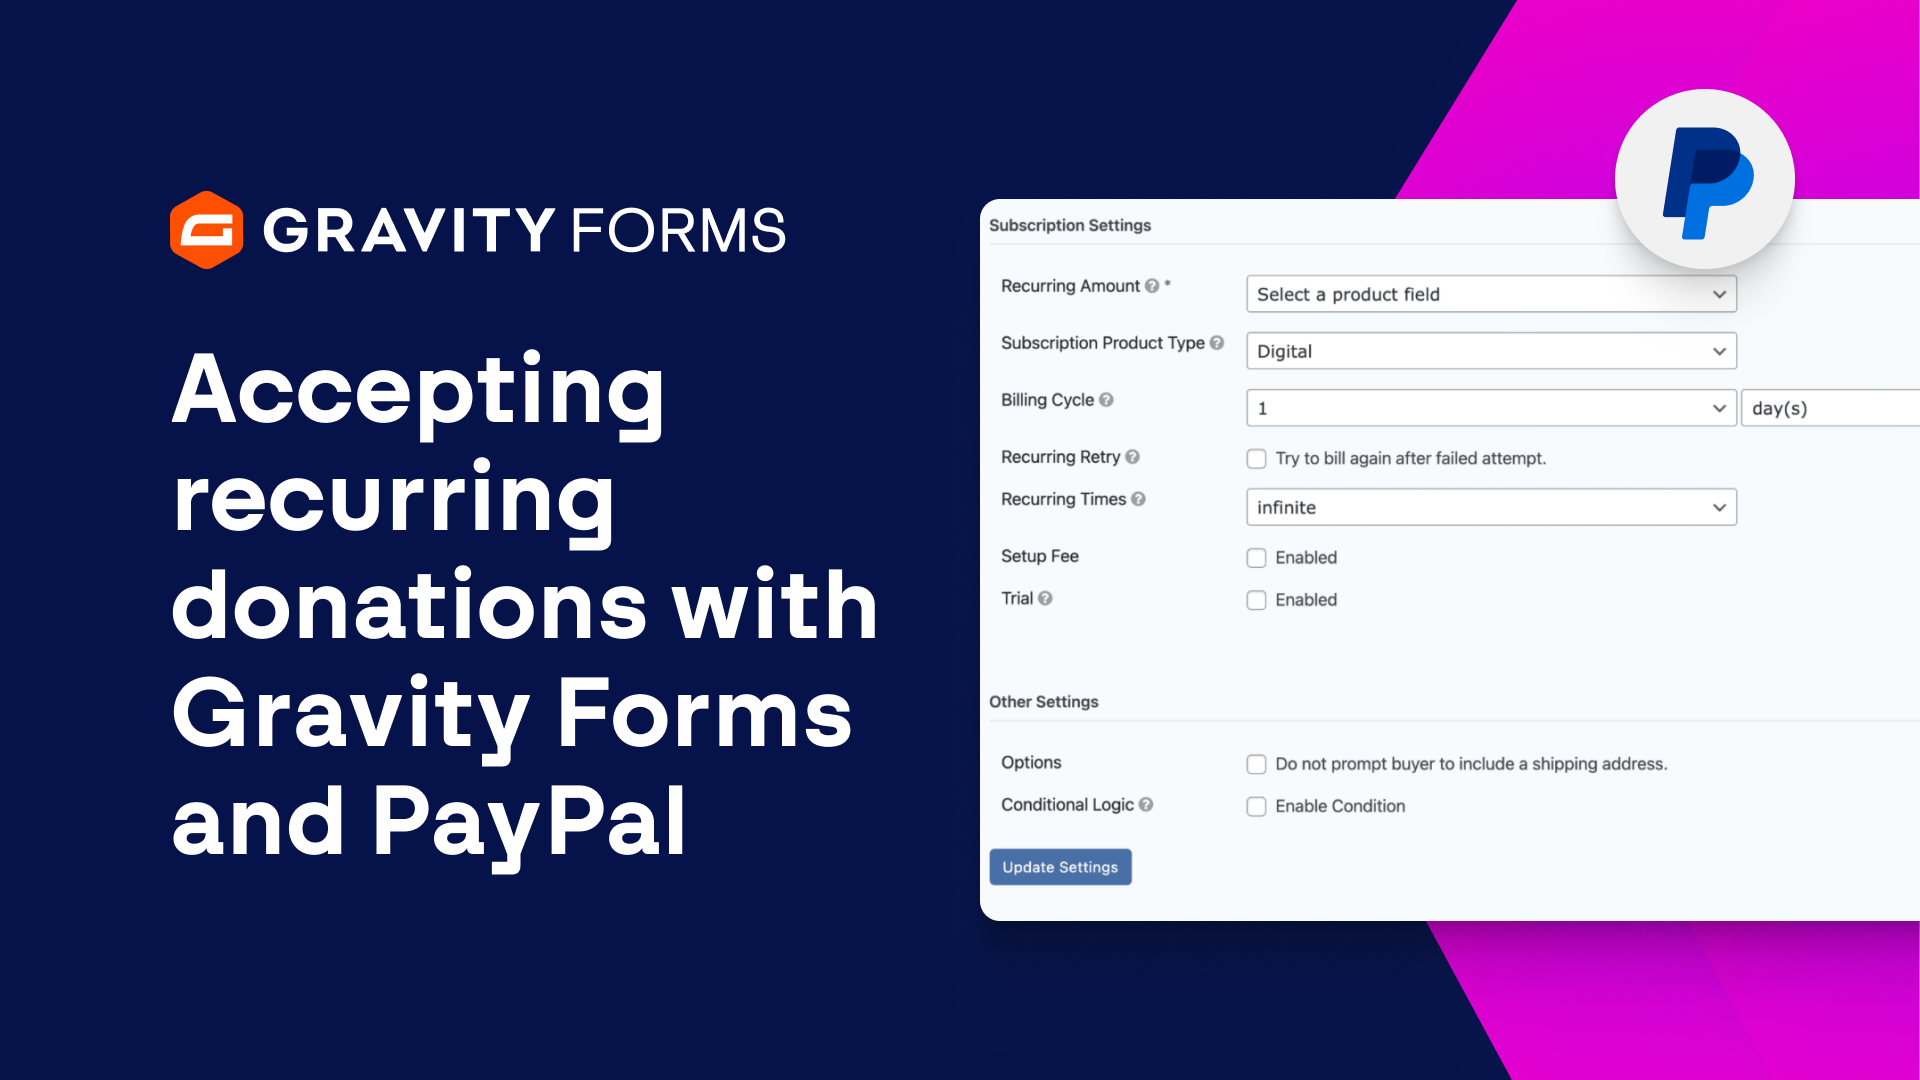
Next, you’ll need to customize the PayPal Checkout Feed to enable recurring donations and configure the data that gets sent from this form to PayPal.
Head to your form’s settings and select PayPal Checkout.
Here, you can edit the default feed or add a new one.
Make sure your feed has a descriptive name, then set the Transaction Type to Subscription.
A subscription transaction type will allow you to accept recurring donations via this form.
Next, map the Recurring Amount field to the corresponding form field to set the amount the user will be charged on a recurring basis.
You’ll then want to set the Subscription Product Type, as well as the billing cycle.
For this example, I’ll set the billing cycle to once per month.
You can then enable ‘Recurring Retry’ to try to bill the user again after a failed attempt, and use the ‘Recurring Times’ field to specify the amount of times to retry.
There are additional settings you can customize, if needed, including a setup fee, trial period, user registration options, and more.
Once you’re done, save your settings and embed your form on a page or post.
You’re now ready to start easily accepting donations using Gravity Forms and PayPal.
For more guides and tutorials on all things Gravity Forms, check out our video library.
From everyone on the Gravity team, thank you for watching!
Summary
In this video tutorial, we’ll show you everything you need to know to accept recurring monthly donations using the Gravity Forms PayPal Checkout Add-On.