In today’s video I’m going to show you how to set up PayPal and Gravity Forms to create donation forms to place anywhere on your WordPress website.
It’s very easy, very straightforward these days, especially using our templates.
It makes the job really easy.
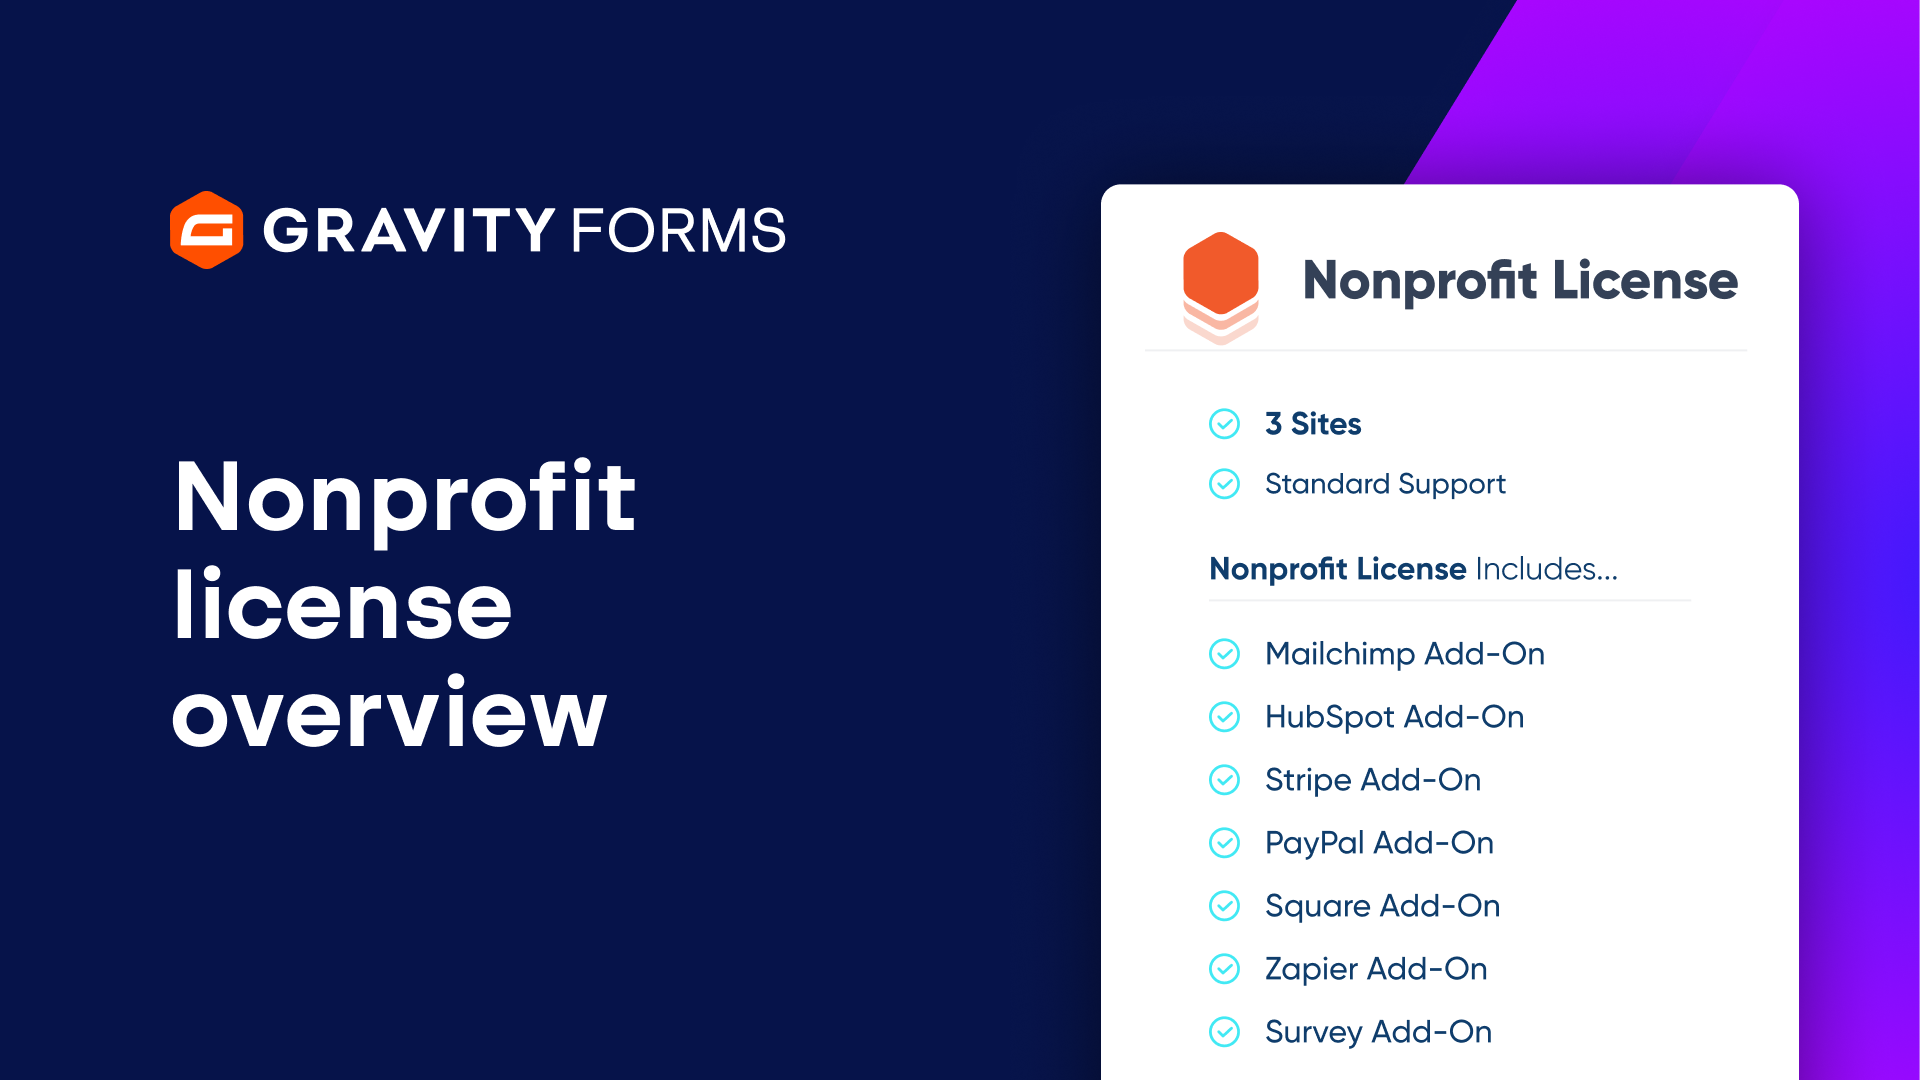
And all you’ll need is, of course, Gravity Forms, a PayPal account, and you’ll need the Pro license level from Gravity Forms so that you get the PayPal add-on.
You can find that at gravityforms.com.
Let’s dive into today’s video.
So as I mentioned, we’re going to set up this donation form using PayPal Gravity Forms and place a donation form right on our WordPress website.
Let’s go ahead and dive in to the back end and get everything set up.
I’m going to head to the dashboard, go to forms and then add a new form.
Now, there’s a few things you could do ahead of time.
You might already know you want you want to use the PayPal add-on.
You might already have that add-on installed.
If you don’t, that’s OK because we will prompt you to install the PayPal add-on as we move through the donation form setup process.
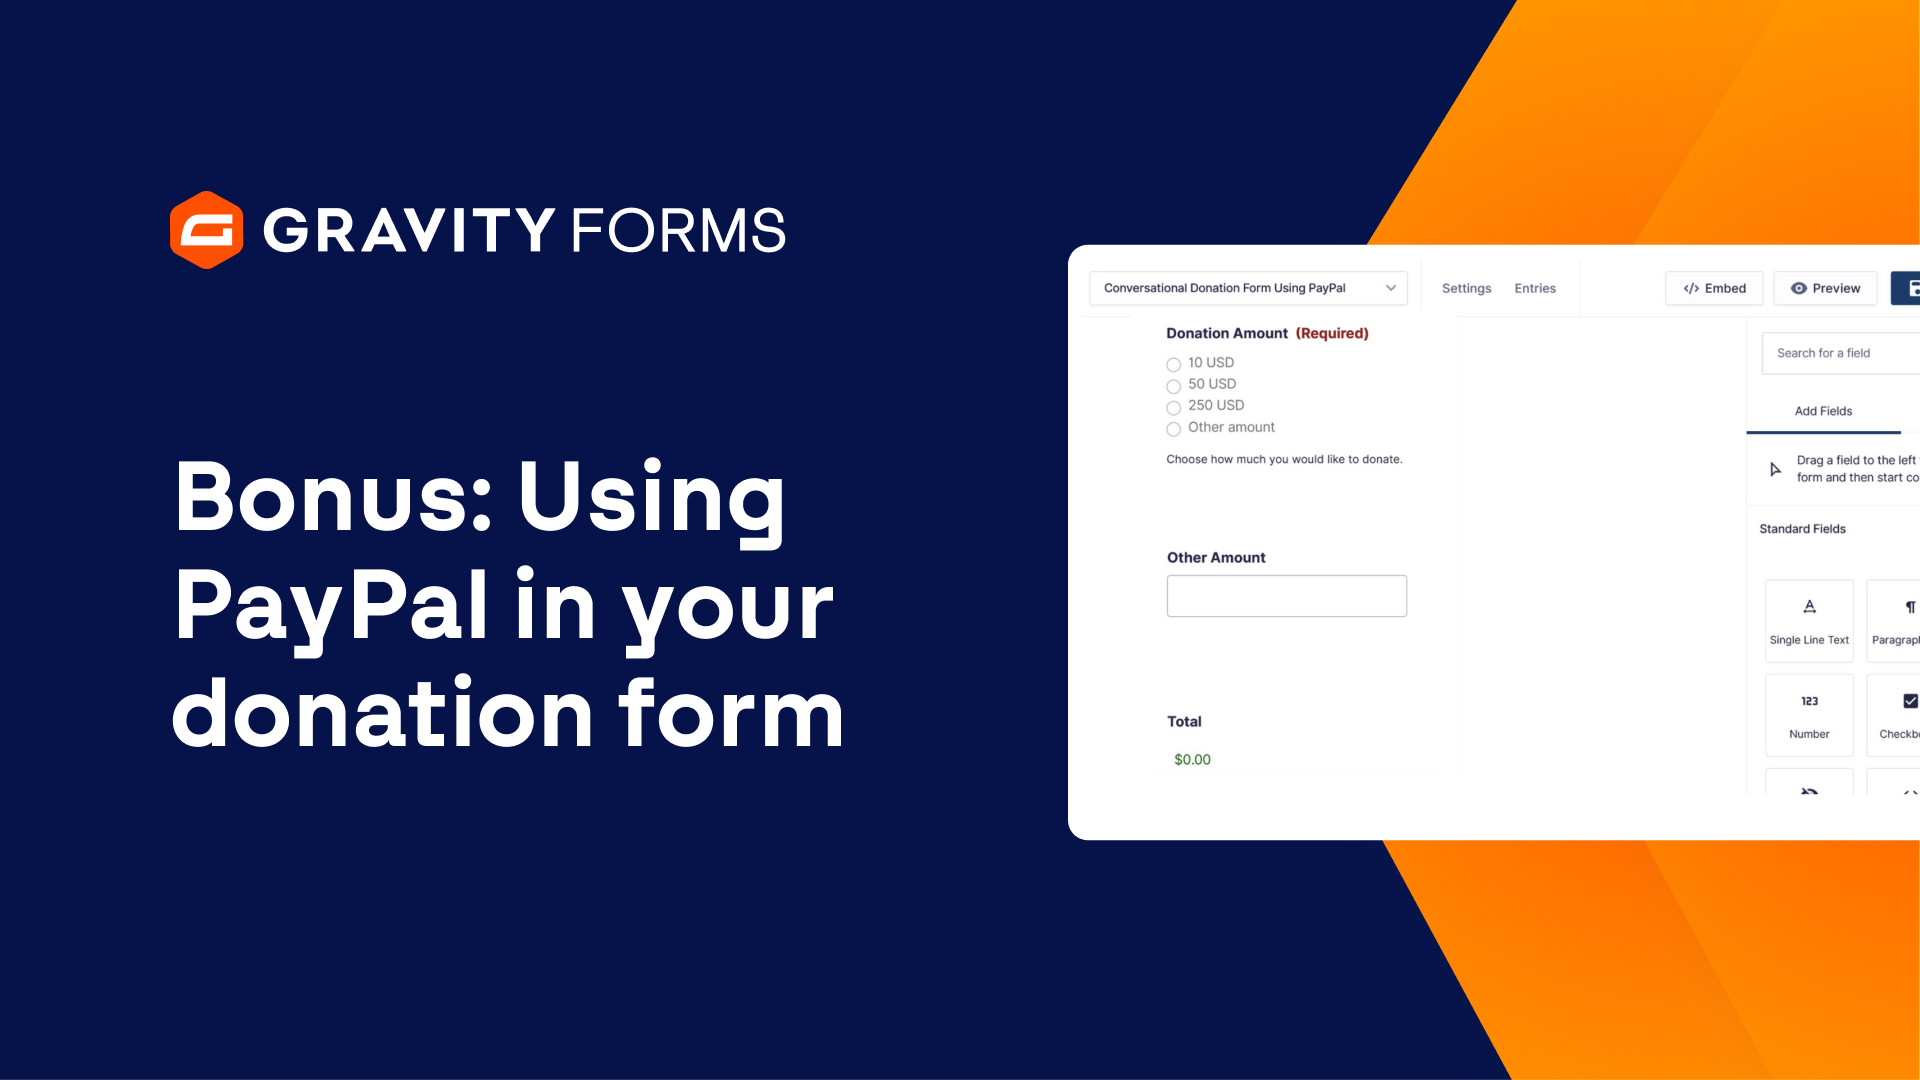
As of recent Gravity Forms updates, we now have templates that we can choose from.
I’m simply going to select the donation form because it’s the fastest, most straightforward for us to use.
So let’s click on use template and the beauty of this.
Let me just donate to Matt.
Help me create new content will be my description.
I’m going to hit use template and the beauty of this is everything is set up right out of the gate without having to critically think about the necessary form fields for a simple donation form.
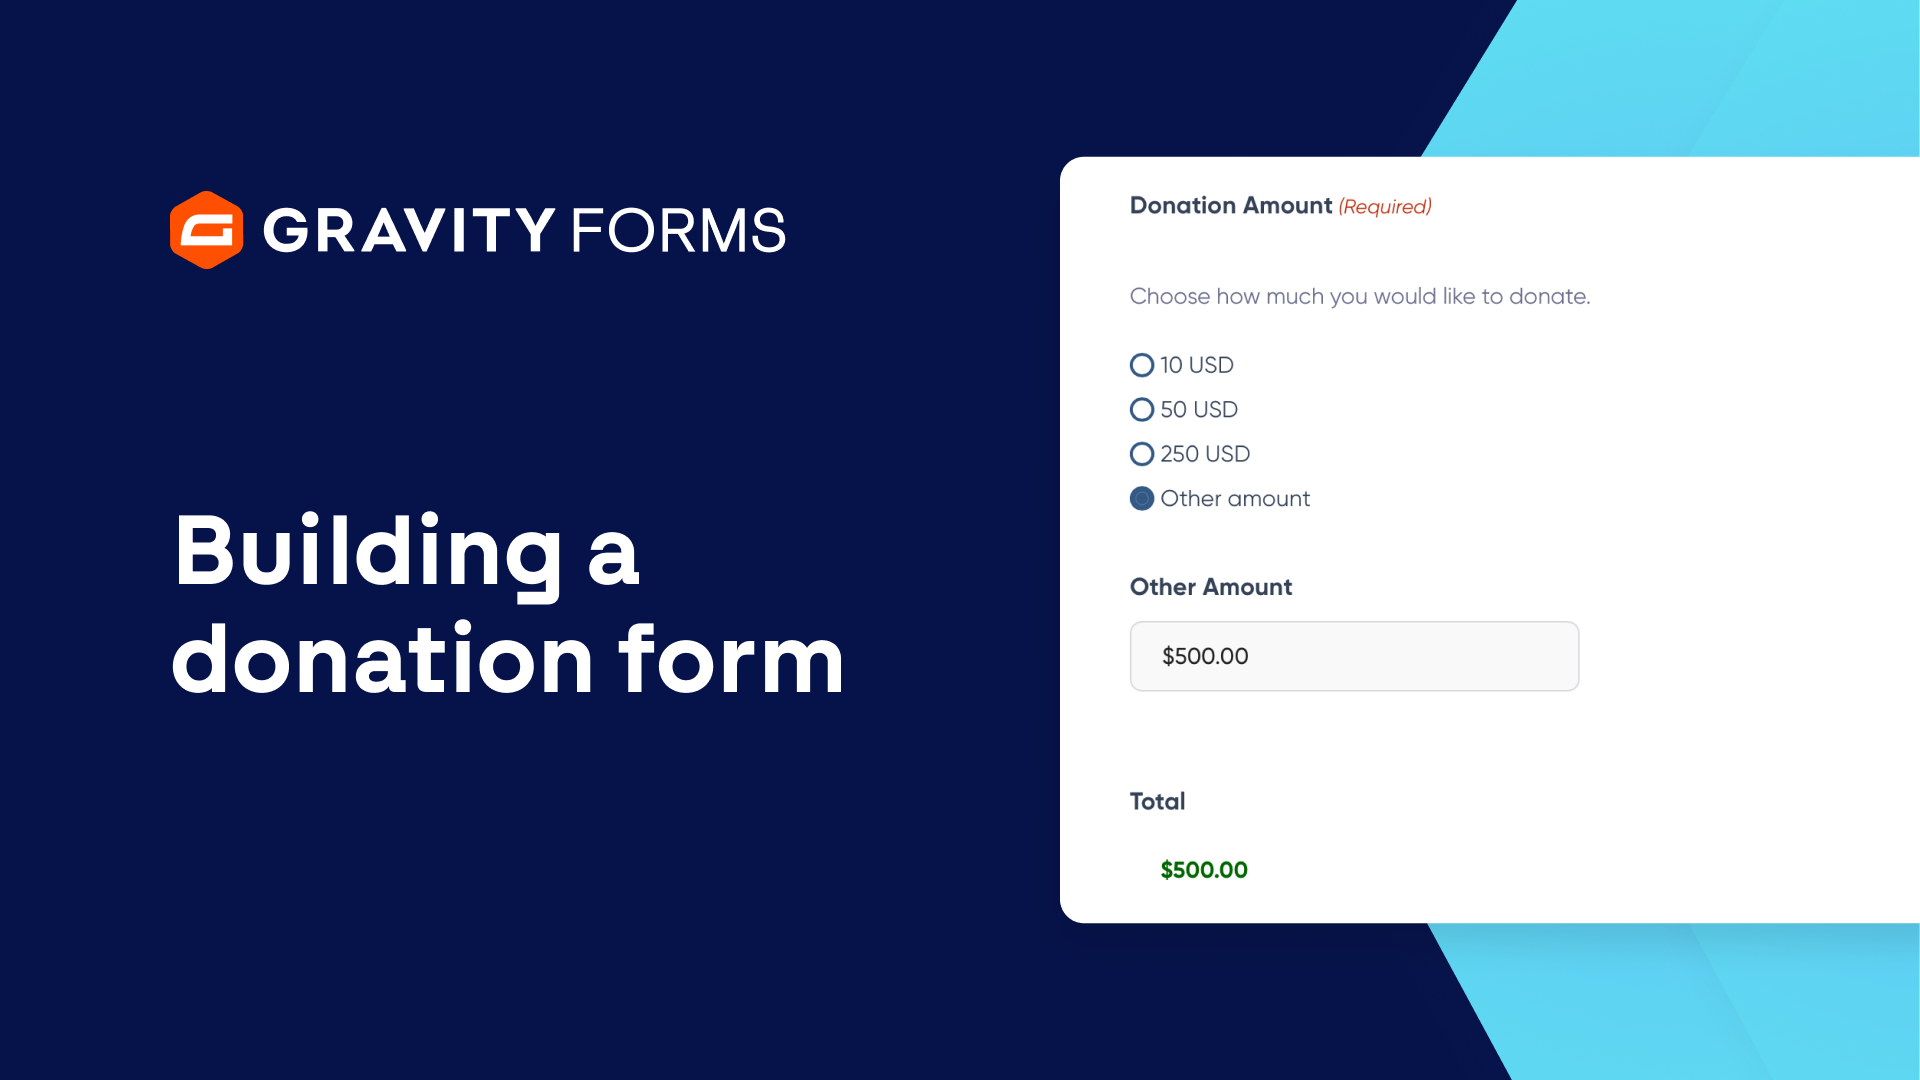
And it is very much that a simple donation form name, email address, the donation amount.
We have this other amount if somebody wants to donate another amount other than the ones described at the top.
And then it will show the total.
Now, in the form settings, you’ll notice that we prompt you to install a payment add-on.
There isn’t one installed on this particular site right now.
So we’re going to work through the setup process of that.
Again, using PayPal here.
That is the premise of today’s video.
So from here, we’re going to go to add-ons.
And we’re going to use the PayPal checkout add-on click install there.
That’s going to download it and then we’ll activate it for our website and then head back to forms and then settings.
And then we’ll click on the PayPal checkout section.
And because I’ve previously installed the PayPal add-on on this website before, the connection information is still there.
It’s still synced up in the WordPress database.
Everything is already confirmed and ready to go.
If you are setting up PayPal for your first time, you’ll have to set up a PayPal account.
You’ll have to set up a PayPal business account and then inform PayPal of the business information, the contact information, the business website, all that fun stuff.
I’ll link those walkthrough tutorials in the description so you can follow the PayPal documentation.
But once you are set up and ready to go, you can then connect your form feed to the PayPal checkout.
Let’s take a look at that.
Go back to forms.
And then if we hover over the donate to mat form, the one that we just set up, scroll down just a bit to this PayPal checkout.
Click that.
And then we’ll add that feed right here on this screen, clicking on add one.
And that will bring us back to our form.
And what we’ll do is bring in the PayPal field anywhere on your form.
I’m just going to put it right at the top.
And that’s going to put in the payment method.
And I’m going to drag that to the bottom.
Right below the other amount.
And then save the form.
Now you can see here that it has a PayPal checkout.
This is just a sort of quick preview.
Let’s go ahead and add this to the website because there are a few things I do want to show you right out of the gate after adding this field.
So the first thing you might want to do is add a donation page.
We’re going to hover over the pages in the WordPress admin bar and then click on add new.
Donate to mat as the page title.
And then we’ll go ahead and add the gravity forms block in and select our donate to mat form.
So we will hit publish and view the page.
And we can clean some of the stuff up in a second here.
But the thing I want to call your attention to is here’s the basic form fields that we saw when we were creating the form.
Let’s just click on the ten dollar USD payment amount.
And you can see all of these payment options that are available.
The credit card.
We can swap with the dropdown if you want somebody to choose just a credit card.
If you want somebody to check out with PayPal, they can select this stuff.
These payment gateways right here.
But we want to modify this.
Let’s clean this up a little bit.
Let’s go back to just editing this page for a moment.
We don’t want to replicate the donate to mat page titles and form titles.
So we can actually just hide these form description hit update there and that’ll hide that from the page.
That way your page title is whatever the primary title of the page that someone’s looking at.
And then we have the form below us.
Okay, let’s go back to editing this form.
Forms.
Edit.
And what we want to change here is let’s click on the PayPal field block.
What we’ll do is take a look at the supported payment methods.
Now you can always hover over this to get the question marks to get some more details here.
But this is where we can uncheck the other payment buttons.
So if we didn’t want that list of payment forms to form types to appear, we can hit save form.
Go back to the page and let’s just go donate.
Now when we check off the donation amount, we have just PayPal and credit card.
So if you didn’t want all of those other gateways to show up, you can just do PayPal and that’ll trim it down to just that.
Now what if we want to make credit card the default?
Oftentimes what we’re looking for is accepting a credit card right out of the gate instead of having somebody use PayPal or set up a PayPal account.
I know that can be worrisome depending on the checkout process.
Let’s go back to forms.
Edit the donate to map form.
Head back to the PayPal block.
Click on that.
Oops.
Scroll down.
And where we unselected the other payment methods, we can also change the default payment method to credit card.
And then once again that will default to showing the credit card payment fields instead of the PayPal by default.
You still have the drop down and everything that people can switch and swap back to if you want.
But if you want to default to credit card, that’s how you would do it.
So setting up a donate form using PayPal and gravity forms is fairly straightforward.
Pretty quick and easy once you’re using these templates.
And then you can come in and change the dollar amounts.
If this is not the donation amounts you want, we can edit the choices.
10, 50, 250.
You can modify these, add more, change them to whatever denomination you’re looking for in your donation form.
Check it out.
PayPal add-on.
Gravity forms making magic for donation forms.
Making it easy anyway for donation forms with gravity forms in PayPal.
And that’s it for today’s video.
Super easy.
Super straightforward to set up that PayPal donation form using gravity forms and PayPal.
If you liked it, give us a thumbs up.
If you have any questions, leave them in the comments below.
Subscribe to the channel if you want all of the latest gravity forms video goodness.
Of course you do.
That’s what you’re here for.
Hit subscribe and like today’s video.
Thanks for watching and we’ll see you in the next video.