For a written guide on customizing notifications, check out our docs site.
Welcome back to another video, Dustin here from the Gravity team.
If you want to stay on top of your form submissions or send emails to users when they submit a form, it’s a good idea to set up notification messages.
So in this video, let’s look at everything you need to know to get up and running with email notifications.
I’ve got an employment application form on my site that lets users apply for one of three different positions: a Marketing Manager, Software Engineer, and a Customer Support Representative.
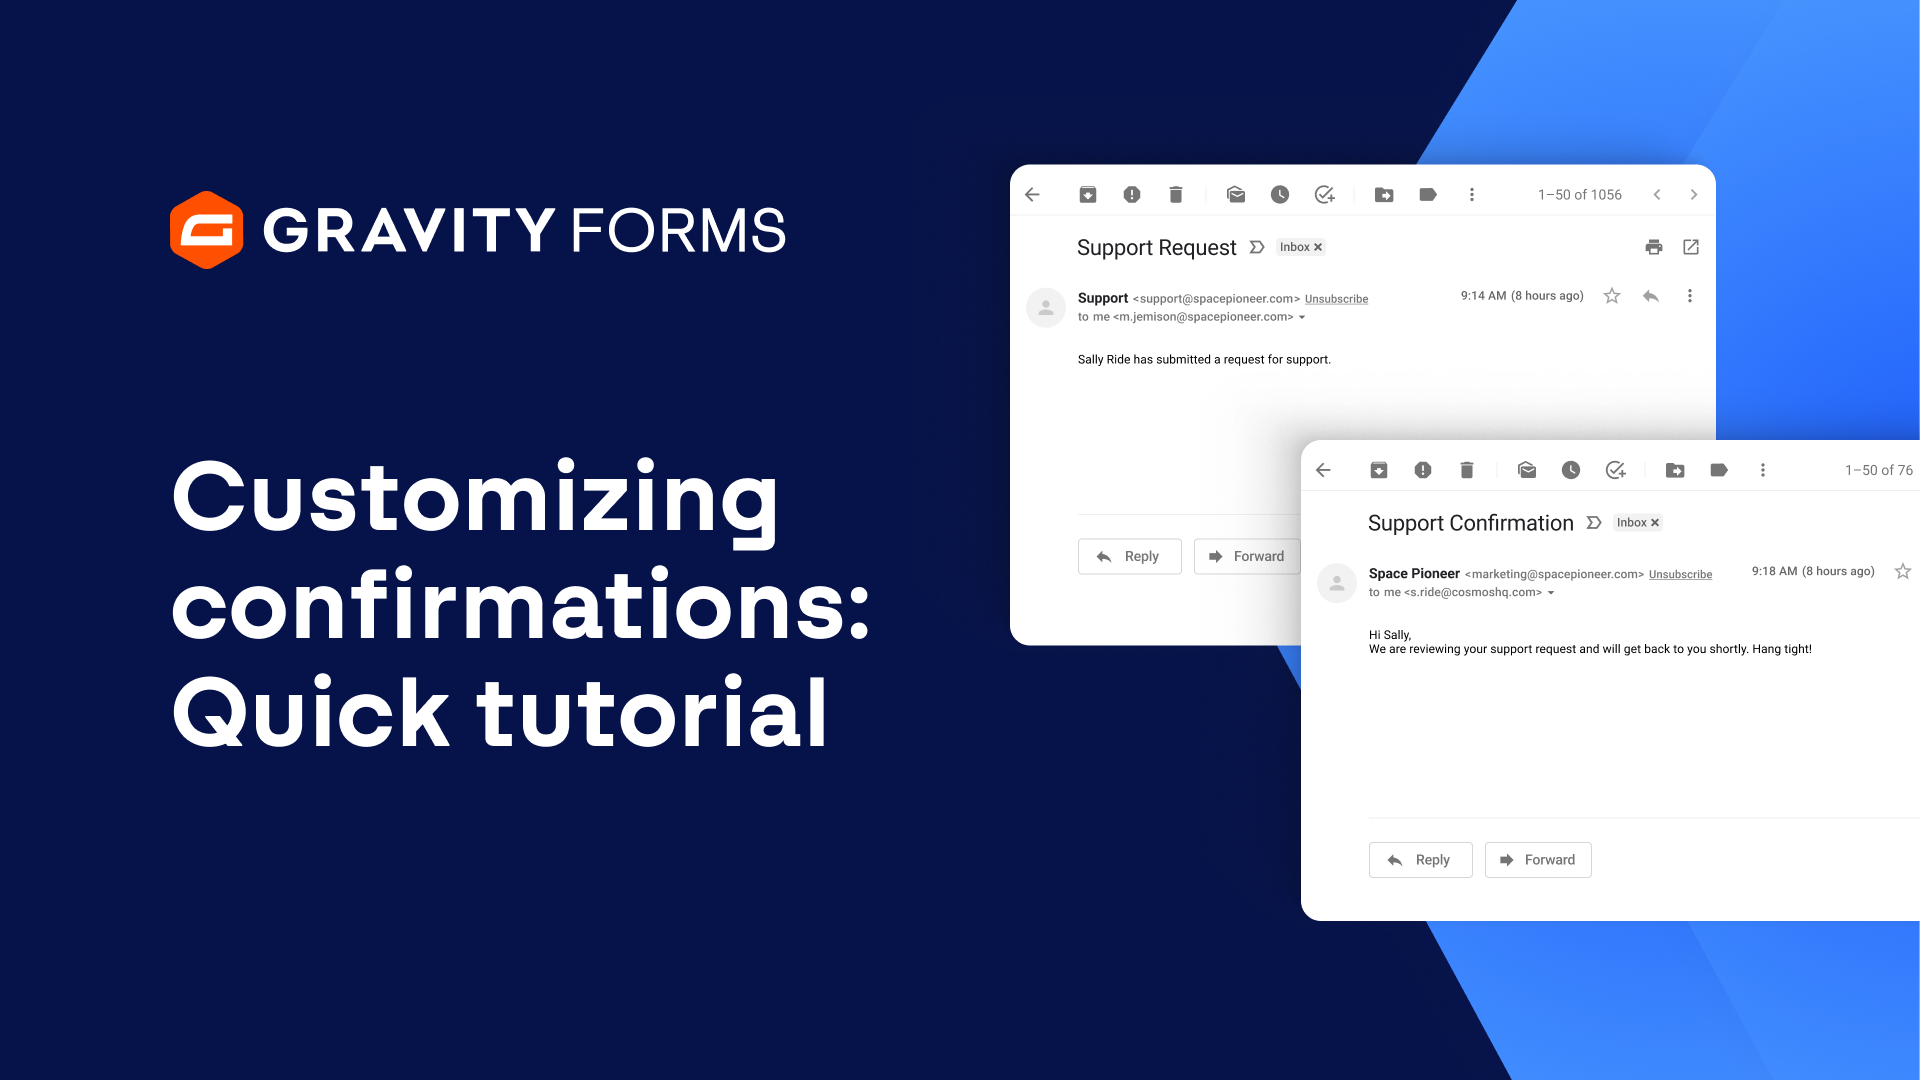
I’d like to send a notification email to the team leader for each respective position, as well as one to the user who submits the form.
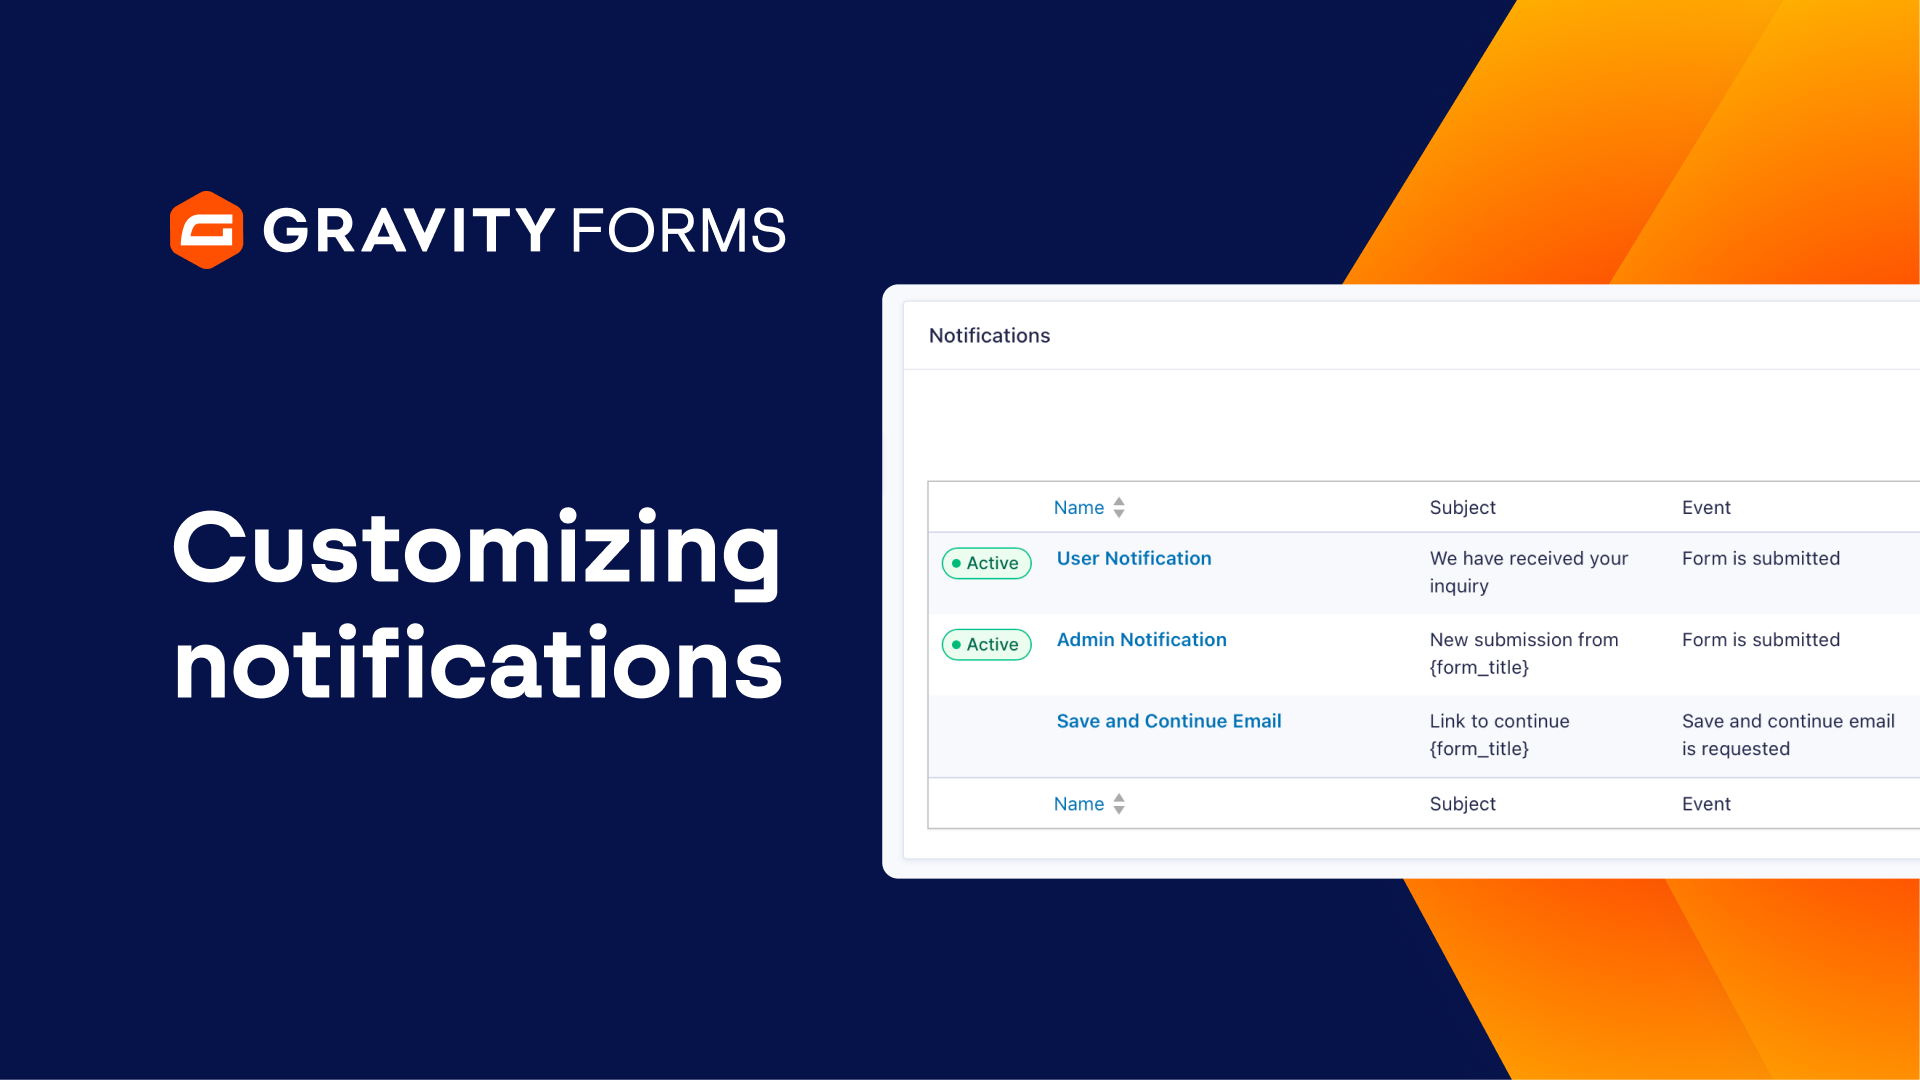
I’ll head to the settings for my form and select Notifications. Then, I’ll edit my admin notification and update its name. Next, I will need to configure the ‘Send To’ option. I can choose to enter an email address manually, select from a field, or set up conditional routing.
Since I’d like this email to go to different people based on the position the user is applying for, I’m going to select Configure Routing.
I’m going to create three routing options and send an email to either the Marketing, Product, or Support team leads. So now if someone applies for the Software Engineer position, this notification email will only be sent to the Product Team Lead.
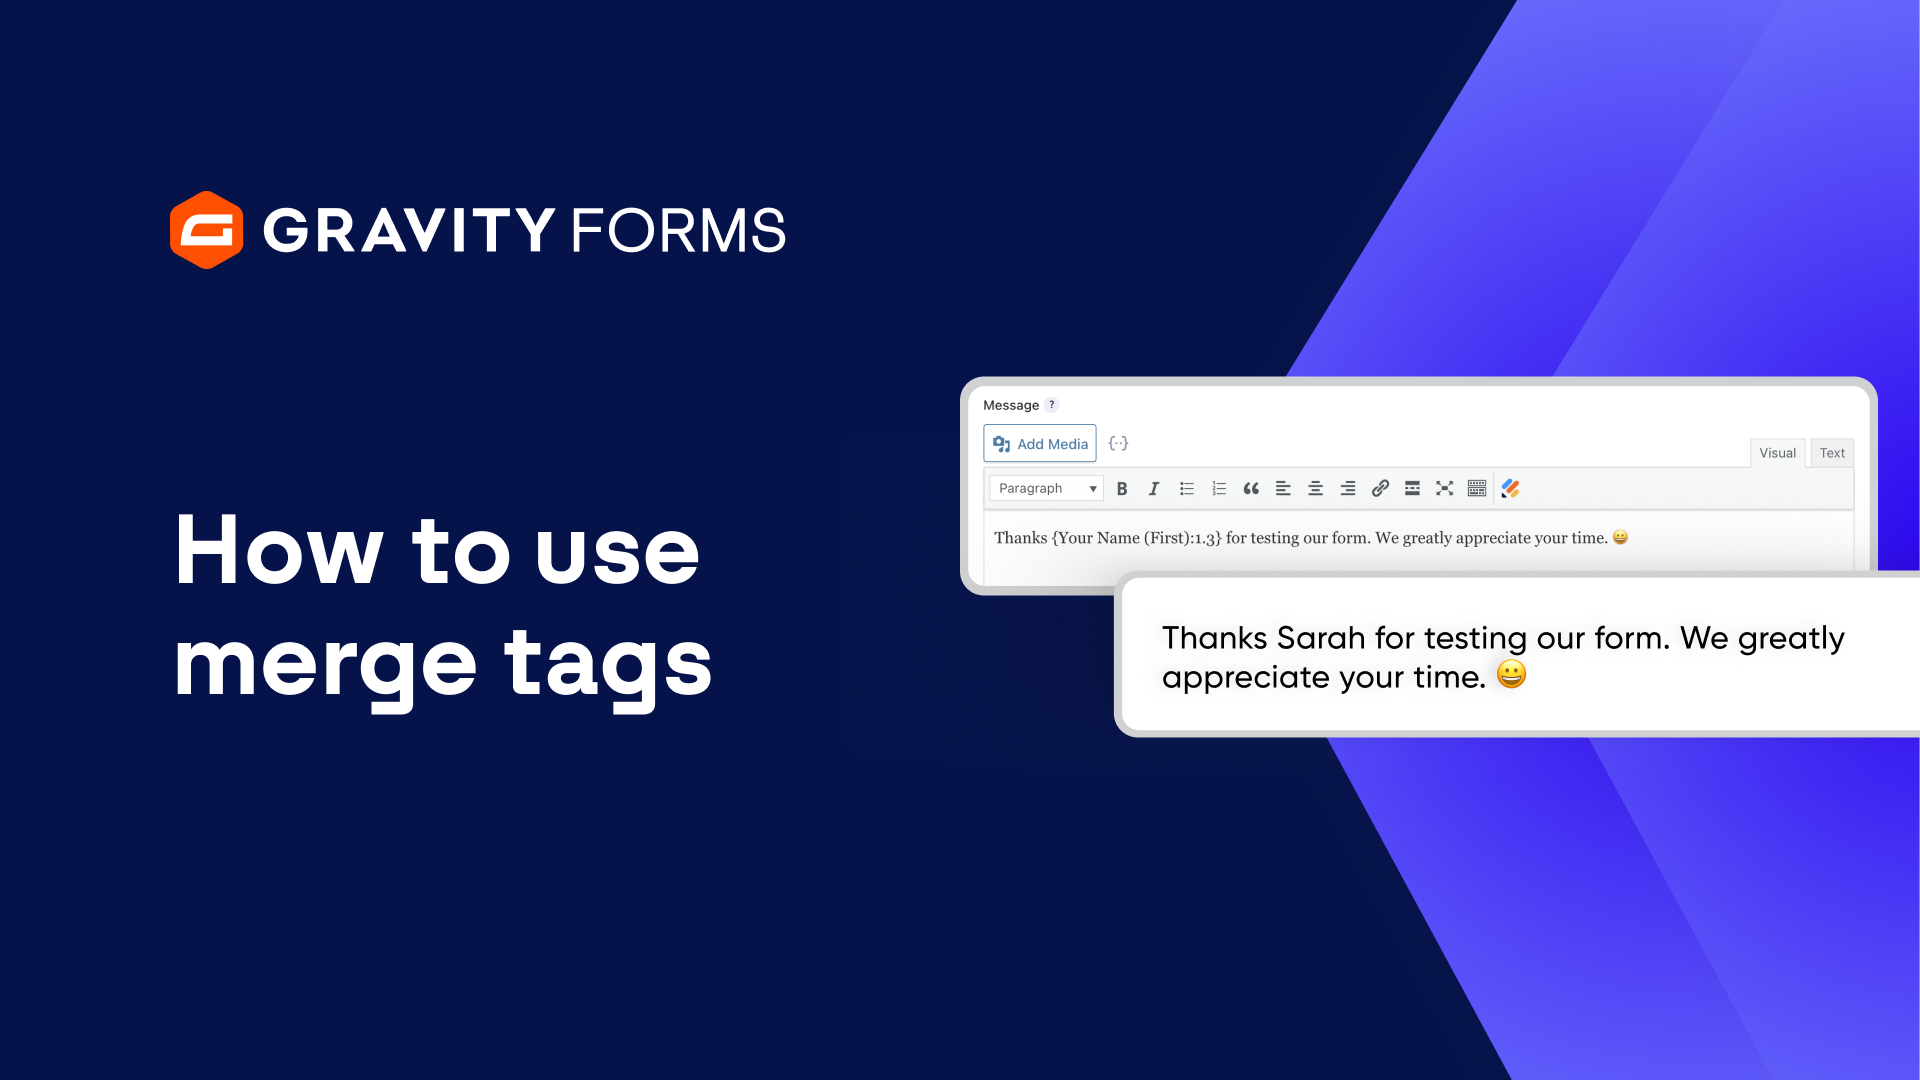
Next, I’ll use the First Name and Last Name merge tags in the From Name field. Now, thanks to merge tags, the applicant’s first and last name will appear as the sender of the email.
For the From Email field, I’m going to use the Admin Email merge tag, which will set the email’s from address to the email address configured in my WordPress settings. Be sure to note that you should always use your site domain in the from email to avoid deliverability issues.
If I set the Reply To field to the email merge tag, I’ll be able to easily send a reply to the email address the applicant submits on this form. I’m also going to add our HR department to the BCC field so that they have a record of the application.
I’ll also tweak the email subject to include the position the applicant is applying for. I can then customize the email message. The All Fields merge tag is very handy for admin emails as it will include all of the information the applicant submitted on the form.
Importantly, I can also choose to attach files uploaded via the File Upload Field to this email, which is a great option if you’d like the applicant’s resume or cover letter to be included in the email.
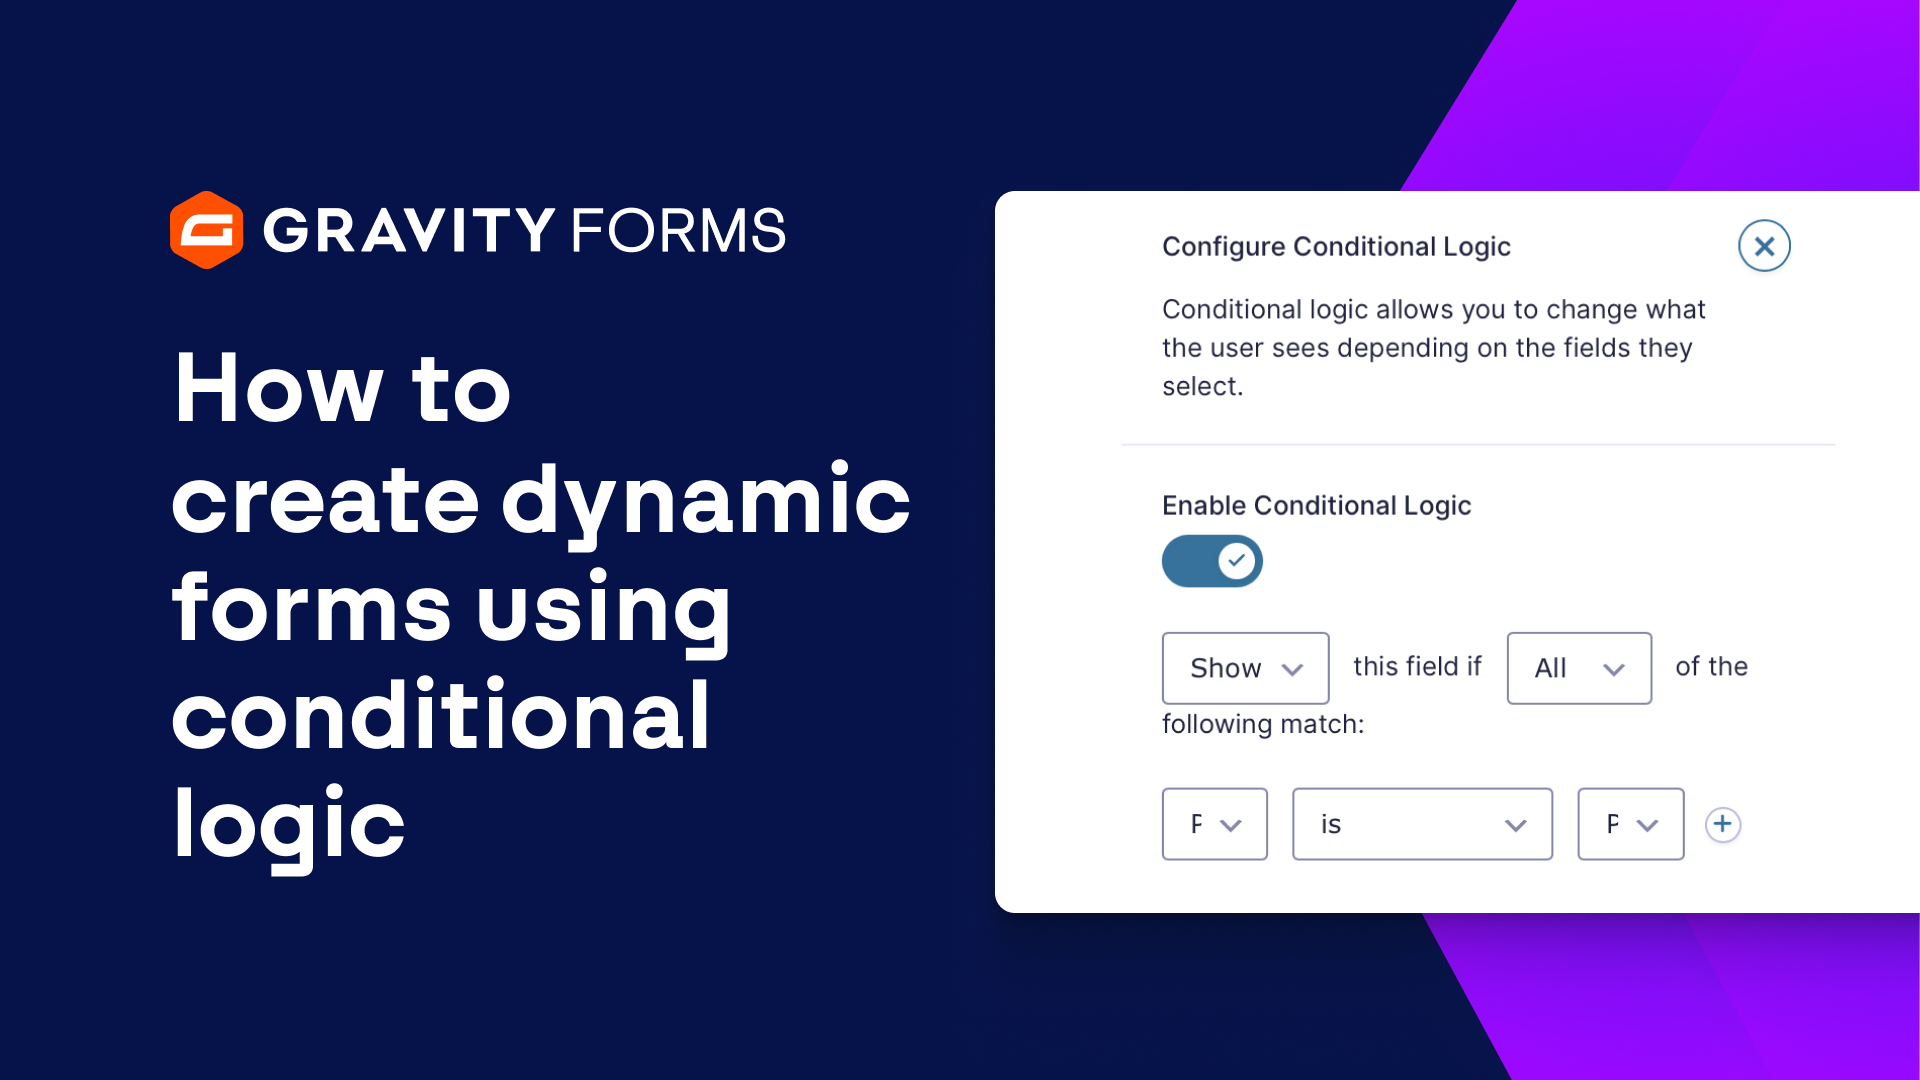
If needed, I could enable conditional logic as well and only send this email if certain conditions are met, such as the applicant indicating they are able to work remotely or willing to relocate.
Next, I’m going to set up the user notification, which is the email that the applicant will receive after submitting this form. I’ll create a new notification and give it an appropriate name.
Then, I’ll set the ‘Send To’ setting to ‘Select a Field’, then map the ‘Send to Field’ setting to its corresponding form field.
I’ll also add an appropriate subject for the email and write a notification message that lets the applicant know they can expect to hear back from us in one to two weeks. Then I’ll save my settings and submit a test submission to verify that everything is working correctly.
And with that, my notifications are all set up.
Thanks as always for watching, we hope this video helps. See you in the next one!
Summary
Whenever a form is submitted on your site, you can choose to receive an email notification, helping make it easy to stay on top of form submissions. In this tutorial, we will go over how to create and customize notifications for your forms.