Written by the editorial team at GravityKit…
You’ve built a form in Gravity Forms, entries are coming in, and now you want to put them to work on the front end of your site. Maybe you need a business directory visitors can browse, a job board people can search, or a table of event submissions your team can review. That’s what GravityView was built for.
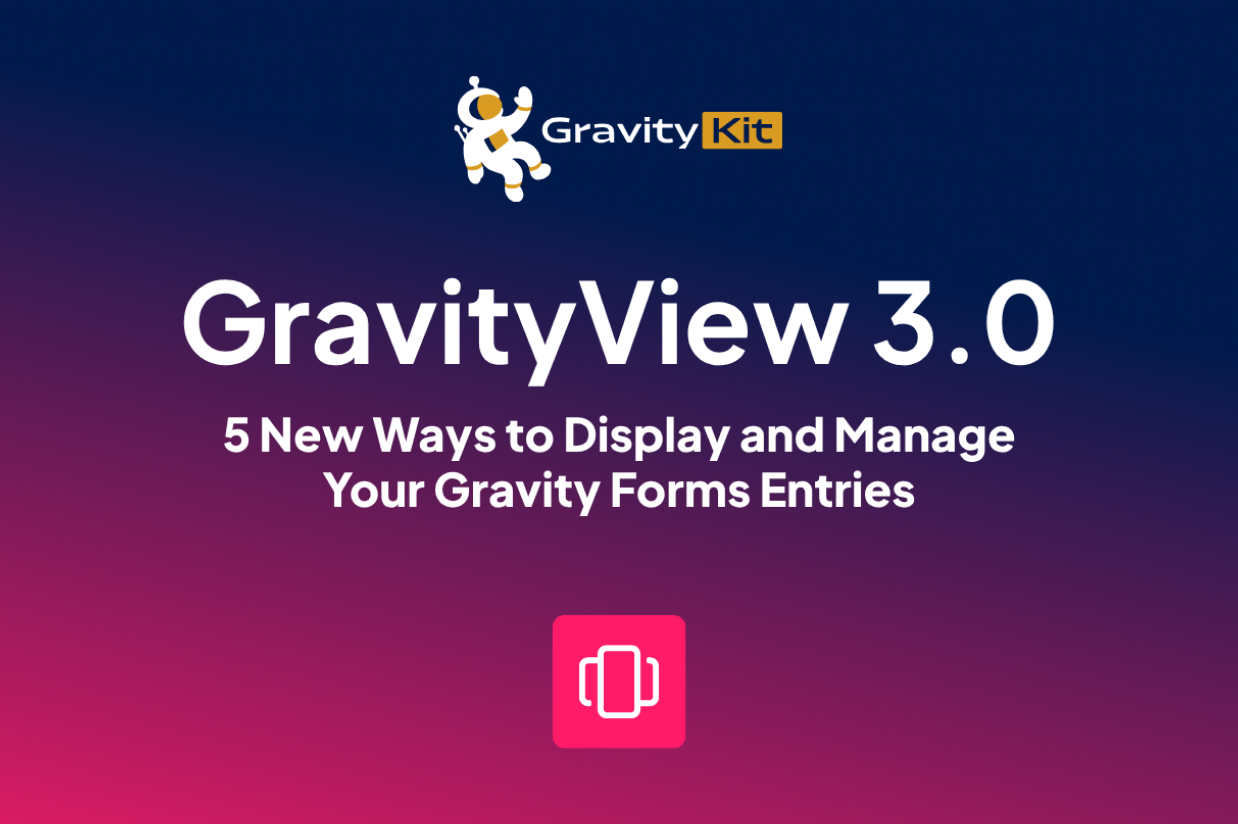
GravityView is a plugin that turns your Gravity Forms entries into searchable, sortable front-end displays called Views. With GravityView 3.0, you can now embed Views directly inside Elementor, Divi, and Beaver Builder, run bulk actions on the front end, restyle an entire View without writing a line of CSS, and even build a View just by describing it to an AI assistant.
Here is a closer look at what’s new in GravityView 3.0.
Note: GravityKit is a third-party certified developer and its add-ons are not supported by Gravity Forms. As always, we recommend you extensively evaluate all plugins to ensure their suitability for your purpose before installation on your website.
Drop a View into Elementor, Divi, or Beaver Builder
If you build pages with Elementor, Divi, or Beaver Builder, adding a View to a layout used to mean pasting in a shortcode and then loading the front end to find out whether it rendered the way you wanted.
GravityView 3.0 adds native modules for all three builders, so you can drag the GravityView widget onto your canvas, select a View, and watch it render live in the editor while you work. You keep full control while building inside the tool you already use.
Each builder gets five modules that mirror the GravityView blocks for the WordPress editor, which means you can place a full View, a single entry, an individual field, an entry link, or a block of View details exactly where you need it.
See Embedding Views in Divi, Beaver Builder, and Elementor for the walkthrough.
Bulk Update entries right from the Front End
GravityView 3.0 brings Gravity Forms-style bulk actions to your site’s front end with a new Bulk Actions View widget.
The supported actions include:
- Approve or disapprove entries – Moderate submissions in place, which is ideal for a user-submitted directory or job board.
- Edit, delete, or export entries – Take care of routine cleanup and reporting without opening wp-admin.
- Download attachments – Bundle every uploaded file across the selected entries into a single zip.
- Resend notifications – Trigger notification emails again for a selected batch of entries.
Larger jobs run on GravityKit’s background processing, so selecting hundreds or thousands of entries will not leave you watching a spinner. For full details read Frontend Bulk Actions in GravityView.
Style a View without touching CSS
GravityView 3.0 ships with Vantage, its first built-in theme. Switch it on from the new Styles tab in the View editor and your View picks up a clean, modern design that adapts to your site’s fonts and colors.
Vantage works with every layout, including Table, List, Layout Builder, and DataTables, and it styles the whole View, down to the search bar and the buttons on the Edit Entry screen. It also adds a card grid, so you can:
- Show entries in multiple columns instead of one long list.
- Set how many columns appear and turn on equal-height cards for even rows.
- Keep everything responsive, stacking to a single column on smaller screens.
New Views use Vantage by default, and existing Views keep their current styling until you choose to switch, so nothing shifts on your live site unexpectedly. Prefer to write your own CSS? Vantage exposes design tokens you can override cleanly.
Build a View just by describing It
The free GravityKit MCP connects an AI assistant like Claude to your Gravity Forms setup, and GravityView 3.0 adds a full set of View-building tools to it. You describe the View you want in plain language, and the assistant builds it for you to review.
For example, you might ask it to build a table View from your job application form showing name, position, years of experience, and email, then add a search bar and turn on the Vantage theme. From there you can keep refining in the same conversation, such as asking it to switch the layout to a three-column grid, or add a link to the Single Entry page.
A few things worth knowing:
- It works with any MCP-capable client, including the Claude desktop app (a paid Claude plan is not required).
- It is opt-in, since the connection is something you set up rather than something that runs by default.
- It is built on the WordPress Abilities API introduced in WordPress 6.9.
- It also understands Gravity Forms, so you can create a form and build a View for it in a single conversation.
Read Creating Views With AI Using the GravityKit MCP to connect it.
A few smaller upgrades worth knowing
Alongside the headline features, GravityView 3.0 includes several refinements that smooth out day-to-day work:
- Date range searches with presets – Let visitors filter by ranges like the last 7 days, the last 30 days, or a custom window.
- A more flexible pagination widget – Decide how the pagination links are displayed.
- Field preservation when changing layouts – Switch a View’s layout without rebuilding your field configuration.
There is more where those came from in What Else Is New in GravityView 3.0.
How to get GravityView 3.0
If you already use GravityView, version 3.0 is a free update. Update the plugin from your WordPress dashboard and the new features are ready to use. If you’re not yet a GravityView user, give it a try and start building Views from your Gravity Forms entries today!