
Spam can be a major problem for any type of form. To help our customers combat spam form entries, last month we released the Gravity Forms reCAPTCHA Add-On, providing support for Google reCAPTCHA v3.
Previously Gravity Forms has provided built-in support for Google reCAPTCHA v2 – with the new reCAPTCHA Add-On all Gravity Forms customers can now also integrate Google reCAPTCHA v3 into any or all of their forms.
Read on to find out how Google reCAPTCHA can help reduce the number of spam form entries you receive, the differences between reCAPTCHA v2 and v3, and importantly, how to add reCAPTCHA to any of your forms. We will also share advice on other anti-spam options, including further Gravity Forms Add-Ons and built-in features.
Google reCAPTCHA: An Introduction
Spam form entries can be a source of great annoyance, especially if high in number. But using Google reCAPTCHA with your forms can help!
Google reCAPTCHA is a free security service that protects your website from fraud and abuse. By adding reCAPTCHA to your forms, you can reduce form submissions from automated software, while still ensuring a user-friendly experience for ‘human’ users.
As mentioned, Gravity Forms now offers support for both Google reCAPTCHA v2 and v3. Let’s find out more about both of these options, and how to implement them into your forms…
Google reCAPTCHA v2
Gravity Forms has built-in support for Google reCAPTCHA v2, and integrates with both Checkbox and Invisible reCAPTCHA.
Checkbox reCAPTCHA
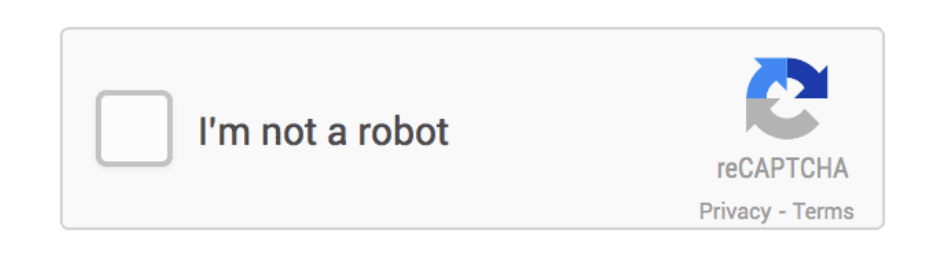
Checkbox reCAPTCHA requires a user to click a checkbox to indicate that they are not a robot.
Invisible reCAPTCHA
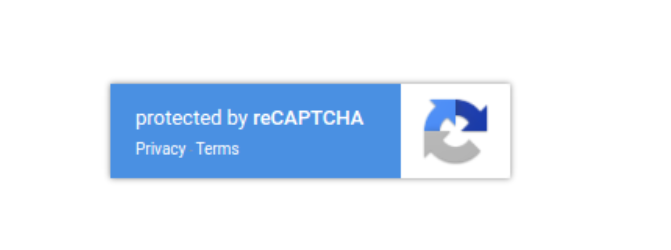
Invisible reCAPTCHA simply displays a badge on your form and does not require every user to complete a CAPTCHA test – a test is only displayed if Google suspects suspicious traffic.
Google reCAPTCHA v3
 Gravity Forms now also provides support for Google reCAPTCHA v3 via one of our newest integrations – the Gravity Forms reCAPTCHA Add-On.
Google reCAPTCHA v3 was introduced to capitalize on the evolving technology of spam and bot detection that Google had implemented, and to try to make the reCAPTCHA experience as frictionless as possible by not interrupting the user.
reCAPTCHA v3 works by tracking actions on your site – Google then uses the data collected to identify possible spam or bot activity. All interactions on your site are given a score, with 1.0 being a likely good interaction, and 0.0 probably a bot.
When a form entry is submitted, the Google reCAPTCHA score that is generated by the interaction is then stored with the form entry. Gravity Forms will compare the score to the threshold established in your settings, and if the entry is less than or equal to that threshold, the entry will be sent to spam.
Using Google reCAPTCHA v3 not only helps identify spam entries, it also ensures that your users aren’t interrupted during a form submission, which could lead to higher conversion rates. However, it is important to note that the use of reCAPTCHA v3 requires the sending of user behavior information from your site pages to Google servers.
For more information on these two reCAPTCHA options, and to help you pick the right one for your forms, check out this Google reCAPTCHA guide.
How to Add Google reCAPTCHA v2 to a Form
Adding Google reCAPTCHA v2 to a form is a quick and easy process, although the first time you do it you will need to sign up for a free Google account and integrate it with your website. Let’s take a look at this process…
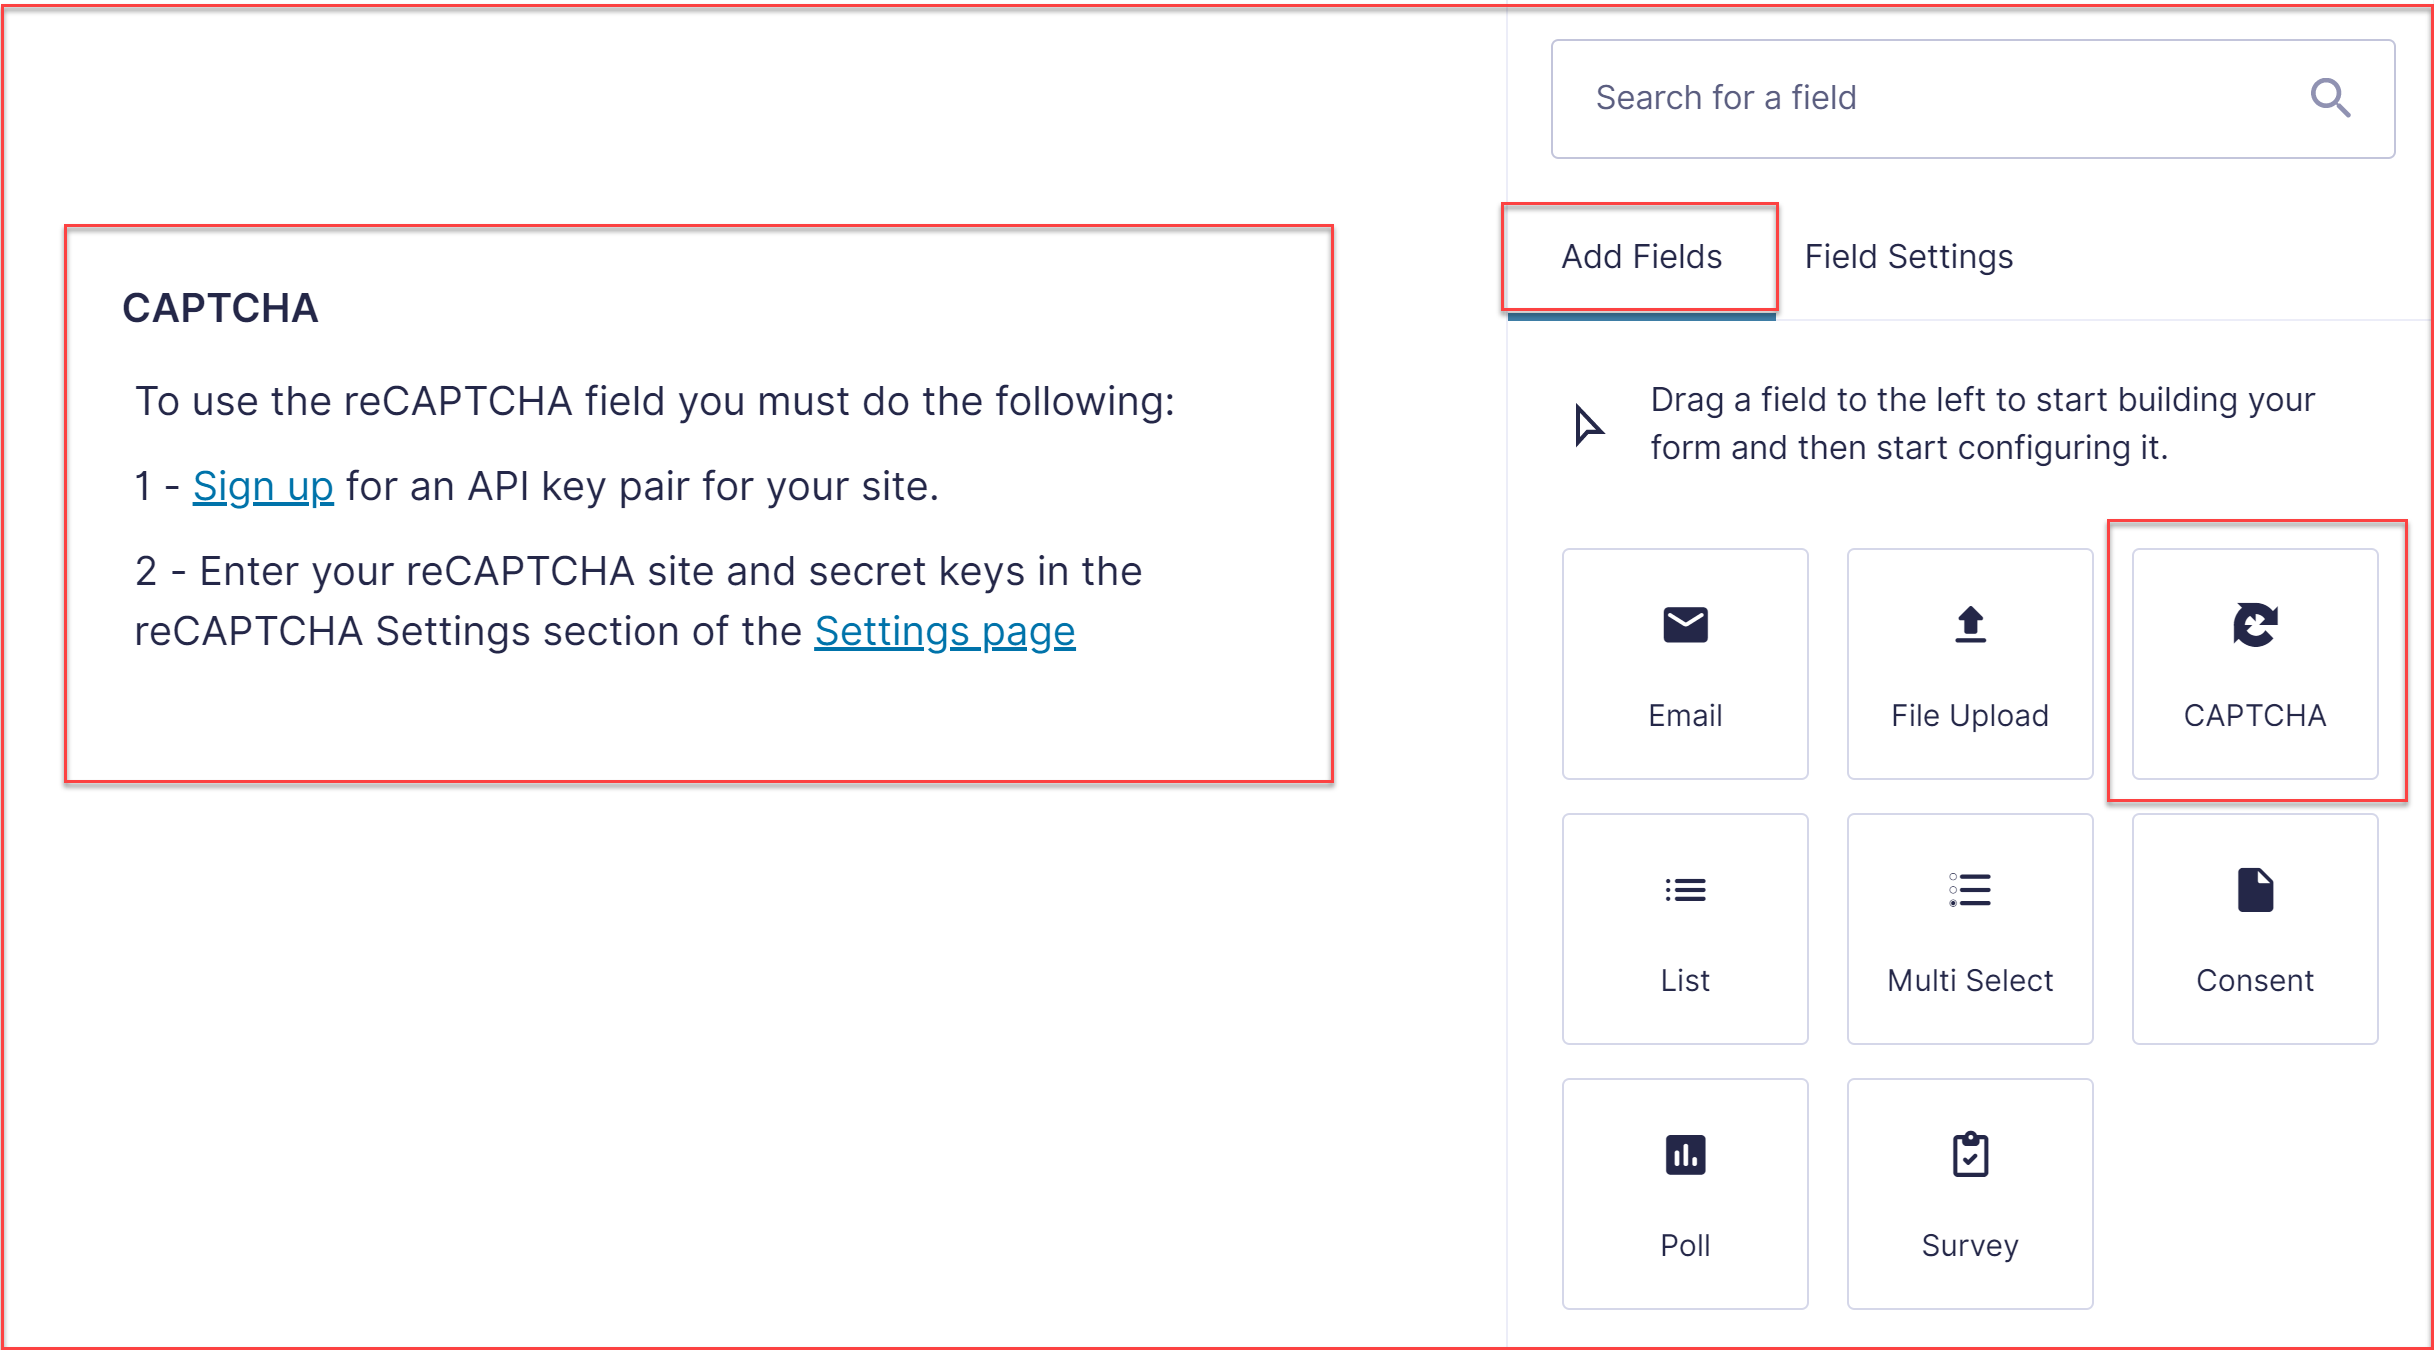
To get started, open a form that you would like to integrate with Google reCAPTCHA v2. At the bottom of the form, add the CAPTCHA field, which you can find under Advanced Fields.
As you can see below, the CAPTCHA field will instruct you to sign up with Google for an API key pair for your site. To do this, click on the link Sign Up.
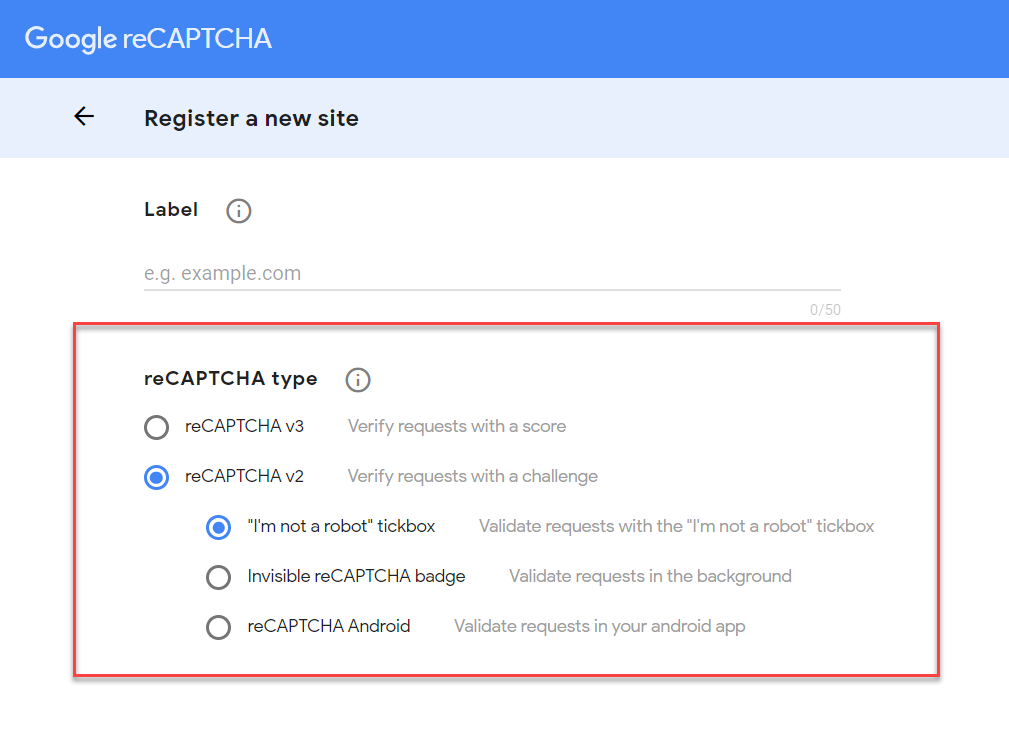
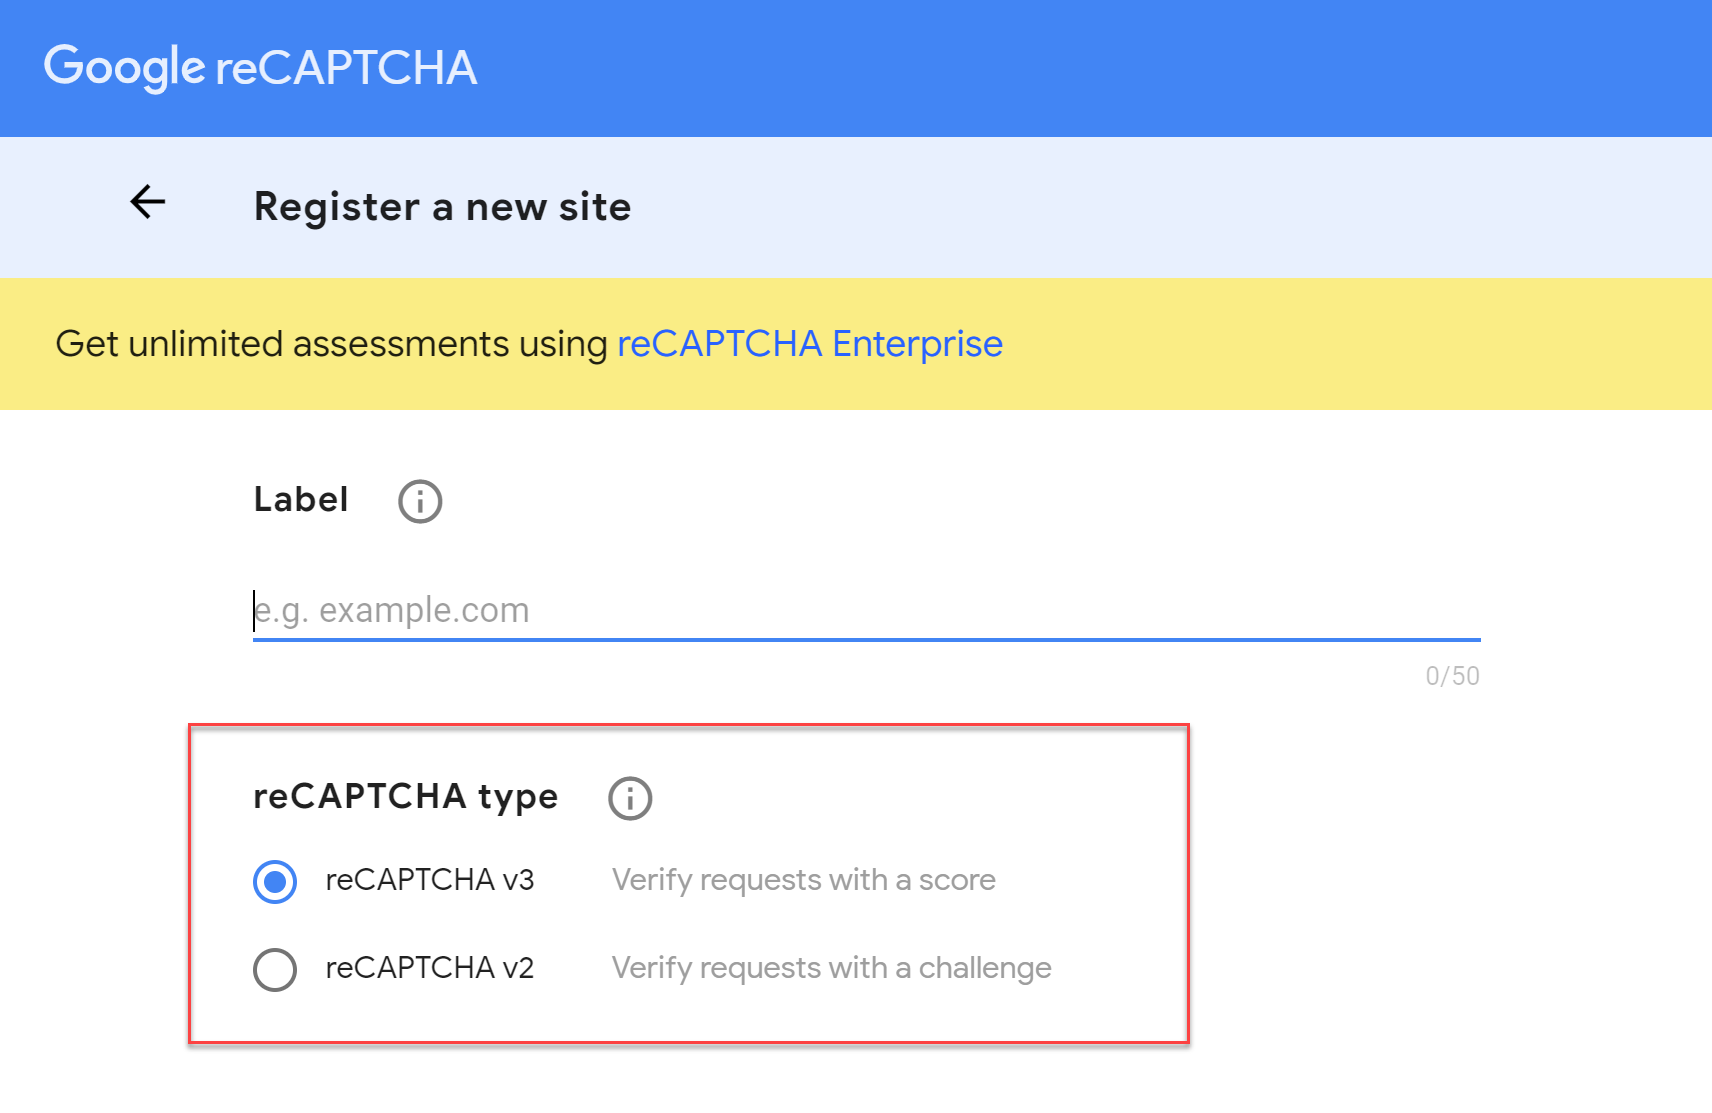
 Google will now ask you to register your site. Make sure you select Google reCAPTCHA v2 and then here you can see we have chosen ‘I’m not a Robot’ Tickbox.
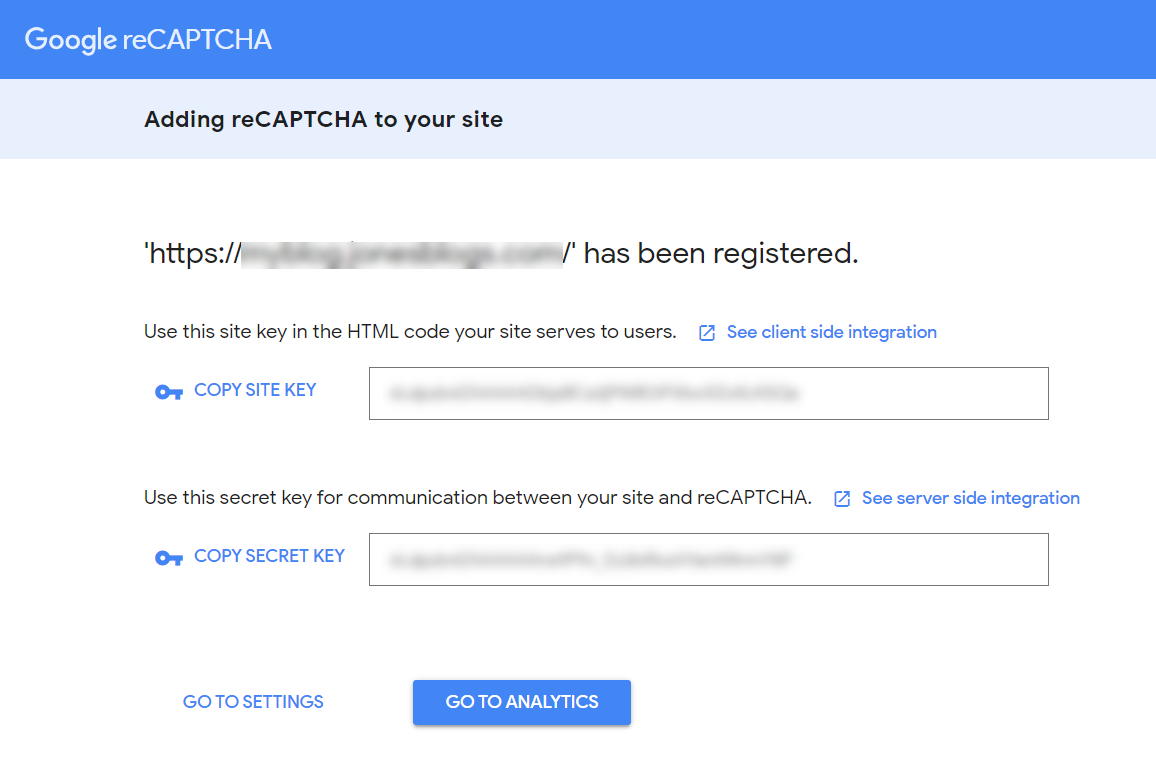
 Google will now provide you with a Site Key and a Secret Key.
 Switch back over to your WordPress dashboard and click on Forms > Settings from the left-hand side menu. Then select reCAPTCHA and, under reCAPTCHA Settings, paste in both the keys.
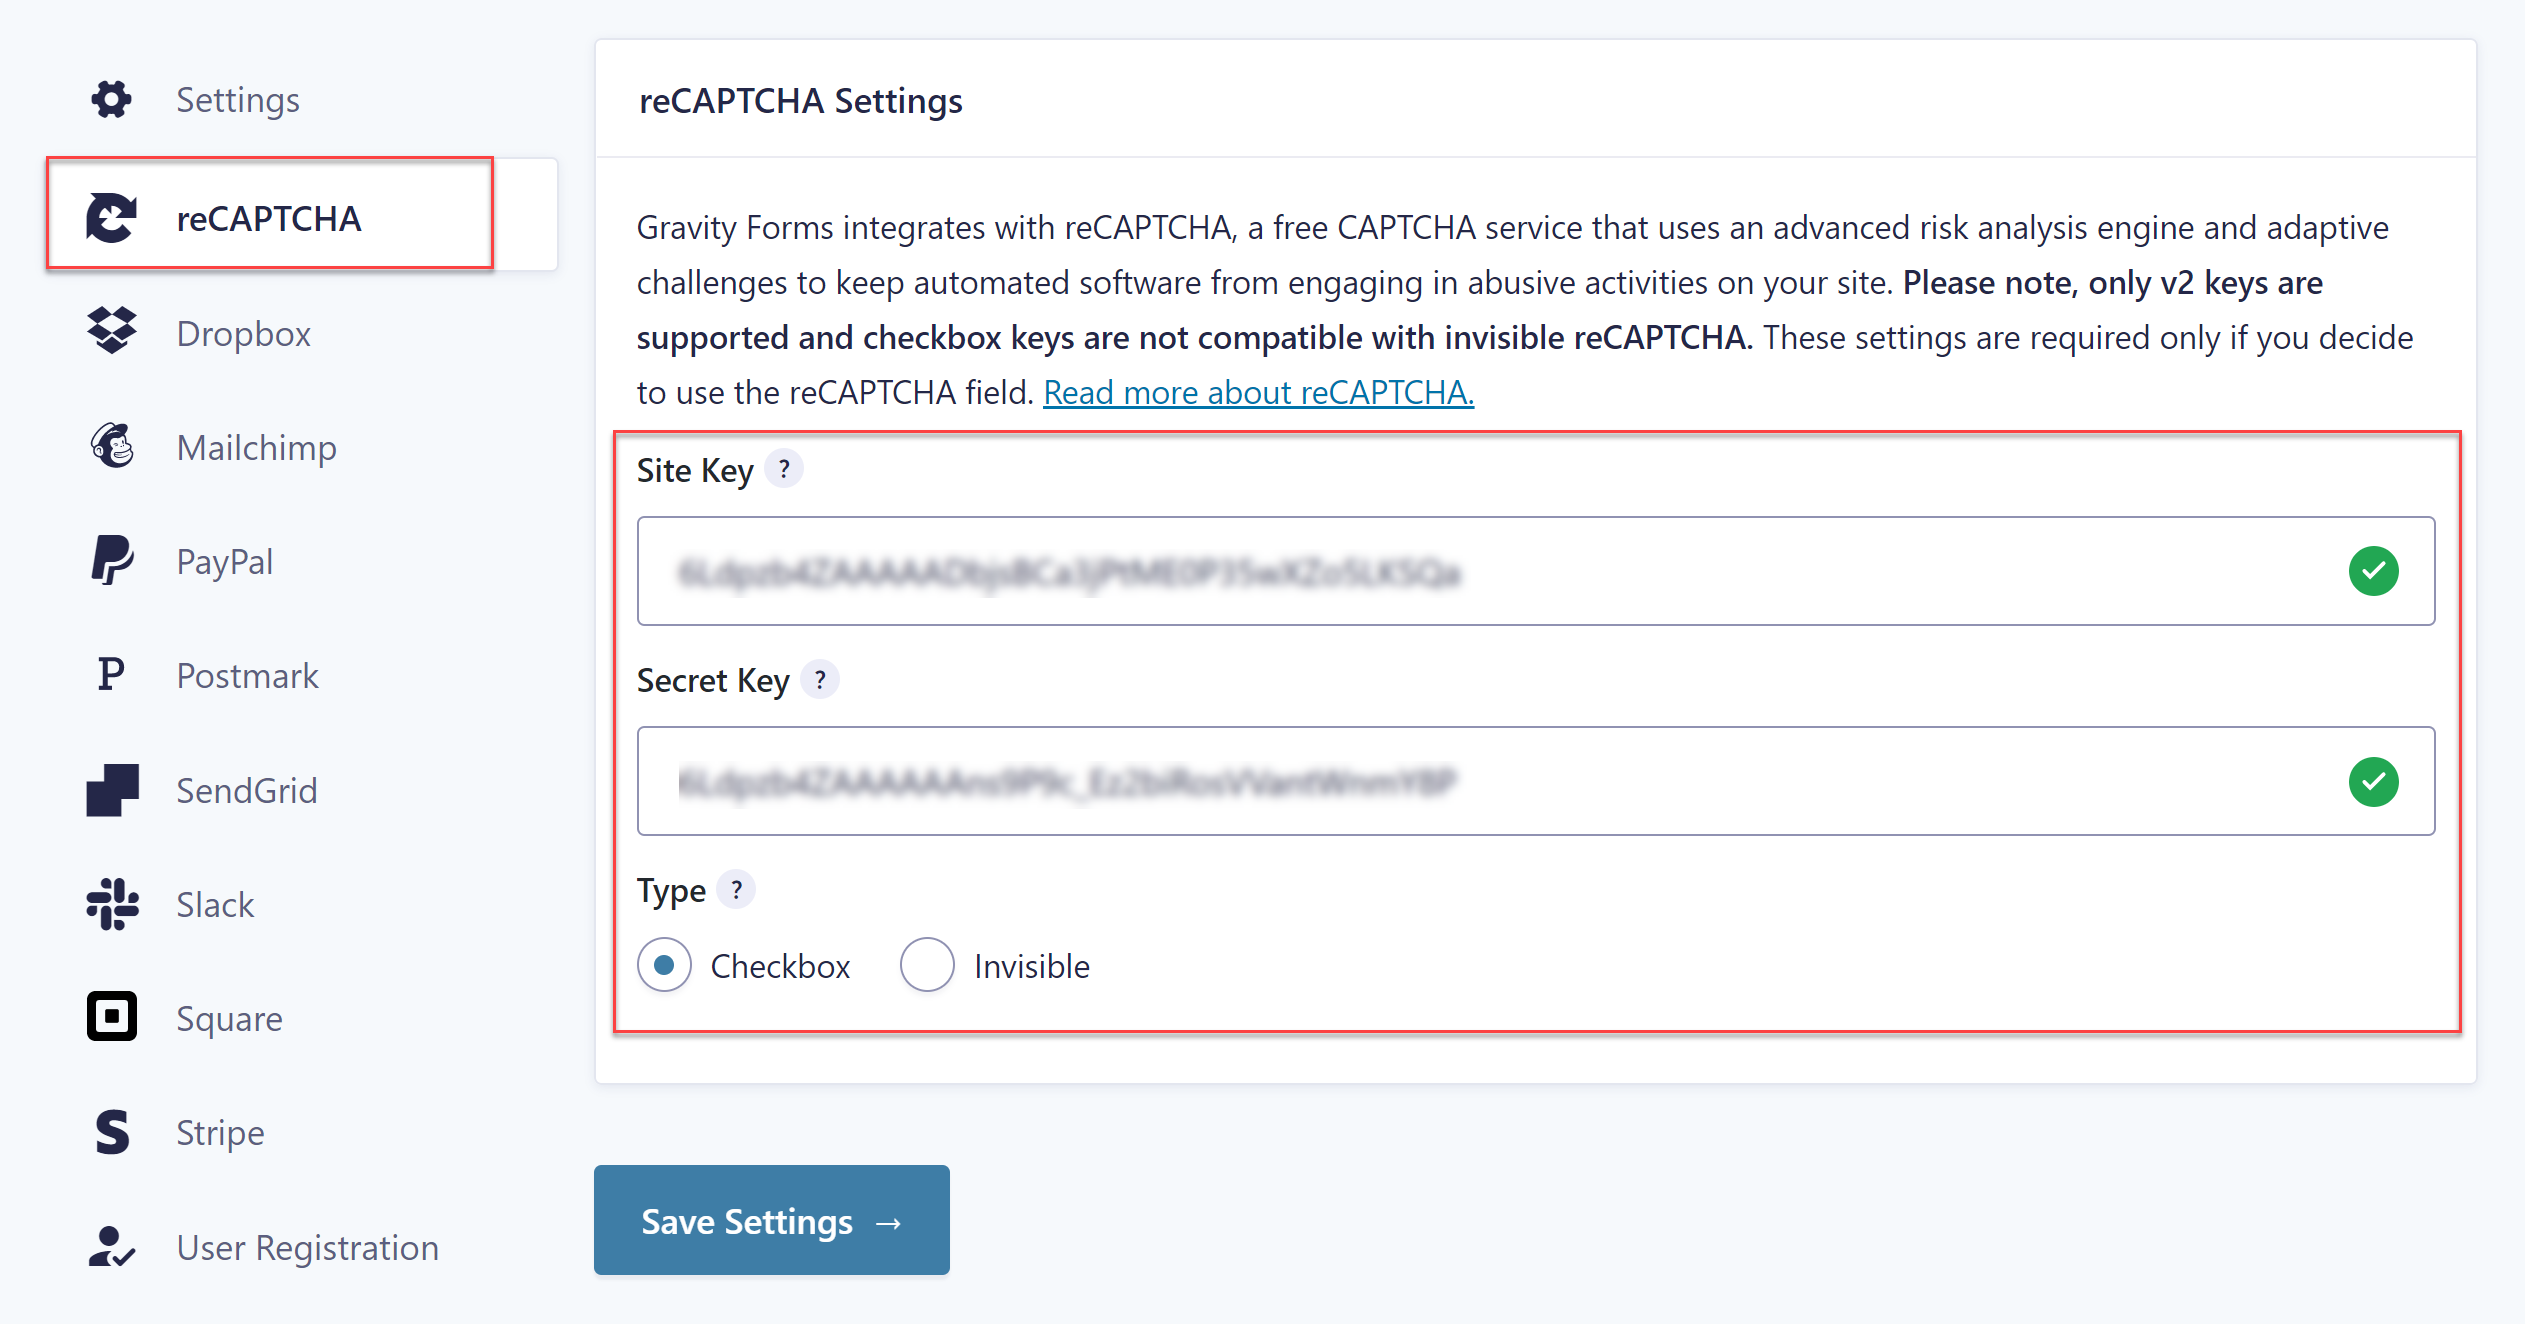 Select the type of reCAPTCHA you have opted for – Checkbox or Invisible – then click on Save Settings.
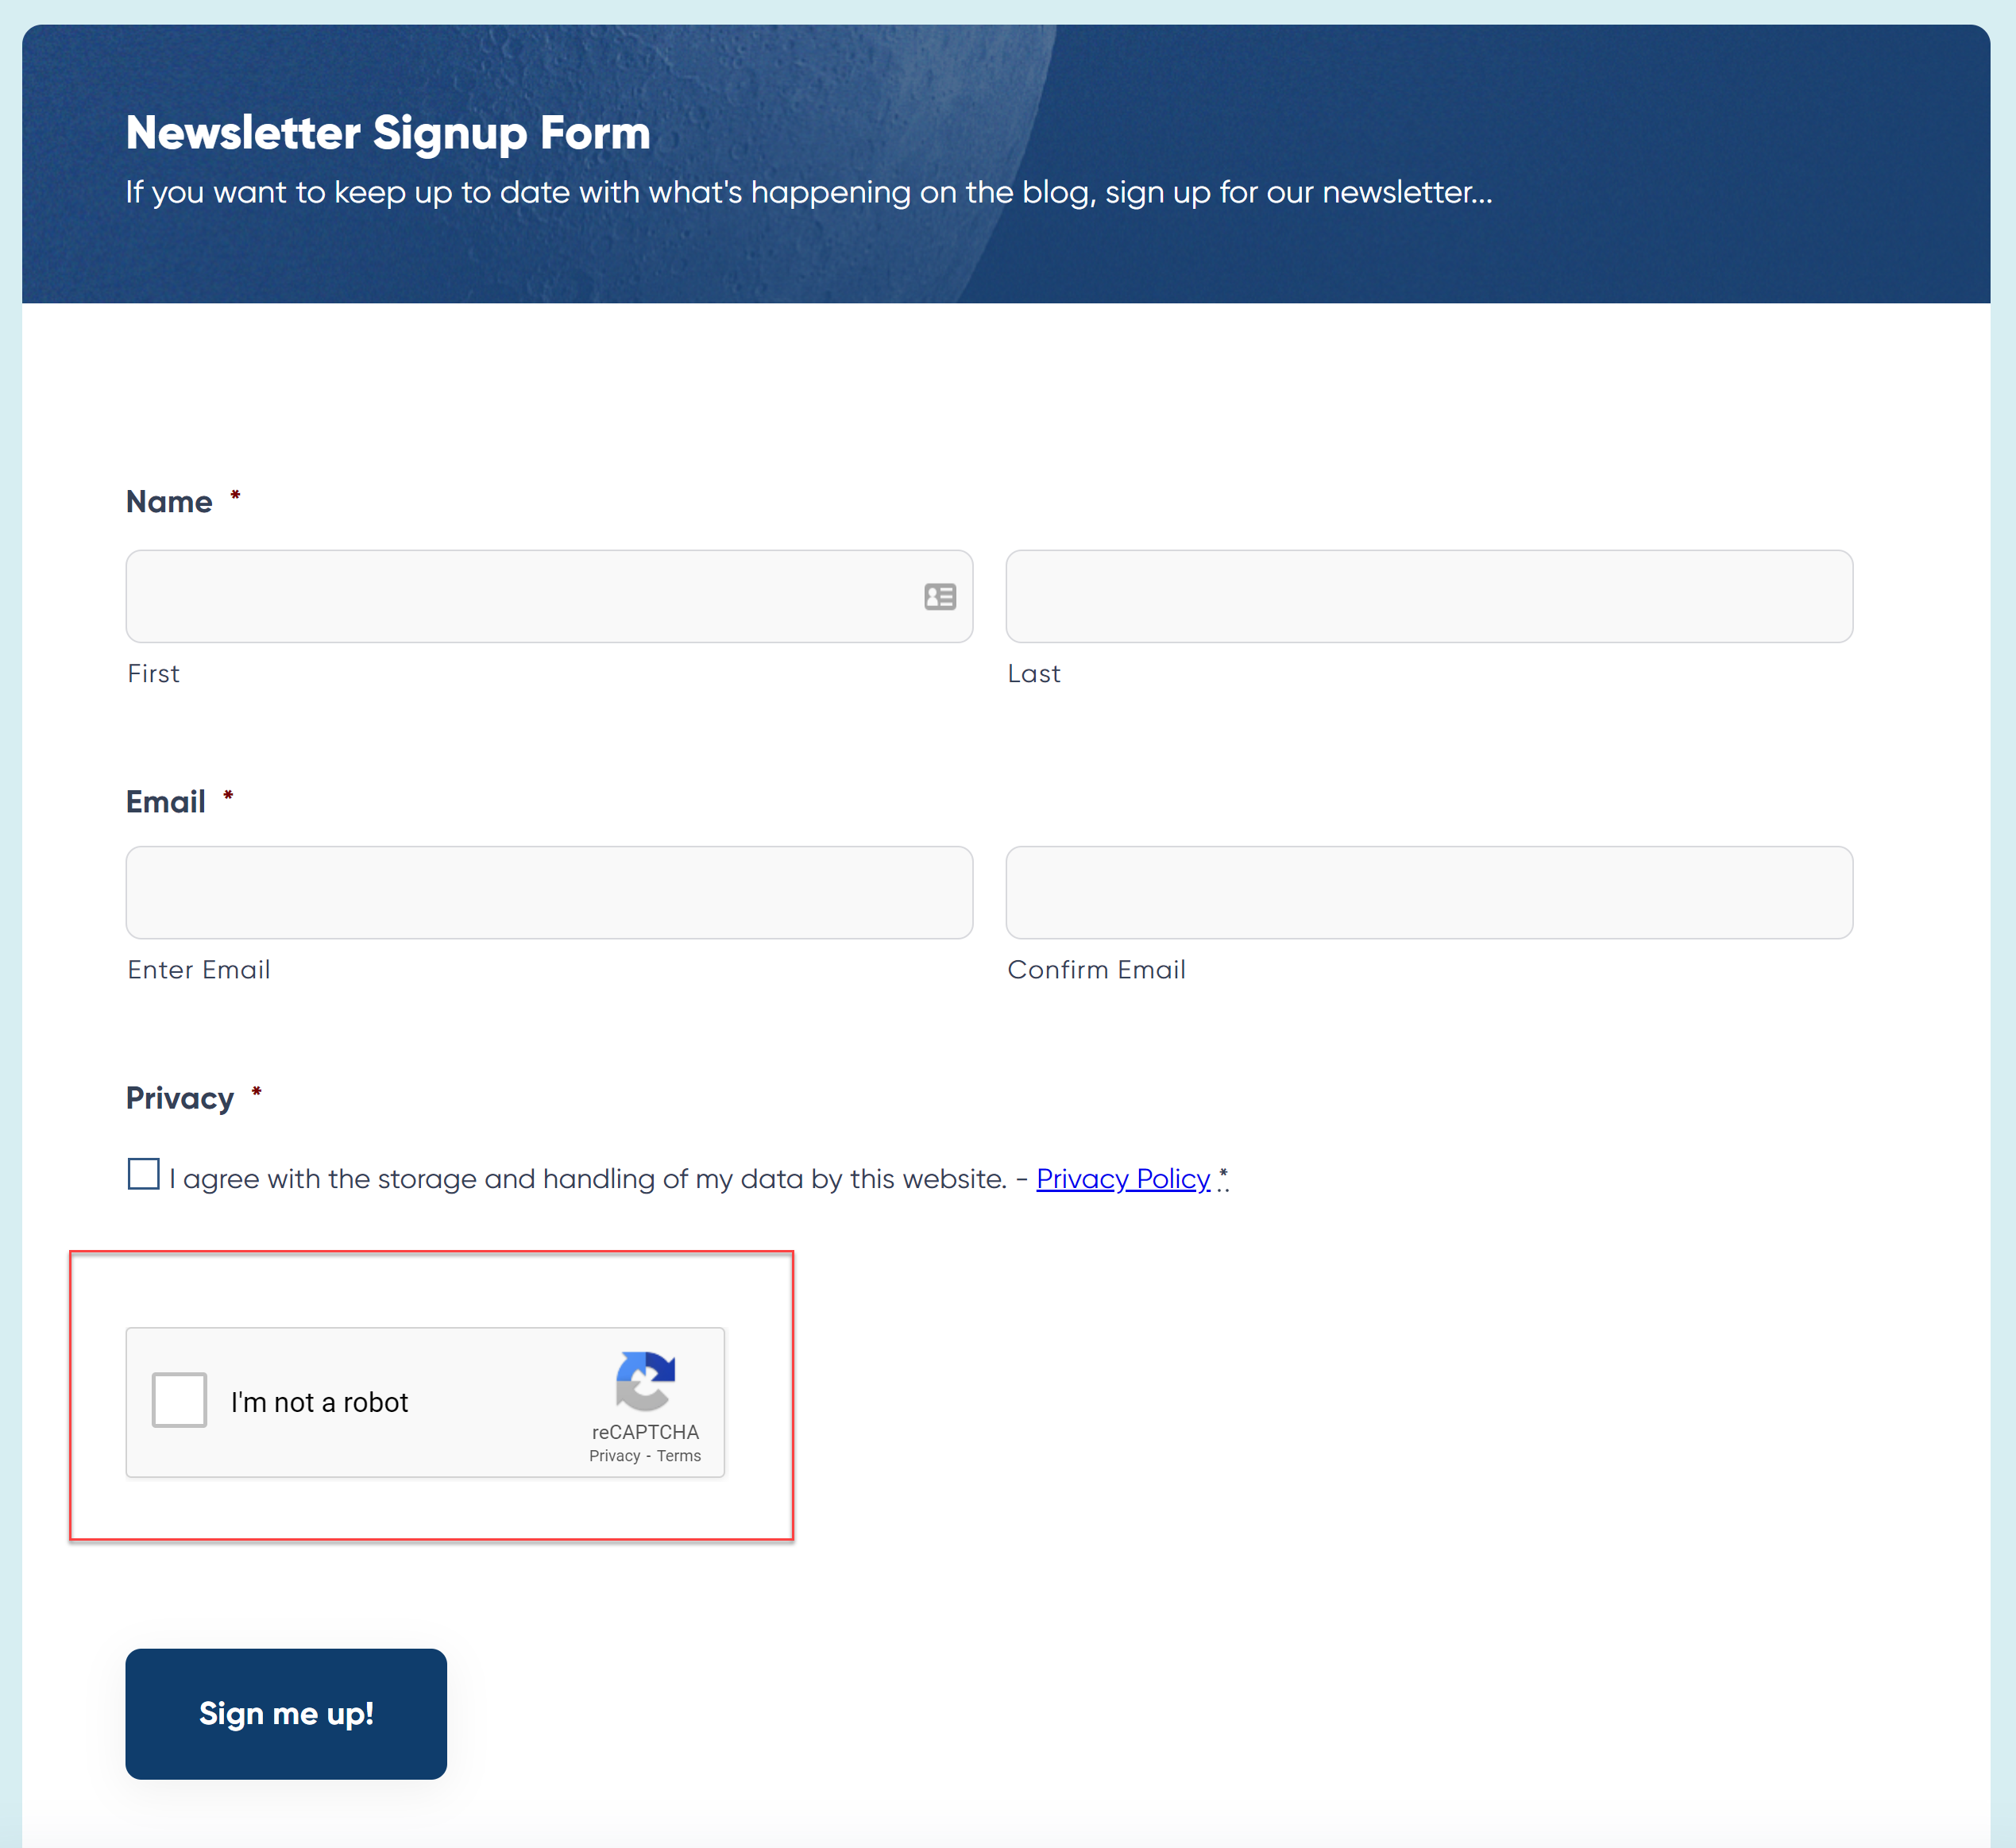
Now switch back to your form – click Update to save what you have already created and to refresh the page. You will now see your CAPTCHA field is displaying a reCAPTCHA v2 tickbox.
 For more information on Gravity Forms and reCAPTCHA v2, check out the documentation.
How to Add Google reCAPTCHA v3 to a Form
To integrate Google reCAPTCHA v3 into your forms, you will need to first install the Gravity Forms reCAPTCHA Add-On. This add-on is available with ALL license types, although Gravity Forms 2.5 (or higher) is required to enable it.
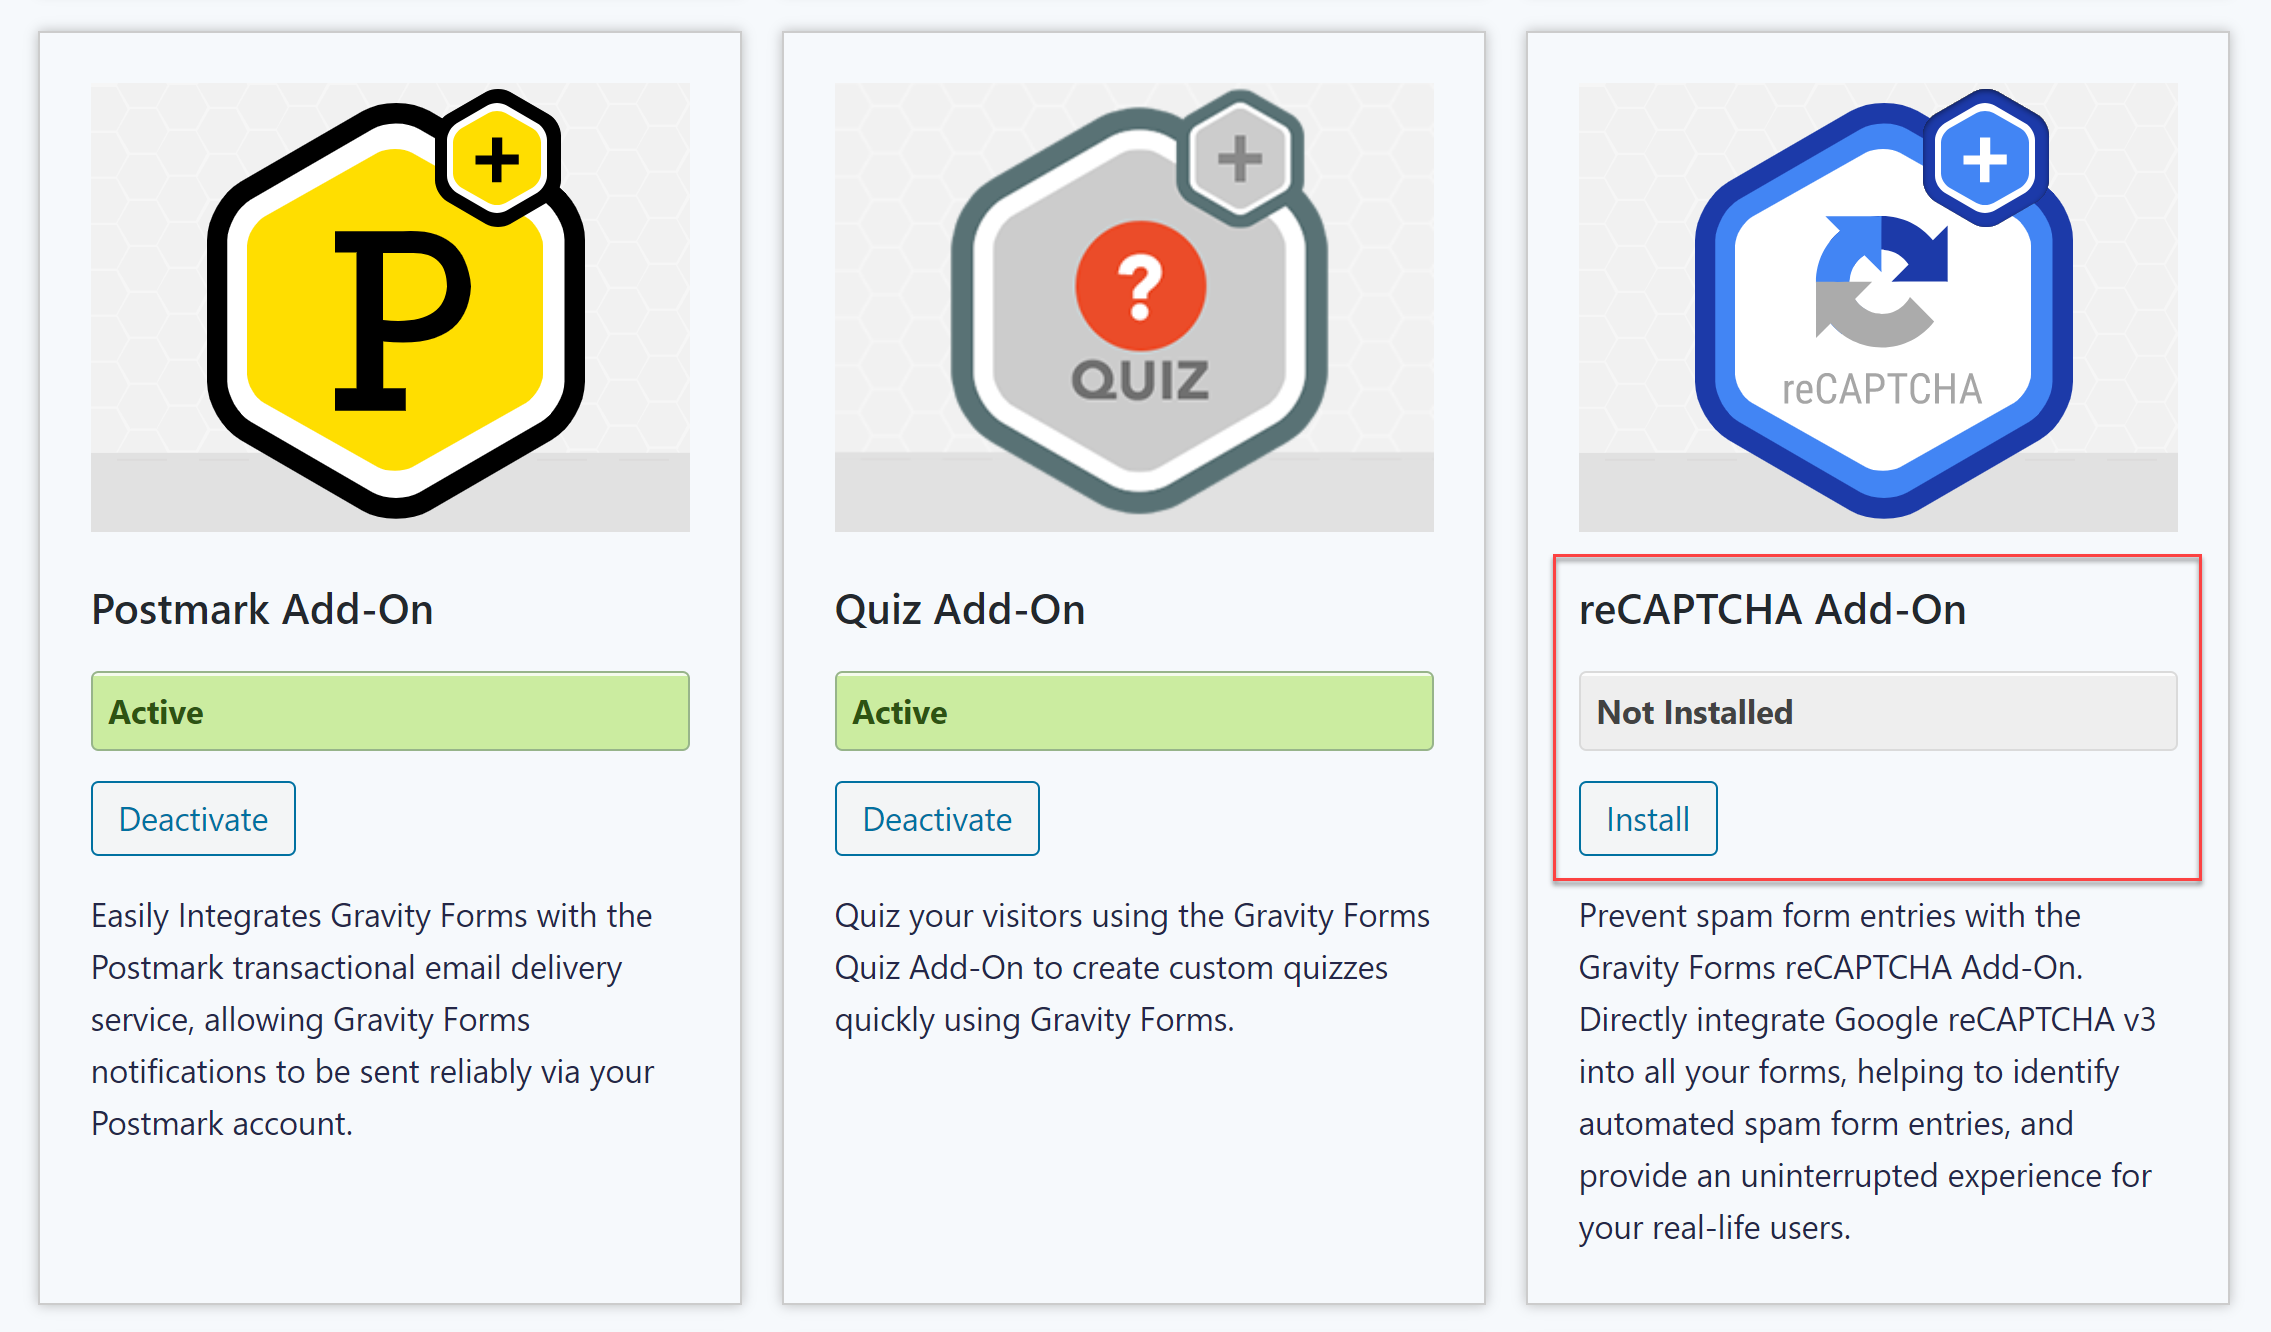
To install the reCAPTCHA Add-On, open your WordPress dashboard and select Forms > Add-Ons to access the Gravity Forms Add-On browser. Then scroll down the page until you find the reCAPTCHA Add-On and select Install > Activate.
 Once the add-on is installed, you will now need to integrate your Gravity Forms account with the Google reCAPTCHA service, which again involves generating a Google API key pair.
To do this, to go Google reCAPTCHA Admin – again you will need to create an account if you haven’t already got one – and then follow the instructions to register your site. Make sure you select Google reCAPTCHA v3 – Google will then provide you with a Site Key and a Secret Key.
 Switch back to your WordPress Admin and click on Forms > Settings > reCAPTCHA. Under Google reCAPTCHA v3 you will need to enter the Site Key and Secret Key. After you have clicked Save Settings, you should immediately see green check marks for both keys, meaning they have been validated.
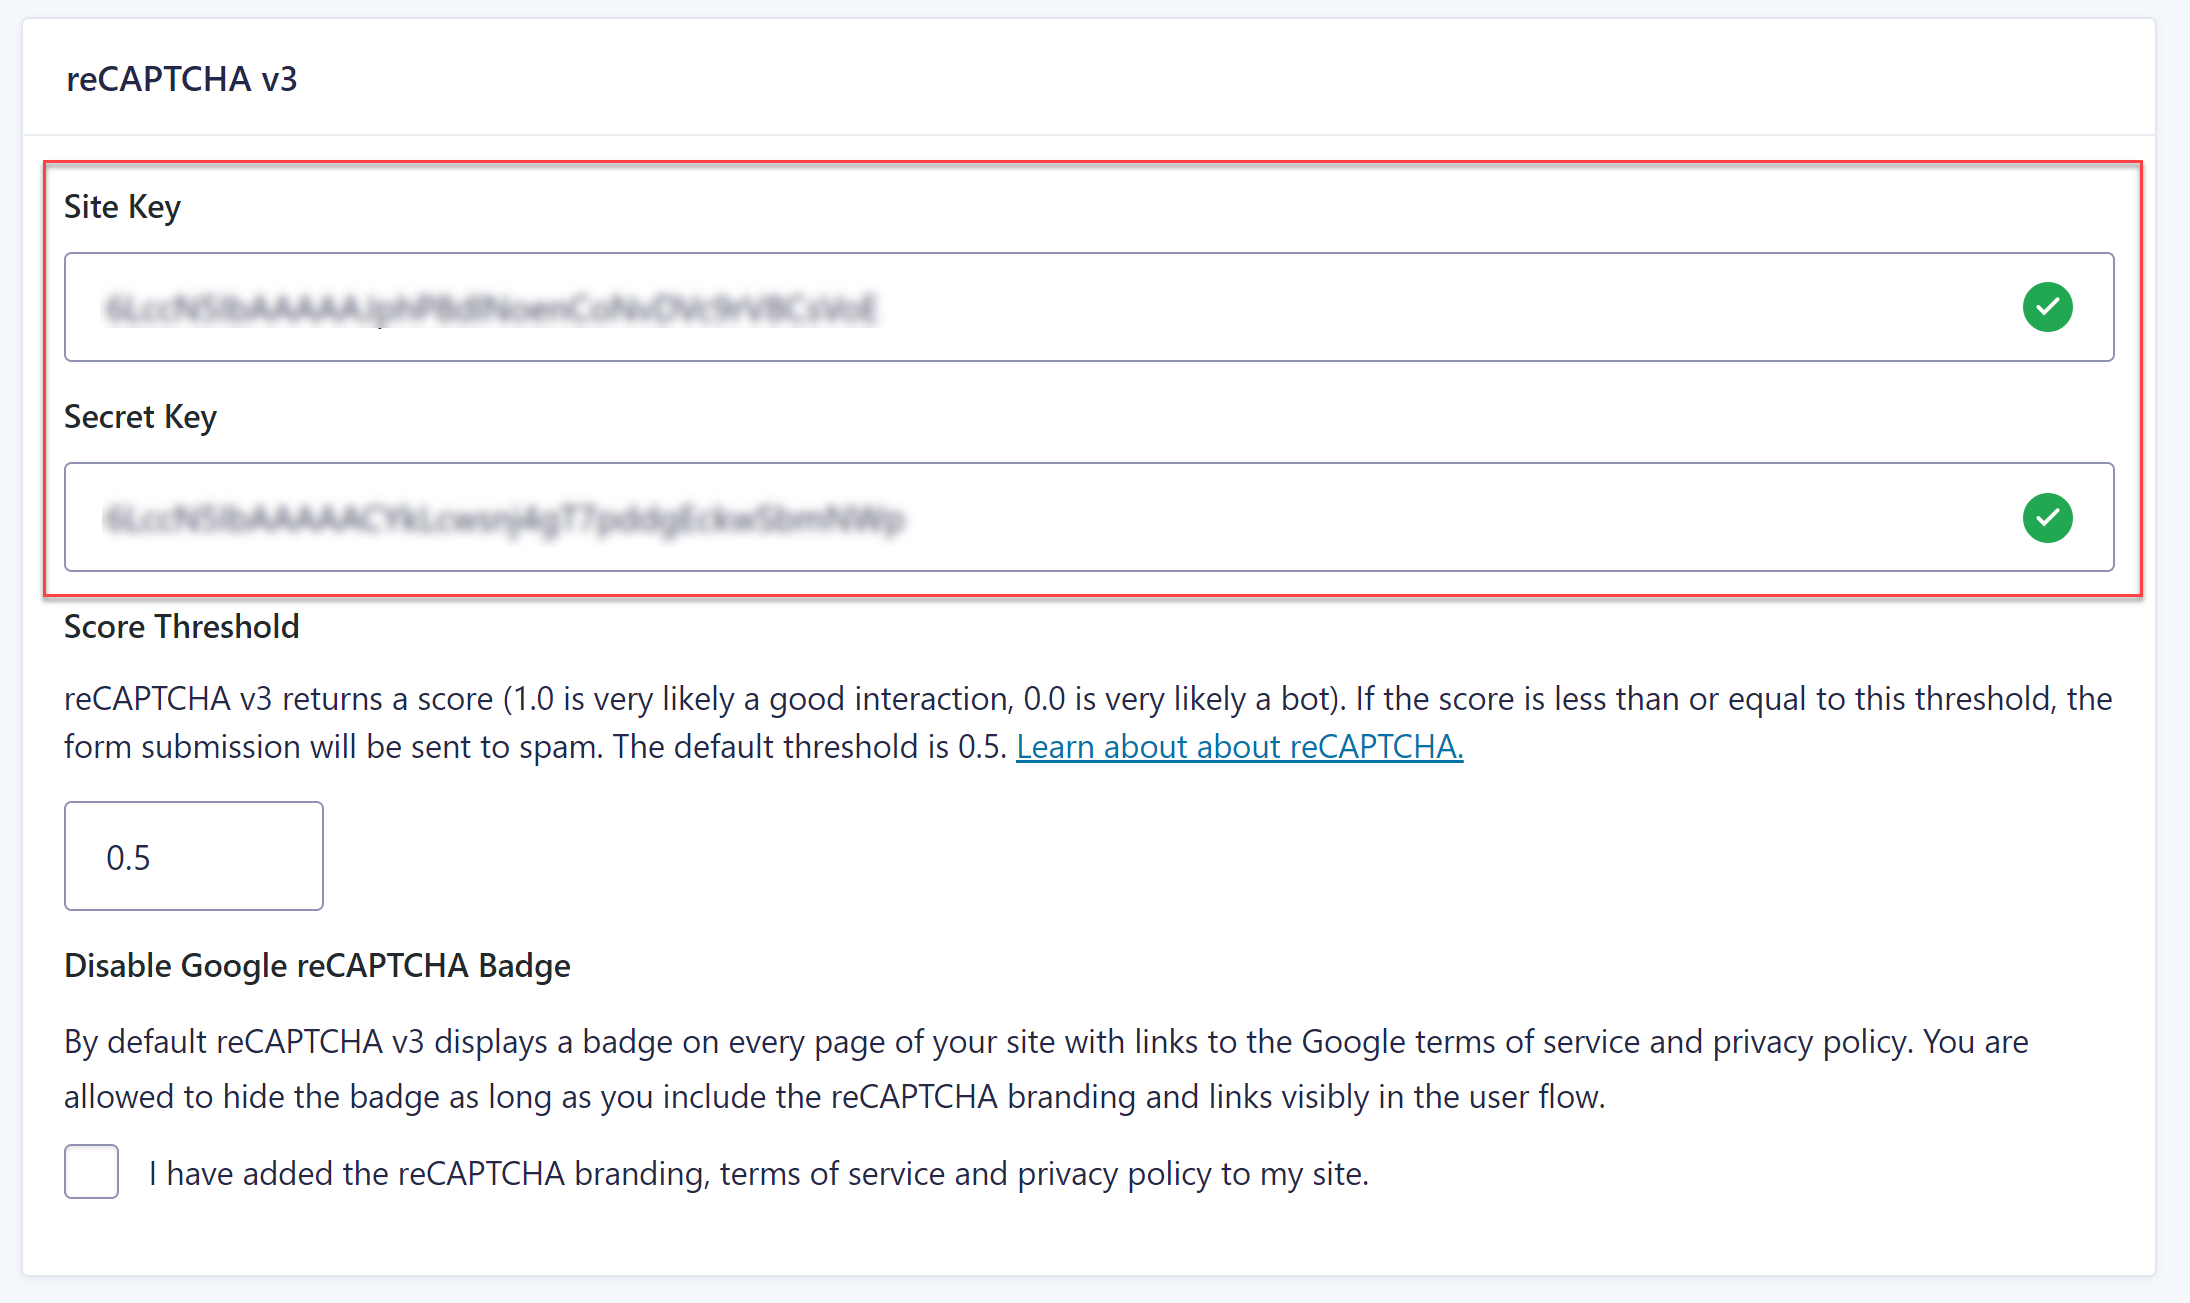 Within these global settings you can also configure the Google reCAPTCHA v3 threshold for spam. For more information on this, have a read of this information from Google.
You can also select to disable the Google reCAPTCHA badge. To do this, you must confirm that you meet Google’s required conditions.
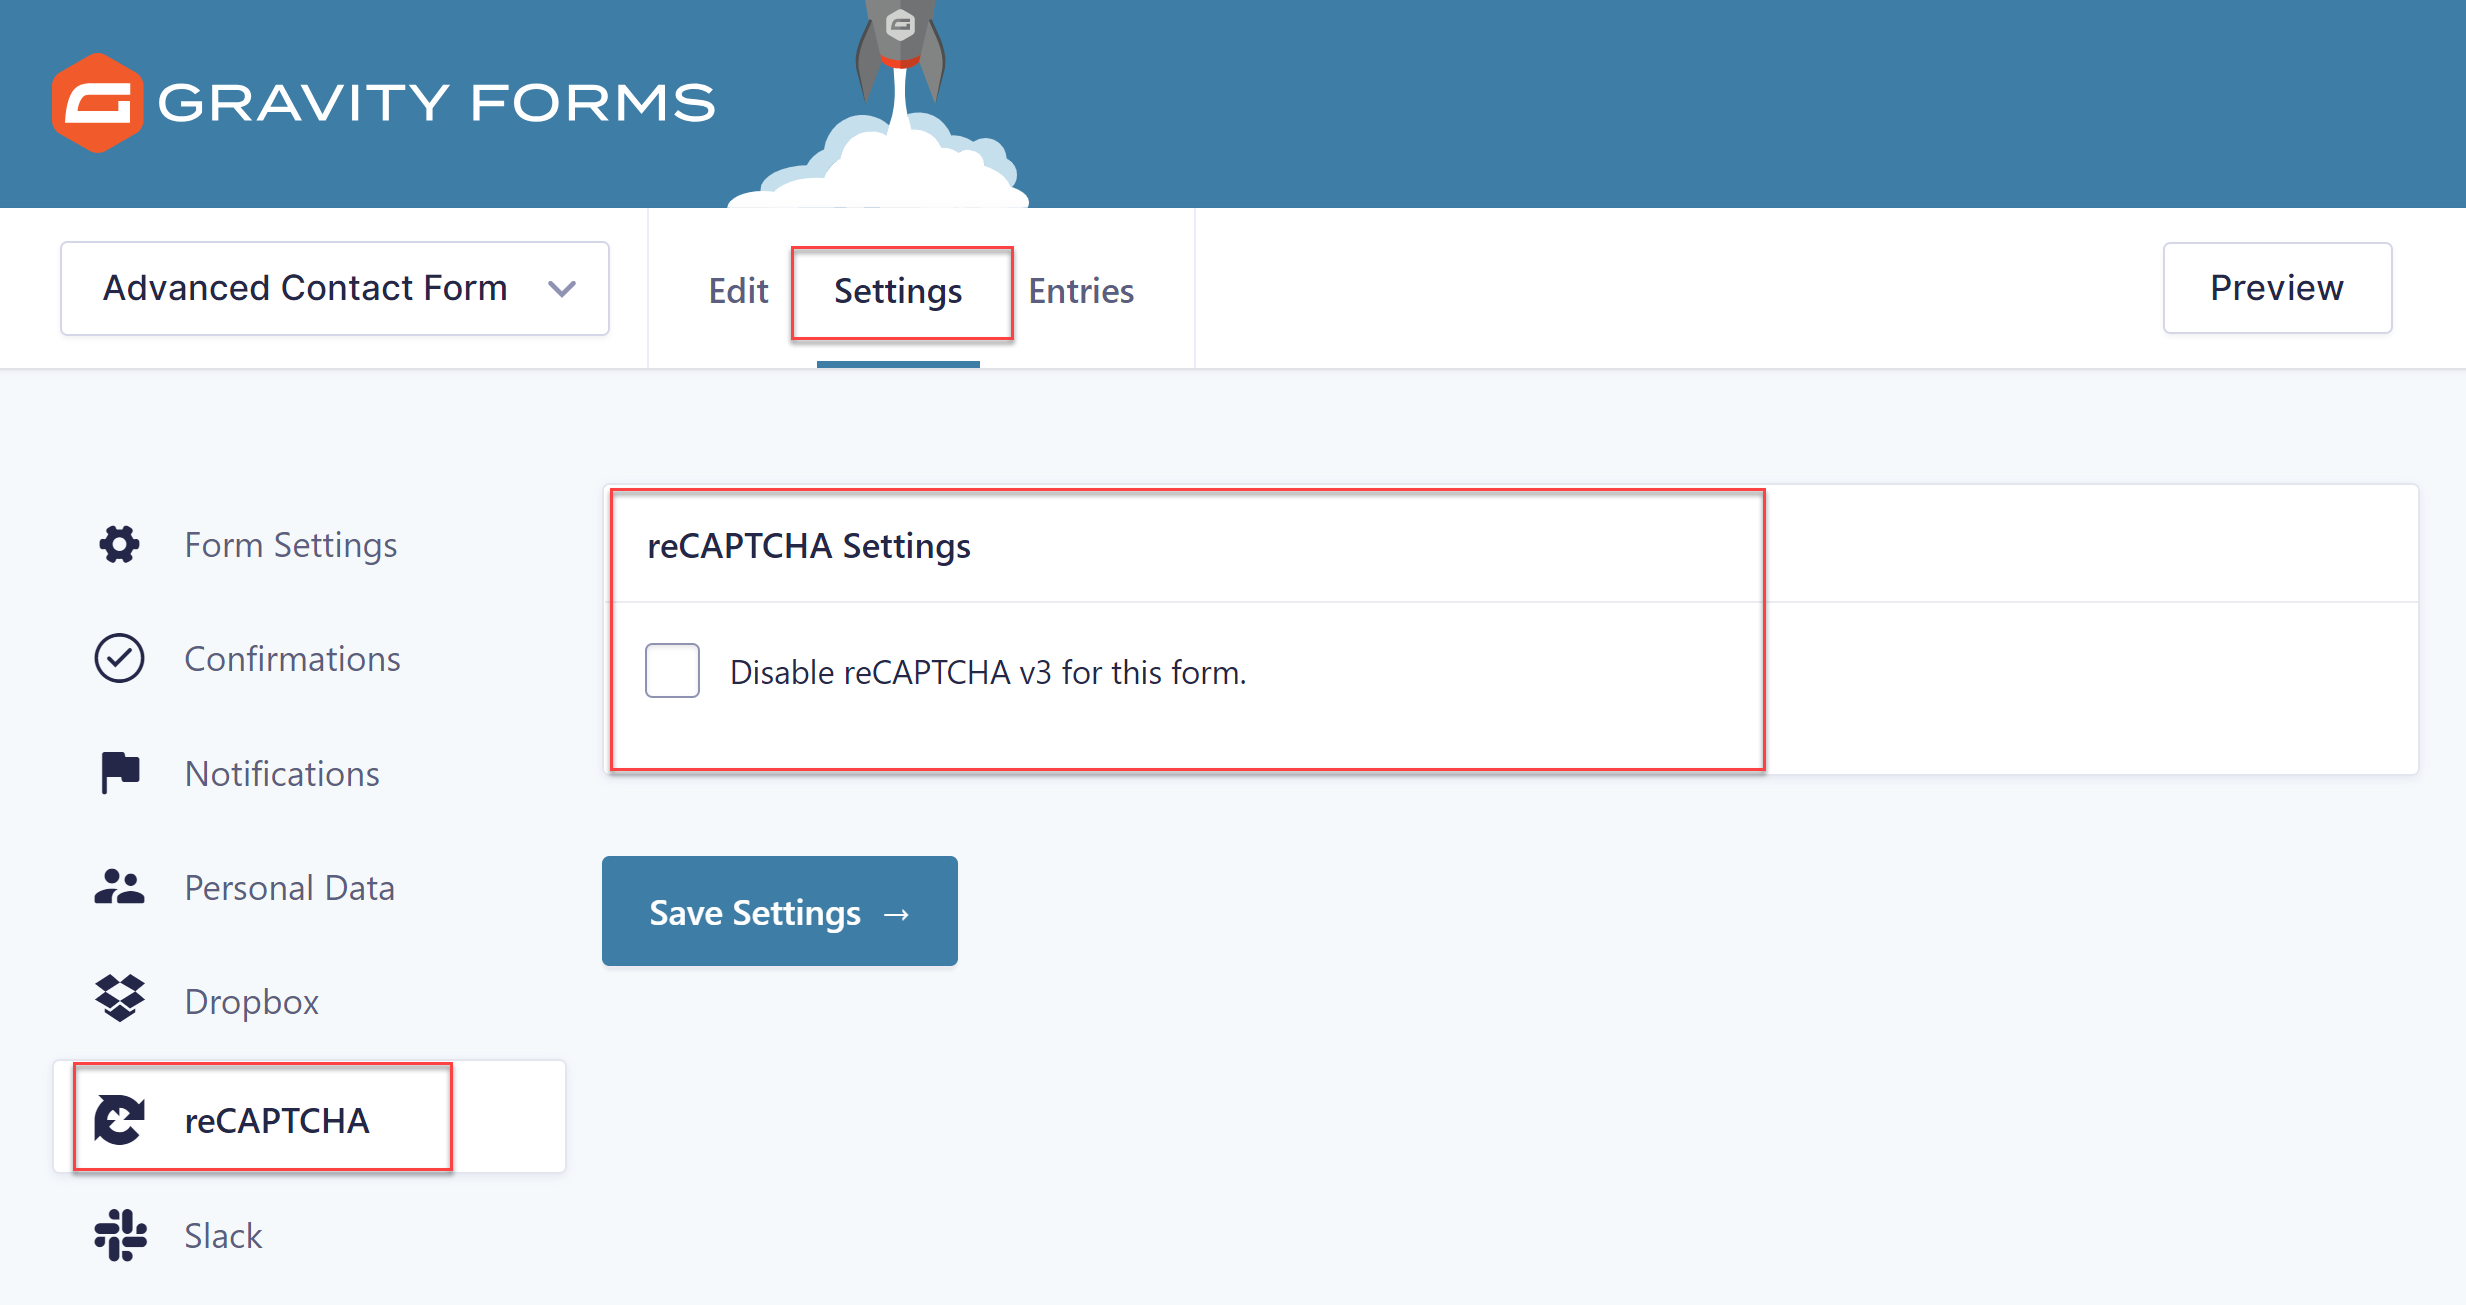
Once you have added and validated the reCAPTCHA v3 settings, Google reCAPTCHA v3 will now be enabled on all forms. If you want to disable reCAPTCHA v3 on a form by form basis, simply open the appropriate form and select Form Settings > reCAPTCHA.
You will then have the option of disabling reCAPTCHA v3 from that specific form.
 It is also important to note that the reCAPTCHA Add-On does not affect the older built-in reCAPTCHA v2 functionality – both can exist on the same page if necessary.
For more information on the Gravity Forms reCAPTCHA Add-On, check out the docs.
What Else Can You Do to Protect Forms from Spam Entries?
Aside from adding reCAPTCHA to your forms, there are a number of other anti-spam strategies that we recommend you implement. These include…
- Installing the Gravity Forms Akismet Add-On – With the anti-spam Akismet Add-On you can now send more accurate form data to Akismet, helping to provide more reliable results when it comes to spam filtering.
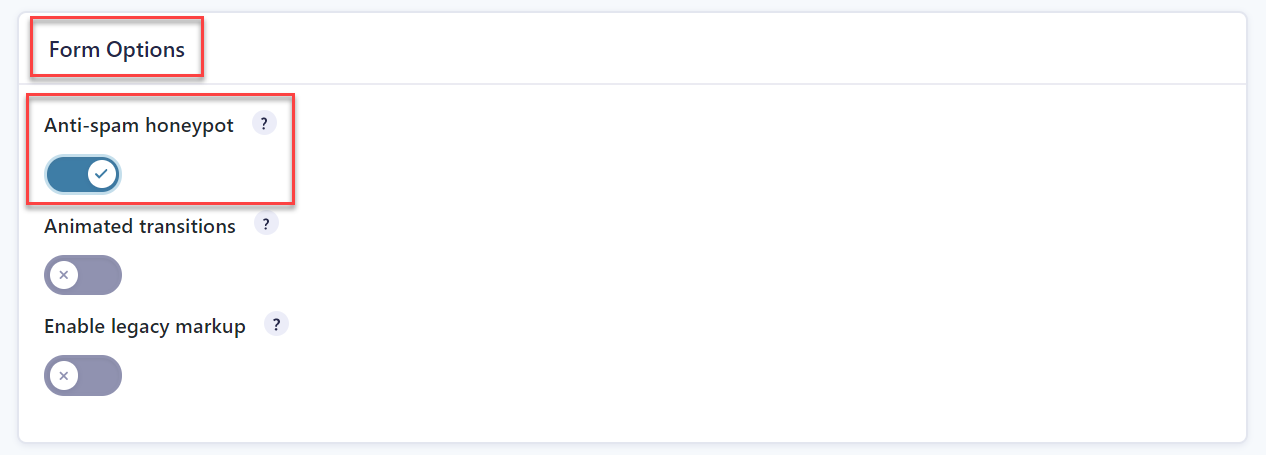
- Enabling Anti-Spam Honeypot – Gravity Forms has a built-in Honeypot feature. Simply select Form Settings and scroll down to Form Options where you can enable Anti-Spam Honeypot.
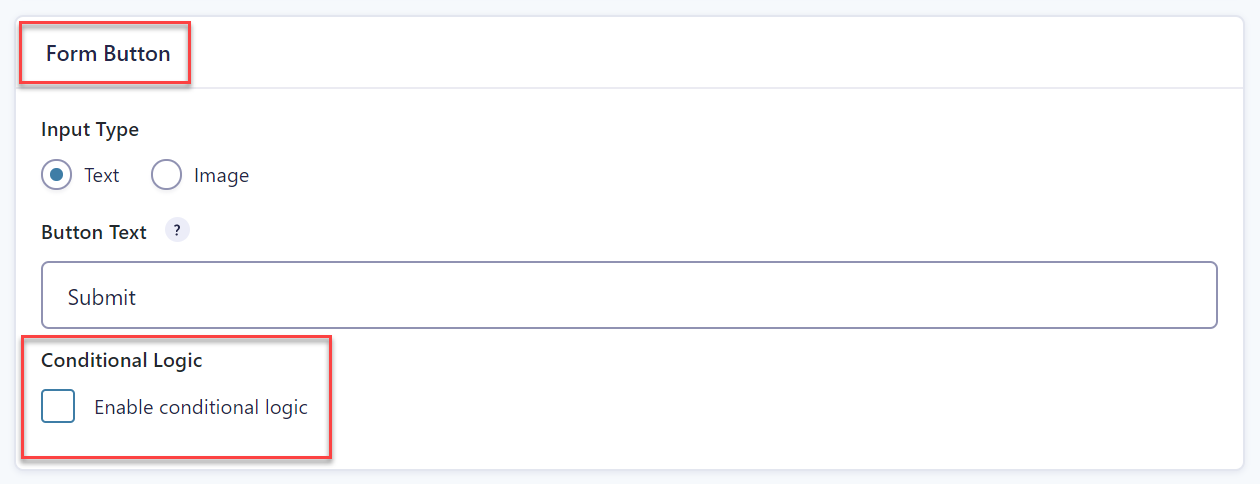
- Use Conditional Logic to Display the Submit Button – Within Form Settings, under Form Button, you can create and enable conditional logic. This feature allows you to add rules that dynamically display or hide the submit button, depending on a user’s interaction with your form.
For further reading on how to protect your site against spam form entries, check out these articles…
Final Thoughts on How to Add reCAPTCHA to Your Forms
Evidently there is much you can do to prevent spam form entries, although it is important to bear in mind that nothing is full proof.
Adding reCAPTCHA to each form you create, whether it be v2 or v3, is a sensible and often successful way to manage spam, as well as being a very quick and easy strategy to implement – are you ready to try it out?
Not yet a Gravity Forms customer? Find out what types of forms you can create with our free demo – Sign Up Today!
Newsletter
If you want to keep up-to-date with what’s happening on the blog sign up for the Gravity Forms newsletter!
"*" indicates required fields