For more information on using the User Registration Add-On, check out our docs site.
The Gravity Forms User Registration Add-On integrates with any form and allows you to register users on your WordPress website.
In this video, we will show you how to get up and running with the User Registration Add-On, as well as how to create a user registration form.
From your WordPress dashboard, install and activate the User Registration Add-On.
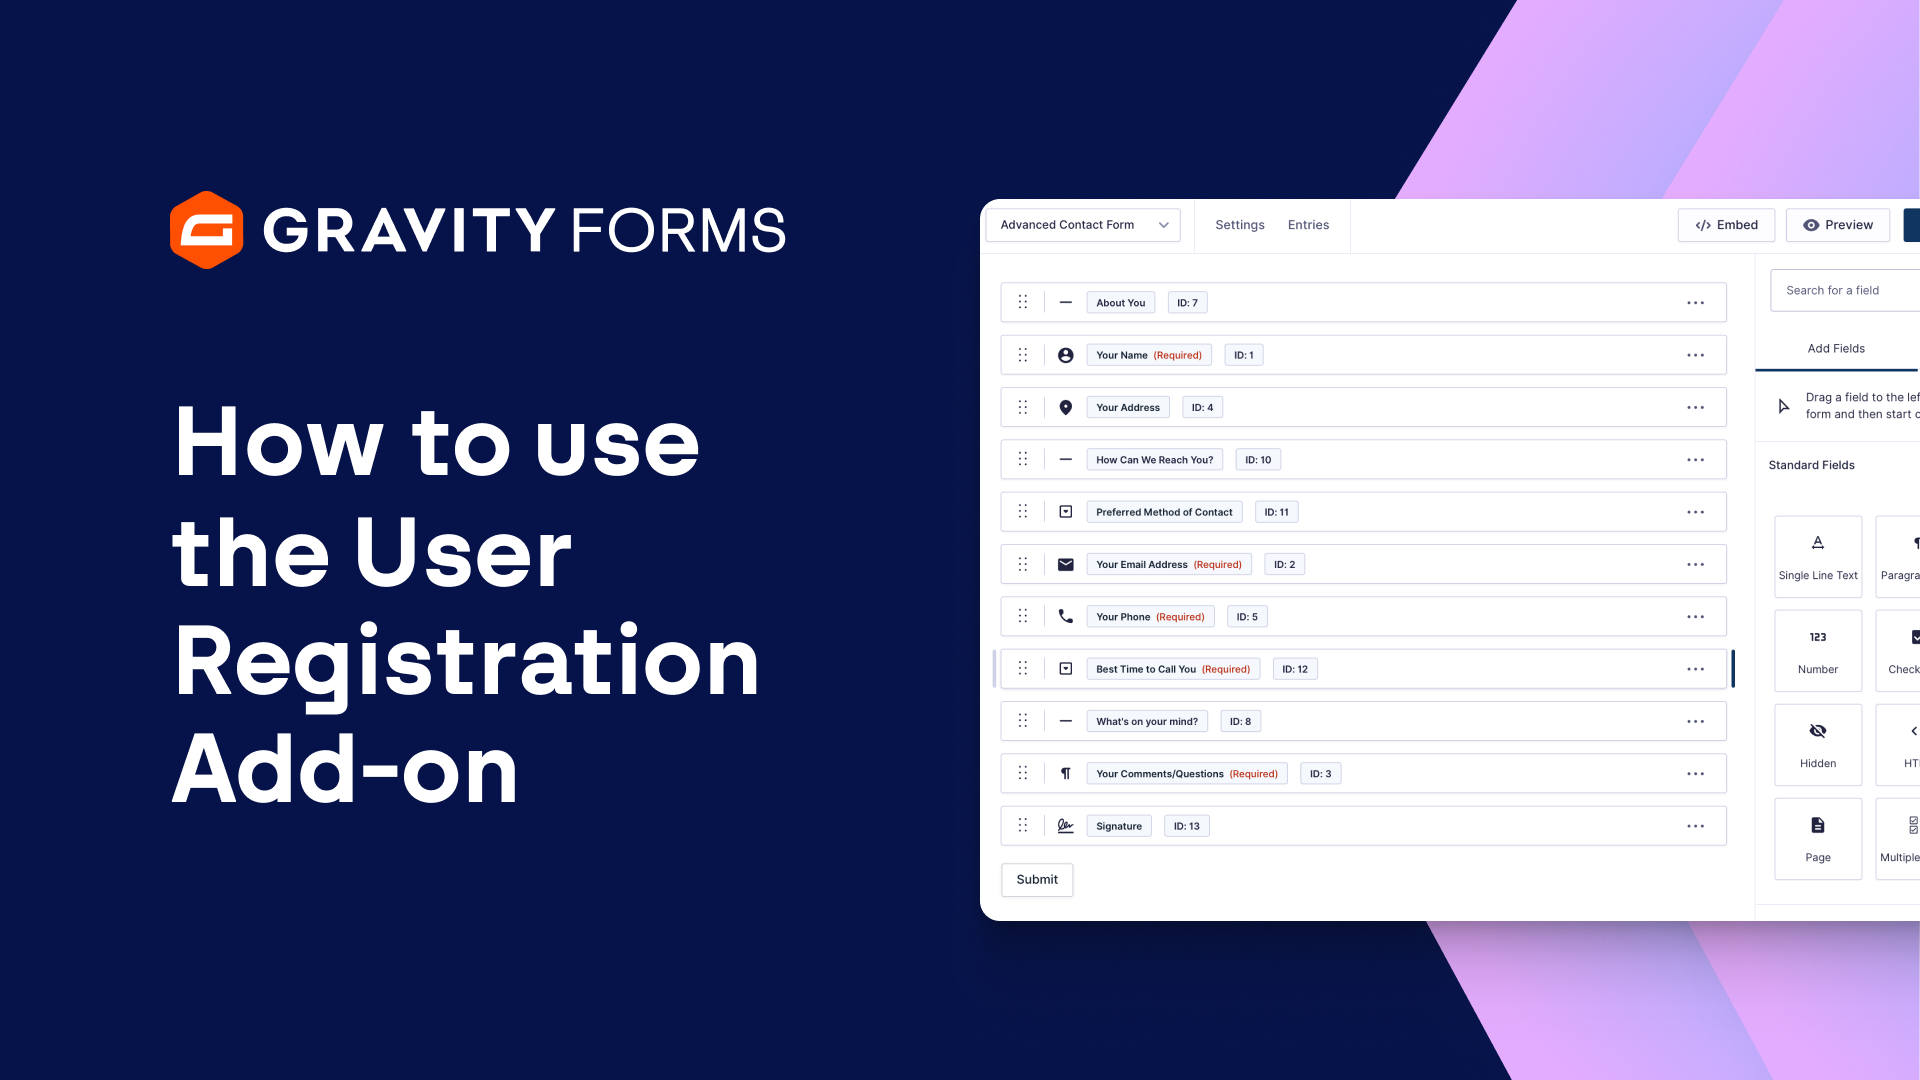
Next, you’ll want to create the form you’d like to use to allow users to register on your site.
For this example, I’ll simply use the User Registration Form template.
It’s important to note that any form can work as a user registration form, you’ll just want to ensure the form includes a name field, email field, the Username field, and password field.
Save your form, then head to the User Registration settings tab for this form.
From here, you will want to create a feed to configure what happens when a new user registers on your site.
I’ll create a new feed, then give it a descriptive name.
I then have the option to create a new user, or update an existing user.
Please note that the same form cannot be used for new user registrations and user updates simultaneously.
If you would like users to be able to register as well as update their details, you will need to create separate forms for each of the actions.
For this example, I am going to create a new user.
**I’d like to fo a follow up video on updating an existing user in the future**
Next, under the User Settings options, map the settings to their appropriate form fields.
You’ll also want to select the role that the user will be assigned when they register for your site.
I’ll use the Subscriber role for this example.
It’s important to note that the User Registration Add-On does not automatically create Roles and Capabilities in WordPress, nor does it provide any form of content restriction on your website.
We recommend Members or User Role Editor if you need to create and manage Roles and Capabilities and restrict content on particular pages or posts.
You also have the option to assign User Meta Key/Value pairs, as needed.
Additionally, you can opt to send the new user an email about their account, as well as choose to send users an email with an activation link.
If you choose the latter option, users will only be registered once they have activated their accounts.
Lastly, you can enable conditional logic to only process this feed if certain conditions are met.
When you’re done, be sure to save your changes.
Now, once you embed this form on a page or post, you’ll be ready to start accepting user registrations on your site.
Finally, the User Registration Add-On allows you to add a widget to your site that lets users easily log in in the future.
The Login widget is automatically enabled as long as the User Registration Add-On is active.
To embed it on your site, go to the Widgets section of your WordPress dashboard and place it inside any of the widget areas that are provided by your active theme.
For more guides and tutorials on all things Gravity Forms, check out our video library.
From everyone on the Gravity team, thank you for watching!
Summary
The Gravity Forms User Registration Add-On integrates with any form and allows you to register users on your WordPress website. In this video tutorial, we will show you how to get up and running with the User Registration Add-On, as well as how to create a user registration form.