For more information on using the Survey Add-On, check out our docs site.
With the Survey Add-On for Gravity Forms, you can interact with your audience to collect market research, gauge customer satisfaction, or survey your employees about their job satisfaction.
Surveys make it easy to engage and interact with your site visitors, collect feedback, and make educated decisions based on user responses.
To get started, you’ll first need to install the Survey Add-On.
Under the Forms menu, select Add-Ons.
Scroll down to the Survey Add-On and then click the install button.
WordPress will automatically download and install the add-on.
When it is finished, select “Activate Plugin” to enable the Survey Add-on.
Alright! Now, let’s create a survey.
You’ll find the Survey field under the Advanced Fields toolbox in the Form Editor.
Click or drag to add a new Survey Field to your form.
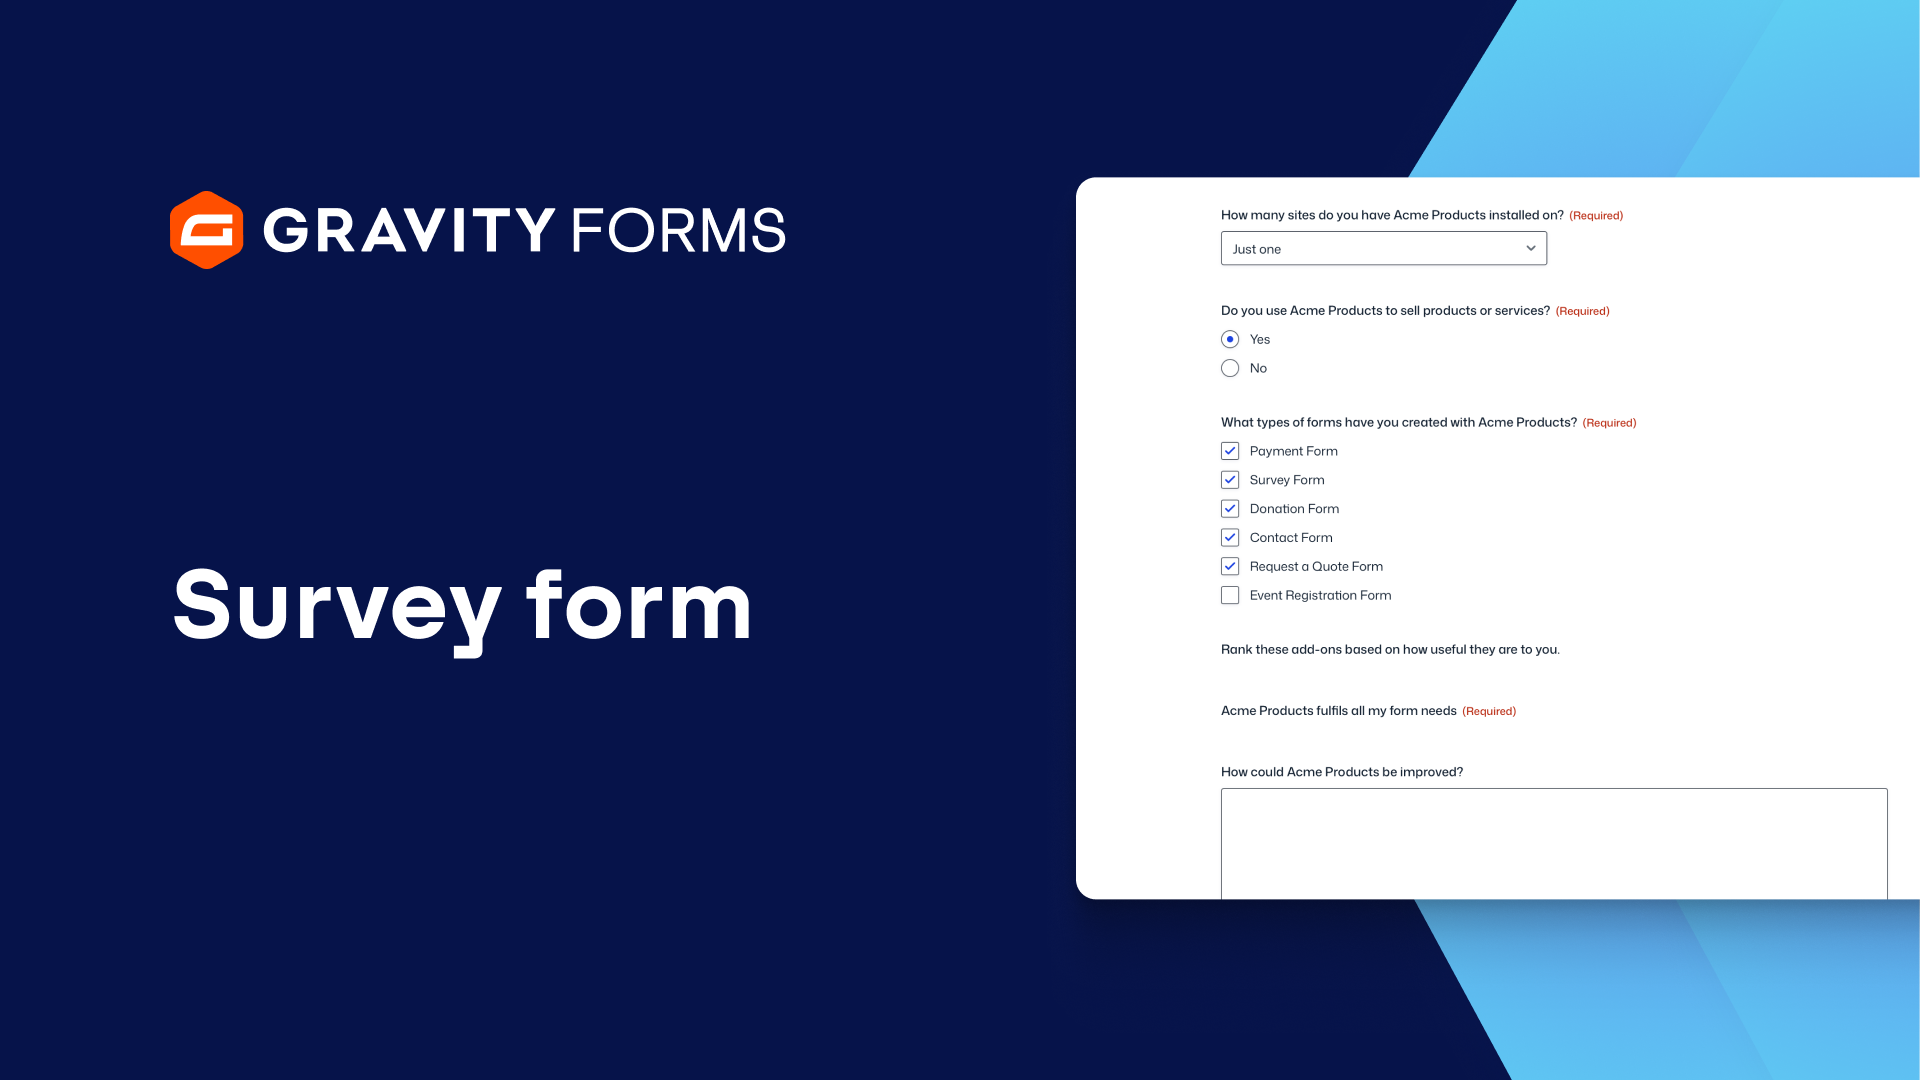
Open the settings for the new field and enter a statement or a question in the Survey Question Field.
Next, select the type of field you’d like to use.
In addition to the typical Radio Buttons, Checkboxes, Text Fields, and Drop Down lists, there are three Field Types specific to Surveys: Likert, Rank, and Rating.
We’ll take a look at all three of these.
By default, the Survey Field is set to Likert which asks people to rate how strongly they feel about the statement or question you entered above.
The user will answer the question by selecting from the available choices you enter below.
These choices usually range from Strongly Disagree to Strongly Agree.
You can edit or rearrange these responses, and if you like, you can enable Scoring to assign a numeric point value to each answer.
The more points the user obtains, the higher their score will be.
Then you can display their score on the Survey Results page.
You can even enable multiple rows, which allows you to create a variety of responses to choose from across multiple categories.
For now, we’ll just stick with one row.
You can also make the field required before the Form can be submitted.
Alright, let’s add another Survey Field.
I’ll add another question and choose the Rank Field this time.
Then I’ll add a few choices, which users can drag and drop in the order of their preference.
With that done, let’s add another Survey Field.
I’ll enter a Survey Question and this time I’ll choose the Rating Field.
This will display the classic five-star rating.
I can either use the default settings or click on Bulk Add to choose from a list of Predefined choices.
You can also add Survey Fields that use regular Radio Buttons, Checkboxes, or even Text Fields.
When you are satisfied with your Form, click the Save Form button to save your form.
That’s it! The Survey is now complete and ready to be added to your site.
You can review the results of the survey by clicking on the results link that appears when you hover over the name of the survey.
Here, you’ll find the frequency of responses to your survey questions.
You can filter the results by setting conditions or selecting a date range.
For more Gravity Forms tutorials, check out our Video Library.
Thanks for watching!
Summary
The Gravity Forms Survey Add-On allows you to interact with your audience to collect market research, gauge customer satisfaction, or survey your employees. In this video, we’ll go through how to create surveys that engage with your site visitors and help you collect the feedback you need.