For more information on using the Postmark Add-On, check out our docs site.
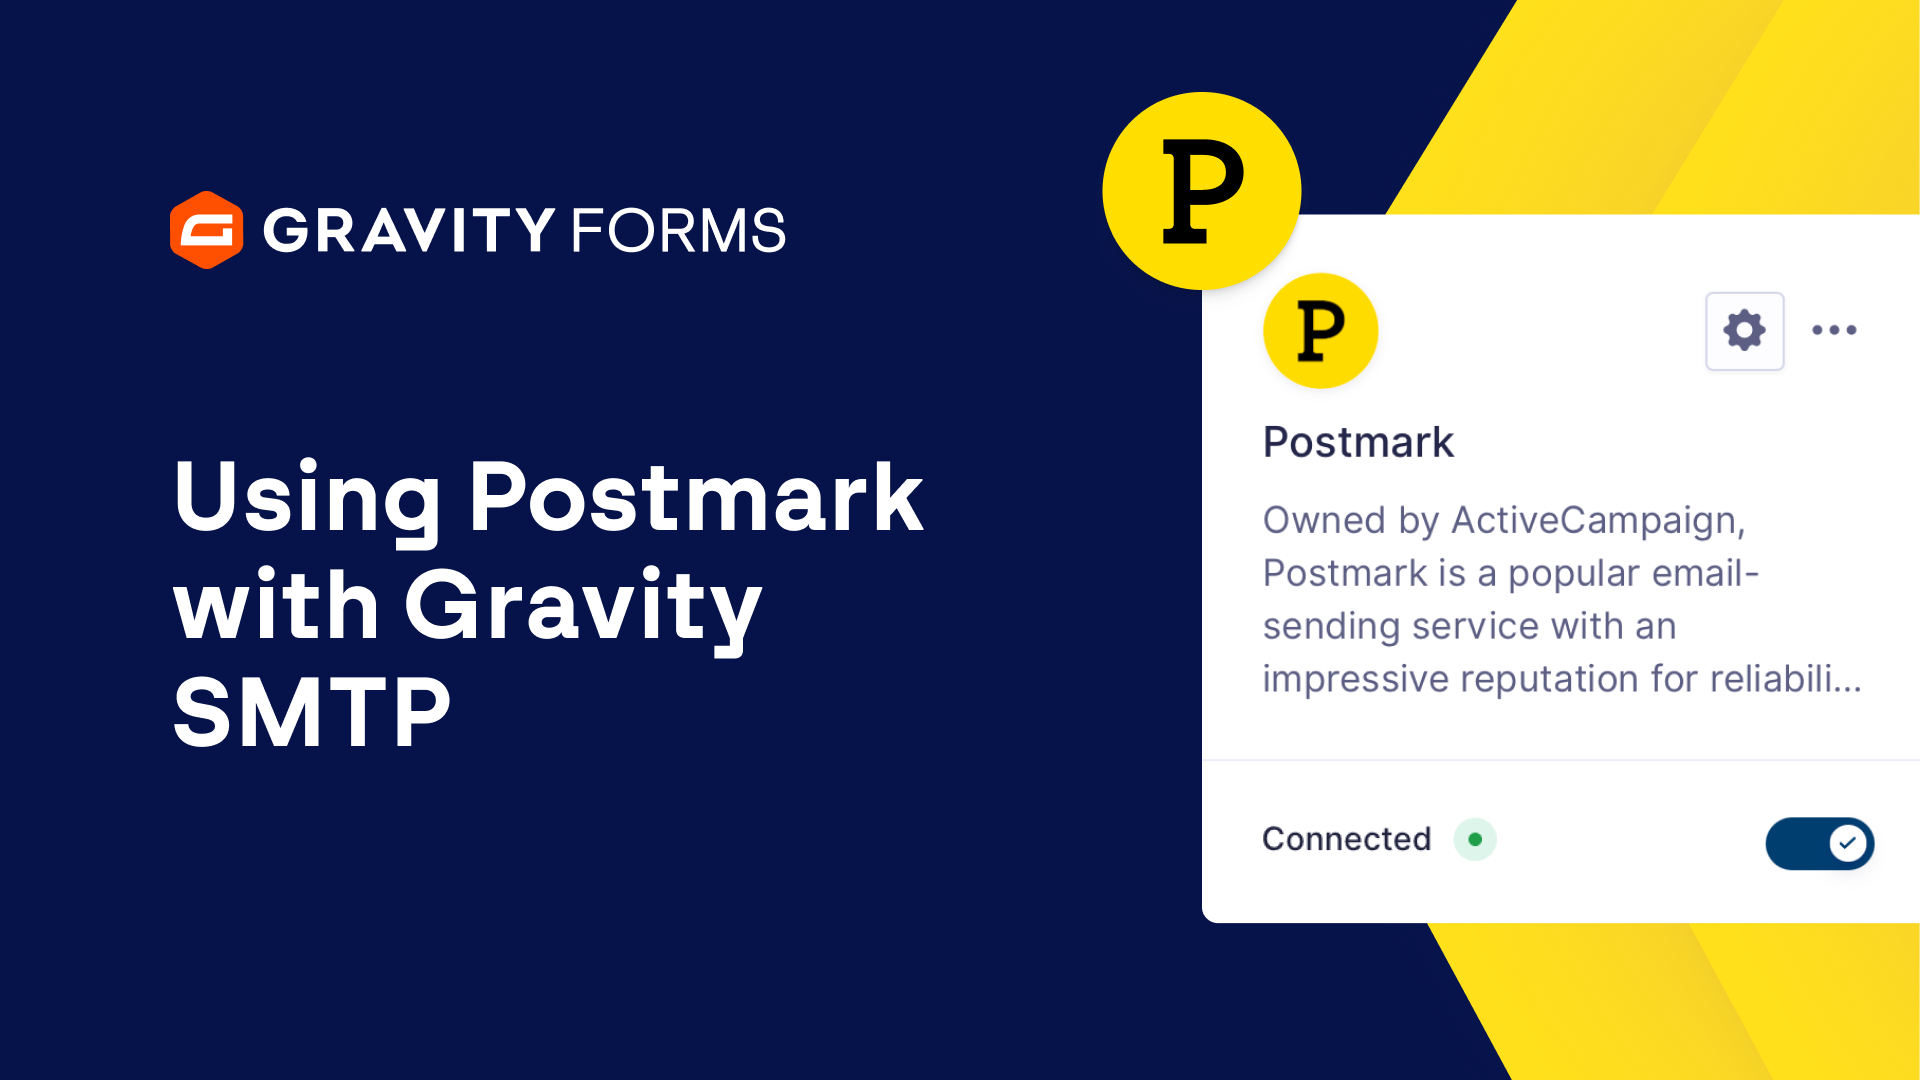
With the Gravity Forms Postmark Add-On, you can integrate your forms with Postmark to reliably send form notification emails.
Postmark is optimized to ensure transactional emails, such as form notification emails, make it to users’ inboxes and avoid their spam folders.
Let’s take a look at how to integrate Gravity Forms with Postmark.
First, head to your WordPress dashboard and install and activate the Postmark Add-On.
Next, log into your Postmark account, or create a new account for free using the link in the video summary.
You’ll then need to add your domain name as a “Sender Signature”, which will allow you to prove to Postmark that you control the domain name that you’re sending emails from.
Select ‘Sender Signatures’ and then select ‘Add Domain or Signature’.
You’ll be presented with the option to add a domain or add a sender signature.
Adding a domain will allow you to send emails from any address on a domain, whereas adding a single signature will only allow you to send from a single email address on a domain.
For this tutorial, we’re going to focus on simply adding a sender signature, but a full guide on adding a domain can be found on our blog, linked in the video summary.
Select ‘Add Sender Signature’, then fill out the information on screen and select ‘Create Signature’.
You’ll then be sent a confirmation email at the email address you entered – be sure to check your email and confirm your sender signature.
Next, you’ll need to set up a Postmark server for your WordPress site.
A Postmark server can be thought of simply as a folder that helps you organize your email in Postmark.
To create a server, go to the ‘Servers’ tab and select ‘Create server’.
Give your server an appropriate name and select ‘Live’ as the Server type.
Then, click the ‘Create server’ button.
Next, you’ll want to select ‘Request approval’ in order to request approval for your Postmark account to send live emails.
Until your account is approved, your account will be in “test mode” and only able to send emails to your own domains.
It’s important that you get your Postmark account approved so that you can send emails to any address.
The approval process should typically take 24 hours, or the following Monday if it’s the weekend.
You’ll next be ready to connect your WordPress website to Postmark.
Head to the ‘Account’ section of your Postmark dashboard, and select the API Tokens tab.
Copy your account API token and save it in a secure location, we will use it in just a bit.
Next, search for and select the server you created moments ago, and then select ‘Get a server API token’.
Copy your server API token and store it with your account API token.
Then, head to your WordPress dashboard, navigate to the Gravity Forms settings page, and select Postmark.
Enter your Account API token and your Server API token, and then select ‘Save Settings’.
You’ll next need to head to the notification settings for the form with which you’d like to use Postmark to send notification emails – you can either edit an existing notification, or create a new one.
Within the settings area for that notification, set Postmark as the Email Service.
You can also use the ‘From’ email address field to see a drop-down list of all the available sender signatures you’ve added to Postmark.
Be sure to save your changes when you’re done.
You’re now ready to start sending notification emails using Gravity Forms and Postmark.
And, if you head back to the Postmark settings, you can even see the email statistics for all of the emails sent using Postmark.
Additionally, within your Postmark dashboard, you can head to your Server, select ‘Default Transactional Stream’, and then select the ‘Activity” tab to see an overview of all emails that have been sent via Postmark.
If you have any questions at all, please let us know in the comments.
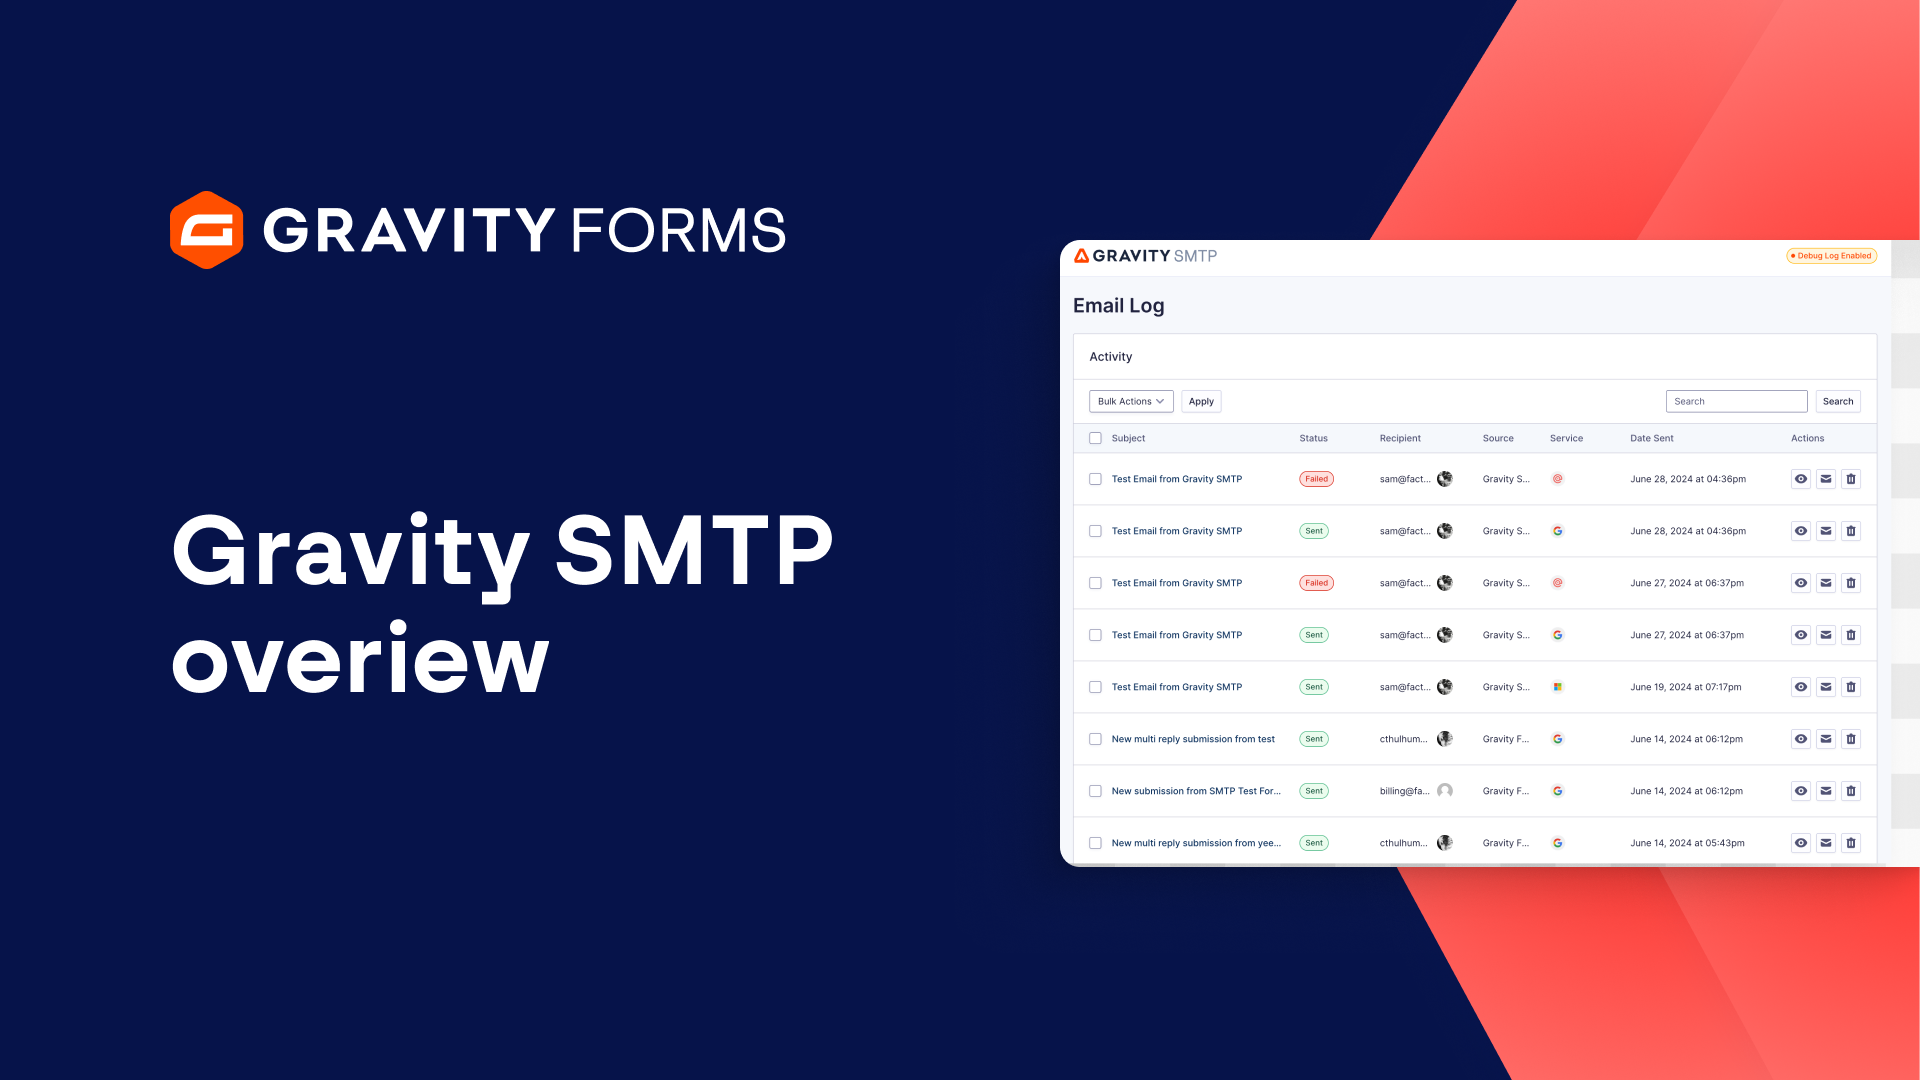
And if you’re looking to send more than just your Gravity Forms’ notifications with Postmark, then be sure to check out Gravity SMTP.
A WordPress SMTP plugin from the team behind Gravity Forms, with Gravity SMTP you can send ALL your WordPress emails using Postmark, including all default WordPress notifications, and emails from other plugins including Gravity Forms and WooCommerce.
Be sure to check out our Gravity SMTP Postmark video, linked in the video summary, to find out more.
And for more Gravity Forms guides and tutorials, be sure to check out our video library.
From everyone on the Gravity team, thank you for watching!
Summary
With the Gravity Forms Postmark Add-On, you can integrate your forms with Postmark to reliably send form notification emails. In this video tutorial, we’ll show you how to get up and running with the Postmark Add-On.
To sign up for a free Postmark account, click here.
For a full guide on adding a domain, check out our blog.
To learn more about the Gravity SMTP Postmark integration, be sure to watch this video.