Gravity SMTP integrates seamlessly with SendGrid to allow you to reliably send emails from your WordPress site without having to rely on the default PHP mail function used by WordPress.
In this tutorial, we will show you how to integrate your WordPress website with SendGrid using Gravity SMTP.
Please note that, to follow along with this video, you will need Gravity SMTP installed and activated on your WordPress site and a SendGrid account.
From your WordPress dashboard, head to the Gravity SMTP settings and select integrations.
Then, open the SendGrid settings.
To sync Gravity SMTP with SendGrid, you’ll need a SendGrid API Key.
You can follow the link on screen to go to the API Keys section of your SendGrid dashboard.
From here, you can generate an API key by selecting ‘Create API Key’.
Be sure to give the key a descriptive name, then set the API Key Permissions settings.
The API key only requires ‘Mail Send’ access, so I will select ‘Restricted Access’ and simply set the ‘Mail Send’ setting to ‘Full Access’.
You can then select ‘Create & View’ to generate your key.
Be sure to save your API key in a secure location.
Please note that you will also need to configure your Sender Authentication options before using Gravity SMTP with SendGrid.
You can configure Domain Authentication or Single Sender Verification by following the link in the video summary.
Single Sender Verification is the easiest option to set up, and can be done so by selecting ‘Verify a Single Sender’ and filling out your sender details.
Be sure to check your email for a verification link after configuring your Sender details.
Next, head back to your WordPress dashboard and paste your API key in the ‘SendGrid API Key’ field.
You can then set the Default From Email and Default From Name, as well as choose whether or not you want to force the From Email and From Name.
Forcing either option will override other plugin settings for all outgoing emails.
Once you’re done, save your changes, then select the toggle to connect Gravity SMTP to SendGrid.
The next step is to send a test email to ensure everything works correctly.
Head to the Gravity SMTP Tools tab and navigate to the ‘Send a Test’ section to send your test email.
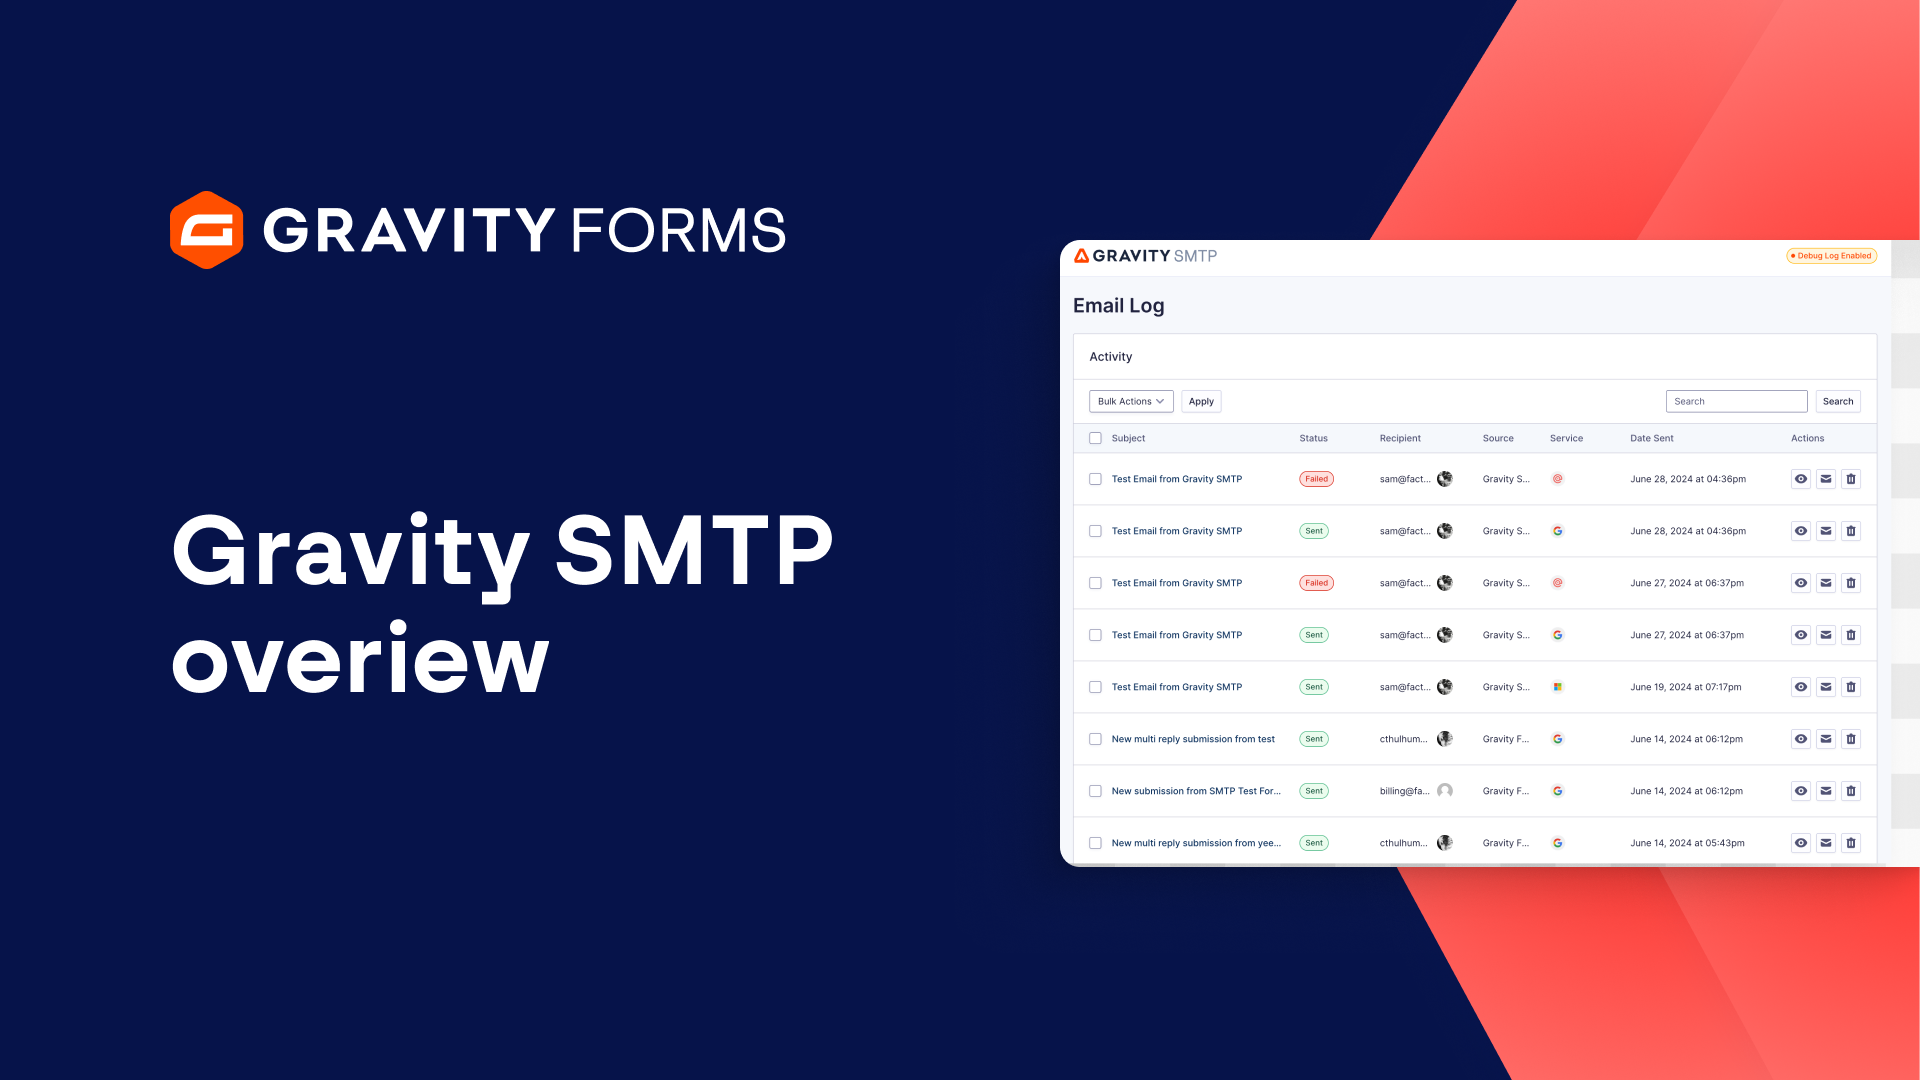
After you’ve sent the test email, you can head to the Email Log tab to see a record of the email and verify that it was successfully sent using SendGrid.
For more guides and tutorials on all things Gravity SMTP, check out our video library.
From everyone on the Gravity team, thank you for watching!
Summary
Gravity SMTP integrates seamlessly with SendGrid to allow you to reliably send emails from your WordPress site without having to rely on the default PHP mail function used by WordPress. In this video tutorial, we will show you how to integrate your WordPress website with SendGrid using Gravity SMTP.
To configure Domain Authentication or Single Sender Verification, click here.