To learn more about using the File Upload field, check out our docs site.
Hey there, Dustin from the Gravity team here with another video.
From project submissions to contest entries and even patient intake forms, there are a lot of times you may need to accept file uploads on your site.
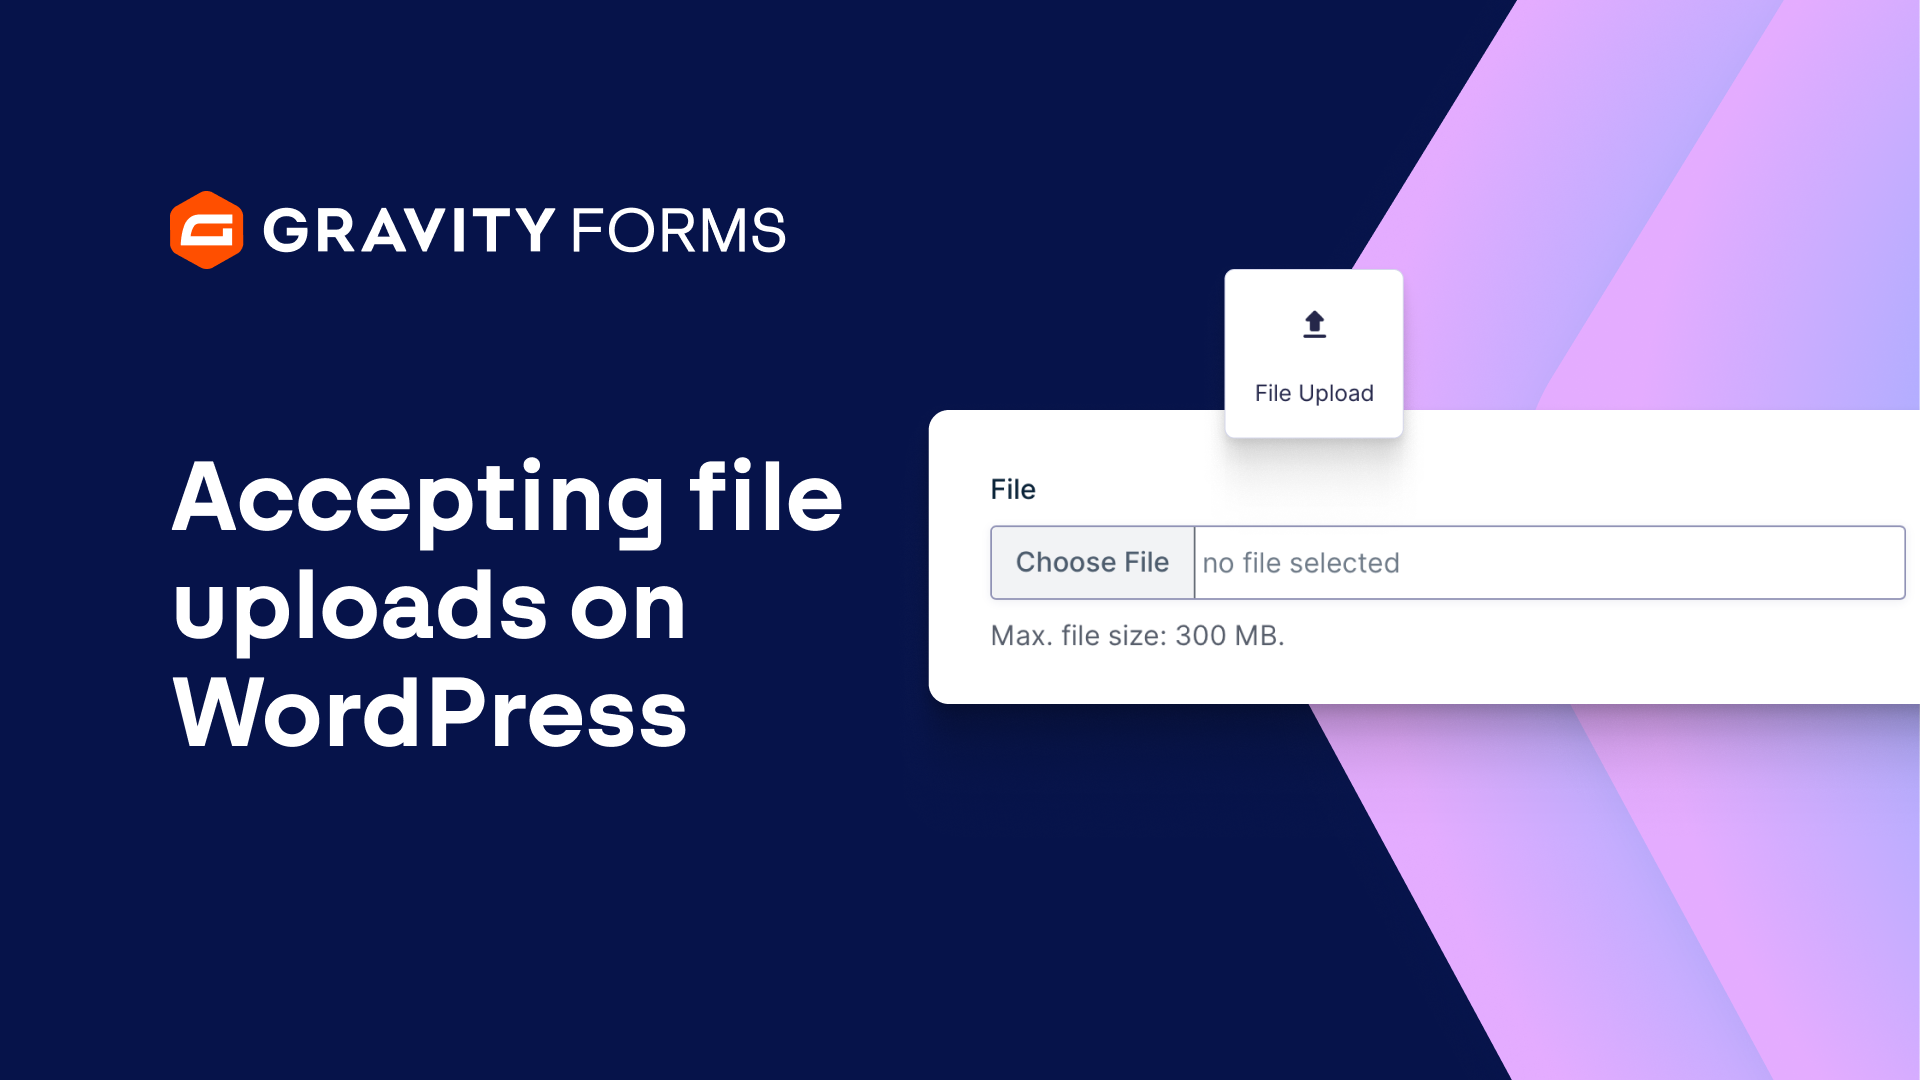
The Gravity Forms File Upload field is perfect for these scenarios.
In this video, we’re going to take a quick look at how you can use this field with your forms.
Here at Gravity, we use the File Upload field to accept resumes and CVs for job applications. Let’s explore how you could do the same on your site.
Within my WordPress dashboard, I have a nearly completed Employment Application Form. I’ll now add the File Upload field to my form and then open the Field Settings.
I’m going to give the Field Label a more descriptive name, then add a description to this field that instructs the applicant to upload their resume or CV. I can then use the ‘Allowed file extensions’ to limit the file types I want to accept.
In this case, I’m only going to allow PDF and Microsoft Word files, but you can use any file type that is supported by WordPress core. Check out the WordPress documentation for a list of all acceptable uploadable file types, linked below.
It’s important to note that hosting providers often impose restrictions on uploads – this can be due to them not permitting certain file types or limitations with your hosting plan.
Also within the Field Settings, I have the option to allow multiple file uploads and even set a limit on the maximum file size, which can help you preserve your storage space. If you leave this field blank, Gravity Forms will default to the max size limit allowed by your server, and/or your WordPress installation.
For this form, I’m going to limit the maximum file size to 100MB. I’m also going to set this field as required.
I’ll next save my settings and embed my form on a new page. Now I’ll be able to easily accept resumes or CVs when applicants apply for jobs on my site.
A last optional step is sending the form entries to an external service. Here at Gravity Forms, we send all the submissions we receive to our Help Scout account, where we can then easily browse and manage applications.
To do this, you will need to install the Help Scout Add-On and connect with your Help Scout Account. Then navigate to the Form Settings, where you can create a Help Scout feed.
Here you have the option of sending applications to a set mailbox in Help Scout and also assigning them to a certain person, which is great for separating application forms out from support tickets and ensuring they reach the right manager.
We hope this video gave you an idea of how you can use the File Upload field on your site.
If you have any questions or comments, be sure to let us know. Until next time, thanks for watching!
Summary
The Gravity Forms File Upload field lets your users upload images, videos, documents, and many other file types via any form on your WordPress website, making it quick and easy to collect the information you need. In this video, we’ll show you how to use the File Upload field.
To learn more about the file types that are supported by WordPress core, check out their documentation.