

You’ve created your form, but have you considered what happens after a user hits the submit button? If you’re using a powerful form plugin like Gravity Forms, there’s lots that can happen next.
In this guide, we’re looking at after-submission processes – the things that can happen after a visitor has submitted an entry through one of your forms.
Some examples of post-form submission processes include displaying a custom confirmation message, sending email notifications to the user and your team, adding the user to a CRM, signing them up for an email marketing drip campaign, generating a PDF (e.g., an invoice), and more.
If you’re ready to optimize the after-form submission processes on your site, read on to get some inspiration.
After-Form Submission Actions
There are numerous after-form submission actions that you can implement on your WordPress website. Here are some options that you can set to run automatically after a user submits a form….
Display a Custom Confirmation Message
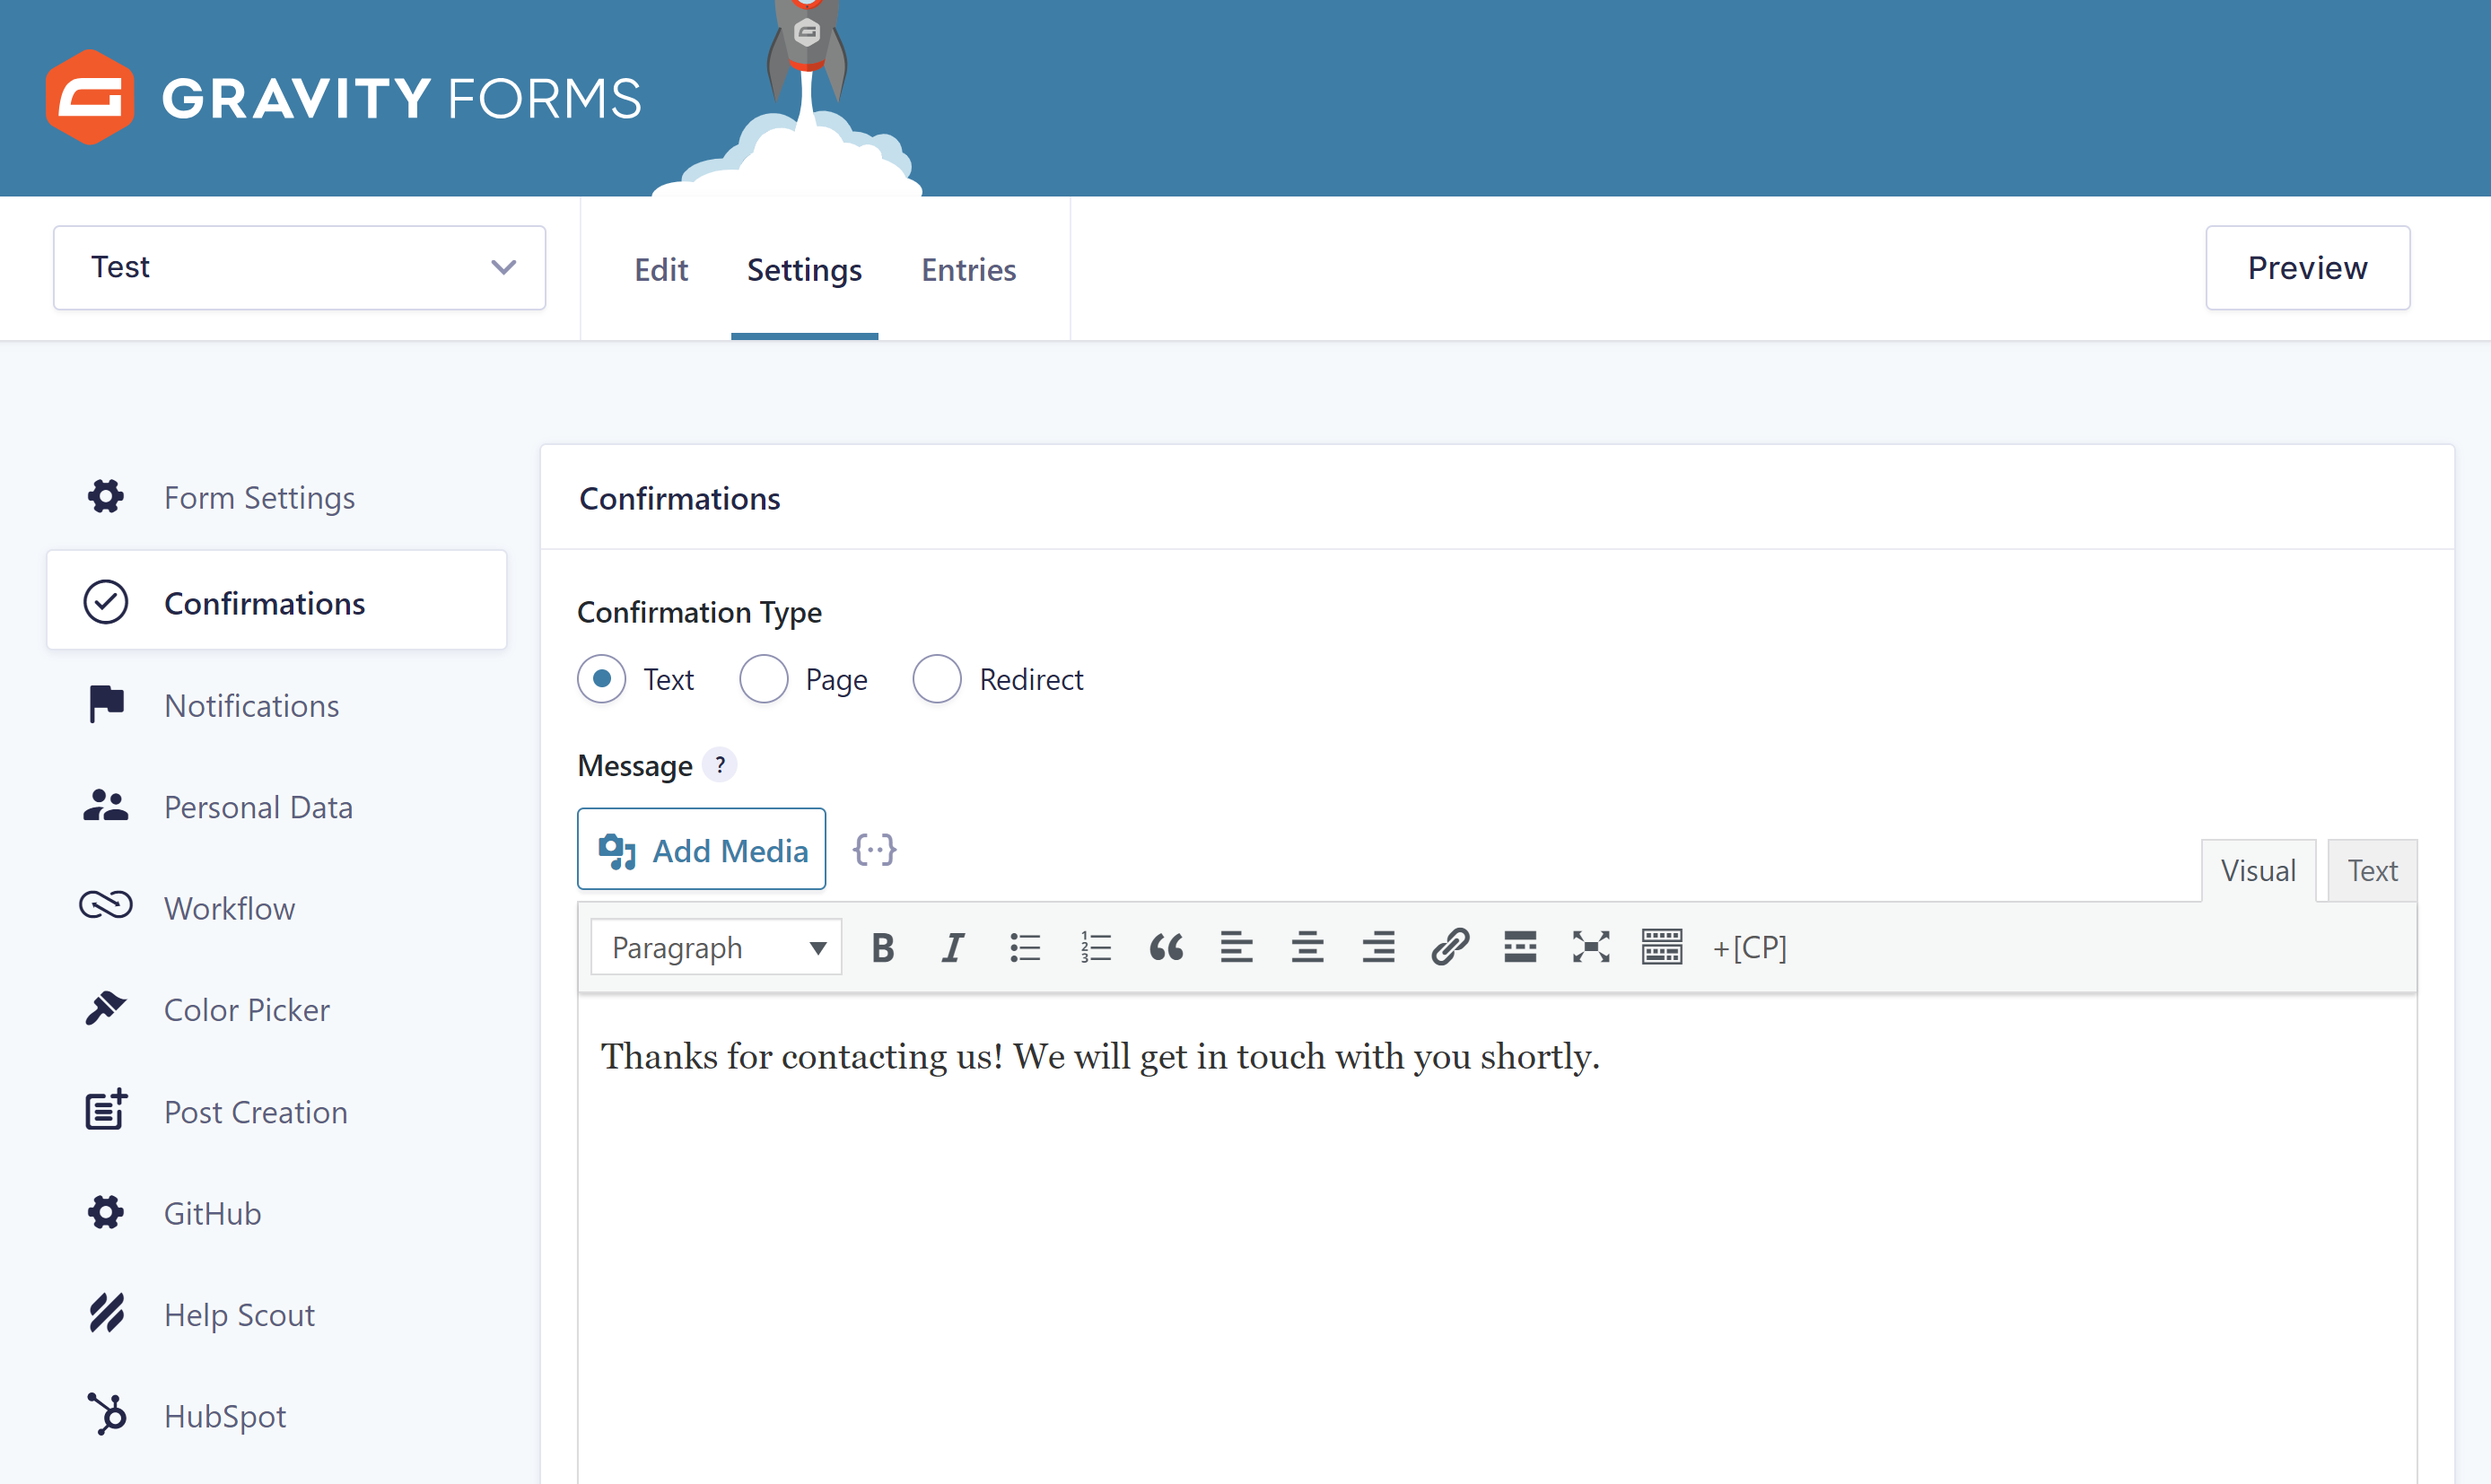
Configuring a custom confirmation message displayed to users after submitting a form is probably the easiest and most convenient post-form submission process to implement.
In fact, Gravity Forms displays a confirmation message by default, thanking the visitor for using the form.
However, if the default message isn’t appropriate for your form or you’d like to display additional information, you can easily make the necessary changes.
You can even use conditional logic in Gravity Forms to display different confirmation messages depending on what information the user included in their form entry.
As the confirmation message can include links, you can add a link to a page on your site related to the information the user included in their form. An example would be a link to support documentation for a specific issue they’re asking you about through the form. Alternatively, the confirmation message could include a download link for an item related to the purchase they made using the form.
To find out exactly how to create a custom post-form submission message and get some ideas for what to include, read our guide to configuring custom confirmation messages in Gravity Forms.
Redirect the User to a Specific Page
Instead of displaying a custom confirmation message, you can redirect users to a specific page on your site after they’ve submitted a form entry. As you can direct them to any URL, it could also be a page on another site.
If you’d like your visitors to perform another action on your site after submitting a form, such as viewing some of your best content, exploring your latest products, or following you on social media, directing them to a specific part of your site or elsewhere can help.
You could also use the confirmation redirect feature to reveal hidden content to the user that’s only available after a form submission. This could be a lead magnet or post-purchase content, such as instructions on how to use the item, an upsell, or recommended related products.
Gravity Forms makes it extremely easy to redirect visitors to a specific page on your site or URL, so you should have no trouble taking advantage of this functionality.
Again, you can use conditional logic in Gravity Forms to direct the user to a specific page or URL based on the contents of their form submission.
If you’d like to know more, you can read our guide to redirecting users to a new page or URL after form submission.
Send Emails and Trigger Custom Notifications

Email notifications are another useful post-form submission action you can implement.
These emails can be sent to the user who submitted the form. They can also be sent to anyone else who needs to receive a notification via email, such as staff responsible for actioning the contents of the form. Examples include processing orders and setting up new user accounts.
When setting up email notifications in Gravity Forms, you can define what information is included in the email. You can personalize the emails by using merge tags so that the messages are populated with content from the form submission.
As well as automatically sending emails after a form submission, you can also trigger other types of notifications. For example, after a form is submitted, you could use the Gravity Forms Slack Add-On to send a message to a specific channel, team, or individual in Slack. Then the relevant person will be able to take the necessary next steps based on the purpose of your form. This could include scheduling an interview, arranging a call, or updating or deleting a record or user account.
Like email notifications, these custom notifications for third-party apps and services can include static text and content that’s dynamically inserted via the use of merge tags. You can also attach files submitted via the form to the notification.
Send Form Data to a CRM or Email Marketing Service
After a visitor has submitted a form, you might want to add them to your customer relationship management (CRM) service. Adding them to an email marketing service is another option.
Doing so allows you to manage and organize your relationships as well as contact those visitors when you have something to announce.
HubSpot is a very popular CRM, and thanks to the Gravity Forms HubSpot Add-On, you can automatically send form data to your HubSpot account. Depending on how you configure the integration, you could store the contact details of the form user in the CRM. If you use a CRM as powerful as HubSpot, you could also track how the user interacts with the content on your site.
You can also email your form users through the email marketing functionality of HubSpot or by integrating your forms with an appropriate email marketing service, such as Mailchimp.
Sending form data to a CRM or email marketing service means you won’t have to worry about keeping the details of visitors who’ve submitted a form on your site safe. You can also use the functionality of the services you add them to in order to understand and communicate with them more effectively.
Build a Custom Workflow

There’s still more you can do with forms submitted on your site. If you install the Gravity Flow Add-On for Gravity Forms, you can create custom workflows to define how those form submissions are handled.
Thanks to this, you can automate many of the manual processes that start with a form submission.
For example, form submissions that need human approval, such as when an employee submits a vacation request, can be put into a custom workflow. Each person in the workflow is notified when it’s time for them to complete their assigned task. Once the request has been approved or rejected by the appropriate user, the form submission will move to the next step in the workflow. As well as being approved or rejected, a request can also be reverted. This causes it to be sent back to the user who initially submitted the form so they can adjust their request.
The status of a form submission can be checked at any point through the Gravity Flow dashboard on your site.
You can include many third-party services, including payment processors like PayPal or Stripe, in your custom workflows, you can get really creative with Gravity Forms and Gravity Flow.
For example, you could generate a PDF invoice from a payment form submission as part of your custom workflow. The PDF could be sent to the user who submitted the form or just kept for your own records. The functionality of Gravity Flow makes it easy to generate PDFs from a form submission, whether they’re generated instantly after form submission or after a specific step in the workflow has been completed.
Sending email drip campaigns to people who’ve submitted one of your forms is another custom post-form submission workflow you might want to consider. This sequence of emails that are automatically sent to users of your forms can help you to forge a stronger connection with your audience, promote your best blog content, and sell more products. By using Gravity Flow to handle the email drip campaign, you don’t have to pay for a third-party email marketing service. Furthermore, you can control everything from inside your WordPress dashboard.
You can learn more about creating custom workflows in our guide to Gravity Flow.
Final Thoughts
Now that you’re aware of some of the actions that can happen after a form submission, it’s time to start implementing.
From quick and easy actions to implement, such as creating a custom submission confirmation message or redirecting the user to a specific page on your site, to more in-depth solutions, including sending user data to a CRM or building a custom workflow with a tool like Gravity Flow, there are lots you can do to optimize what happens after a user has submitted a form entry on your site.
If you want to experience how Gravity Forms works for yourself, check out our free online demo to start using Gravity Forms today.

If you want to keep up-to-date with what’s happening on the blog sign up for the Gravity Forms newsletter!
"*" indicates required fields


