

When a user successfully submits a form, they’ll see a confirmation message. By default, Gravity Forms sets the message as “Thanks for contacting us! We will get in contact with you shortly.” However, for many types of form, this message would be considered lacking, so writing a couple (or more) sentences that are appropriate and relevant to your form and audience is recommended.
In this article, we look at how to quickly change a form’s confirmation message, and share a selection of possible messages that you could use for different form types. We also discuss how to use conditional logic in conjunction with your confirmation messages, enabling you to show different messages to different users depending on the information people have submitted within a form.
Rather watch a video? Check out this quick summary of what a confirmation message is and how customize text confirmation messages for your forms.
Get Started with Custom Confirmation Messages

Writing a confirmation message that fits well with your form type, ensures that even after form submission you are still providing a personalized and high-end user experience.
Depending on your industry and form, a confirmation message containing a thank you for completing the form may suffice. However, providing additional follow up information may also be helpful to both you and your users.
Content ideas for an effective and user-friendly confirmation message include…
- Sharing a link for a webinar, a downloadable e-book, or a discount code or coupon.
- Confirmation of a purchase, an application form, or a new account registration.
- Upselling a product or service or promoting a free trial.
- Sharing links to important pages on your site or your best-performing blog content.
- Asking people to keep in contact and follow your business on social media.
Let’s have a look at some confirmation messages for different form types that may be useful to you…
Ecommerce Form
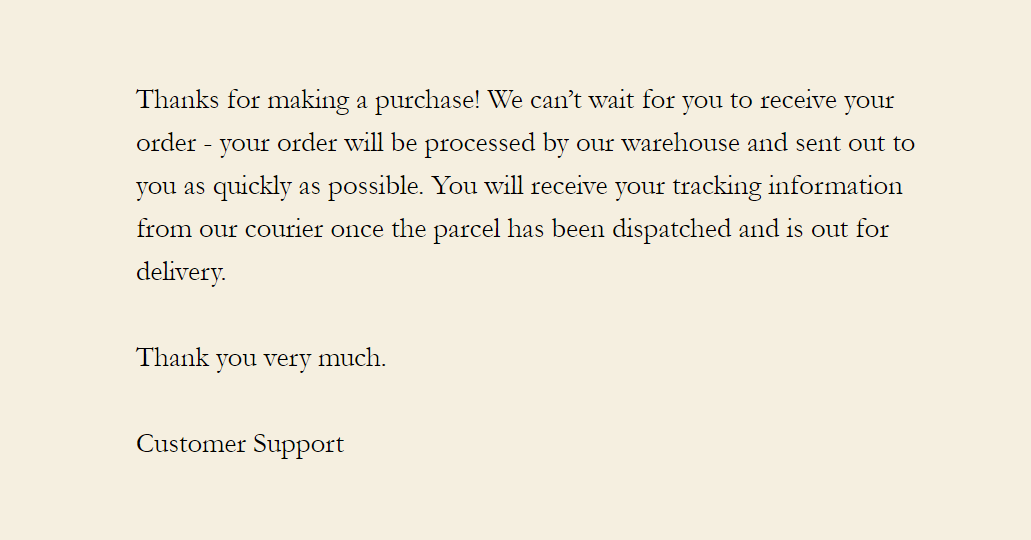
Always thank your customers for making a purchase from your store and try to give them as much information as possible about when they can expect the product to arrive, or let them know the information is coming soon in an email. Keeping people informed helps to manage expectations, creating happy customers who will return to your store in the future.
Employment Application Form
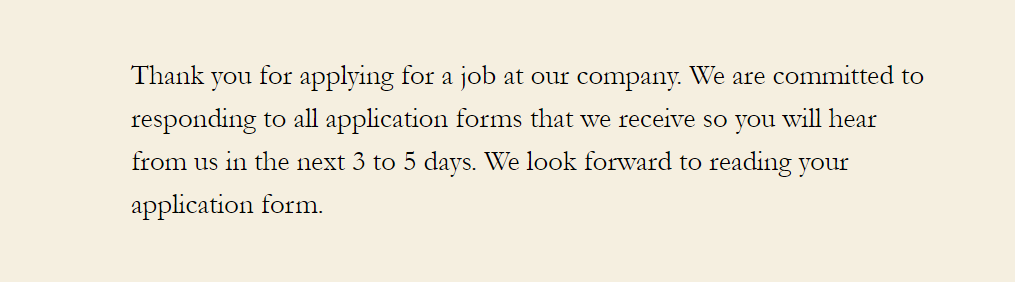
If you want to appoint successful candidates for your job roles, you need to impress them as much as they need to impress you. Adding a friendly yet professional confirmation message is an easy way to ensure a smooth start to the recruitment process.
Request a Quote Form
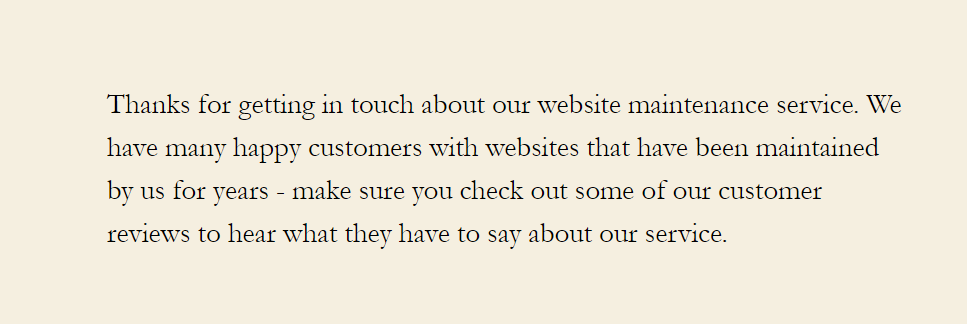
The confirmation message can be used to help push potential customers and leads further down the funnel towards a sale. Promote your best content, send them to pages where they will be further impressed by your business, and if appropriate upsell other products or services that you offer.
So now you have a good idea of how useful a custom confirmation message can be, let’s next look at how to configure the confirmation message for your form.
How to Configure Custom Confirmation Messages
Altering the confirmation message for a form is quick and easy – actually crafting the right message is often the more time-consuming element of this process!
To get started, open the form you want to customize, then within the form builder select the Settings > Confirmations.
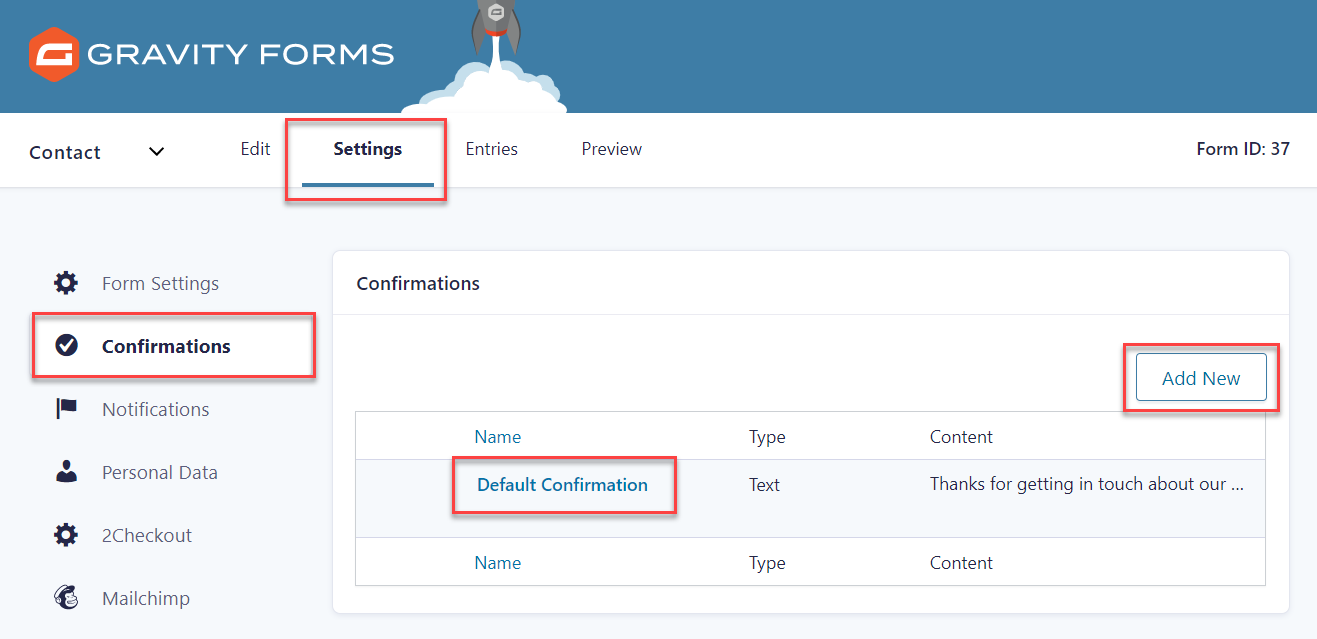
You now have the option of customizing the default confirmation message or adding a new message. If you want to display the same confirmation message to everyone who submits the form, simply edit the Default Confirmation message.
However, if you are going to use conditional logic to display different messages to your users depending on their form submissions, then you will need to select Add New and create a new message for each.
Here we have selected Default Confirmation…
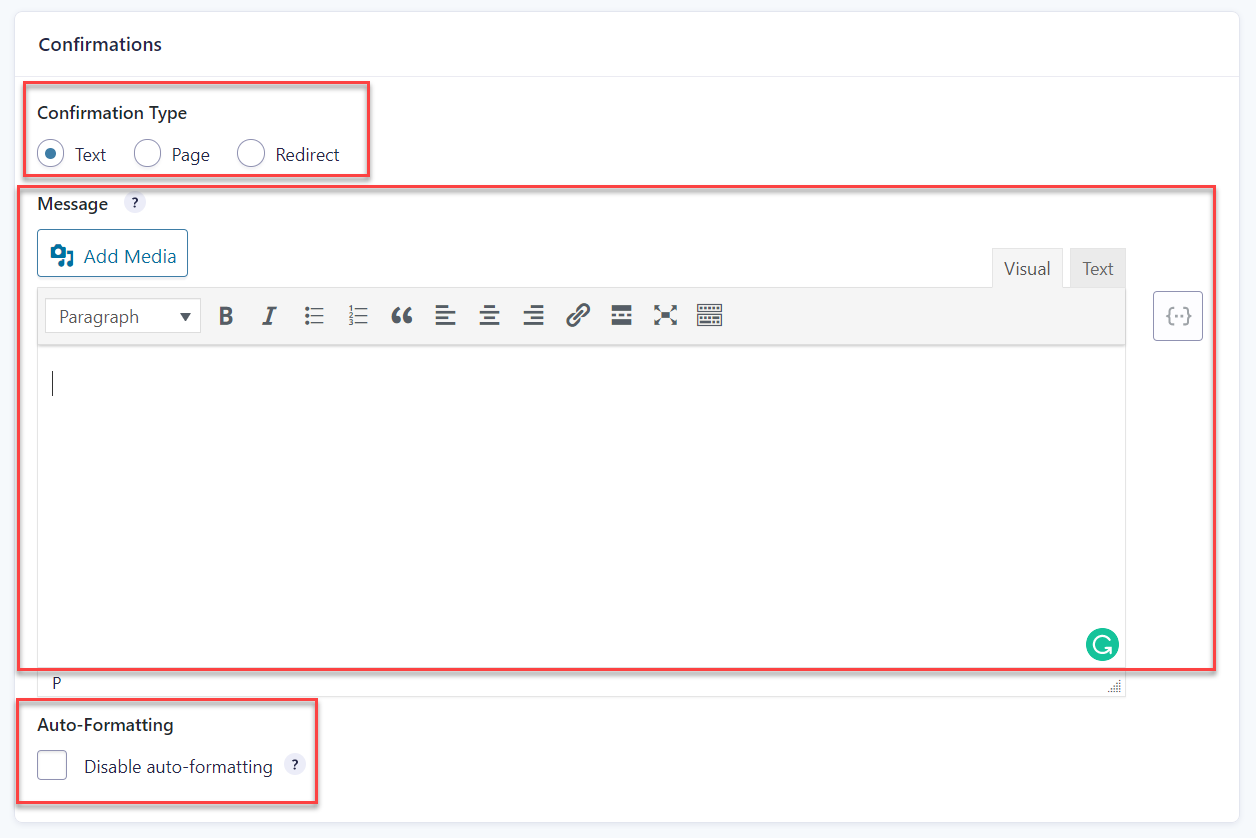
Firstly, you will need to select the Confirmation Type. In this article, we are just discussing Text – which is when the confirmation message is displayed as text on a user’s web page after form submission.
However, if you would like to know more about displaying a confirmation message on a different page or URL, check out this article – How to… Redirect Users to a New Page or URL After Form Submission.
You will then need to write your new confirmation message. As well as adding a message, you can also embed images, insert links, and use merge tags to dynamically populate data from field submissions into your message. If you want to use HTML to create the content, you will need to select to disable auto-formatting underneath the text editor.
Once you are happy with your new confirmation message, the select Save Confirmation button at the bottom of the page. For further information on setting up confirmations, check out the Gravity Forms documentation.
Conditional Logic and Confirmations
Using conditional logic alongside Confirmations allows you to display different confirmation messages to different users depending on the information they submitted via the form.
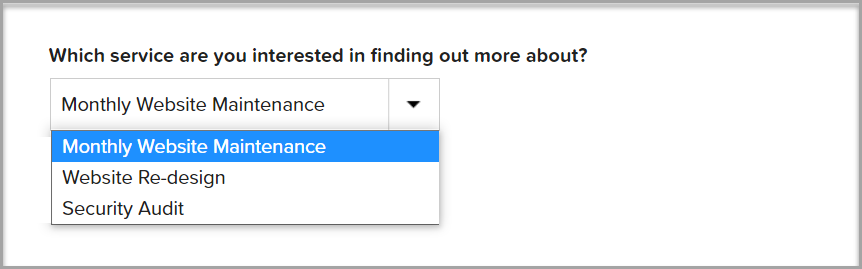
For example, your form may use the dropdown field, asking users to choose between three different services. With conditional logic, you could write three different confirmation messages, each relevant to a specific service – users will then see the message which reflects the service they selected when completing the form.
To get started, under Confirmations you need to select Add New to create a new confirmation. This is because Default Confirmation does not support conditional logic.
It is also important to note that if the conditional logic fails on the additional confirmations, then the default confirmation message will be displayed. Therefore, best practice is to write a generic default message that is relevant to all your users – this can then be used in the short term as a fallback if there are any issues.
You will now need to name the confirmation so you can easily identify it from the list of confirmation messages. Then select Confirmation Type and write your message in the text editor.
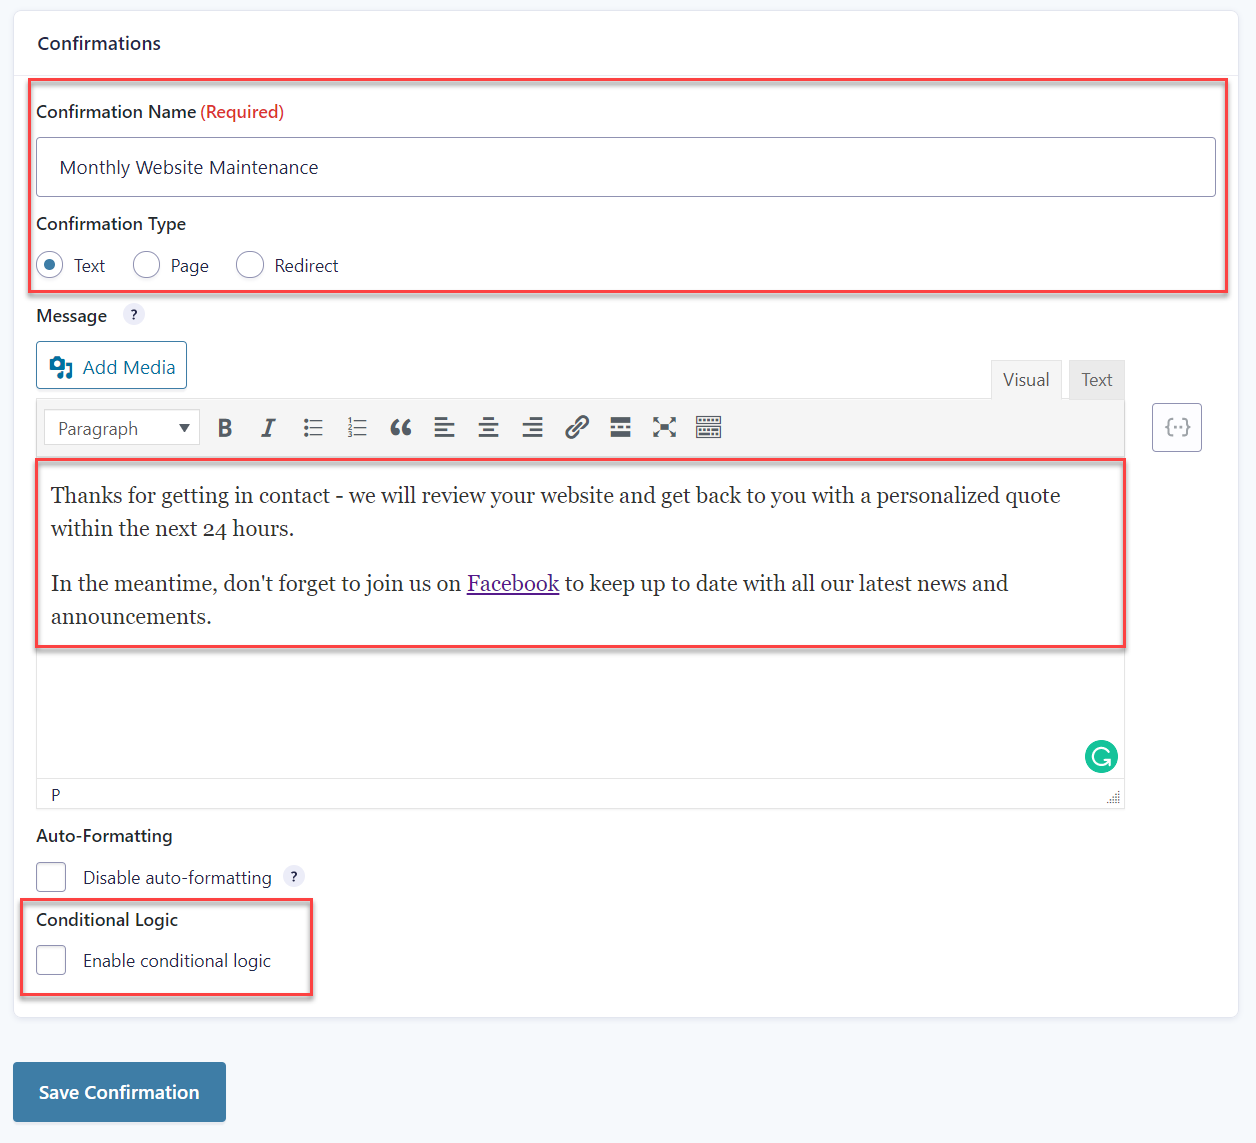
Lastly, at the bottom of the page, you will need to configure the conditional logic for the confirmation.
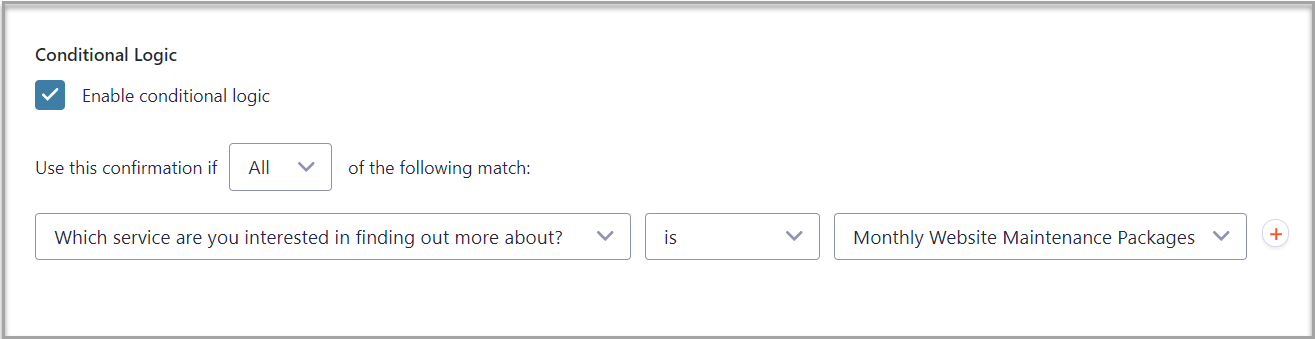
The Confirmation conditional logic settings work in the same way as all other conditional logic settings across Gravity Forms – here you can see we have selected this confirmation message to be displayed when a user chooses the Website Maintenance service option from the dropdown options…
For information on how to configure conditional logic with Confirmations, check out this documentation.
Final Thoughts on How to Configure Custom Confirmations
Custom confirmations are quick to set up and can go a long way to enhancing the experience your users receive on your site. By writing a tailored message that directly relates to the form and even the fields that a user has submitted, you present yourself as a professional and capable business that has its customers and clients at the forefront of its mind. These small details often go a long way to maintaining a loyal customer base and creating a successful business.
For a list of further recent ‘How to’ articles, check out this index on our documentation site.
Not a Gravity Forms customer but want to try out our product? Sign up for our free demo to check out our intuitive form builder, advanced features and functionality, vast array of add-ons, and much much more.
Already sold on using Gravity Forms? Purchase our premium WordPress form plugin today!
Newsletter
If you want to keep up-to-date with what’s happening on the blog sign up for the Gravity Forms newsletter!
"*" indicates required fields


