
Do you have terms and policies your customers and partners need to know? If so, it’s smart to have them sign a service agreement form before you start working together.
A service agreement is a contract that lays out all the important information you need your customers and partners to know. For instance, if you charge a penalty fee for late payments, you’ll want your customers to know that before you start. This way they won’t be surprised when they see it on an invoice.
With Gravity Forms, you can create a service agreement form that doesn’t need to be printed, faxed, or scanned. They can even sign their name right on your page!
Why would you use a service agreement form on your site rather than a printed contract?
- It’s more convenient for everyone. There’s no paper to handle.
- It’s faster for your customers, which lets you close deals faster.
- Your customers and partners can always access your terms.
- Everything is stored neatly in your WordPress database.
In this article, we’ll explain how to create a service agreement page and form for your site.
Start with a Service Agreement Page
Your first step is to create a service agreement page on your website that contains all of the information regarding your service terms, policies, and payment.
In the WordPress dashboard, hover over Pages in the left menu and click Add New. Give your page a reasonable title (like “Service Agreement”) and paste the content of your service agreement into the body.
Where do you get your service agreement content? Ideally, you want an attorney to put this information together for you to ensure you are protected from your customers and the law. You can write your own agreement, but there’s a chance you’ll leave something out or implement a policy that leaves you vulnerable to lawsuits.
That said, there are a few resources online to help you create service agreements without hiring an attorney. Try this one.
Most service agreement pages are walls of dense text, written in legalese. Don’t be afraid to use design elements like columns, images, charts, and clever typography to make your page easier to understand. Furthermore, use simple language wherever possible. This will increase the likelihood that your readers understand the page and follow your policies.
Consider adding a navigation table of contents on the page (using anchor links). This will help visitors find specific pieces of information they need. For example, instead of scrolling through the page looking for shipping information, they could just click the “Shipping Policies” link.
Once your service agreement contract is in place, save the page as a draft.
Create Your Service Agreement Form
Your next step is to add a form to the page to collect digital signatures. This way you won’t have to send a blank contract and receive a signed one. By completing the form, your customers and partners acknowledge they’ve read the terms.
Step 1: Install Gravity Forms
If you haven’t already, you’ll need to install Gravity Forms to your WordPress dashboard. If you need help with that, check out our Getting Started Guide.
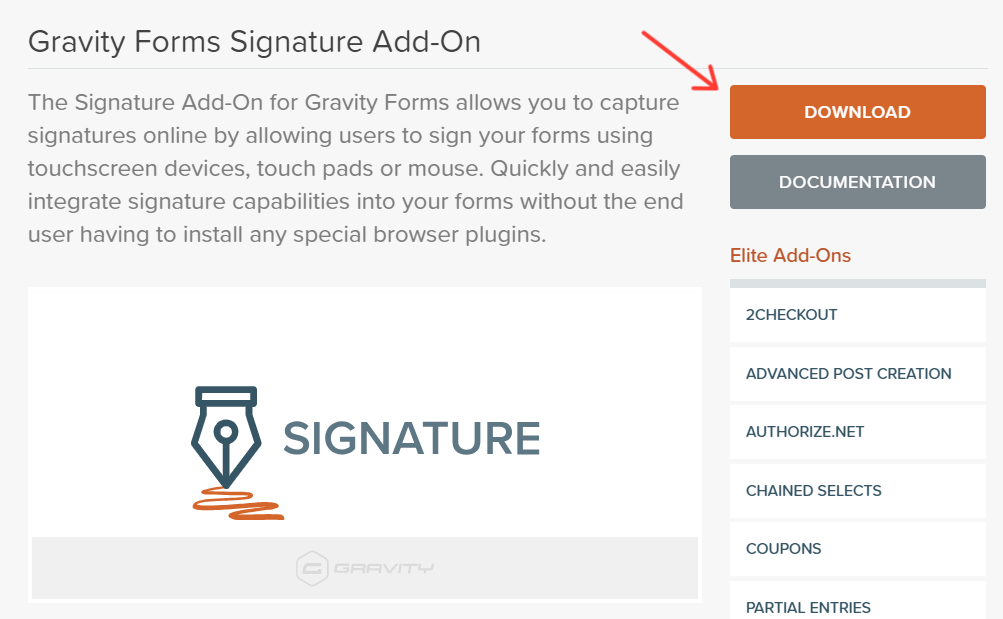
Step 2: Install the Signature Add-On
In order to use the signature field with your form, you’ll need the Gravity Forms Signature Add-On. This Add-On comes included in our Elite License with other great Add-Ons such as PayPal, Stripe, Use Registration, and many more
Step 3: Create a New Form
To create a new form, select New Form under Forms on the left side of your WordPress dashboard. Give the form a unique name, such as “Service Agreement Form.” If you need help creating new forms, read our full guide.
Unlike a job application form, donation form, or registration form, a service agreement form is quite simple. You don’t need to collect a lot of information. In fact, you only need enough information to identify the submitter’s signature and contact them if there’s an issue.
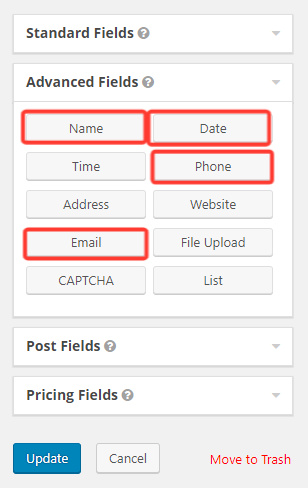
Add the following fields to your form:
- Name
- Date
- Phone
You’ll find all of these under Advanced Fields.
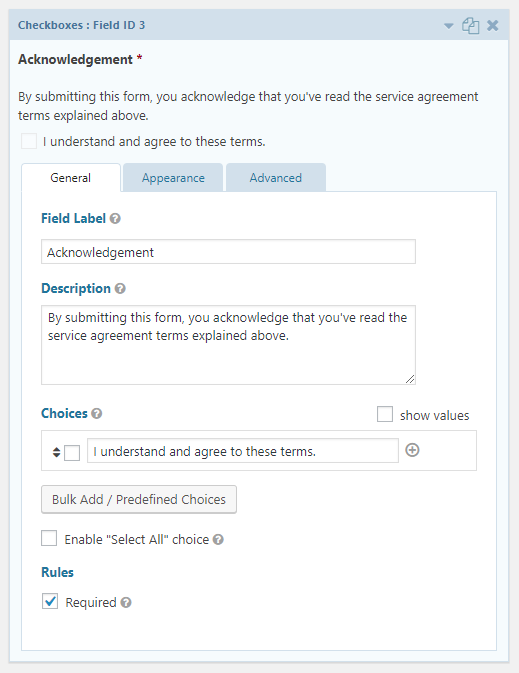
You may also want to include a checkbox field (under Standard Fields) with only one option. This is where they’ll check that they understand and agree to the terms. Yours might look something like this:
Next you’ll need to add the signature field. This is the most important component of the Service Agreement.
If you installed and activated the Signature Add-On in step two, you should see the signature field under Advanced Fields. Simply drag that field to the bottom of your form.
Play around the field settings until you have it set up to your liking. You can change the color, size, background, border, and style under Appearances.
Make sure you check the “required” box on every field. Then save the form.
Step 4: Adjust Your Confirmations and Notifications
In the form editor is a Settings drop down. Under that menu are options for Confirmations and Notifications.
Confirmations are on-screen messages to let the submitter know the form was successfully submitted. The default option is suitable for most people, but you may want to customize the wording a bit.
Notifications are emails sent to you, the submitter, or anyone else whenever a form is submitted. By default a Gravity Form comes with a single notification sent to the WordPress administrator. You may want to add an additional email address to that notification to make someone else on your team aware. Or you may want to create an additional notification to send a copy to the submitter.
You can use merge tags to dynamically populate submitted field values and other dynamic information in notification emails.
The {all_fields} tag will display all of the form’s fields except the digital signature field. We left it out for security reasons. If you want to include the digital signature field in an email, use the {signature} merge tag.
Embed the Form on Your Service Agreement Page
Your final step is to embed your service agreement form on your service agreement page.
The easiest way to embed the form is by using the Gravity Forms Gutenberg Block. This adds a new block to your Gutenberg editor (the new WordPress editor) specifically for Gravity Forms. Read our documentation to learn how to install this block.
Once the Gravity Forms Gutenberg Block is installed, simply drag it to the place on your page where you want the form to appear. Some options will appear on the right side of the editor. This is where you’ll select your service agreement form and adjust its settings.

If you don’t want to use the Gutenberg Block, you can embed the form on the page using a shortcode. Use the Shortcode Block to open a field to insert the shortcode. If you don’t use the Gutenberg editor, simply type the shortcode into the classic editor.
Shortcodes have a simple format:

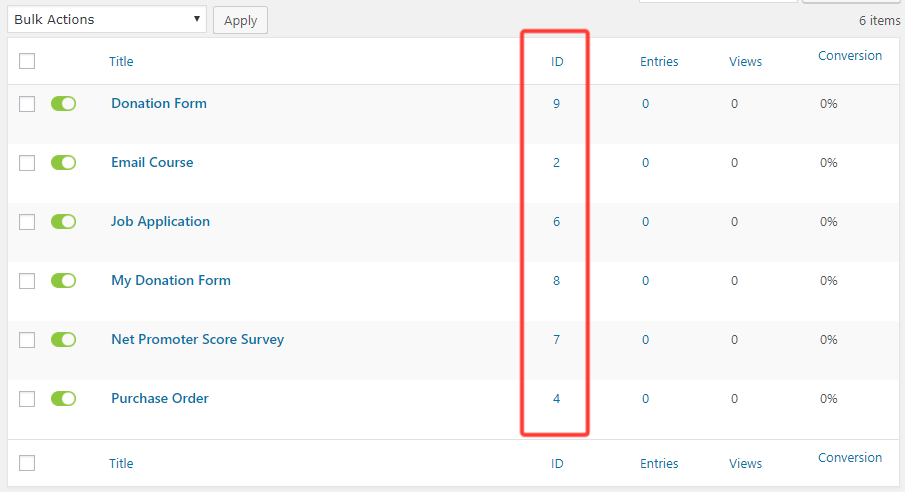
Change false to true if you want Gravity Forms to display the title or description of the form. Change # to the form number. You can find the form number on the form list.
Once you’re happy with your page, click Publish to make it visible to the world!
Over to You
Now that you know how to make a service agreement form on your WordPress site, make sure you create a page that clearly outlines your terms, policies, and conditions. Use it to protect your business (and yourself) and give your customers and partners everything they need to have a healthy and positive relationship with you.


