Gravity Forms is the go-to WordPress form builder for nonprofits. It can be used to add almost any type of form to your website, helping you to connect with your audience, process payments, collect information, and much more.
However, with so many features and possible integrations, how do you know if you’re getting the most out of your Gravity Forms license?
In this article, we’ll look at the top five Gravity Forms integrations that your nonprofit could benefit from.
Gravity Forms Nonprofit License
Just in case you’re not aware, there’s a nonprofit license for Gravity Forms that gets you a great deal on our plugin.
The nonprofit license covers licensing for three sites. It comes with all of our current Add-Ons, including options for processing payments, connecting your forms to your nonprofit marketing tools, publishing surveys, and integrating your forms with many third-party services.
The Nonprofit License is available to registered nonprofit organizations via an application process.
Top 5 Gravity Forms Add-Ons for Nonprofit Sites
So whether you have access to Gravity Forms already or you’re thinking about getting it, here are the top Gravity Forms Add-Ons for nonprofit sites.
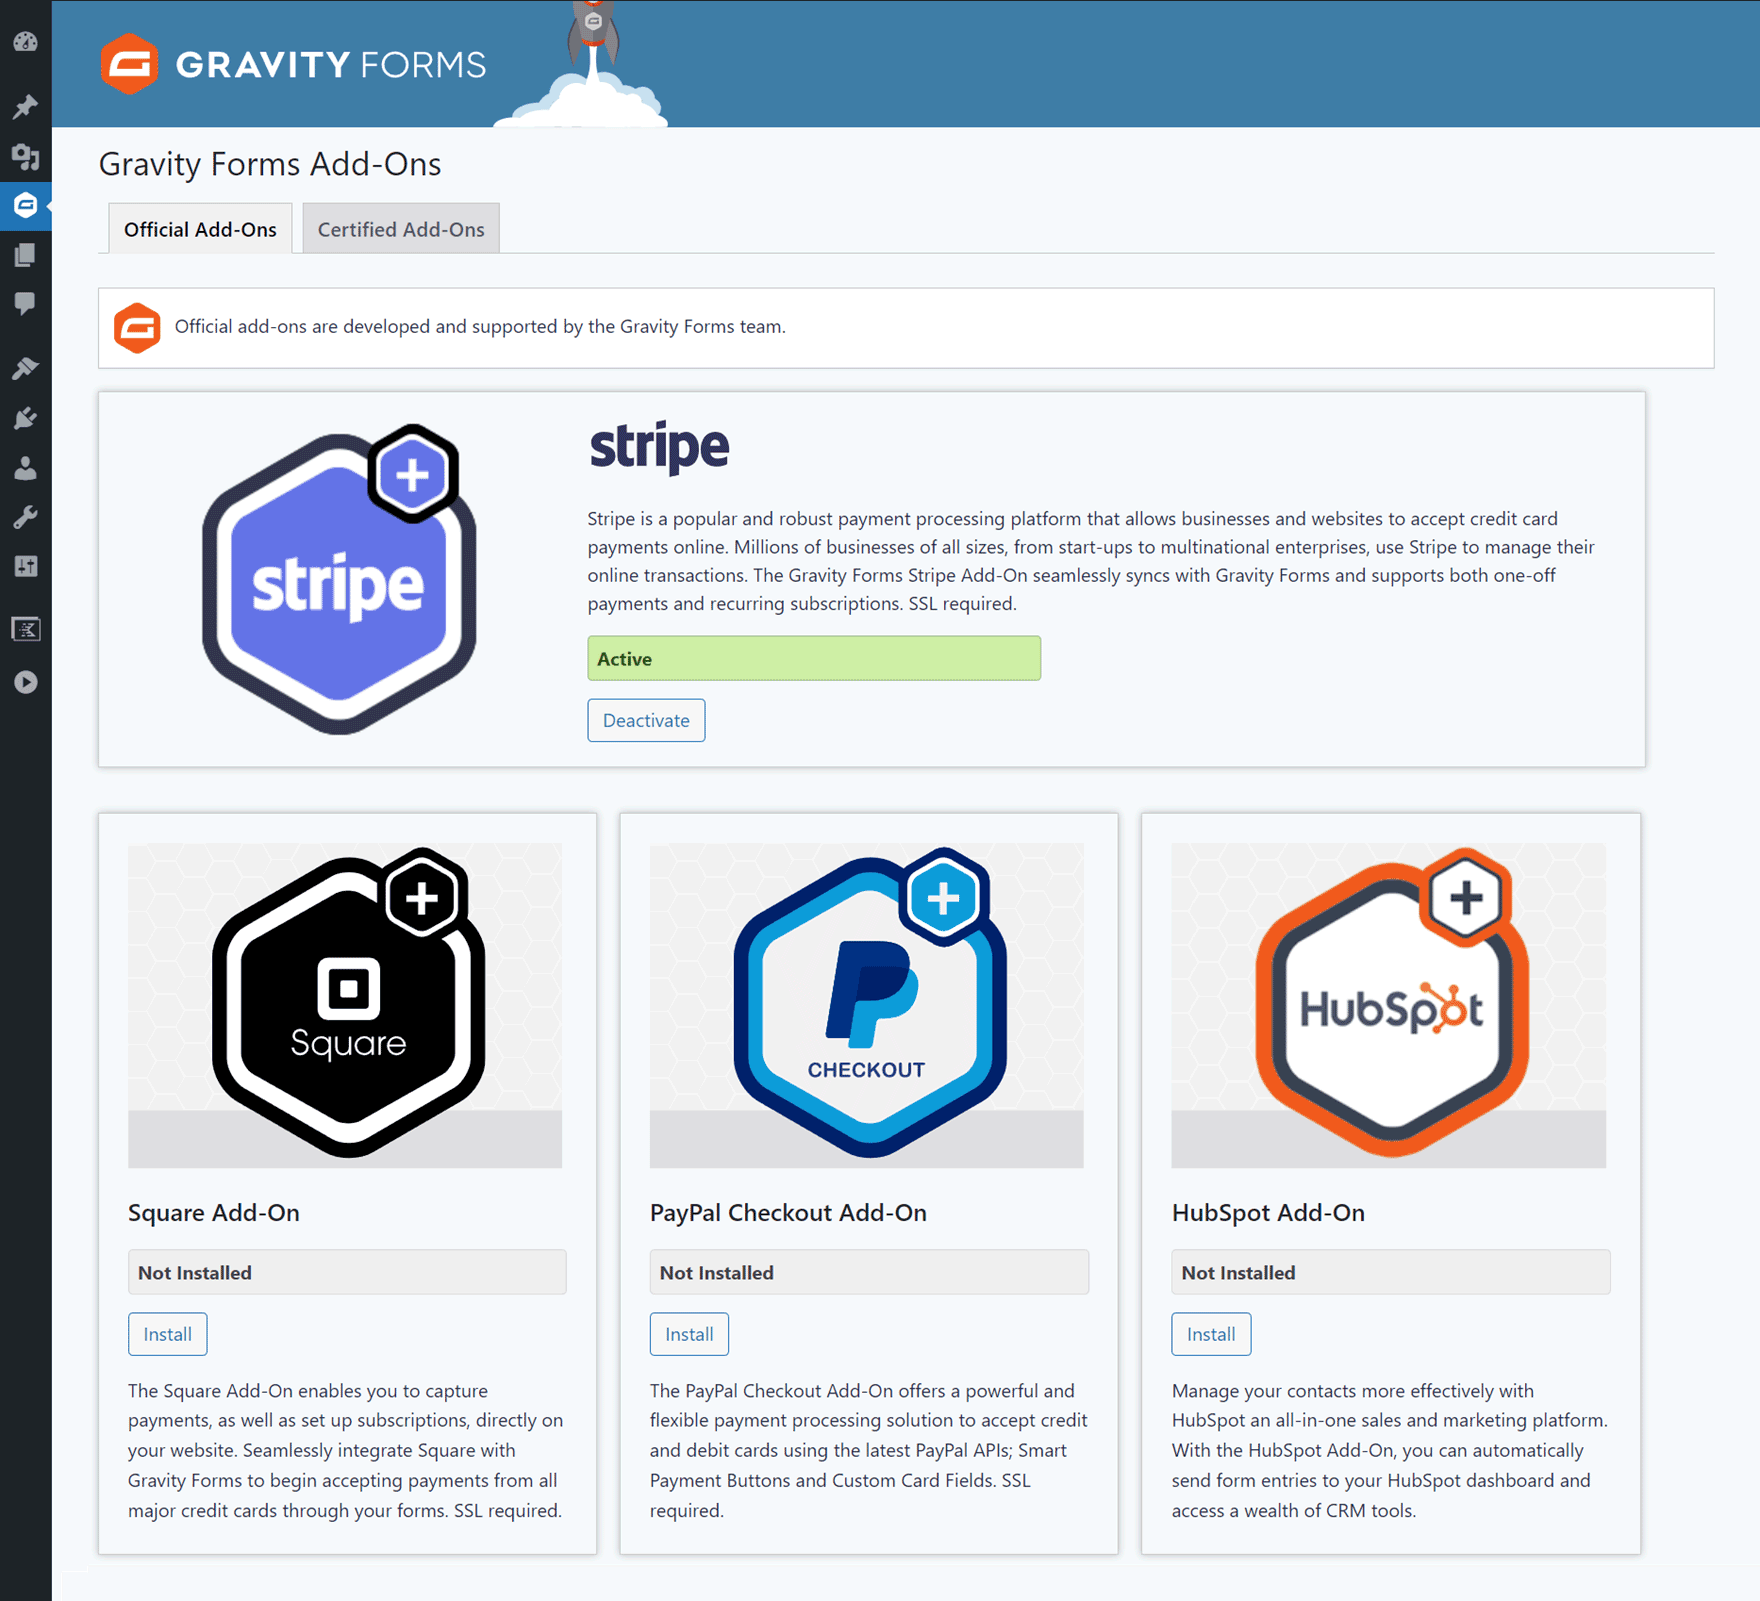
HubSpot Add-On

The HubSpot Add-On is included with all Gravity Forms licenses, including the nonprofit license. Thanks to this, you can easily integrate the powerful HubSpot service with your nonprofit site.
HubSpot Features
HubSpot is a customer relationship management (CRM) tool for businesses that many nonprofits can benefit from using. Essentially it’s a powerful marketing and sales tool that can be used to do many things, including:
- Help you collect, organize, and nurture relationships with potential volunteers and service users.
- Manage your email newsletter list.
- Track engagement on your site and provide insights.
- Integrate with over 1,000 third-party services.
- Add a live chat tool to your website.
- And much more.
Not only that, but nonprofits in North America, Australia, and New Zealand can get 40% off the paid plans (at time of writing). There’s also a free HubSpot plan that’s ideal for those getting started, making it one of the most attractive nonprofit marketing tools out there.
Gravity Forms HubSpot Add-On Features
The HubSpot Add-On allows you to integrate any forms created with Gravity Forms with your HubSpot account. Doing so automatically sends data submitted by your visitors via your forms to your HubSpot dashboard. Top features of the add-on include:
- Automatically create and update contact details in HubSpot for form users.
- Send form data via HubSpot to specific individuals in your organization based on form content.
- Automatically trigger email sequences and follow-up emails for form users.
- View form-user activity on your site, such as which pages they’ve accessed.
As you can see, HubSpot enables you to manage your contacts better, automate communications with them, and find out how they interact with your site and its content. Integrating your website forms with HubSpot gives you an easy way to get data from and about your visitors into a powerful CRM.
Integrating Your Forms with HubSpot
If you’re using Gravity Forms on your site, integrating your forms with HubSpot is very straightforward. All you need to do is:
- Install the HubSpot Add-On from the Gravity Forms Add-On Browser in your WordPress dashboard (Forms → Add-Ons).
- Sync Gravity Forms with your HubSpot account from the Add-On settings page in your WordPress dashboard.
- Create a form feed for a specific form you’ve created with Gravity Forms.
You can view the full instructions in our guide to the Gravity Forms HubSpot Add-On.
If you don’t want or need all of the functionality of HubSpot, services like ActiveCampaign and MailChimp make it easy to add form users to an email list, automatically send messages to those users, and automate other marketing processes.
There are Gravity Forms Add-Ons for both services to simplify integrating your email marketing service with your forms.
Square Add-On
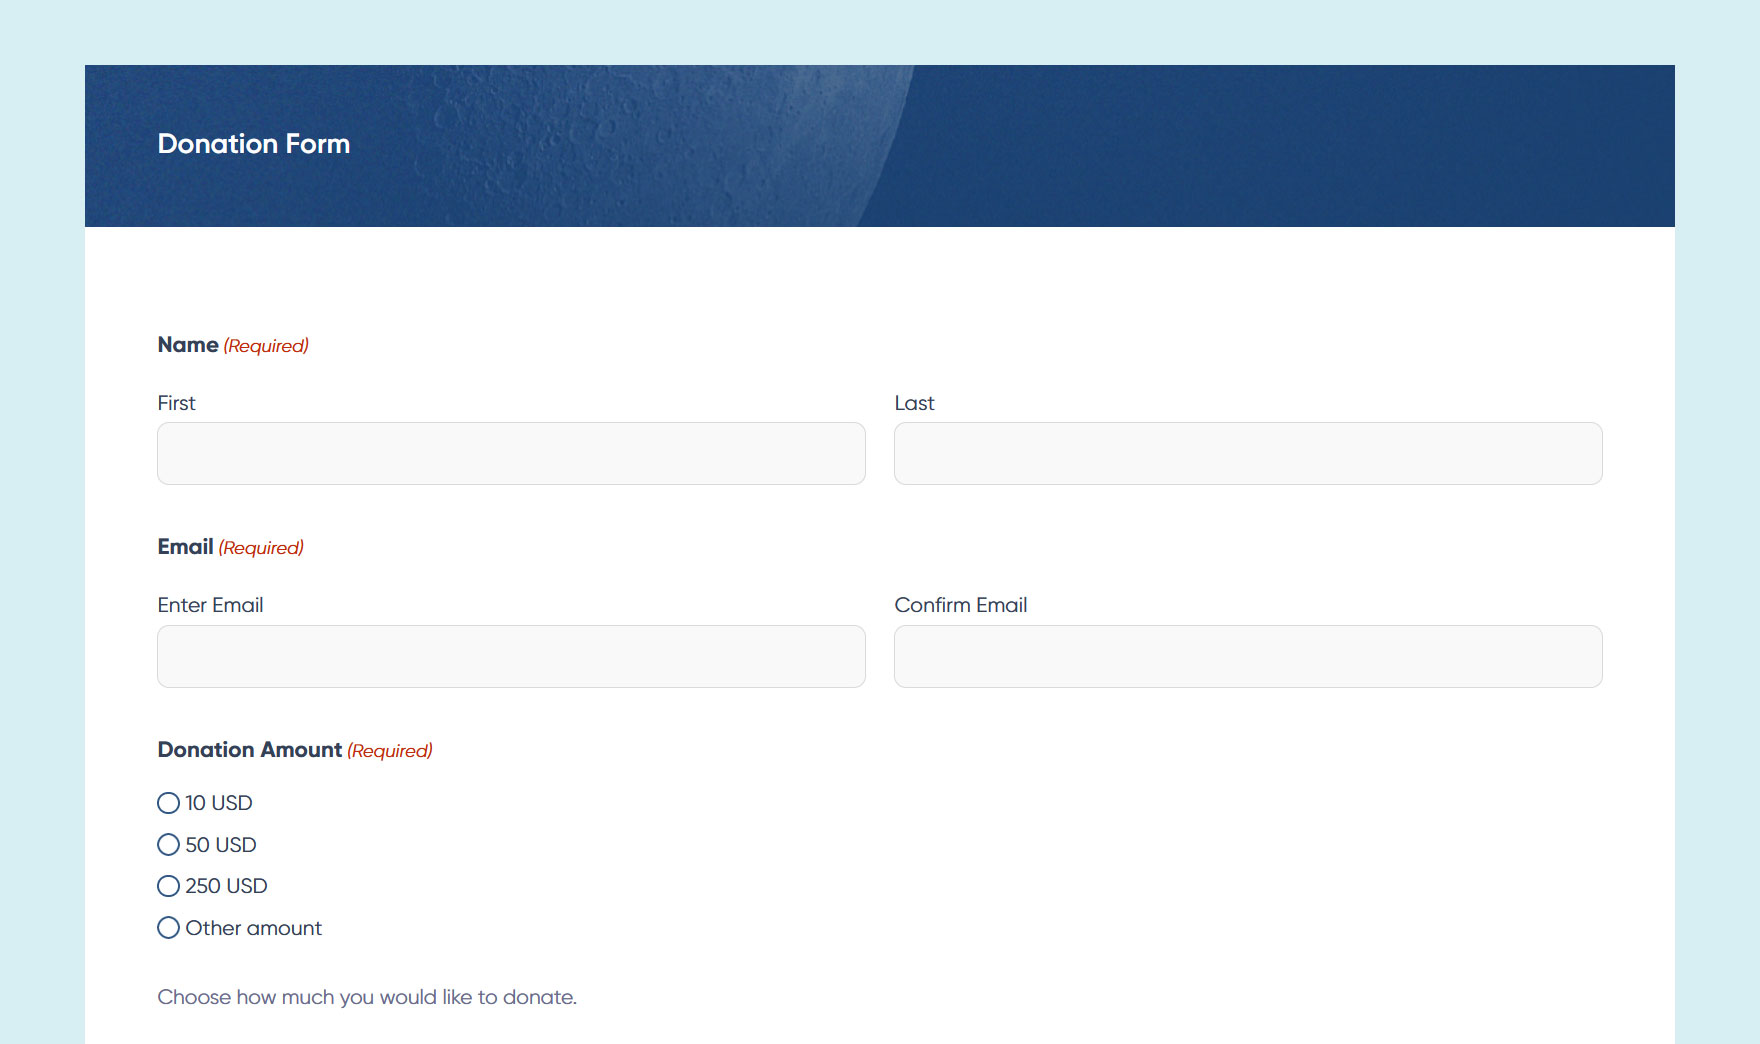
Square is a popular payment gateway that keeps things simple while still being very powerful. Thanks to this, everybody should be able to use Square to simplify online payments, including nonprofits that want to collect donations online, sell items, collect fees, and complete any other financial transactions via their website.
Square also integrates seamlessly with your WordPress website via the Square Add-On for Gravity Forms, available on the Pro, Elite, and Nonprofit licenses.
Square Features
Some of the reasons why Square is becoming increasingly popular include:
- Easy to get started with thanks to a focus on ease of use and simplicity.
- Accepts all major credit cards with the same rate, including Visa, Mastercard, and American Express.
- Transparent fees with no hidden or surprise costs.
- Detailed analytics give you precise and real-time insights into your sales and other transactions.
- Strong security that follows industry requirements to ensure you can keep your data and that of your users safe and secure.
- Responsive support is available via phone and email to assist when needed.
While Square is an excellent choice for many nonprofits, it’s not the only payment gateway supported by Gravity Forms. Other options include Stripe, PayPal, and Mollie. If you’d like to know more about these services to help you decide which one to use, read our guide to the Gravity Forms Payment Add-Ons
Gravity Forms Square Add-On Features
Once you sign up with Square and install the Square Add-On alongside Gravity Forms, you’ll be able to:
- Take one-time and subscription payments, such as recurring donations, via the forms on your site.
- Authorize and capture payments but only take the payment on a future date, such as when facilitating sponsorship payments based on future events.
- Process refunds for payments directly from inside your WordPress dashboard rather than having to log into a separate website.
If you’re interested in trying this payment gateway, you can get fee-free processing on your first $2,000 of payments taken during your first 180 days as a Square customer through a promotion Square and Gravity Forms are running.
After processing $2,000 worth of payments or once your first 180 days of being a Square customer are up (whichever comes first), you’ll pay the standard fees on your transactions.
Integrating Square with Your Forms
As mentioned, to start using Square to process payments with Gravity Forms, you’ll need either the Pro, Elite, or Nonprofit Gravity Forms license to access the Square Add-On.
Once you have that access, you can install the Square Add-On via the Gravity Forms Add-On Browser in your WordPress dashboard (Forms → Add-Ons). If you don’t have one, you’ll need a Square account, too. You’ll also need to complete a few other steps to finalize the integration, including connecting Grvaity Forms to your Square account and creating a Square feed for your payment form.
You can create your own form for use with Square or choose from one of the templates in our library.
User Registration Add-On

Depending on your nonprofit and the purpose of your website, you might want to allow people to sign up and register at your site.
These registrations could be for people who’d like to sign up with your nonprofit for other reasons, such as attending in-person events or becoming a paid supporter.
User registrations could also be for people who want to sign up to gain access to member-only content or some other online platform you’re running on your site, such as an online community.
Depending on how you configure the registration forms, they could be used to create new user accounts on your site or collect data required to process applications and registrations for in-person events.
Gravity Forms User Registration Add-On
If you’re using Gravity Forms and have the Elite or Nonprofit license, you can install the User Registration Add-On via the Gravity Forms Add-On Browser in your WordPress dashboard (Forms → Add-Ons).
After that, you’ll be able to add a user registration form to your site — either by creating one yourself or choosing one from the template library — or editing an existing form on your site.
A WordPress user account on your site will be created for anyone who completes the form. The Add-On also has a login widget so that you can quickly add a form to your site that enables users to log in.
Some of the other features of the Gravity Forms User Registration Add-On include:
- Ability to quickly create a custom user registration page.
- Automatically send verification and confirmation emails to new users.
- Create forms that allow existing users to update their account details.
- Integrate with PayPal to collect payments during registration.
- Integrate with BuddyPress to create advanced user profiles.
Creating a User Registration Form for Your Site
If you’re wondering how to add a user registration form to your nonprofit site, you can see the full instructions here, but in short, you’ll need to:
- Install the Add-On from the Gravity Forms Add-On Browser in your WordPress dashboard (Forms → Add-Ons).
- Create a form or edit an existing one to include the required fields.
- Create a feed to handle the form submissions.
- Publish the user registration form on your site.
In just a few steps, you can make it possible for visitors to your site to sign up and become registered users with their own accounts.
Zapier Add-On
Zapier is an automation tool that lets you connect different services, such as integrating your WordPress website and its forms with cloud storage services, social media platforms, nonprofit marketing tools, and project management apps.
In fact, you can use Zapier to create integrations with over 5,000 third-party apps and services.
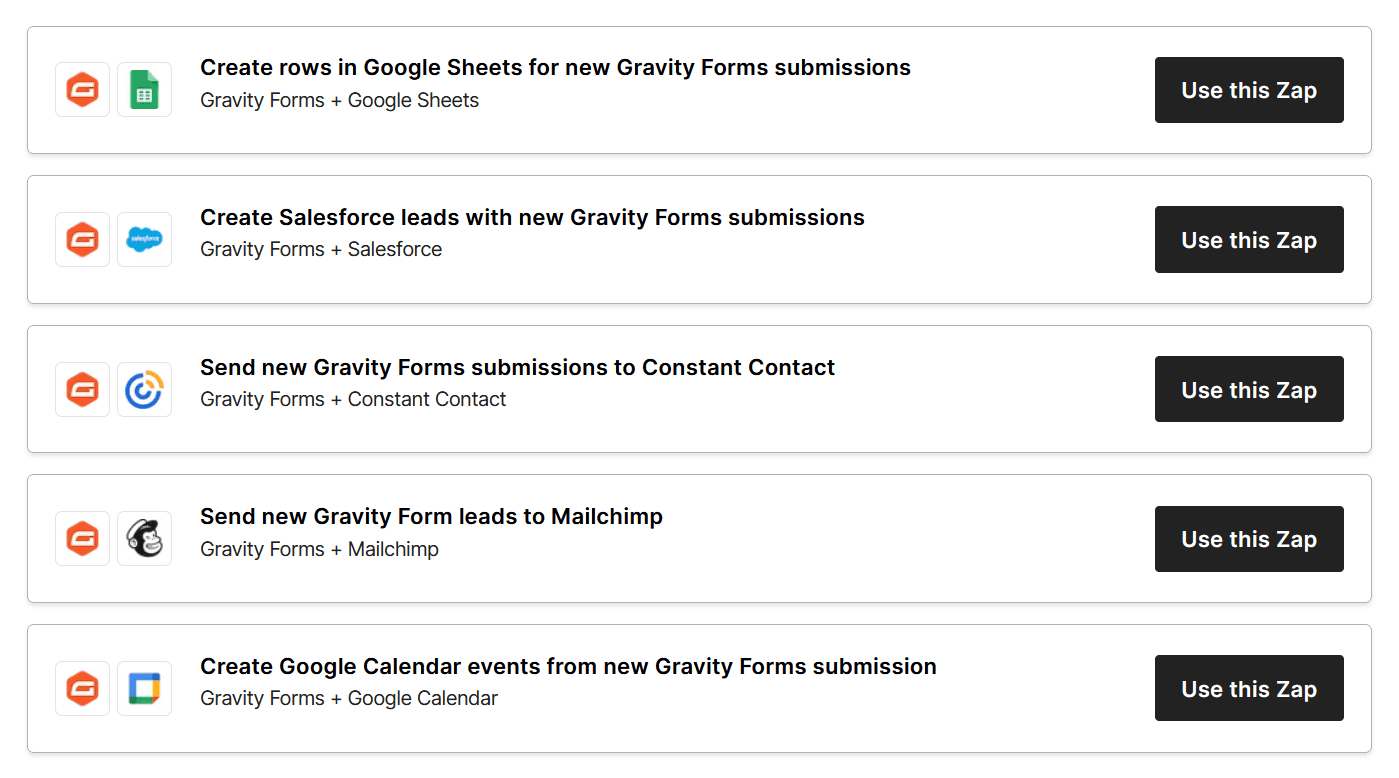
One way nonprofits can use Zapier is to create custom automated workflows, such as sending a form submission to Slack and notifying specific users, adding the data from a form submission to a Google Sheet, or entering a new contact into your CRM or email marketing service.
The integrations or “Zaps” that you create can be simple, such as connecting your web form to a single third-party service, or very elaborate, including lots of steps and multiple third-party platforms. Zapier is a no-code tool, making it easy to use.
If you want to do more with form submissions than leaving the data sitting in your WordPress dashboard, the Zapier Add-On for Gravity Forms allows you to create custom workflows to automate any form-based processes of your nonprofit.
Zapier Features
As mentioned, Zapier is a no-code automation tool that works with many different platforms, services, and apps.
There’s a free plan with enough functionality to create automated workflows and integrations between your Gravity Forms data and third-party services. However, the more you use Zapier, the more you’ll need to pay each month; there is a discount for nonprofits, though.
Some of the things you can do with Zapier include:
- Connect thousands of services and apps to automate repetitive tasks.
- Use triggers and actions to create custom automations.
- Use the no-code editor to build your workflows.
- Schedule your Zaps or integrations to only run at certain times.
- Use the Zapier Transfer feature to move historical (form) data in bulk.
The Zapier site has a breakdown of the main features.
Gravity Forms Zapier Add-On Features
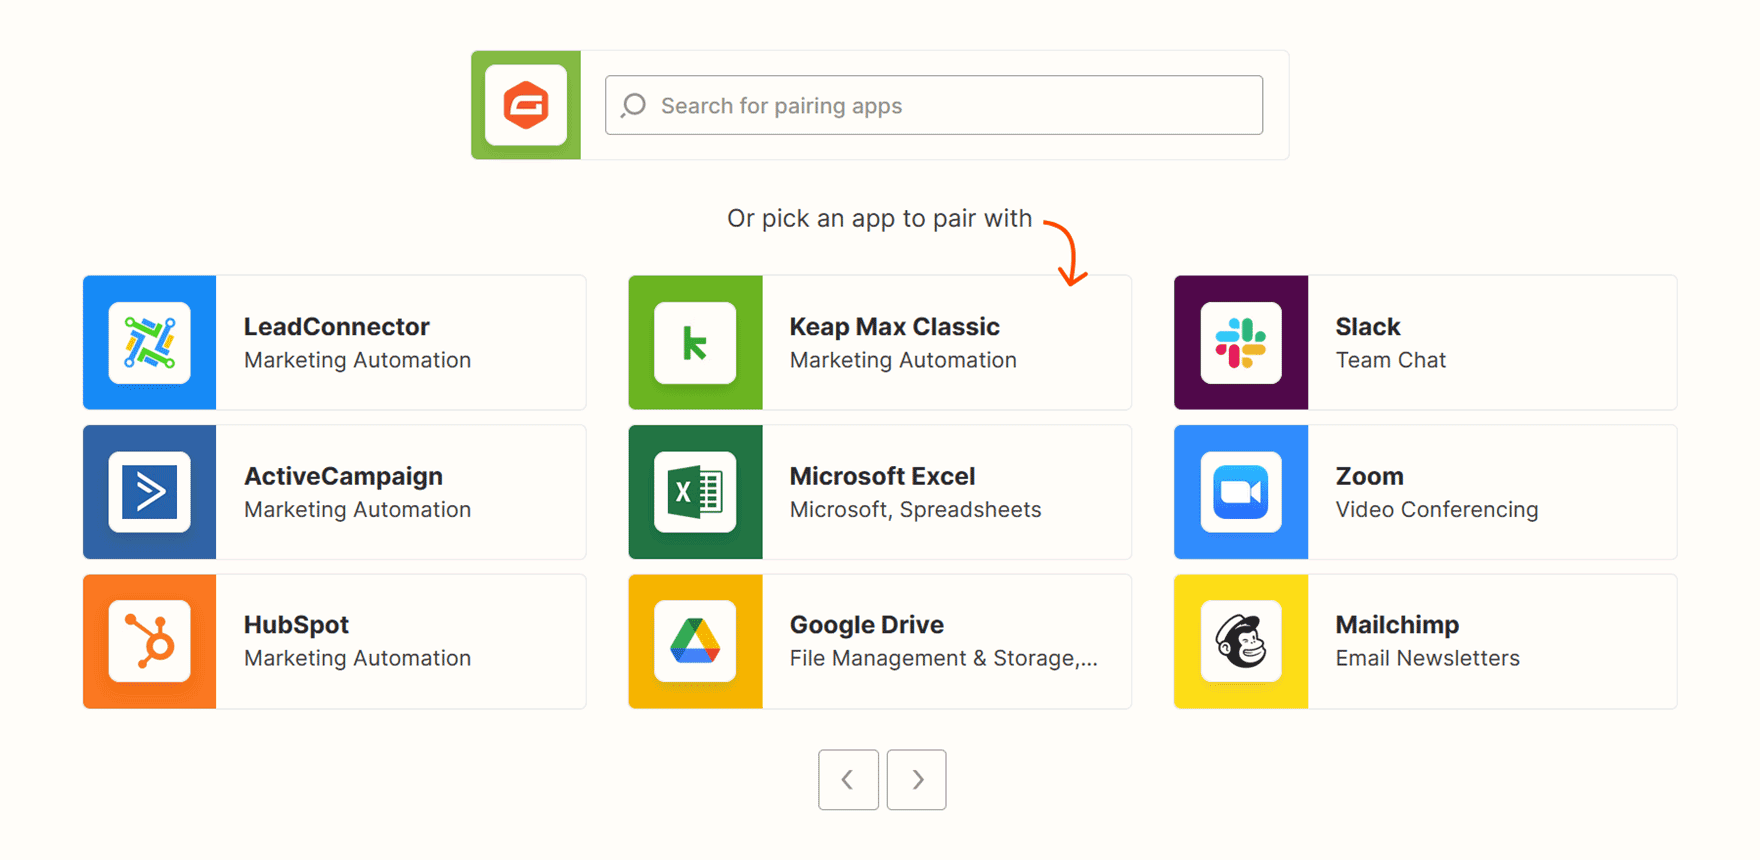
Once you’ve published a form built with Gravity Forms on your site, you can use the Zapier Add-On to process that form and its submissions by creating a custom workflow that connects the form to a vast choice of third-party services.
As you can see on the Zapier site, Gravity Forms can be paired with many services.
The Gravity Forms Zapier Add-On, which is included with the Pro, Elite, and Nonprofit licenses, lest you use form submissions to trigger actions in Zapier, such as:
- Create and update spreadsheets with form submission data.
- Use form submission data to create or update a record in a CRM.
- Create calendar entries based on the data in form submissions.
- Upload files submitted via forms to cloud storage services.
- Write form submissions to a custom database.
- Back-transfer older form submissions in bulk to third-party services.
- Use data from third-party services to create a form submission on your site.
Check out our blog for more Gravity Forms and Zapier inspiration.
Integrating Zapier with Gravity Forms
Integrating Gravity Forms with Zapier only takes a few steps. After that, you’ll create and manage the Zaps or integration in your Zapier account dashboard.
A quick overview of the steps involved in using Zapier with Gravity Forms includes:
- Create a Zapier account.
- Install the Zapier Add-On from the Gravity Forms Add-On Browser in your WordPress dashboard (Forms → Add-Ons).
- Create a connection with Zapier in your WordPress dashboard.
- Create a connection with Gravity Forms in the MyApps section of your Zapier dashboard.
- Create a form with Gravity Forms or choose an existing one for the integration.
- Create a Zap or integration in Zapier.
The support docs cover setting up Zapier for Gravity Forms in full.
Survey Add-On

Creating an online survey is a good option if your nonprofit wants to receive feedback or conduct market research.
Thanks to the Survey Add-On, creating surveys for your WordPress site with Gravity Forms is quick and painless. Not only can you use the intuitive Gravity Forms form builder to create your survey, but there’s also a ready-made survey form template you can use and edit as needed.
There are also Gravity Forms Polls and Quiz Add-Ons that can be used for similar purposes but have different features.
Benefits of Surveys
Some of the surveys you might want to create for your nonprofit site include:
- Feedback surveys so that users can share what they think of your services.
- Onboarding surveys to learn more about new staff, volunteers, and service users of your nonprofit.
- Market research surveys to learn what your audience wants, how you can help them, and what they think of your approach.
- Satisfaction surveys to get feedback on how helpful the service you provided was.
You can create many types of surveys with this Add-On, and exploring its features should give you more ideas on how to use this type of form.
Gravity Forms Surveys Add-On Features
The Survey Add-On is included with the Gravity Forms Elite and Nonprofit licenses. Some of the features of this Add-On include:
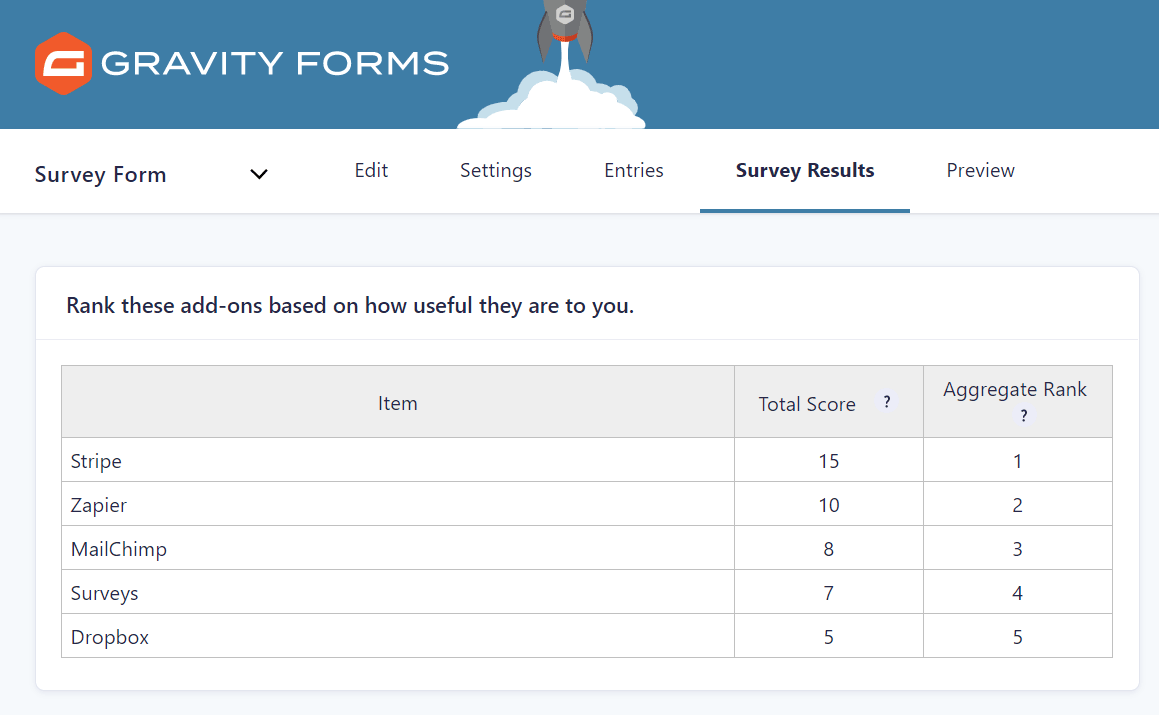
- Eight field types for your surveys, including Likert scale, ranks, and ratings.
- Ability to view aggregate survey results in your WordPress dashboard.
- Option of connecting survey forms to third-party services using other Gravity Forms Add-Ons or Zapier.
As you can use a range of survey-friendly fields and then view your survey results in your WordPress dashboard, this Add-On should provide you with everything you need to start surveying your audience.
Adding a Survey to Your Site
This article from our blogs covers how to create a survey with Gravity Forms and publish it on your site.
You can also read the documentation on this Add-On here.
Final thoughts
You now have some good ideas for enhancing your nonprofit website with Gravity Forms and its Add-Ons and integrations.
From setting up an easy way to automatically add new contacts to a CRM like HubSpot and collecting payments with a tool like Square to publishing registration and survey forms on your site, not to mention all of the possible integrations that Zapier unlocks, there are lots of ways nonprofits can benefit from using Gravity Forms.
And thanks to the Gravity Forms Nonprofit License, you can get access to our premium form builder plugin and plenty of add-ons at a reduced rate!
Square Promotion – Free Processing
Gravity Forms and Square have teamed up to offer an exclusive promotion for new Square customers — enjoy free processing fees for up to 180 days!
Here’s how it works:
- Free Payment Processing – Get $5,000 in credit card transactions processed for free within your first 180 days. After that, standard Square fees apply.
- $20 Off Square Hardware – Receive a $20 discount on Square hardware once you sign up.
To take advantage of this promotion, simply sign up for a Square account using this link and start processing payments with no extra fees.

If you want to keep up-to-date with what’s happening on the blog sign up for the Gravity Forms newsletter!
"*" indicates required fields