How to Design a Service Business Landing Page

If you run a service business (whether you have a local space or operate entirely online), you need landing pages that convince users to take the next step. These pages represent a critical point where everyday web visitors turn into customers.
What goes into a landing page for a service business? How do you optimize it to convert? We’ll explain the step-by-step process to create your landing page in this article!
Step 1: Use a Special Page Template
A landing page is similar to most other pages on your website, with a few exceptions. If you’re using a content management system like WordPress, you may need to create a special template file for landing pages.
When a user arrives at the landing page, you only want them to take one action: convert. If they need any information to make that decision, it should be on the page. There should be very few ways to leave the page. That means…
- No links to other pages on your site
- No menu that links to other pages
- No footer or a substantially minimal footer
- Your logo should not be clickable to your home page
- No sidebars with unrelated widgets
Every avenue to another page is an opportunity for visitors to go somewhere else. Every unrelated element is a potential distraction. So create a page that’s as slim as possible.
Step 2: Determine Your Value Proposition
Your value proposition is a simple message that tells potential customers why they should hire you rather than your competitors. Reduce your offering to a single thought that conveys the benefits of your service.
Your value proposition will inform your entire landing page. You’ll need to consult it before you write your headline and body copy, add images, and create your form.
Here are some examples:
- Dentist: “Pain-free dentistry on your schedule.”
- Landscaper: “Get a beautiful lawn without lifting a tool.”
- Physical trainer: “Look so good they can’t help but stare.”
Notice how each of those value propositions lean on specific benefits, like painlessness, convenience, and attractiveness. They’re also reasonably short and easy to understand.
Step 3: Design Your Form
Many guides will tell you to start with your page’s title, but we think it’s important to start with your form. It’s important to know where you want visitors to go before you push them in that direction.
The first question to ask yourself is “What do I want to happen after they submit the form?”
For many businesses, the purpose of your page’s form is pretty straightforward. Users complete the form and the submission data gets stored in the WordPress dashboard. When a new submission comes in, simply reach out to the new lead to schedule their service.
But you can also have the data sent to other apps you use every day. For instance, you might need to send their submission to a project management tool so your team can get started. That’s easy with Gravity Forms’ Add-Ons for Breeze, Campfire, Trello, and Slack. If you like using a CRM, check out our Add-Ons for Agile CRM, Capsule CRM, and Zoho CRM.
If you want to collect payment with your form, you’ll need one of our payment Add-Ons: 2Checkout, Authorize.net, PayPal Payments Pro, or Stripe. For more information, read our full guide on Gravity Forms merchant integrations.
Some businesses want leads to book a time to talk about their needs, meet for a consultation or walkthrough, or for the service itself. This takes a few extra steps, but it’s still pretty simple:
- Open a Zapier account.
- Install our Zapier Add-On. (Read our Add-On installation guide if you need help.)
- Create a zap that integrates Gravity Forms with your booking app. Learn more here: Gravity Forms and Zapier: How to Connect Your Forms to 1,000+ Apps.
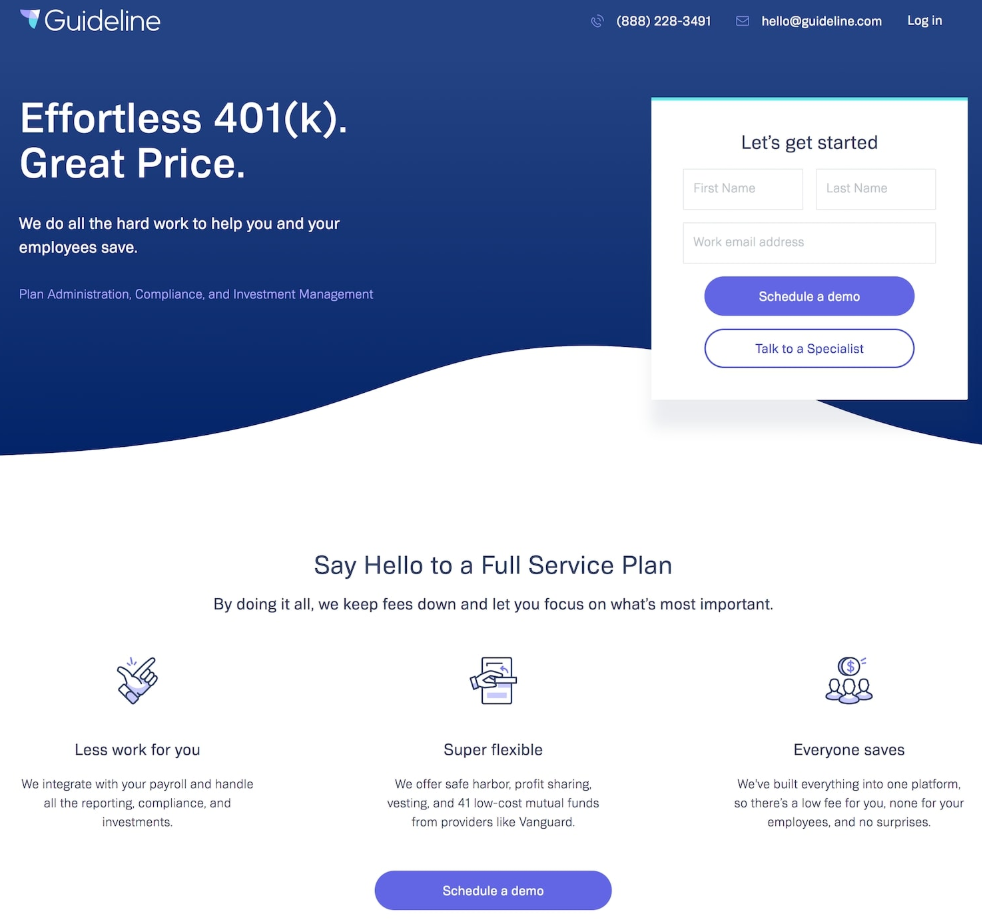
As always, try to keep your form as lean as possible. Only ask for the information you need at the moment to collect a lead. If it’s not relevant, don’t ask for it. Notice how Guideline uses a very simple form that’s not intimidating or time-consuming.
When it comes to your form’s button, use something simple and powerful that completes the phrase “I want to…” For instance, you might use “Book Now,” “Find a Designer,” or “Schedule Appointment.”
Step 4: Add Your Hero Shot
A hero shot is a large image or video that’s impossible to miss the moment your users arrive on the page. It’s a way to connect with your visitors on a visual level to help them get a better understanding of your service and how it benefits them.
Wherever possible, show your service in action or in use. For example, instead of showing a picture of a random lawnmower, show an image or video of your team at work, preferably if the visitor can see the before (unkempt lawn) and after (healthy and tidy lawn).
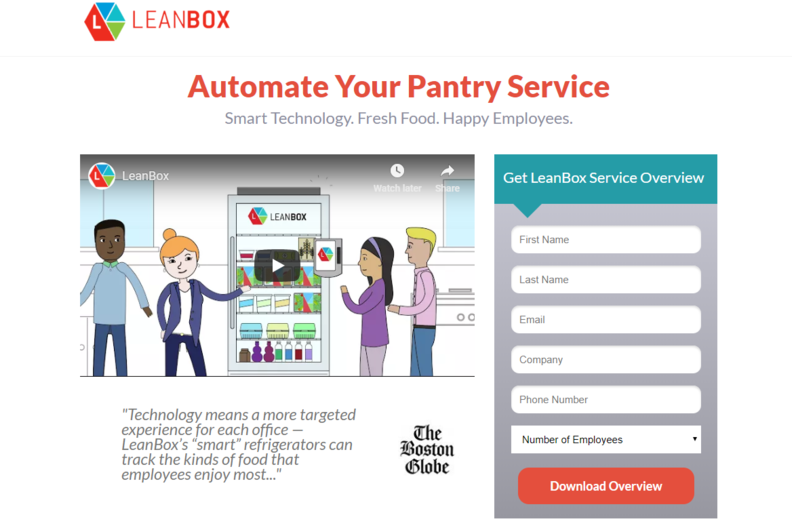
This Leanbox landing page puts a video right beneath its title. Visitors are compelled to click to learn more about the service.
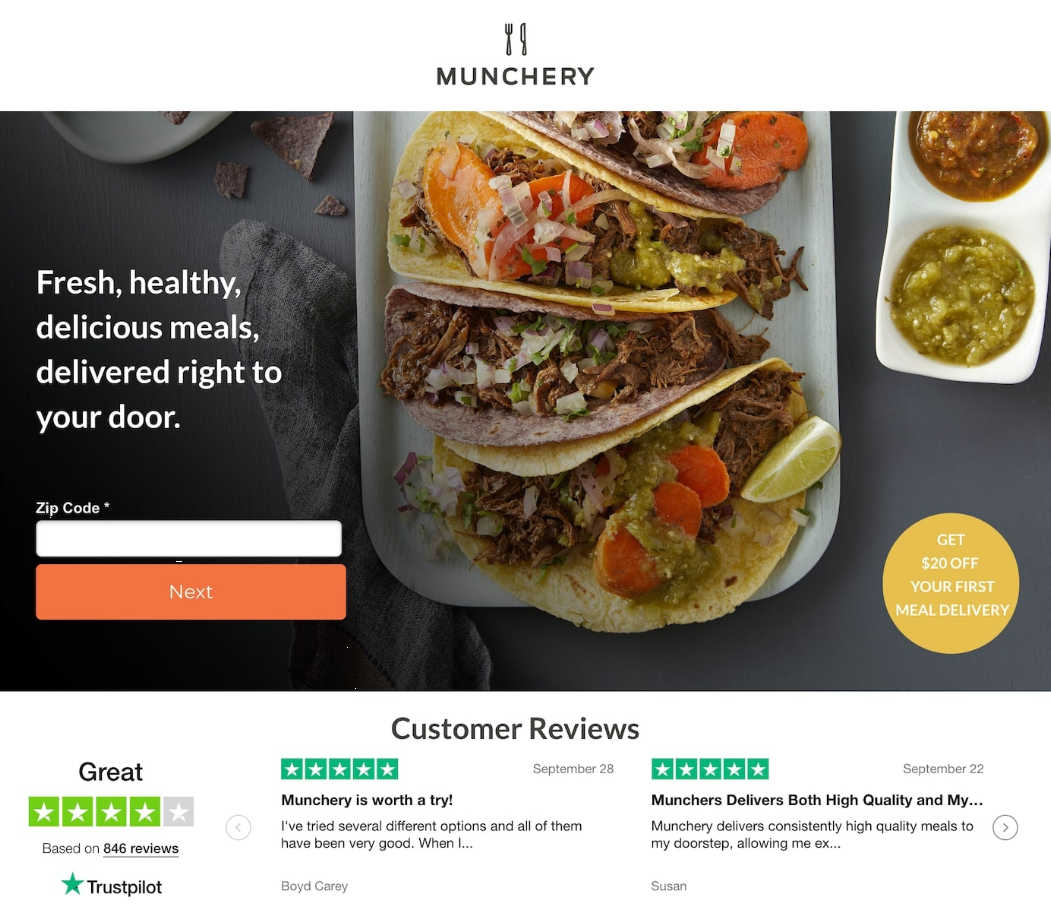
Munchery uses a static image for their hero shot, but it’s an extremely attractive photo that encapsulates their fresh and healthy value proposition.
Step 5: Write Your Title and Copy
Start with a title that quickly explains why the visitor should use your service. In most cases, you can use your value proposition here. If you think the visitor needs some more explanation right away, feel free to add a subtitle.
Then write 250-500 words of copy that elaborate on your value proposition. Make it clear who your service is for (so they know they are in the right place), why it benefits them, and how it works. Make it easy for them to understand.
Here are some things you might want to let them know:
- How much the service costs
- How quickly you can provide it
- What they need to contribute
- When and how you’ll communicate with them
- How and when you require payment
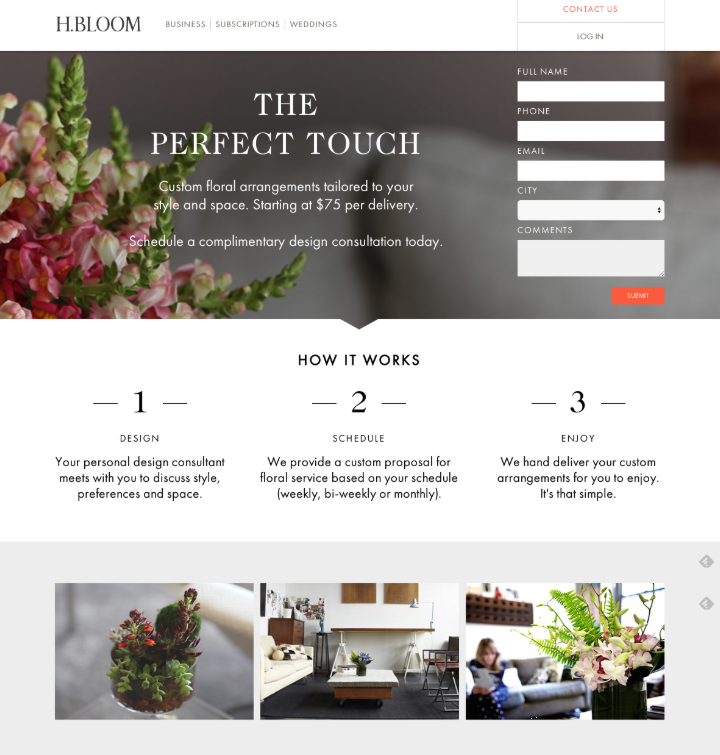
Notice how H. Bloom explains their service with as few words as possible. The numbered columns under “How it works” make it easy to follow the progression of the service.
Step 6: Include Some Customer Reviews
Reviews make potential customers more comfortable about taking the next step, so it’s important to place a few of them on your landing page, especially near your form. These will help them overcome their fear about using your service.
Use short and to-the-point reviews that specifically address your prospect’s objections. For instance, if you know customers worry that you’ll take a long time to deliver the service (maybe you’re in an industry fraught with long waits), use a customer testimonial that compliments your prompt delivery.
Step 7: Add Trust Symbols
A trust symbol is a recognizable badge, symbol, or icon that your customers already trust. By placing trust symbols on your page, you can help customers trust you by association and ultimately reduce friction in their decision-making process.
You’ve probably seen plenty of these before. They look like this:
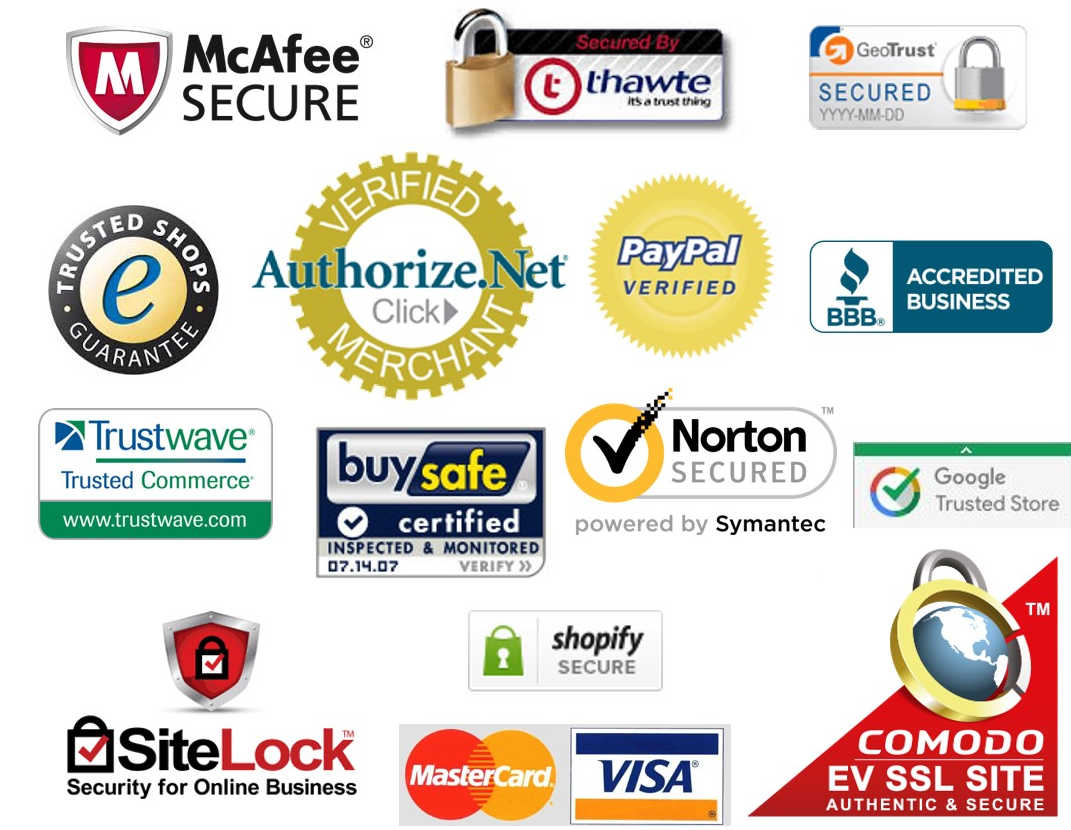
When a potential customer sees the name of a company they already trust on your site, they subconsciously grant you some of that trust. This is a powerful way to make them more comfortable committing to a relationship with you, giving you their personal data, or sending you their money.
Create Lots of Pages
Now that you understand how to create your own landing pages, you’ll want to create a unique page for each service, campaign, or offer. Don’t use a generic landing page for everything. For instance, if you buy Facebook ads to advertise your summer special, use a landing page that references the special so the customer experience is cohesive and smooth.
Are you proud of your service business landing page? Drop a link in the comments so we can check it out!

If you want to keep up-to-date with what’s happening on the blog sign up for the Gravity Forms newsletter!