
Like the majority of businesses, you probably want to accept payments online via your WordPress website. But while Woocommerce, Shopify, BigCommerce, and similar tools have their uses, many websites don’t need a full-sized ecommerce shopping cart tool to process online transactions.
With Gravity Forms and the right merchant integration, you can create payment forms to process transactions online. These forms are fast, lightweight, and give your customers a better overall buying experience.
In this article, we’d like to explain our merchant integrations, help you choose the right one for your needs, and show you how to get started with your first payment form.
Which Services Integrate with Gravity Forms?
Accessibility is important to us, which is why Gravity Forms integrates with some of the most popular payment processors on the web.
Here are your options:
PayPal and Stripe are unique payment processors because they’re designed to help businesses start accepting money right away. They don’t require complex applications and they’re easy to set up. You can accept payments 10 minutes after signing up.
Authorize.net is a powerful integration because it’s an extremely popular payment gateway that partners with countless banks and financial institutions in the world. You’ll likely need this integration if you wanted to process payments with your local commercial bank, for example.
Which Merchant Integration Should You Choose?
The merchant integration you choose depends on the payment processor you decide to use to accept online payments. Once you have a payment process, simply install the matching merchant integration.
So which payment processor is right for you? That depends on your business and your goals.
Ease of Setup
If you want easy setup, consider Stripe or PayPal. You can integrate everything in just a couple of minutes without having to speak to a live person. In fact, they offer broad customer support tools you can use yourself.
Security
If you’re concerned about security, choose Stripe or 2CheckOut. Both of these platforms have extensive fraud detection and prevention tools. They use machine learning algorithms to identify potentially fraudulent transactions before they happen.
Stripe’s fraud tool, Radar, is particularly powerful. Not only does it detect fraud automatically, it also offers customizable features so you set rules for types of transactions that make you nervous (e.g, “Block all transactions when the shipping and billing addresses are in different countries.”)
Trust/Reputation
PayPal is a consumer-focused payment processor. Almost everyone has a PayPal account online for transferring money between friends and family or making purchases online. This means it’s highly trusted by buyers.
Development
If you plan to integrate other tools or develop some of your own, you’ll want to choose Stripe for your payment processing. Stripe is known as the most developer-friendly processor. They have a high quality API and robust documentation.
How Do You Setup and Test Your Merchant Integration?
Once you’ve chosen your payment processor, follow these steps to set up your merchant integration.
Step 1: Install Gravity Forms
Install the base Gravity Forms plugin if you haven’t already. Read our Getting Started Guide if you need help.
Step 2: Install the Appropriate Add-On
Next you’ll need to install the add-on for your processor. If you’re using Stripe, install the Stripe Add-On. If you’re using 2CheckOut, install the 2Checkout Add-On. You get the idea. 🙂
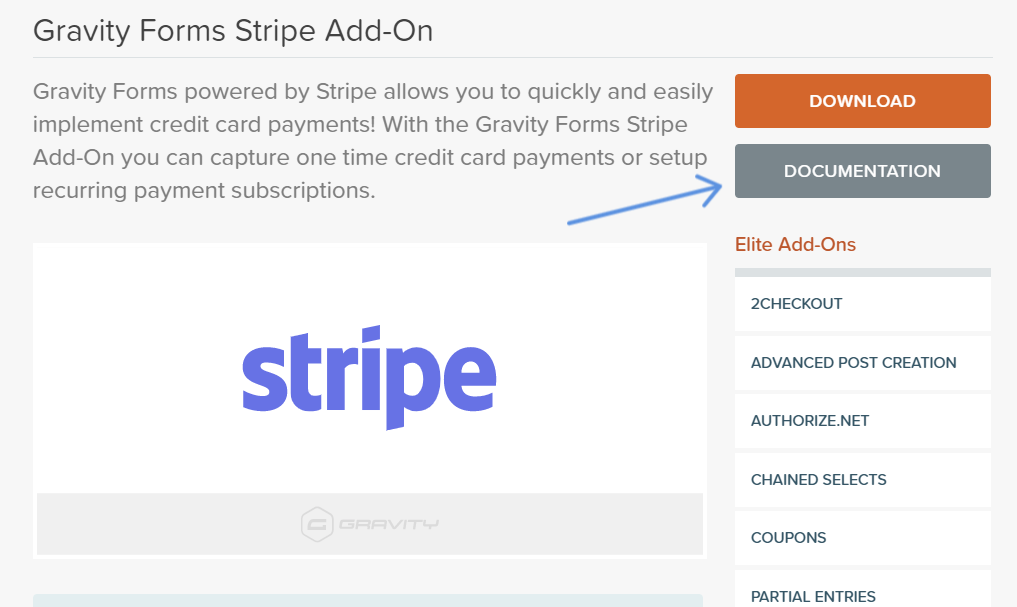
Each merchant integration installs slightly differently. For example, activating the Stripe Add-On requires you to obtain API keys from your Stripe account. If you need help installing and activating a particular add-on, use the documentation button on that add-on’s page. Here’s where you’ll find it.
Step 3: Create a New Gravity Form
Create a new form by clicking New Form under Forms on the left side of your dashboard. Give it a unique name so you can tell it apart from other forms. If you need help, use our guide on creating new forms.
Step 4: Build Your Form Fields
Your next step is to build whichever fields are important to your transaction. You’ll definitely need Name and Email fields. If you ship physical products, you’ll also want to include an Address field and possible a Phone Number field.
If you sell multiple products or products with options/variations, consider using the Product field. This field gives you a lot of control over what you sell.
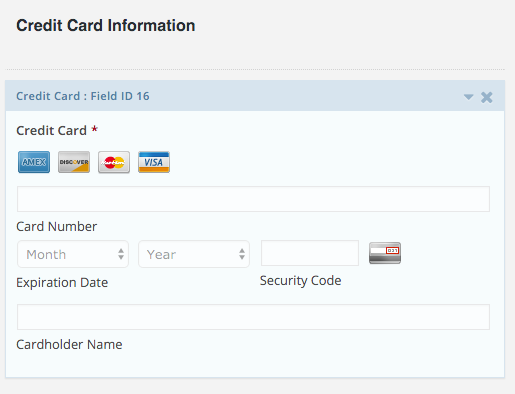
Most importantly, you’ll need the Credit Card field. This is where your customers will input their payment information to complete the transaction.
Step 5: Create a Feed for Your Form
Each form needs a feed to send form submission data to be sent to your payment processor. You can setup a feed for each form by hovering over “Settings” (beneath the form’s title) and clicking the add-on’s name.
Once you’re on the feed settings page, follow these steps:
- Give the feed a name. It’s only used for identification. No one will see this.
- Choose your transaction type, either products and services or subscriptions.
- Options will appear based on the transaction type you just chose. Enter your form total. If you sell transactions, you’ll see additional options to control the payment interval, trial period, setup fee, and recurring times.
- Configure the billing information so that each option matches the form field that will include that information.
- Click update to save your settings.
If the conditional logic box is left unchecked, every form submission will be sent to the payment processor. If you want to set specific conditions to send form data, check the conditional logic box and complete the options. This is useful if you need to change how the form submission fields are handled based on the customers’ inputs.
Step 6: Embed the Form on a Page
Navigate to the WordPress page where you want your payment form to appear. There are two ways to add the form:
Add a Shortcode Block and paste in the Gravity Forms shortcode for your form. The shortcode looks like this:

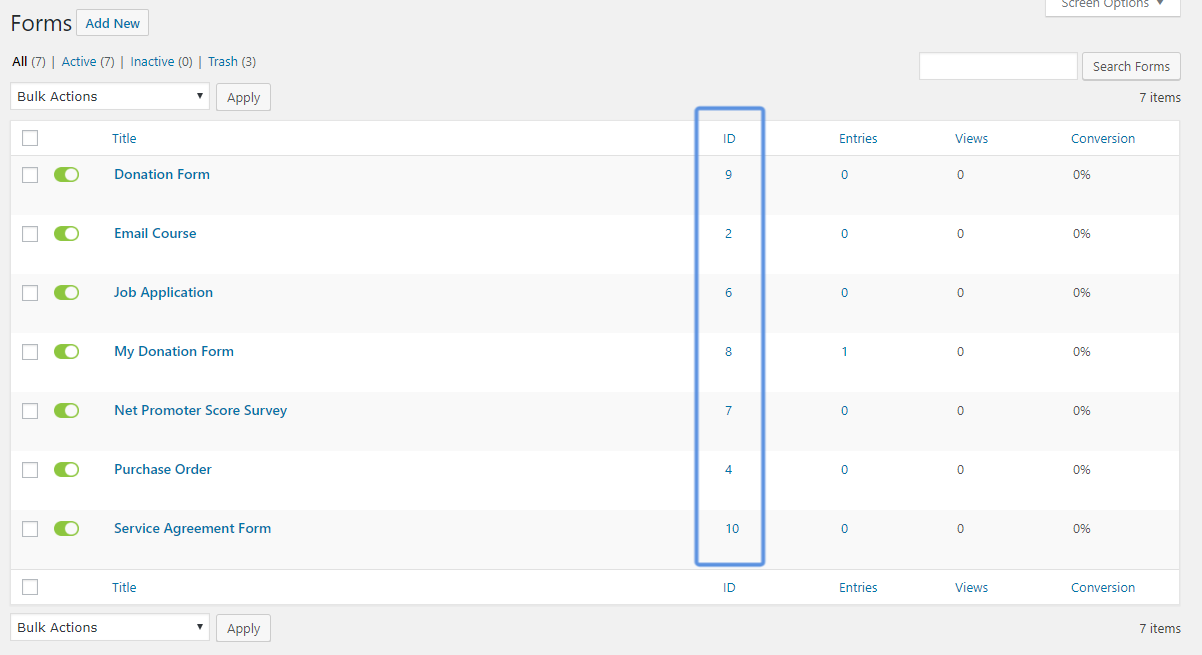
Set the title and description to true if you want them displayed on the page. Replace “#” with the form’s ID number, which you can find on the form list.
You can also use the Gravity Forms Gutenberg Block. Once you install this plugin, add the block to your WordPress page like any other block. Follow our guide if you need help.
Step 7: Test the Payment Form
Your final step is to test the payment form. This is an important part of the process. Don’t lose would-be customers because of a broken form!
The best way to make sure your payment form works is to complete a valid transaction with it. Make a purchase from yourself using your credit card. Depending on your payment processor and their pricing structure, it may cost you a little to process this test transaction. If your processor charges a percentage, make as small of a purchase as you can.