How to Create a Mailchimp Signup Form in WordPress

Growing your email list doesn’t have to be difficult. With Gravity Forms and the Mailchimp Add-On, you can easily create signup forms that help you collect valuable and qualified leads for your business.
Mailchimp is one of the most popular add-ons among our Gravity Forms community, and it’s easy to see why. With a wide assortment of features, an extremely user-friendly dashboard, extensive support resources, and free and premium pricing structures, Mailchimp is a great option for anyone looking for a powerful email marketing platform.
In this article, we’ll discuss some of the top features of Mailchimp and the Gravity Forms Mailchimp Add-On, and run through how to create a Mailchimp signup form.
Why Use Mailchimp?
Gravity Forms is the #1 WordPress form plugin for lead generation, making the collection of leads through a newsletter signup or contact form a quick and easy process.
But as you begin to accumulate email addresses, best practice is to send them to an email marketing platform as quickly as possible so you can start nurturing relationships with these new potential customers.
Mailchimp is one of the most popular email marketing platforms on the market. It allows you to store and manage your mailing list, automate email campaigns, and much more, ultimately helping you convert subscribers into customers and clients.
Notable features include:
- Regular and Automated Campaigns – Send regular and automated email campaigns that are triggered depending on how users interacted with your website.
- List Segmentation – Organize your subscribers into audiences and groups, as well as assign tags, making it easy to keep their unique interests and preferences in mind.
- Email Templates – You can use premade email templates from Mailchimp to design eye-catching marketing campaigns. More importantly, you can easily customize these templates with a drag and drop editor, to ensure they reflect your company’s brand and tone of voice.
- Powerful Dashboard – Get a detailed overview of how your audience is interacting with your campaigns and what content is resonating with them.
Gravity Forms Mailchimp Add-On

Our Mailchimp Add-On integrates seamlessly with Mailchimp, allowing you to send data from submitted forms directly to your Mailchimp account. You can easily add subscribers to any of your audiences and even assign tags to categorize them.
Key features include:
- Segment Your Mailing List – Automatically tag, segment, and group users from within your WordPress dashboard, enabling you to send personalized email campaigns based on form submission data.
- Custom Fields — Capture any field in your form and map it to a custom field in Mailchimp, allowing you to transfer the data that you need.
- Double Opt-In – Automatically send double opt-in messages to ensure only engaged and legitimate subscribers are added to your audience.
- Conditional Logic — Only add users to your selected Mailchimp audience if they meet certain conditions, giving you further control over the leads that are sent to your mailing list.
- GDPR Compliance – Use conditional logic and the Consent field to ensure your forms are GDPR compliant.
The Mailchimp Add-On is available with any of the Gravity Forms licenses, making it a great choice for all!
How To Create a Mailchimp Signup Form
Now that you know how our Mailchimp Add-On works, let’s take a look at how you can create a Mailchimp signup form and collect leads on your WordPress website.
1. Install Gravity Forms
First things first — you’ll need to install and activate Gravity Forms on your WordPress website. Head on over to our pricing page and pick a license that’s right for you. Then make a purchase and download the plugin.
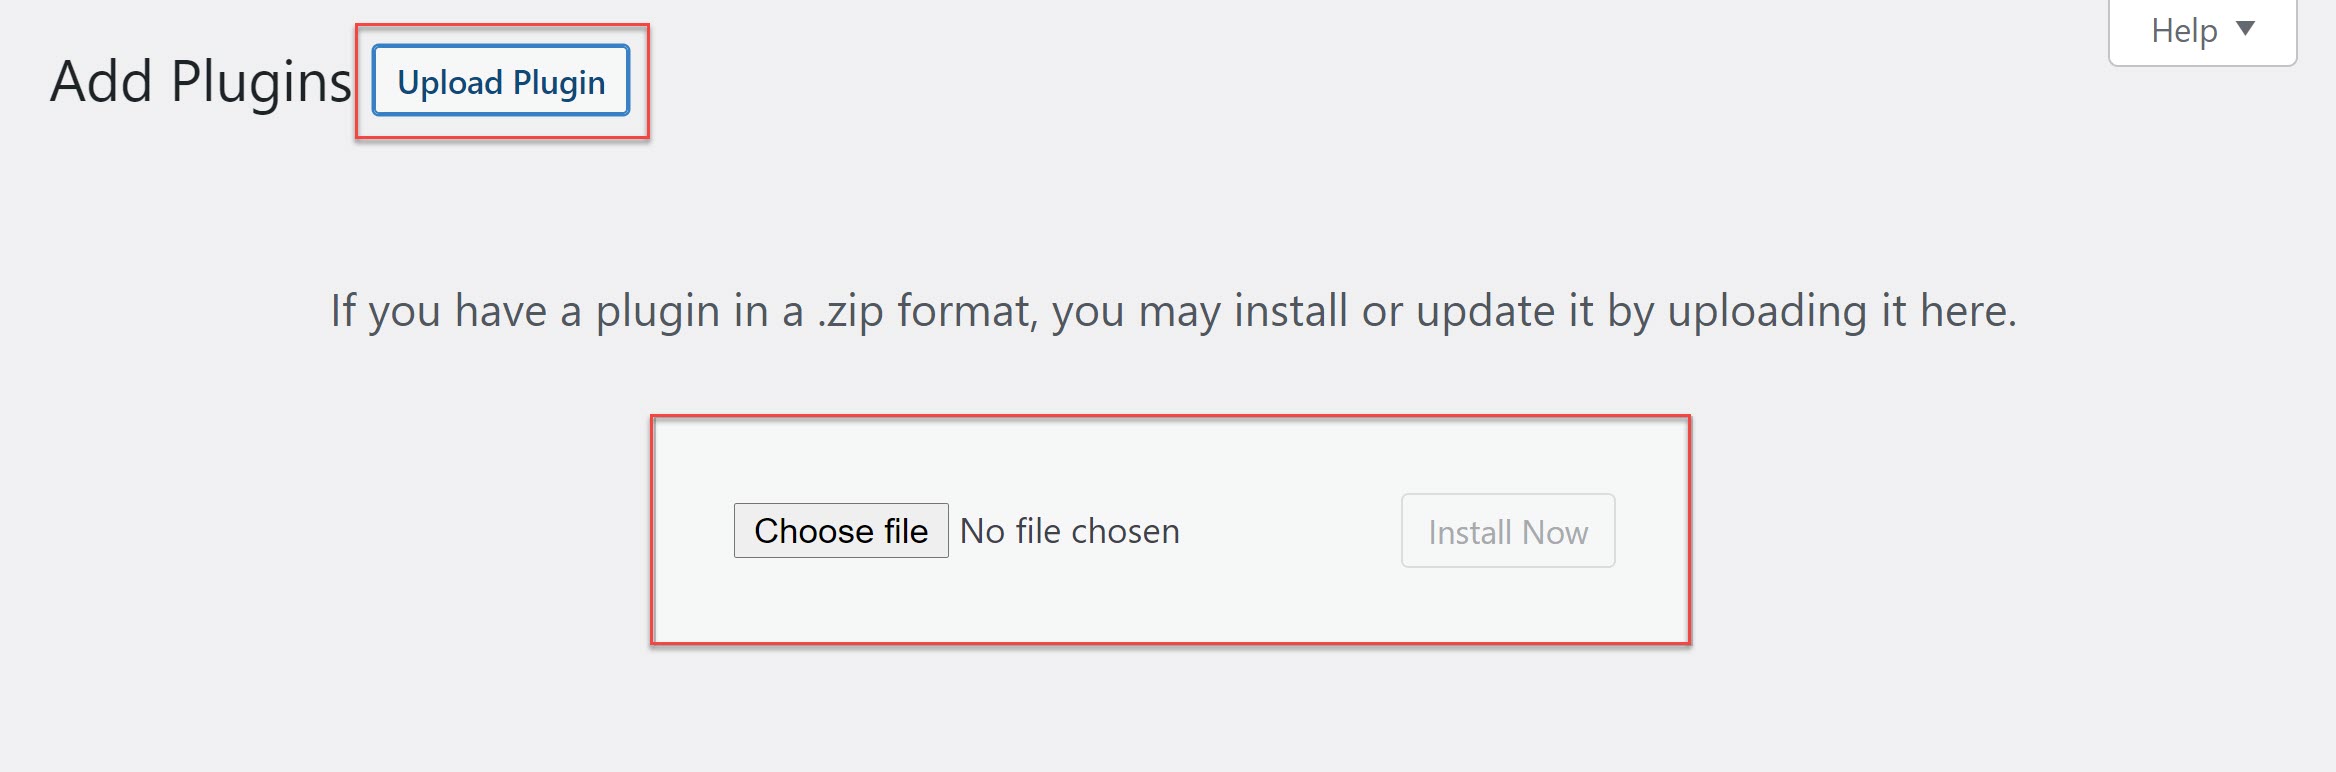
Next, open your WordPress dashboard and navigate to Plugins > Add New > Upload Plugin. Select the Gravity Forms zip file and press Install Now > Activate.
Once the plugin has been installed and activated, follow the instructions to register the plugin with Gravity Forms.
For more information on how to get started with our plugin, check out the documentation on how to install Gravity Forms.
2. Activate the Gravity Forms Mailchimp Add-On
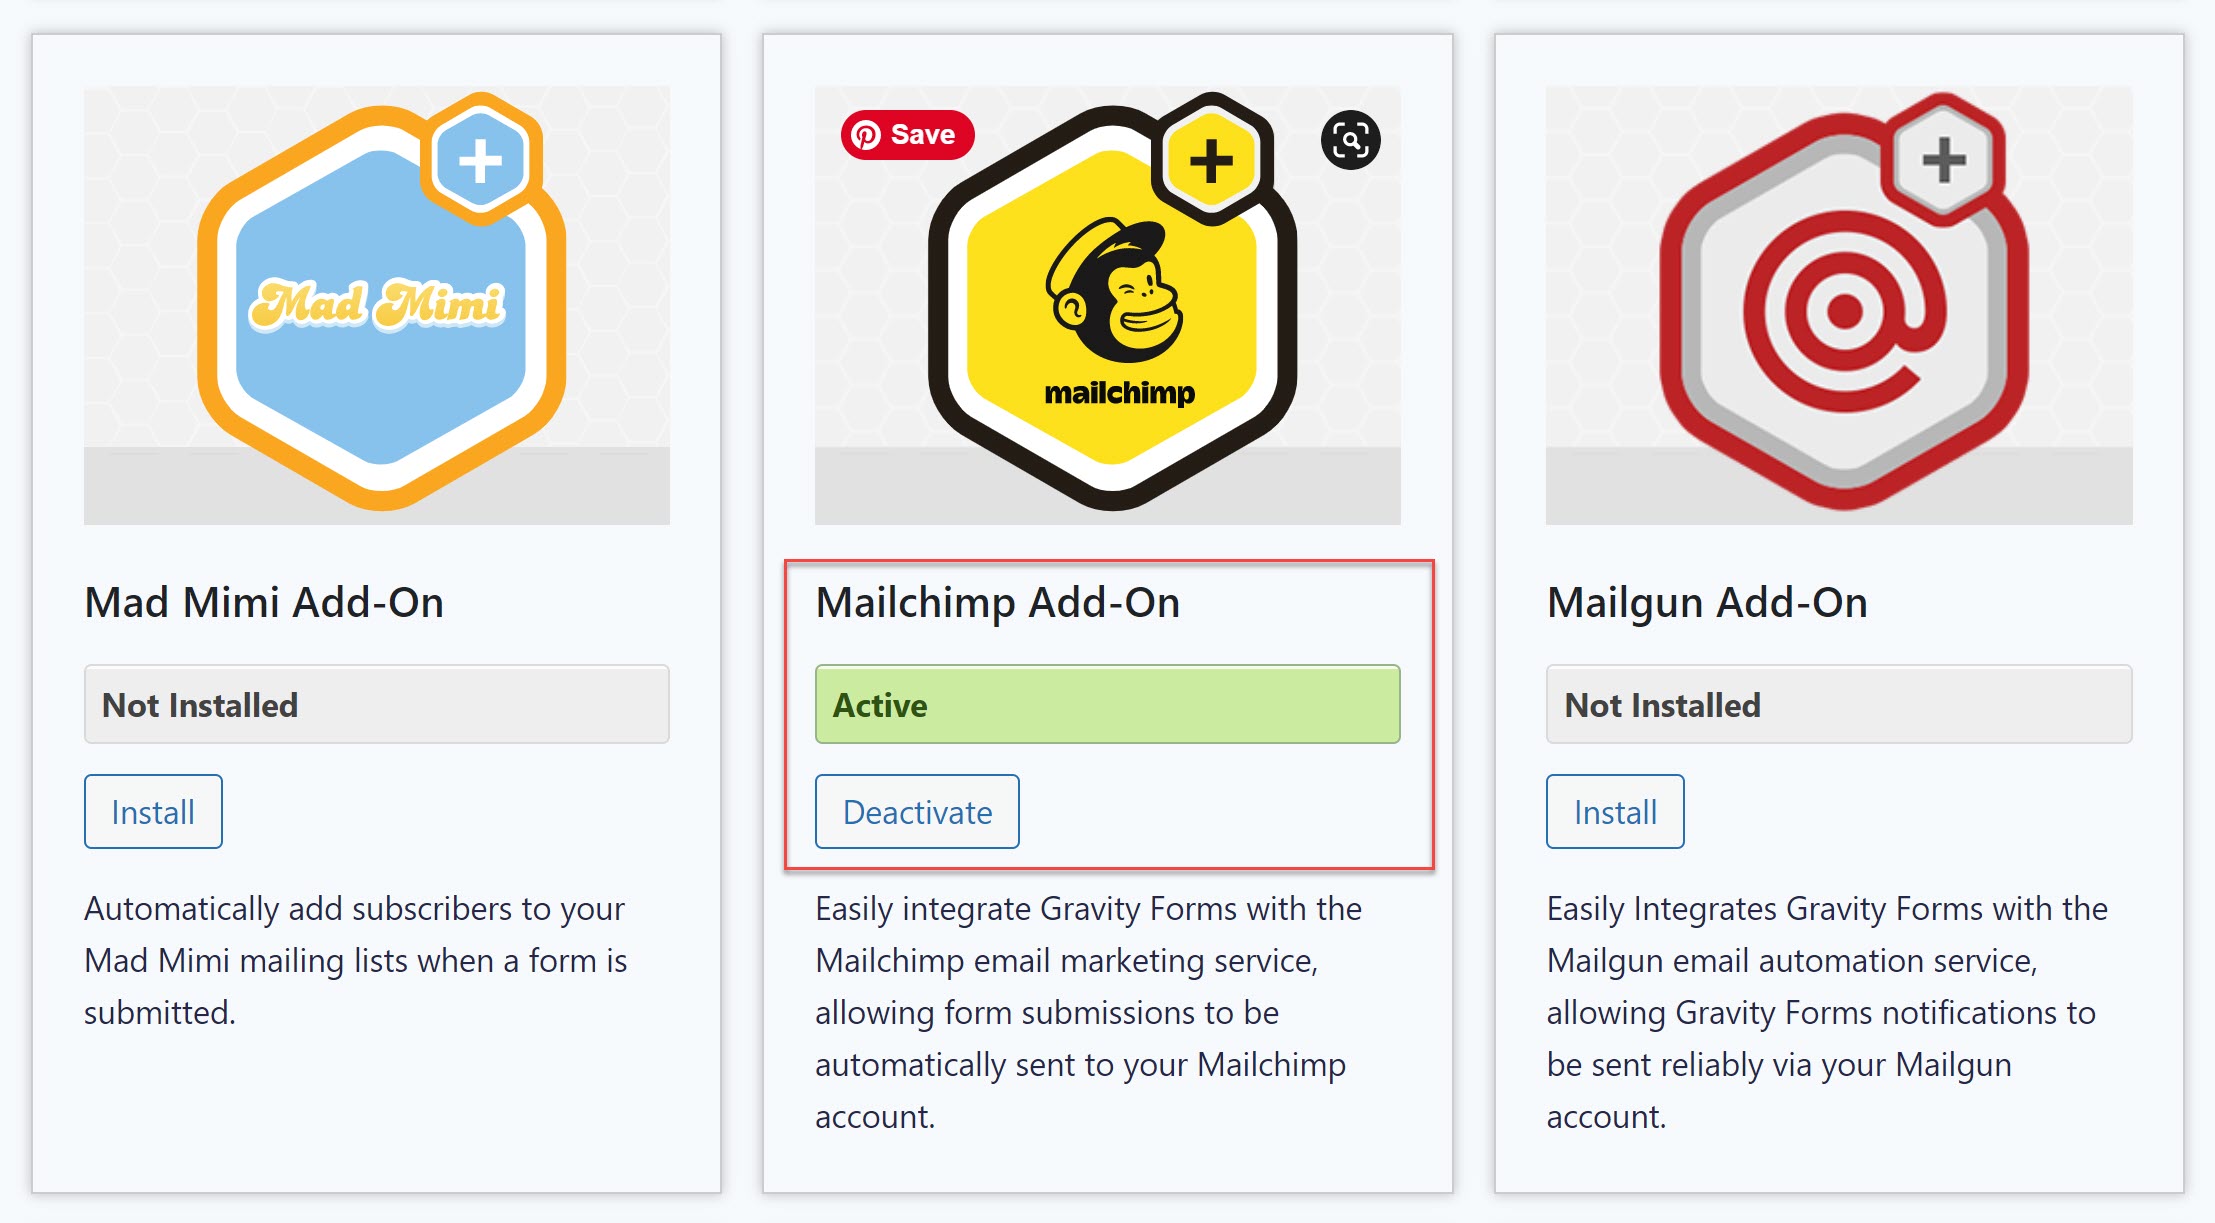
The next step is to activate the Mailchimp Add-On. To do this, go to Forms > Add-Ons. Scroll down until you’ve located the add-on and click Install > Activate.
Then, go to Forms > Settings > Mailchimp. Click Connect to Mailchimp and follow the instructions to sync your accounts.

For more details on how to install and configure the Gravity Forms Mailchimp Add-On, check out the Documentation.
3. Create the Newsletter Signup Form
There are two options for creating a Mailchimp signup form. You can use our premade Newsletter Signup Form template from the form template library or create a form from scratch using our drag and drop form builder.
The newsletter signup form template is free for all of our customers and can easily be customized within the form editor to suit your exact specifications.
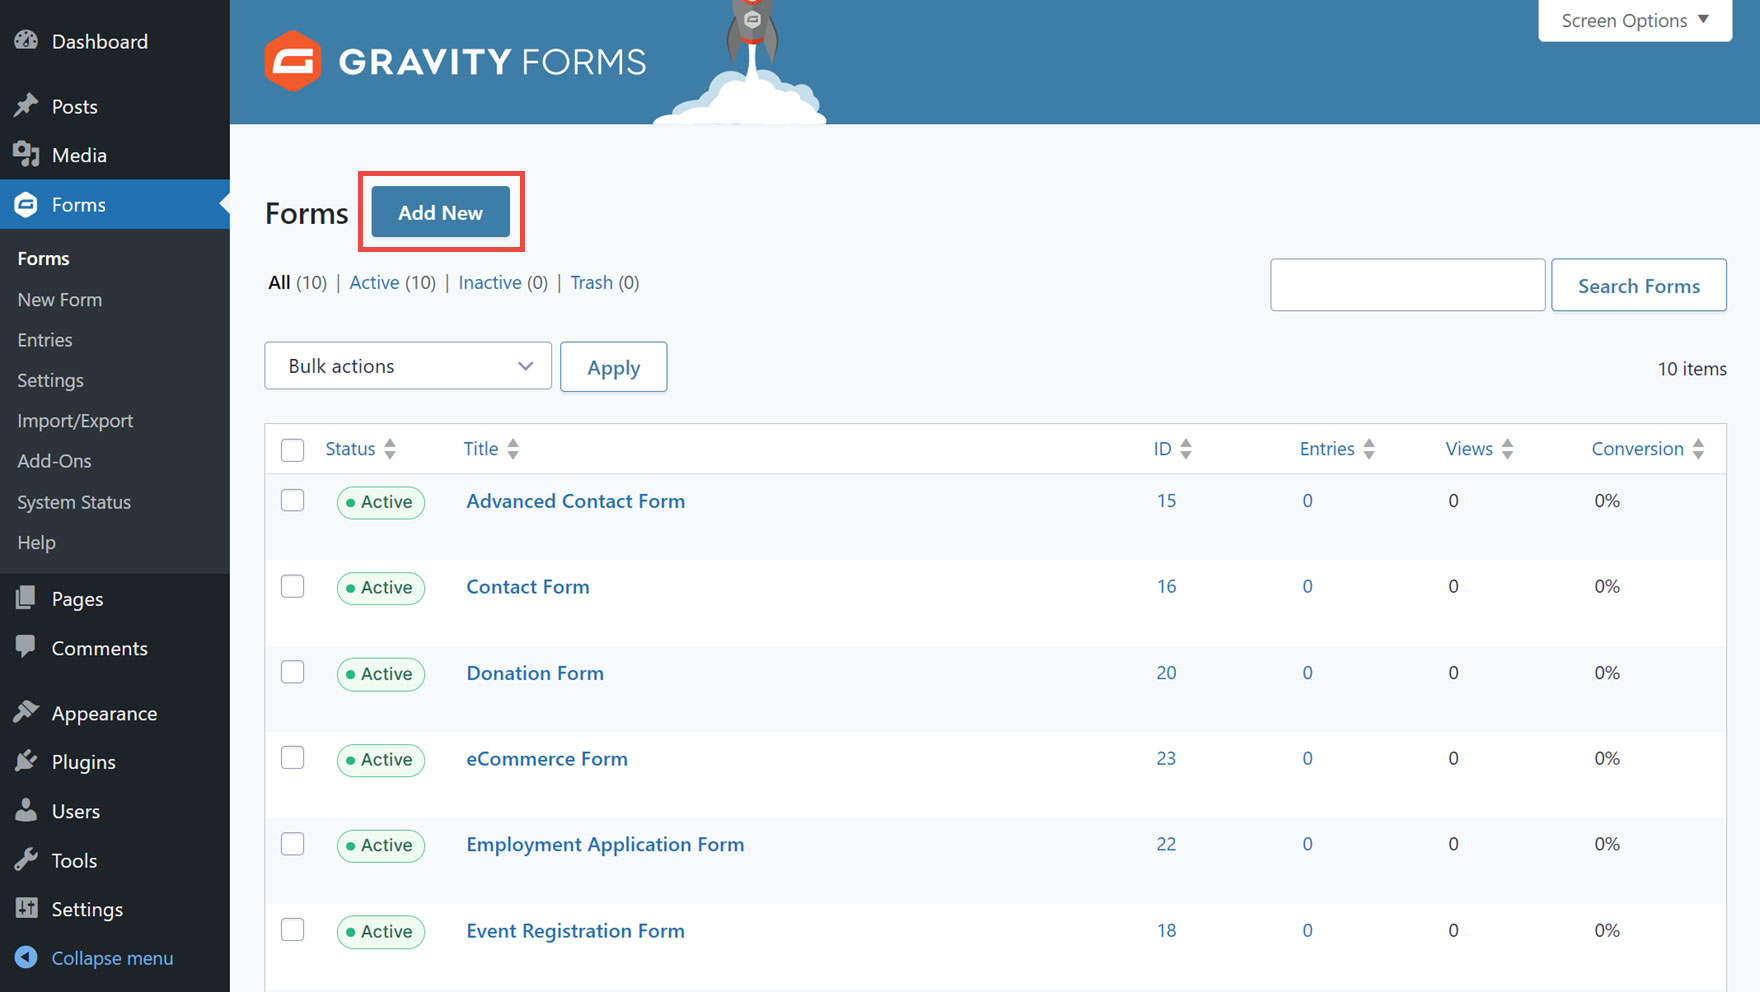
To use this template, simply click the Add New button from the Forms section of your WordPress dashboard.
Then, locate the Newsletter Signup Form template from the library and click the Use Template button.
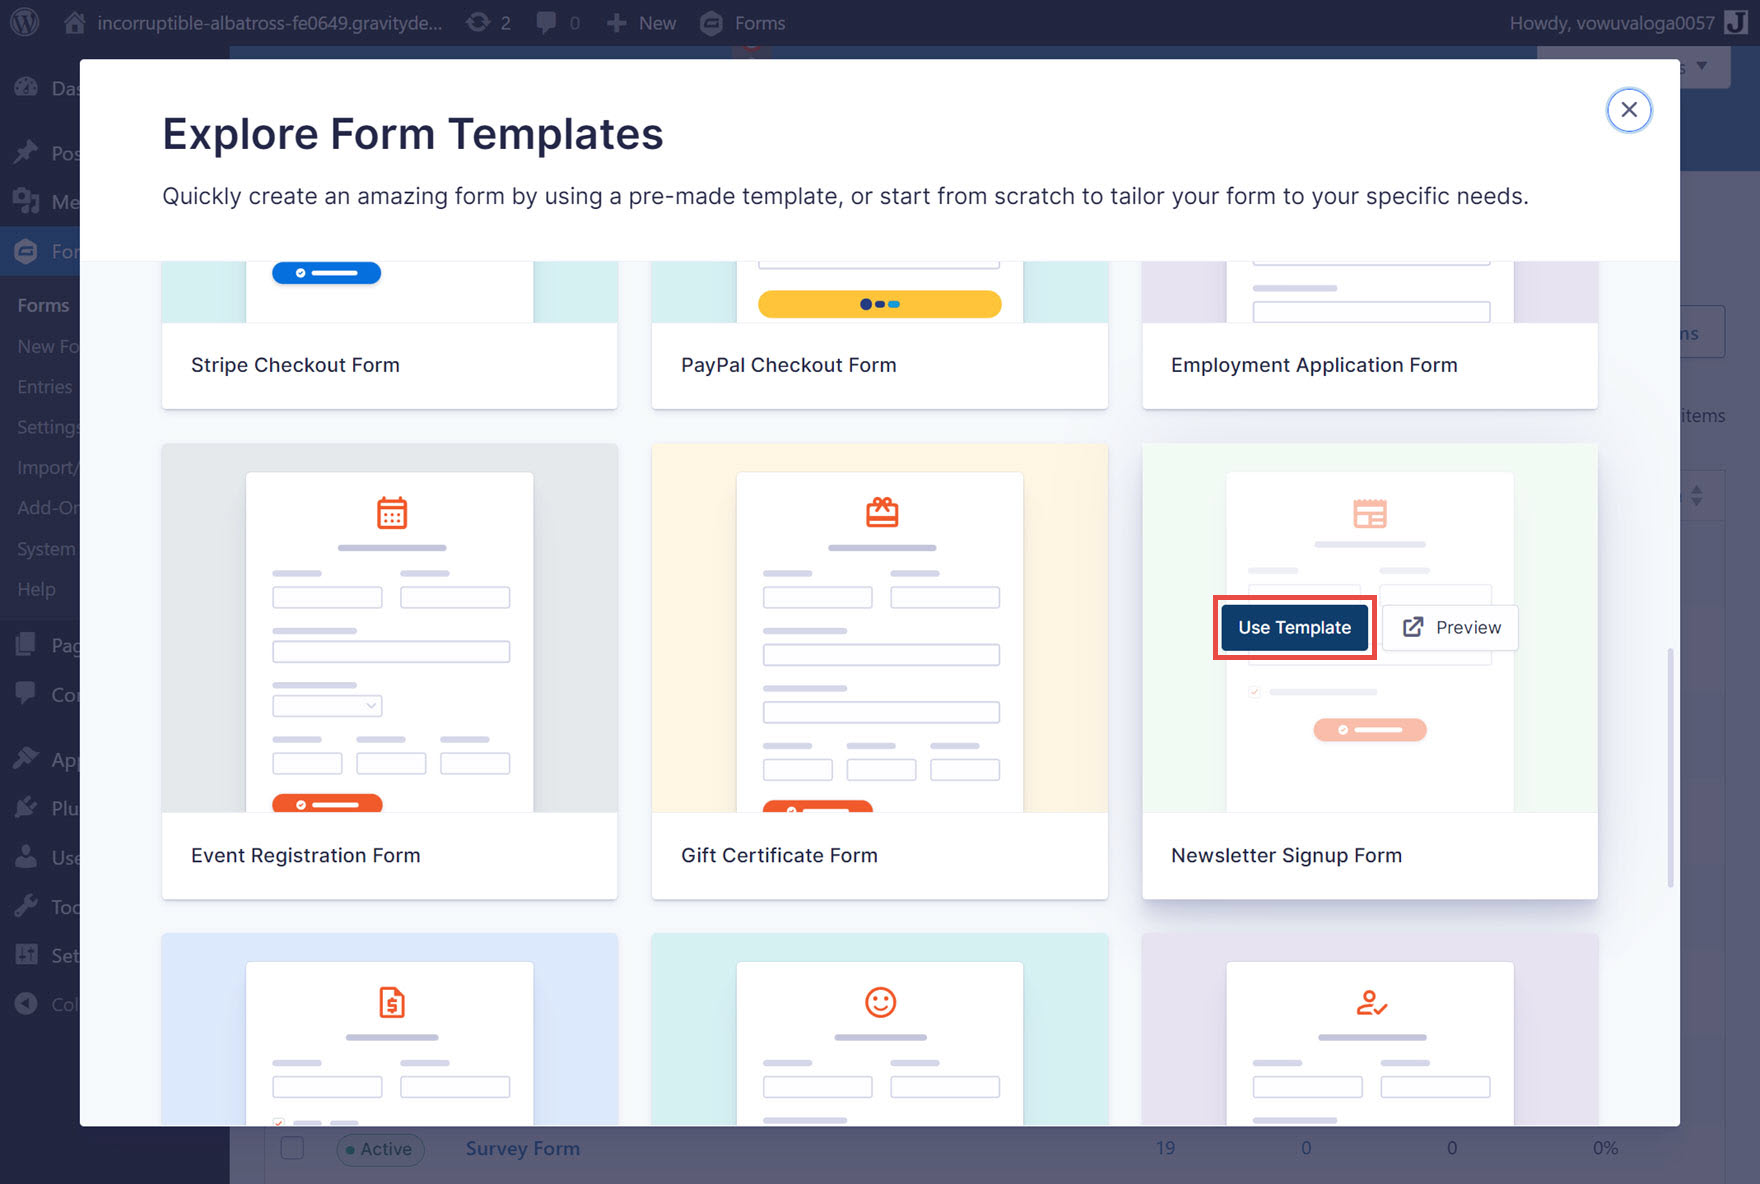
Next, give the form a title, such as Newsletter Signup Form, and enter am optional description. Then, click the Use Template button.
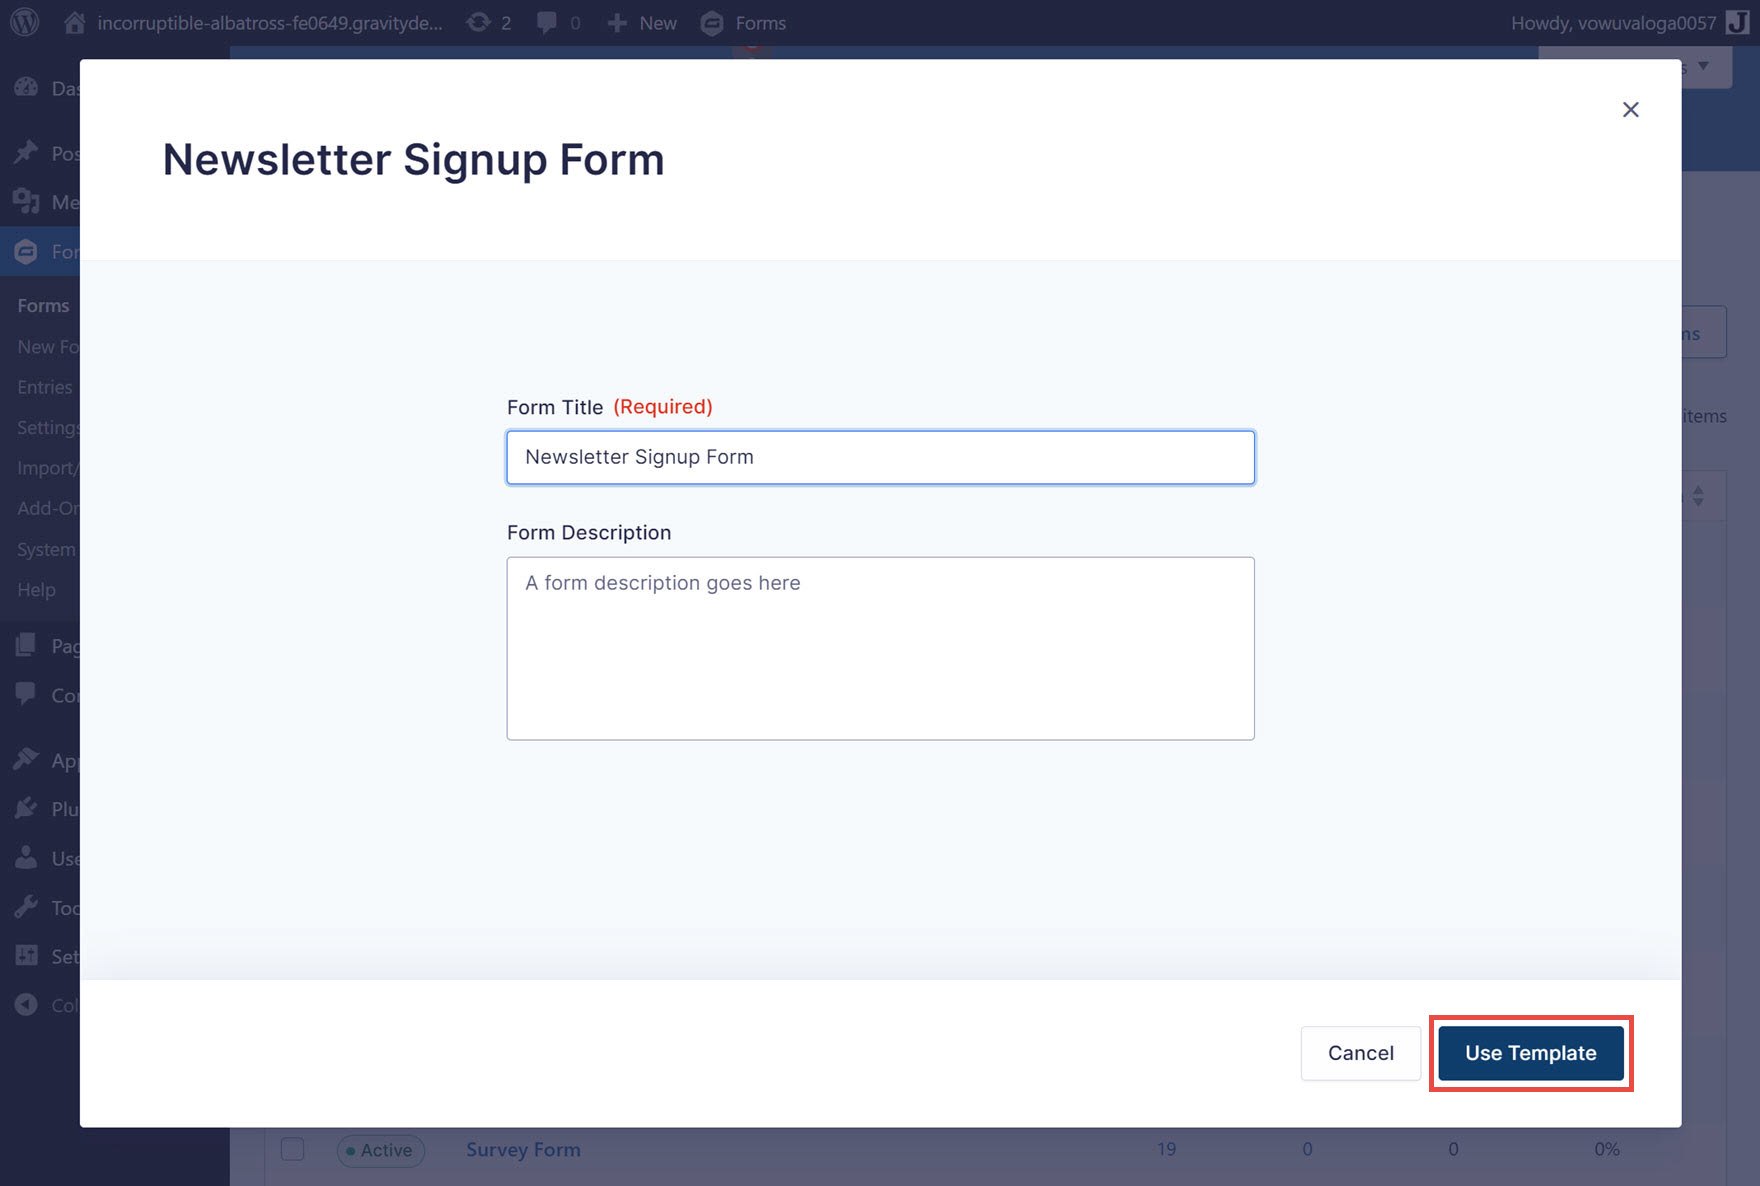
The Newsletter Signup Form template will then be ready to customize within the form editor.
If you’d rather create a form from scratch, go to Forms > New Form and select the Blank Form option from the library. We recommend adding at least name and email fields to your form if you want to create a basic signup form.
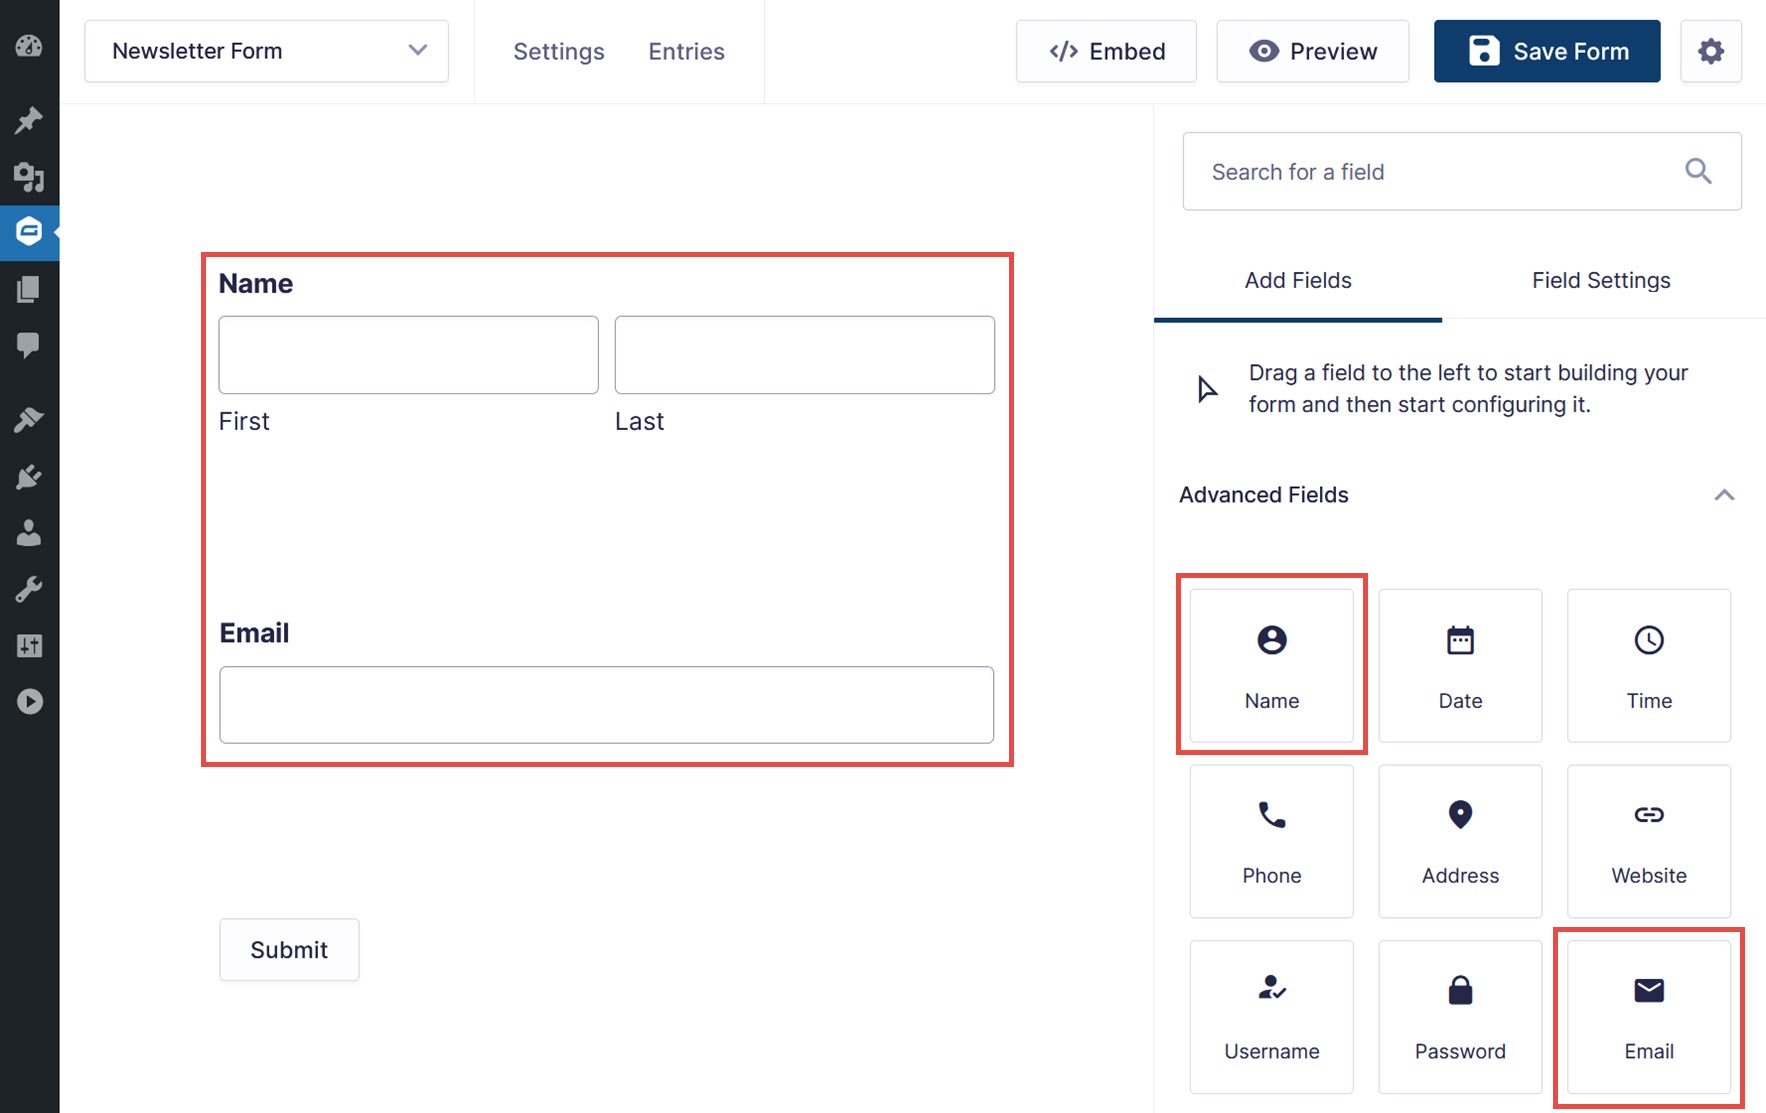
However, you can also create a more complex form, adding as many fields to your form as you need to collect relevant information. Keep in mind though, that shorter signup forms convert better.
When you’ve added all the fields you need, remember to click the Save Form button.
4. Create a Mailchimp Feed
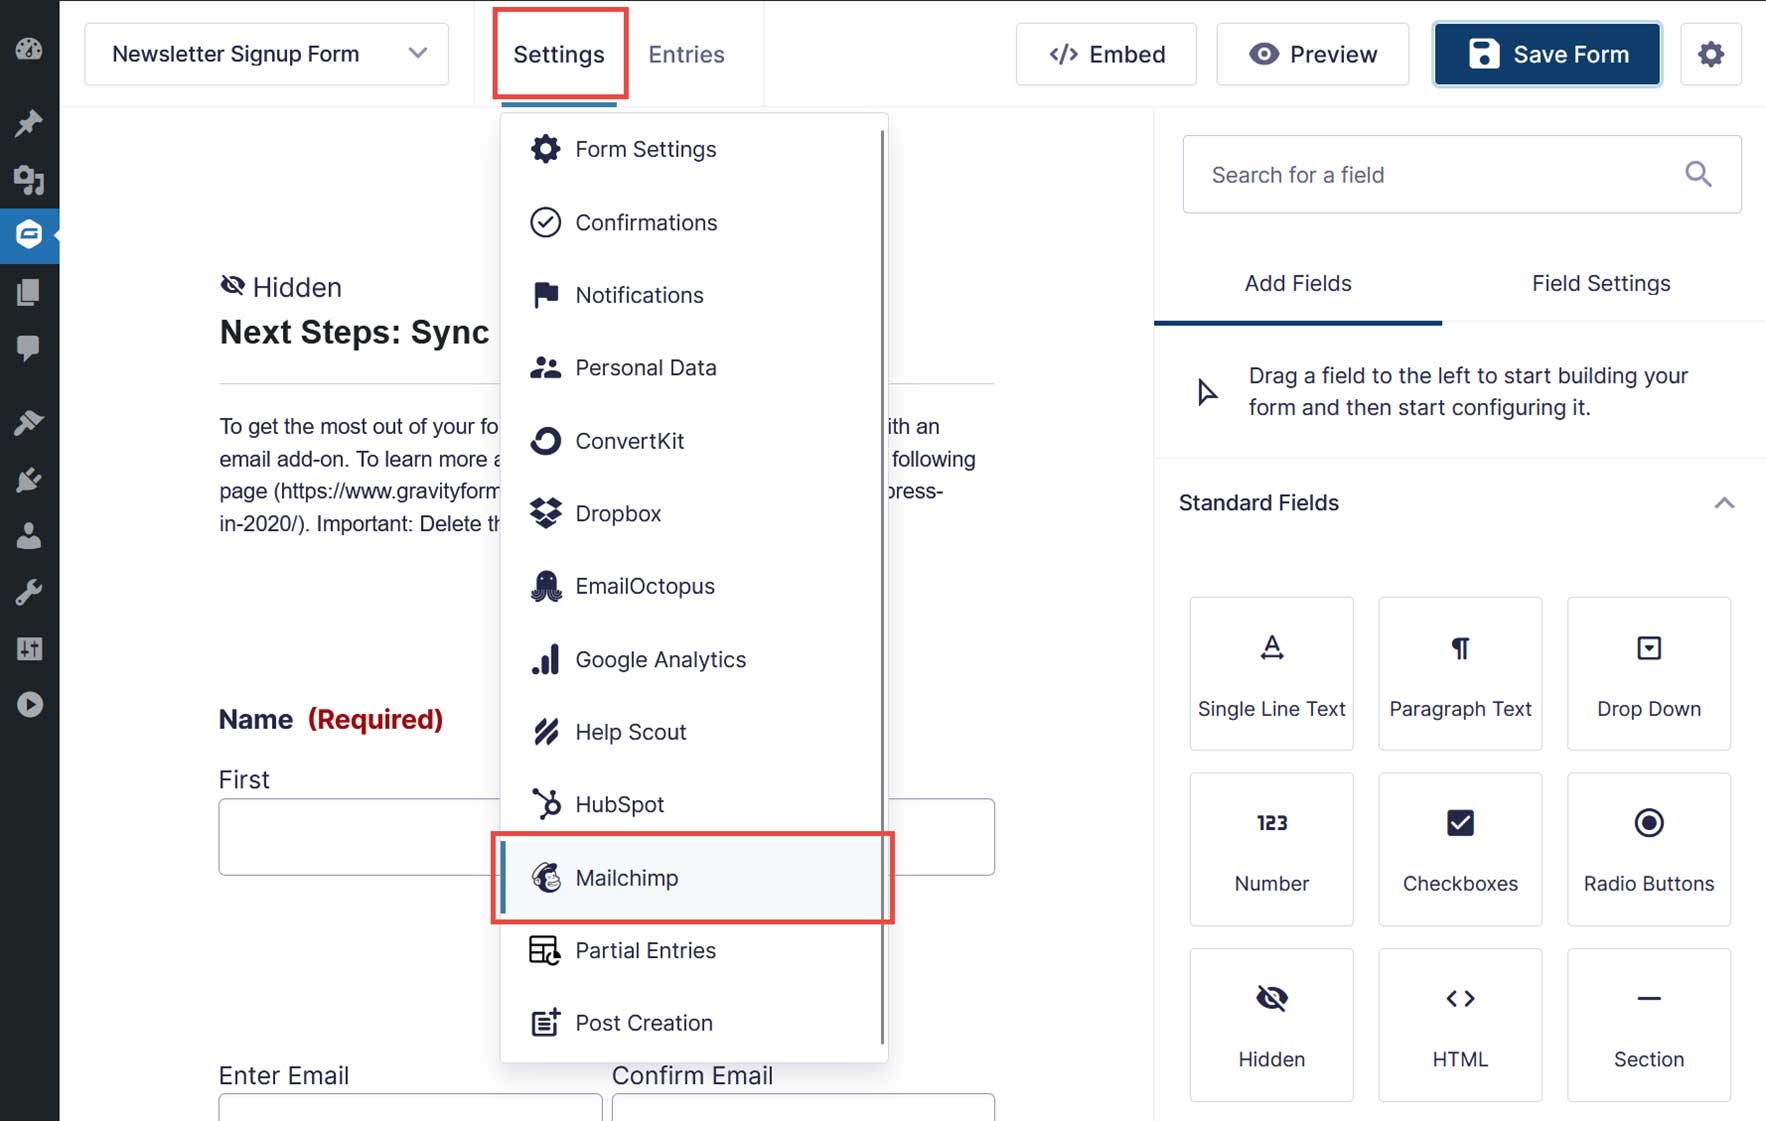
Once you’ve created your form, select Mailchimp from the Settings menu at the top of the screen.
Click on the Add New button to create a new feed.
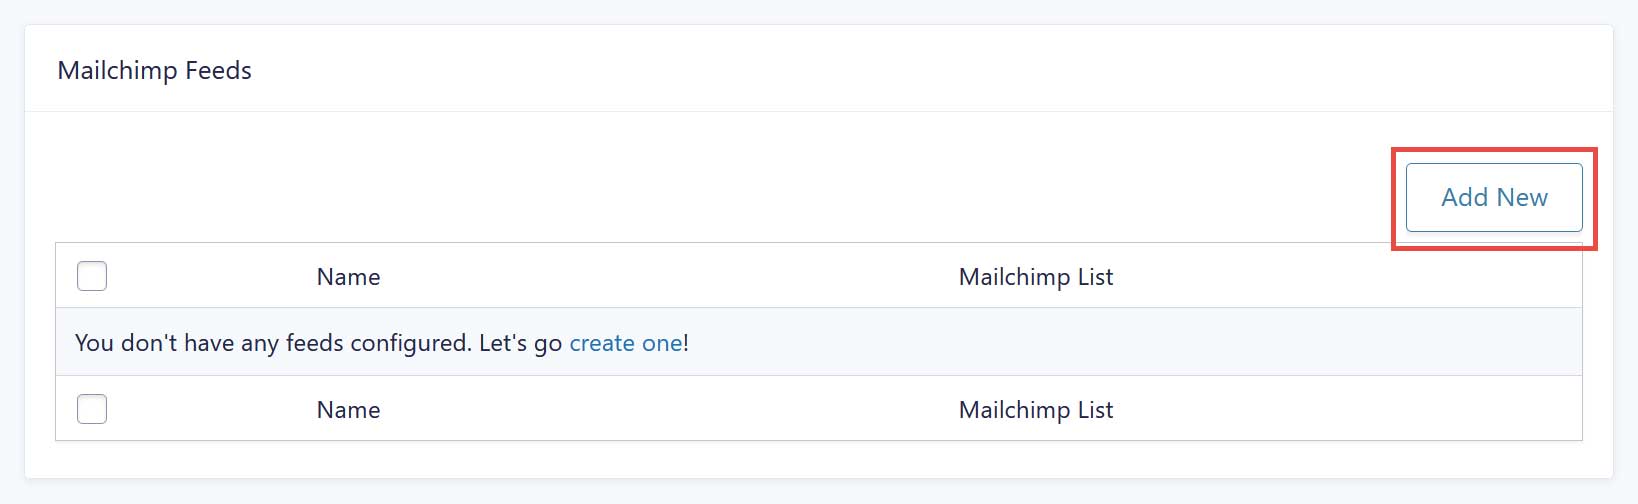
You’ll have to give the feed a name and select the correct Mailchimp audience from the drop-down menu. You can then map your Gravity Forms form fields to fields in Mailchimp. This will let Mailchimp know where to store the information the form collects.
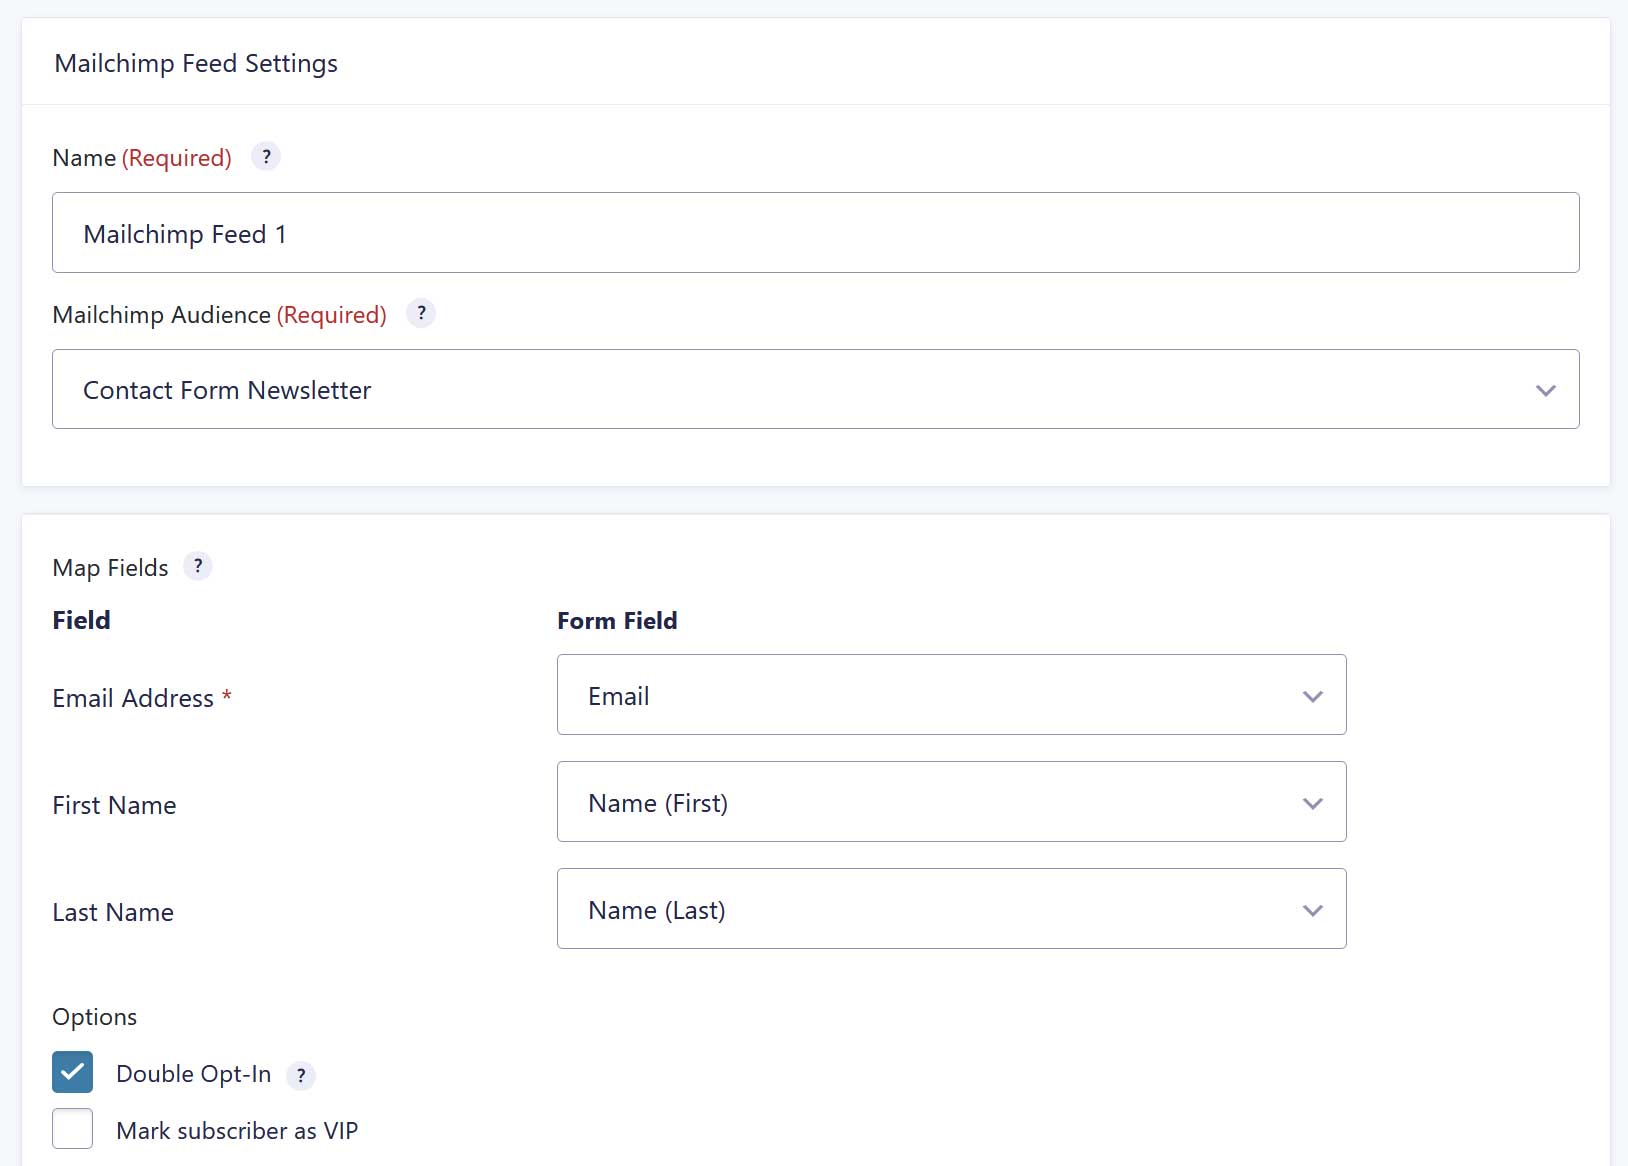
You can also configure marketing permissions, enable double opt-in, and use the merge tags to assign tags to your leads.
When you’re done, click on Save Settings. For more information on setting up a Mailchimp feed, check out this article in the Gravity Forms Documentation.
5. Configure the Form Settings and Publish the Form
Lastly, don’t forget to configure other form settings such as notifications and confirmation messages, basic form settings including anti-spam features, and more.
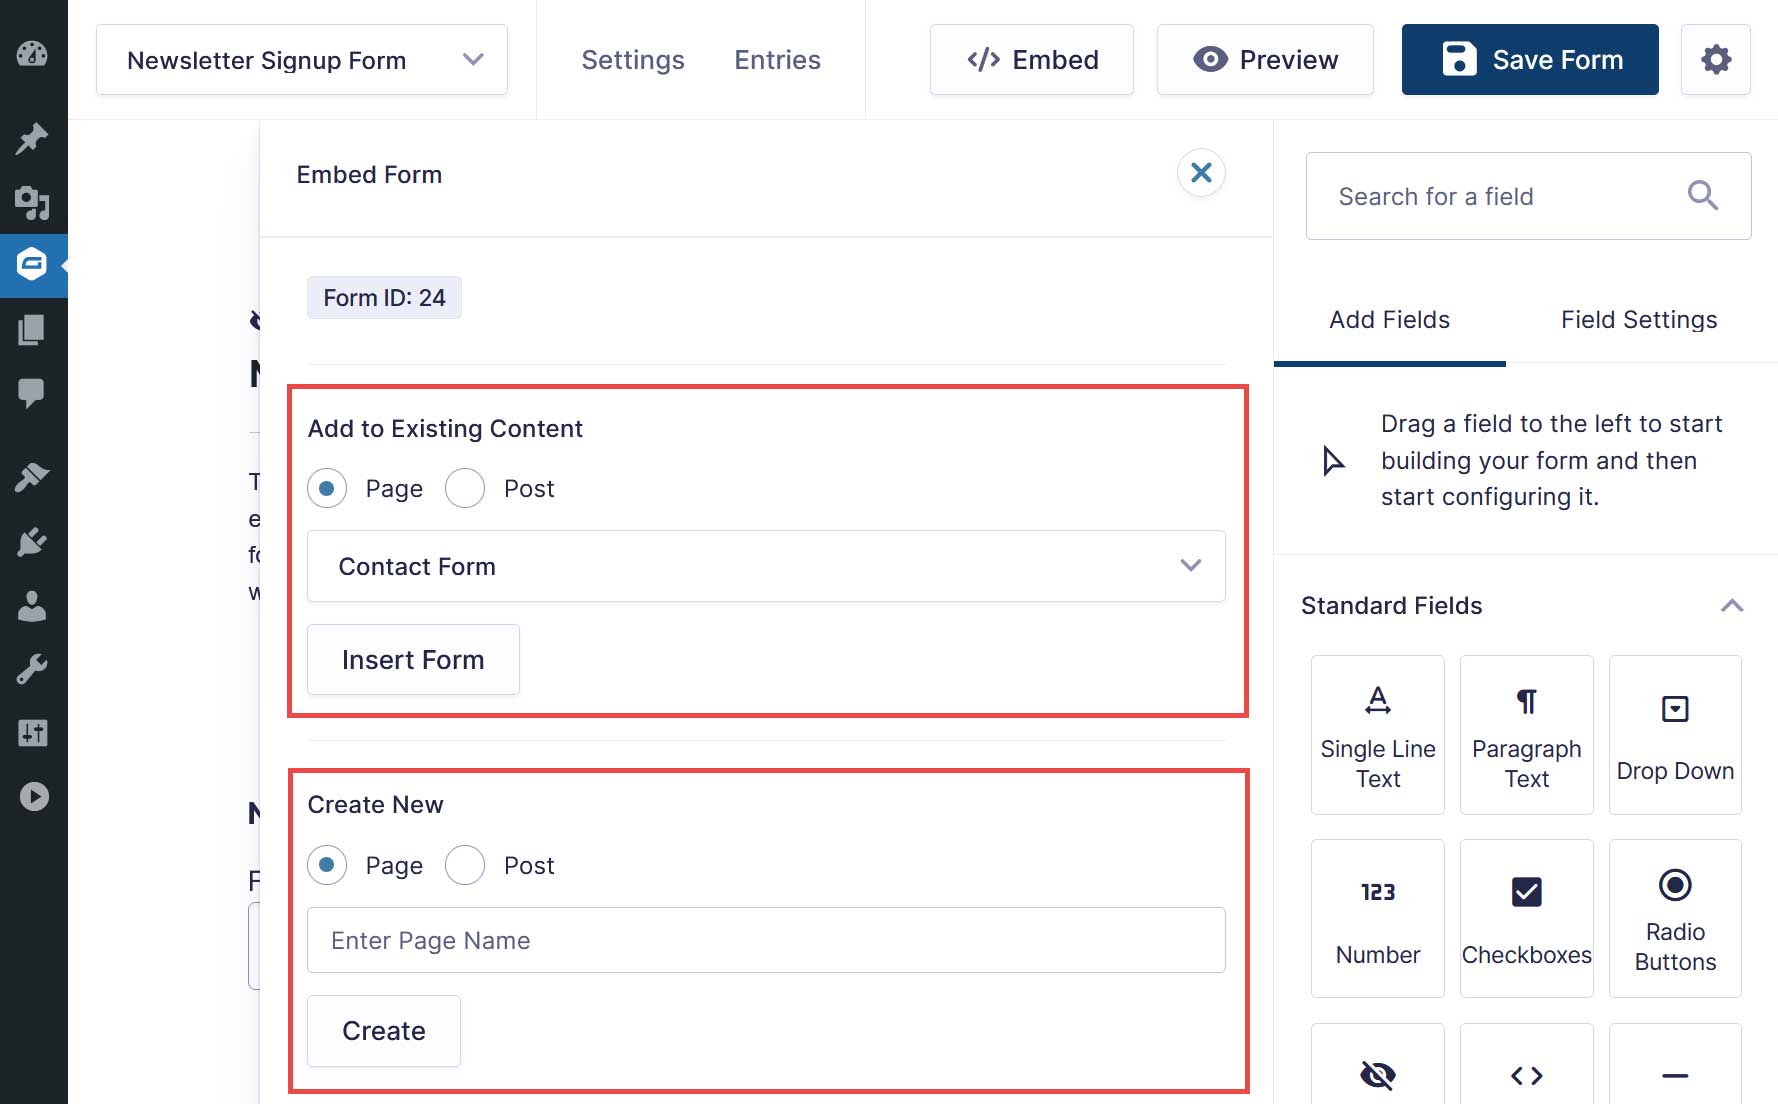
When you’re done, you need to embed the form on a page on your website. To do so, one option is to click the Edit button at the top of the screen to return to the form editor, then click the Embed button.
Then, choose an existing post or page to add the form to or create a new post or page to which the form will be added.
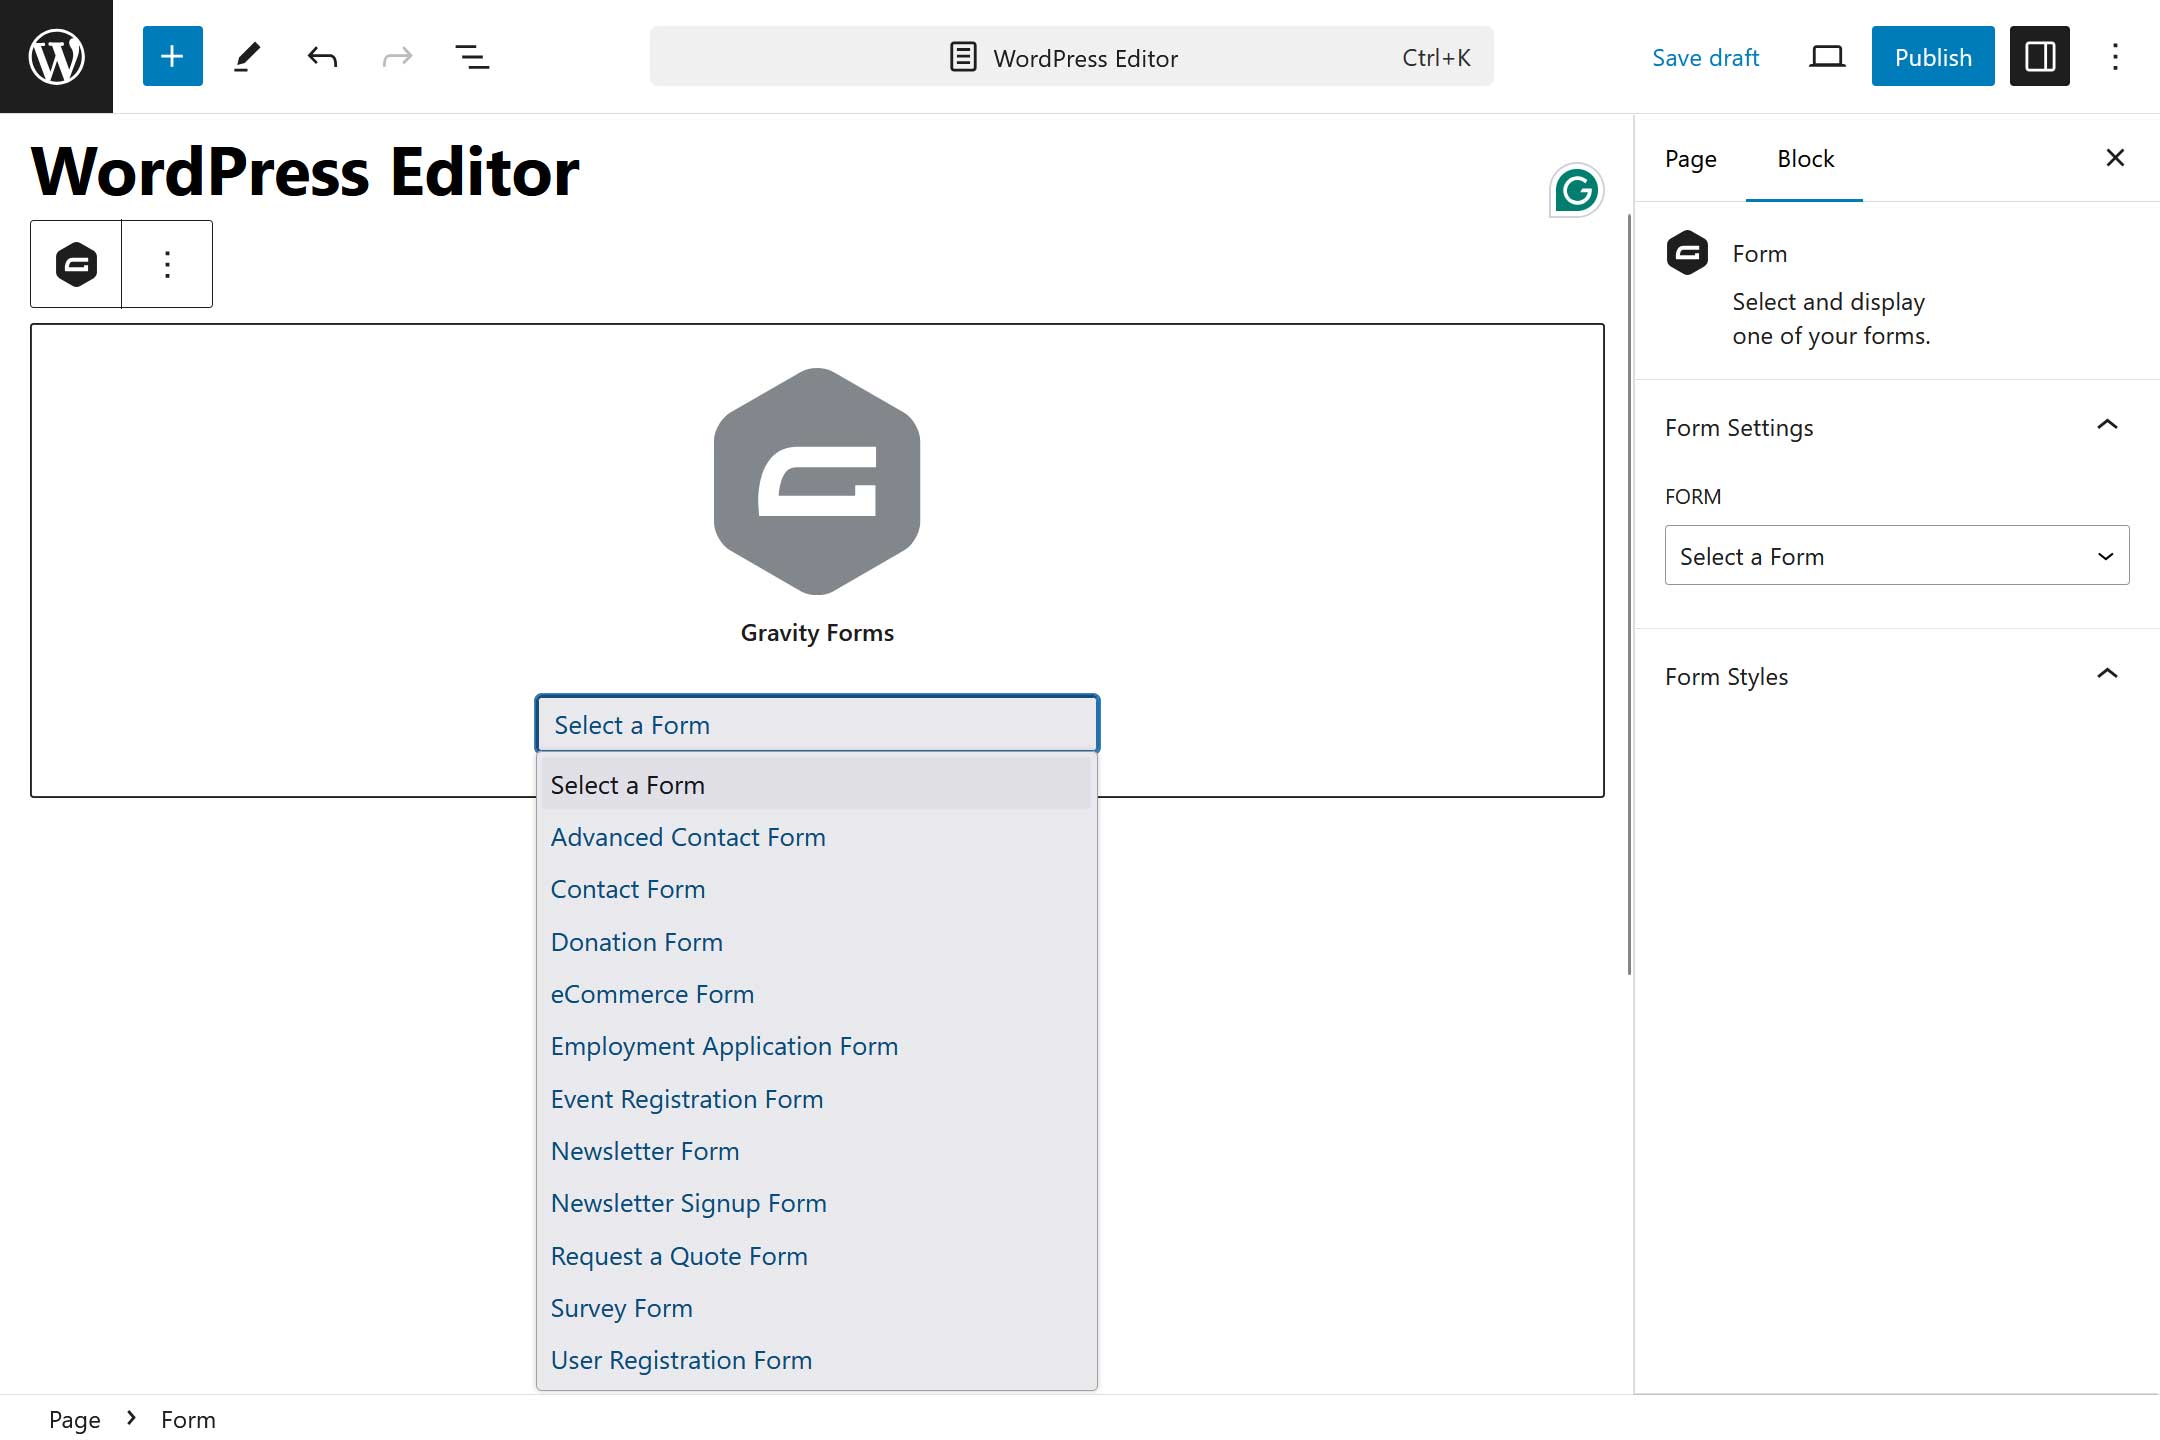
Alternatively, you can add the form to a post or page directly within the WordPress editor by using the Gravity Forms block and selecting the signup form you created.
Now, Publish the post or page and start collecting leads with your Gravity Forms Mailchimp signup form!
Start Collecting Leads With Gravity Forms and Mailchimp
There are many different forms of marketing, but email marketing is by far one of the most effective methods.
Once your subscribers are stored in your email marketing solution, send them regular campaigns that continue to build trust and keep them engaged with your business. These can include newsletters, product updates, or discounts, encouraging customers back to your site to make a purchase.
Are you ready to start growing your mailing list with Gravity Forms and Mailchimp? Head on over to purchase Gravity Forms today.
Don’t have Gravity Forms yet? Start with a free personalized demo and test out all the features that Gravity Forms has to offer!

If you want to keep up-to-date with what’s happening on the blog sign up for the Gravity Forms newsletter!