Are you ready to launch your WordPress blog?
Whether you’re creating a dedicated blogging website or just adding a blog to a website with another primary purpose, WordPress makes it easy to get started, and we’re going to cover how.
In our previous post in our getting started with WordPress series, we covered how to add pages to your WordPress site. In this post, you’ll learn how to work with the other default content type that WordPress supports – blog posts.
We’ll start by covering how to set up your WordPress blog page. Then, we’ll show you how to publish your first blog post and start growing your blog.
Let’s get into it…
How to set up your WordPress blog page
By default, your WordPress site lists your most recent blog posts on your site’s homepage. In almost all cases, it’s better to change this behavior to create a static homepage and then add a dedicated blog page in a subfolder, such as yoursite.com/blog.
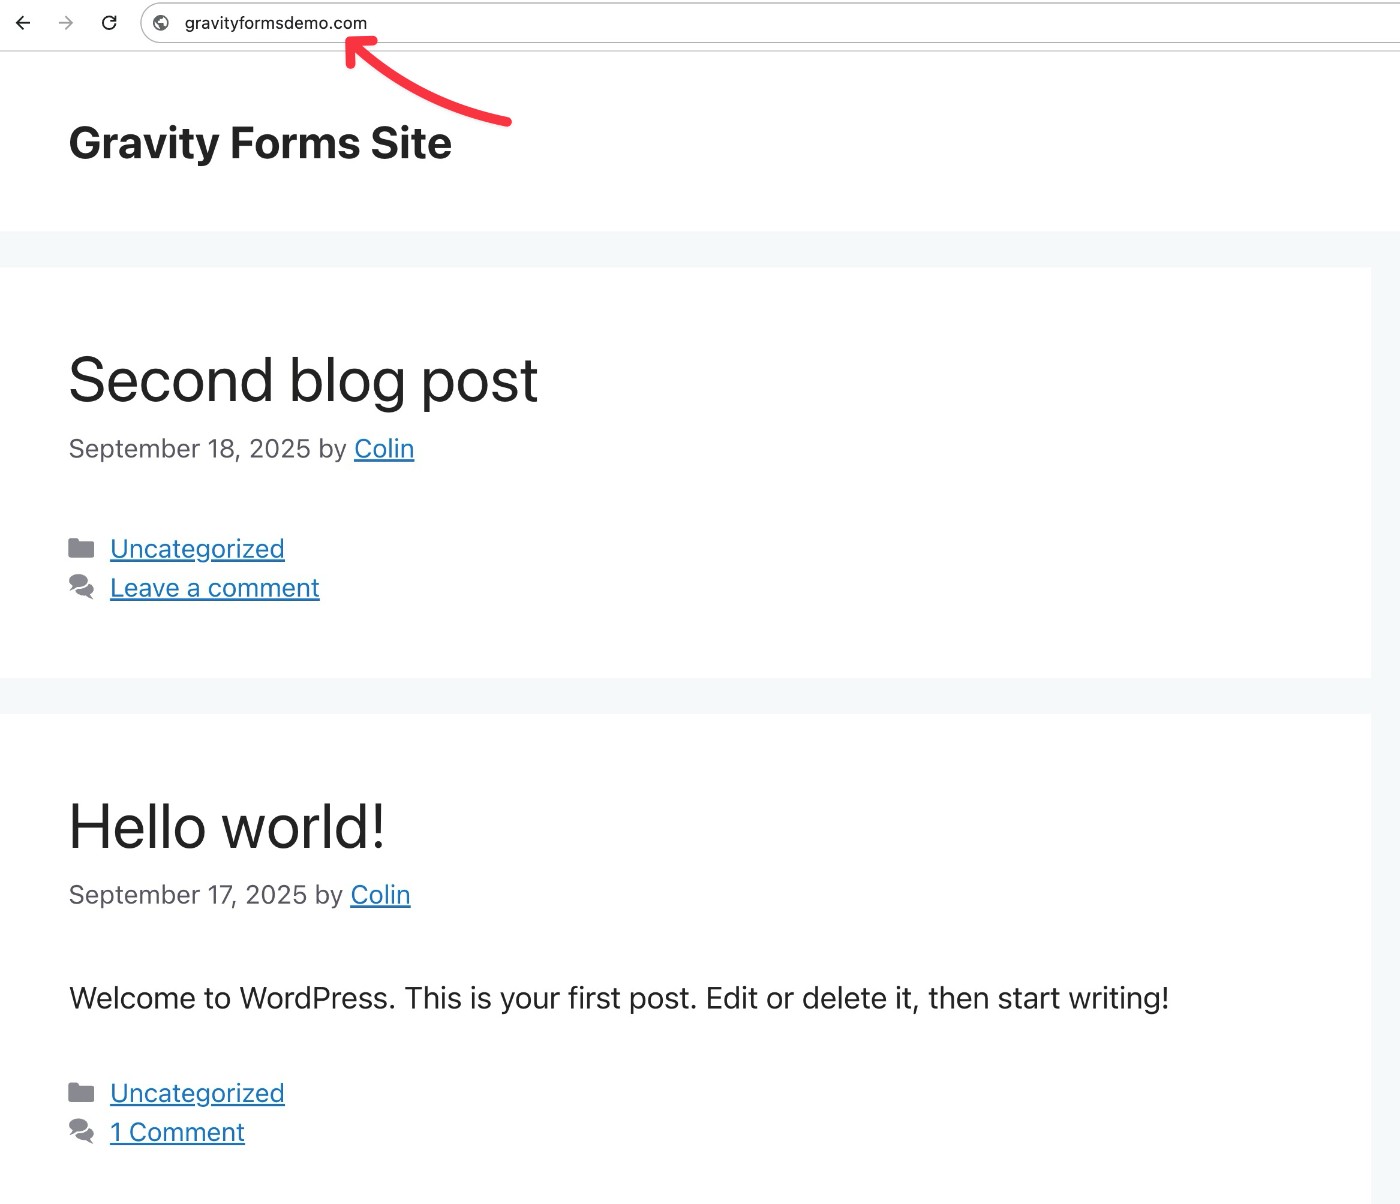
This is true even if your site is 100% a blog (rather than a site with a different purpose that also has a blog).
Creating a static front page gives you a chance to introduce your site to visitors and direct them to your most important content. It also ensures that all your visitors will have the same experience when they visit your homepage, rather than them just happening to see the most recent blog post that you’ve published.
If you’ve already followed our guide to set up a custom WordPress theme, your theme might’ve created a dedicated blog page for your site as part of the setup process. If not, here’s how you can set up a dedicated blog page…
1. Create pages for your homepage and blog page
To get started, you’ll need to create two pages on your site:
- One page will act as your site’s homepage. You don’t need to worry about adding the content right now – you can just create a blank page and come back to it later.
- One page will be your site’s blog page. Just create an empty page and set its title to “Blog”.
To create a new page, you can go to Pages → Add Page in your WordPress dashboard.
Here’s what it looks like after creating both pages – again, you don’t need to add any content to the pages for now.

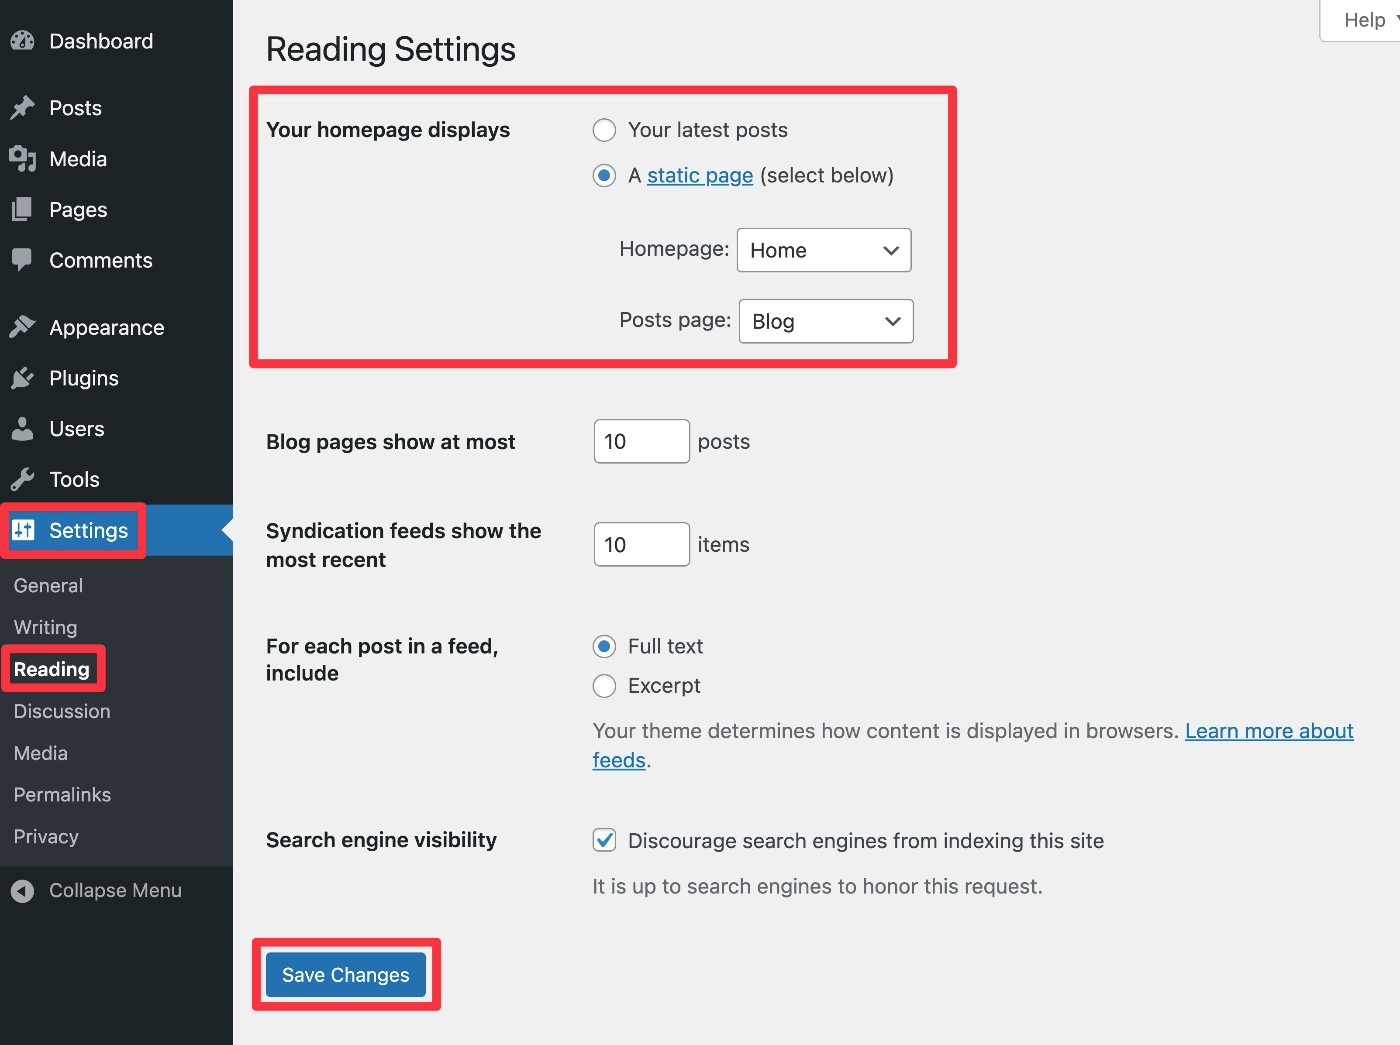
2. Assign pages in WordPress Reading settings
Once you’ve created both pages, go to Settings → Reading in your WordPress dashboard.
Next to Your homepage displays, select the radio button for A static page. Then, set your “Home” page as your Homepage and set your “Blog” page as your Posts page.
Make sure to click Save Changes at the bottom when you’re done.
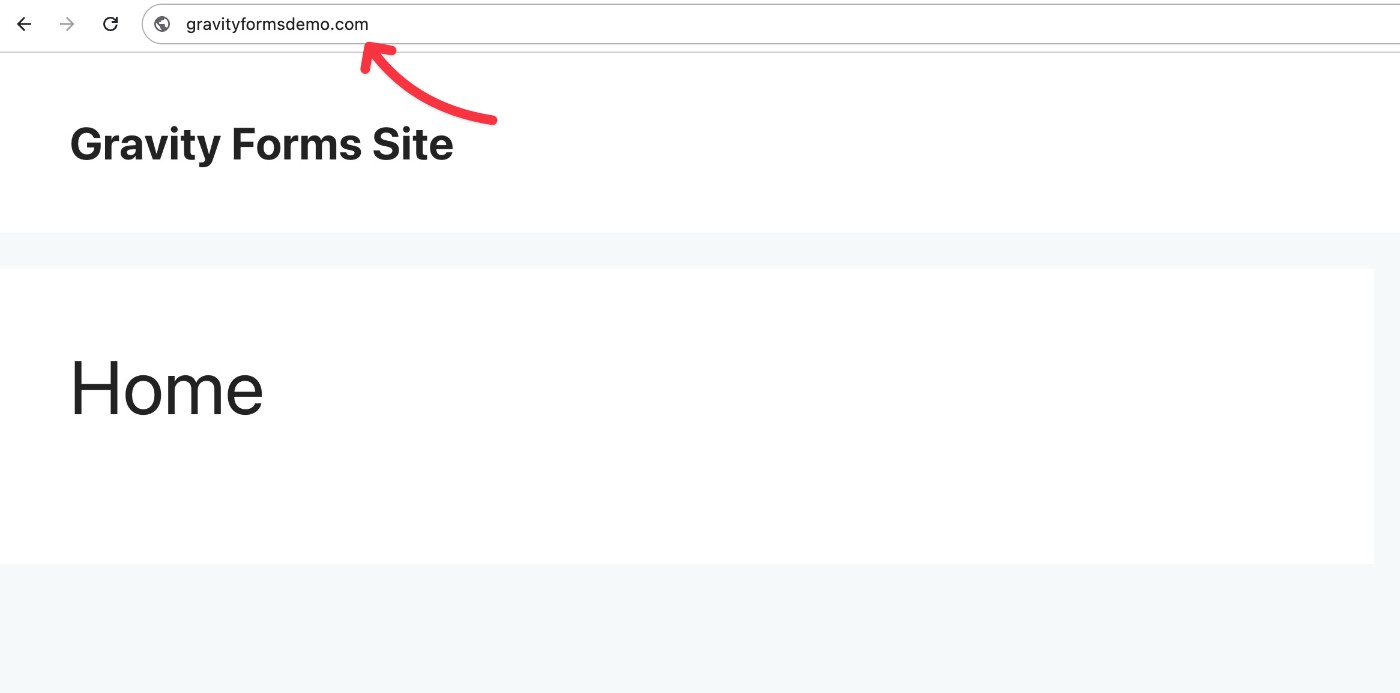
Now, when you go to your site’s homepage, you should see the blank “Home” page that you created. You can come back and add content to that page when you have some free time – we cover how in our guide to creating WordPress pages.
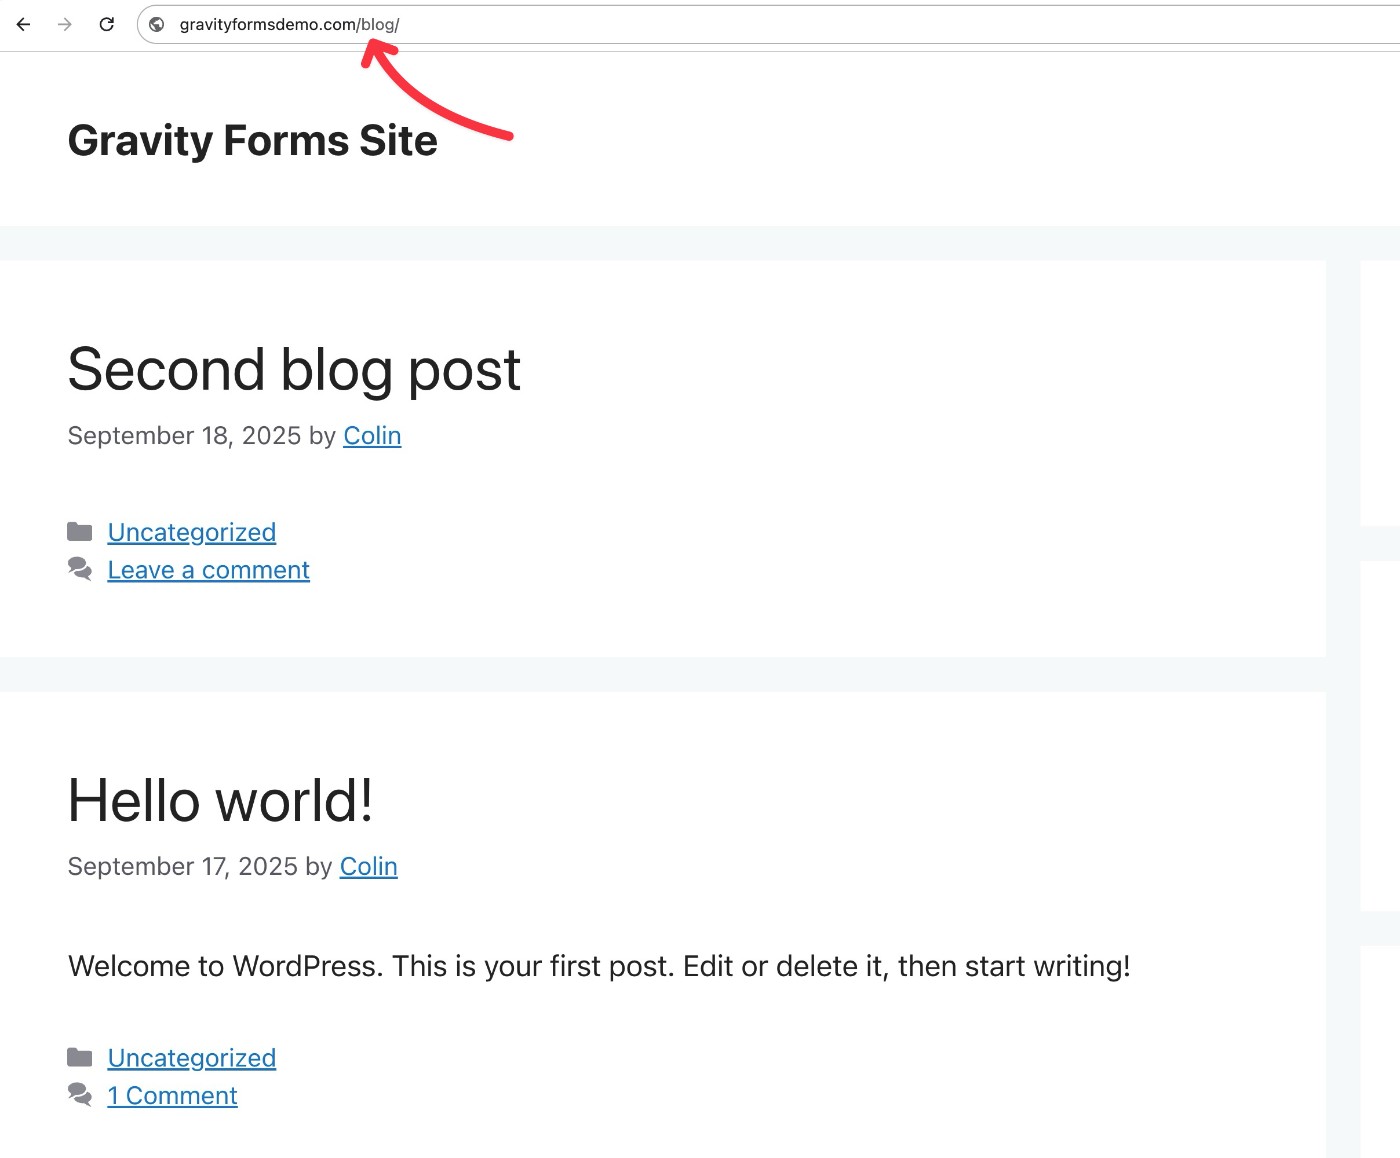
If you go to yoursite.com/blog, you should now find that your blog posts are listed on that page.
How to write your first blog post
Once you’ve set up your dedicated blog page, you can proceed to creating your first blog post. Here’s how…
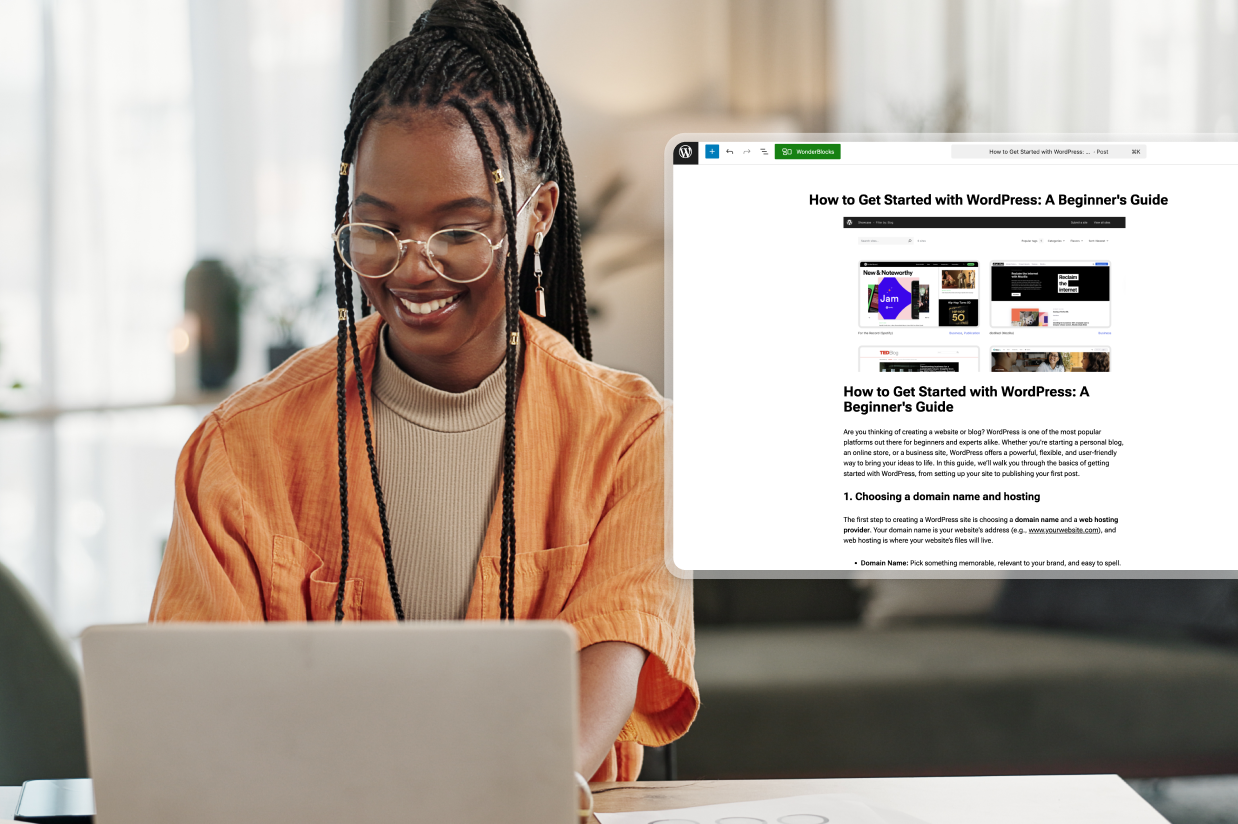
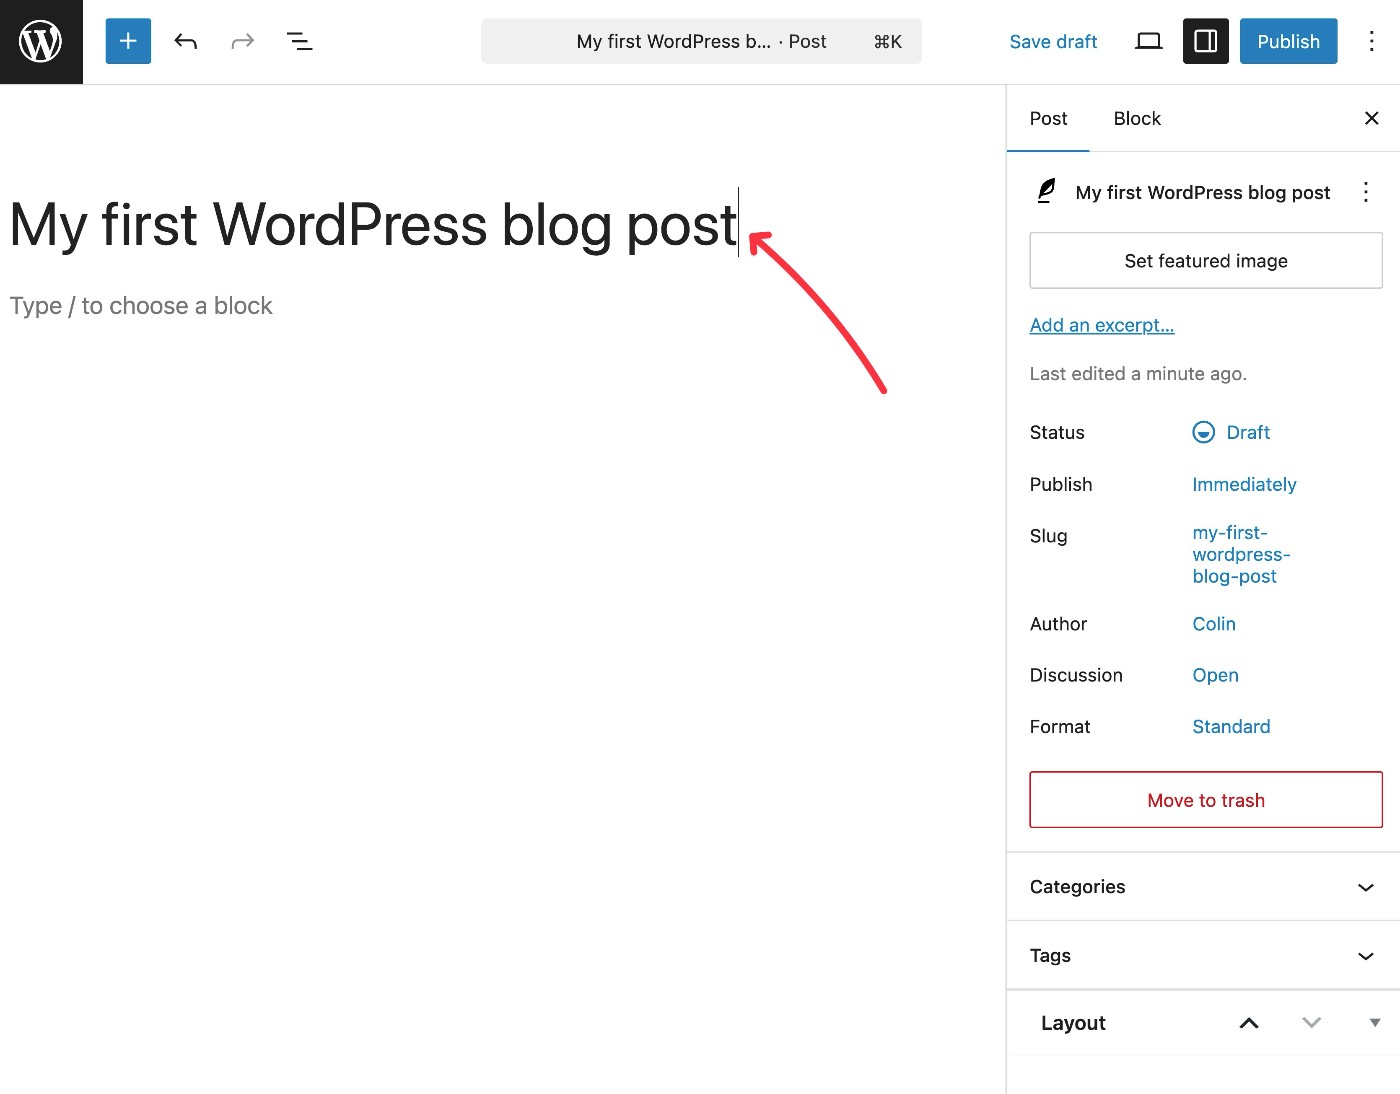
1. Create a post and add your title
To create a new post, go to Posts → Add Post.

This will launch you into the WordPress editor.
To start, give your blog post a title at the top, though you can always come back and edit the title later if you change your mind.
2. Add content to your blog post
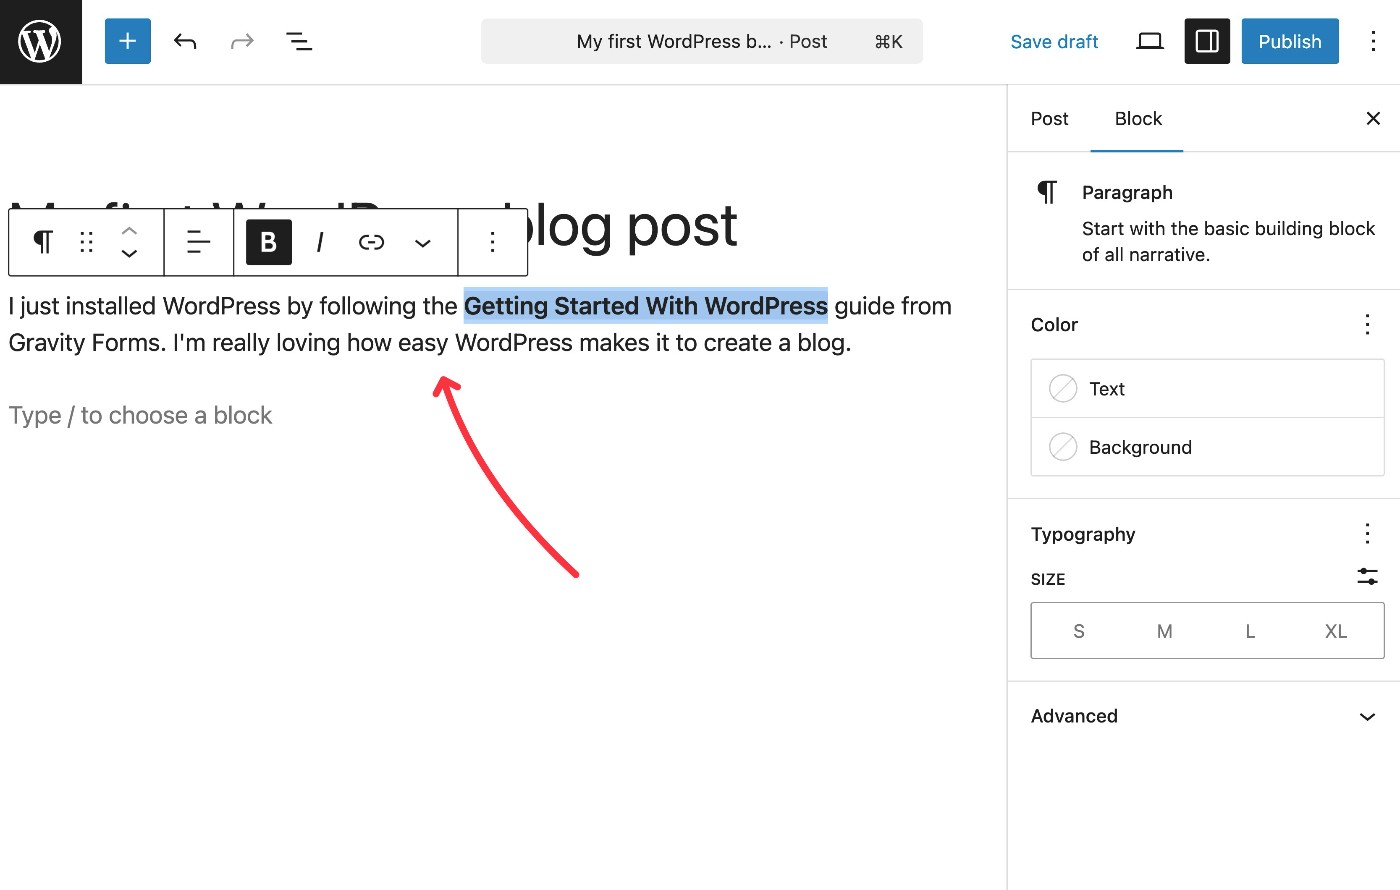
Now, you can use the body of the editor to add the content of your post.
To add basic text content, you can just click into the interface and start typing.
If you want to add other types of content or create more structured layouts, you can do so using blocks.
Blocks can help you add different kinds of content, such as images, videos, buttons, quotes, etc.
You can also use blocks to control the layout and design, such as creating multi-column layouts or grouping certain content together and applying a special background color to that content.
To open the block inserter, you can click the blue plus icon in the top-left corner of the interface. This will expand a sidebar on the left where you can choose which block to insert.
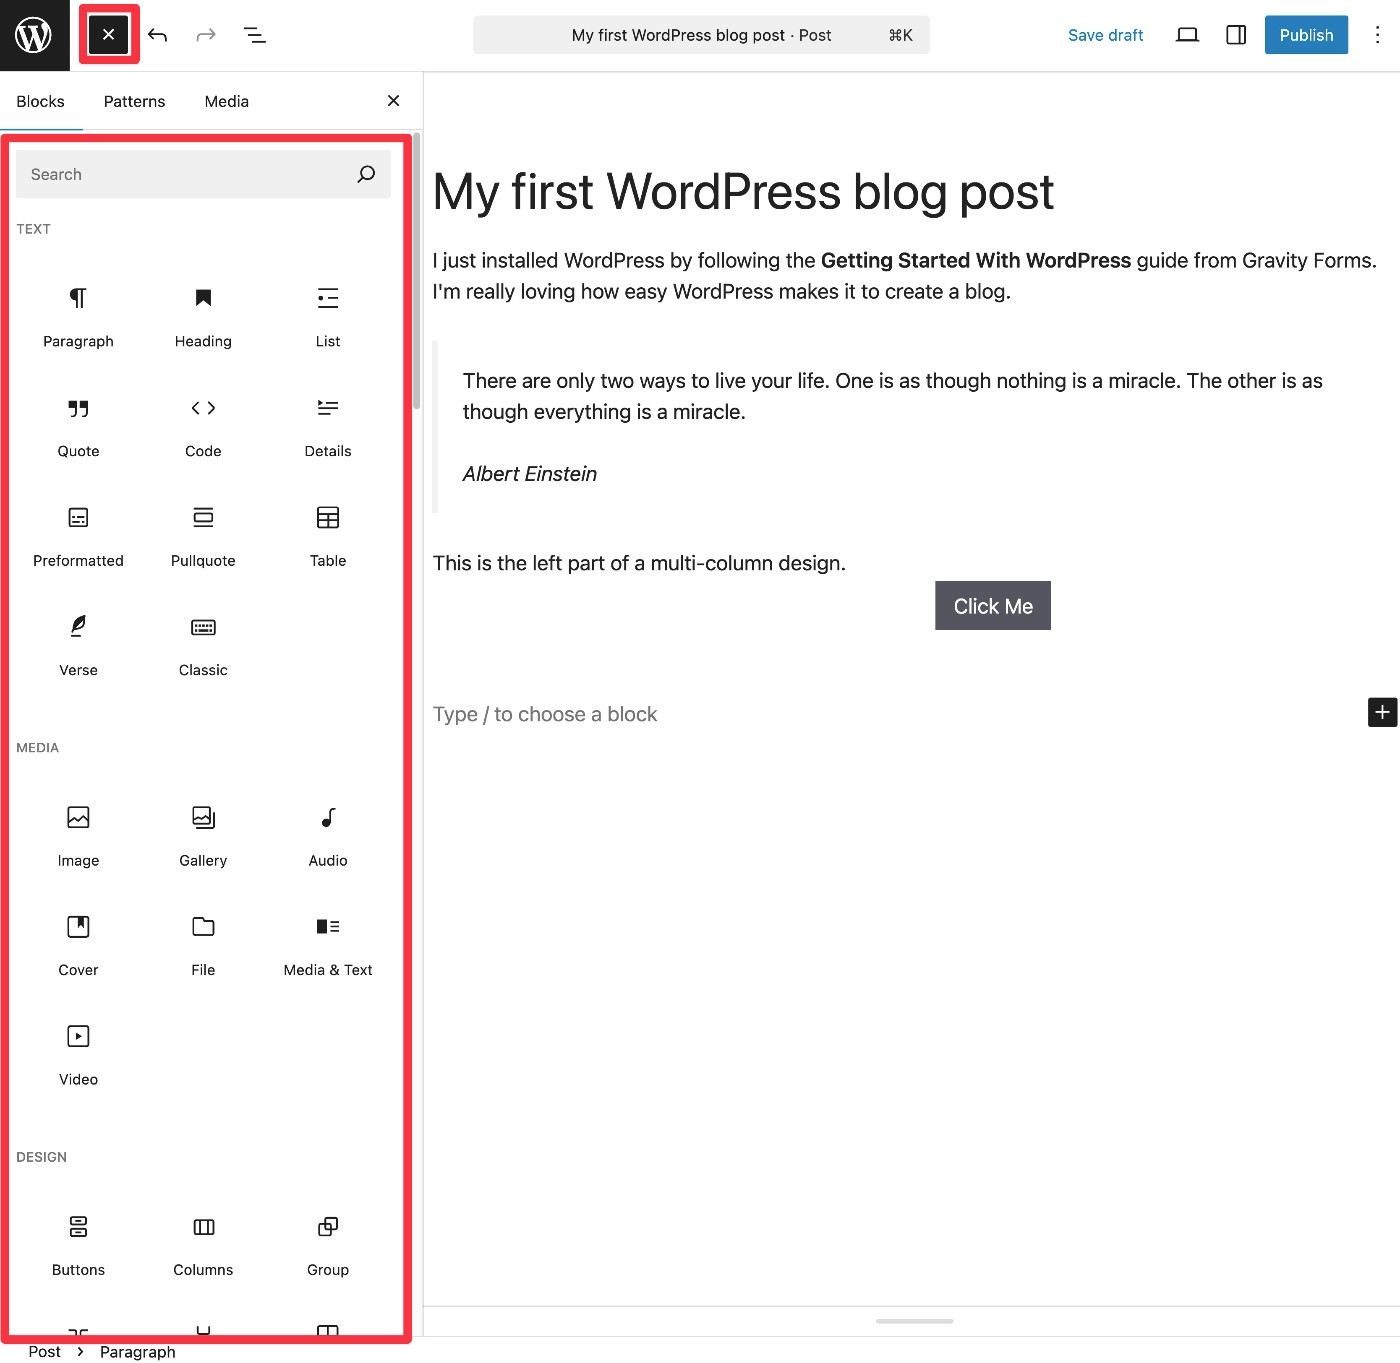
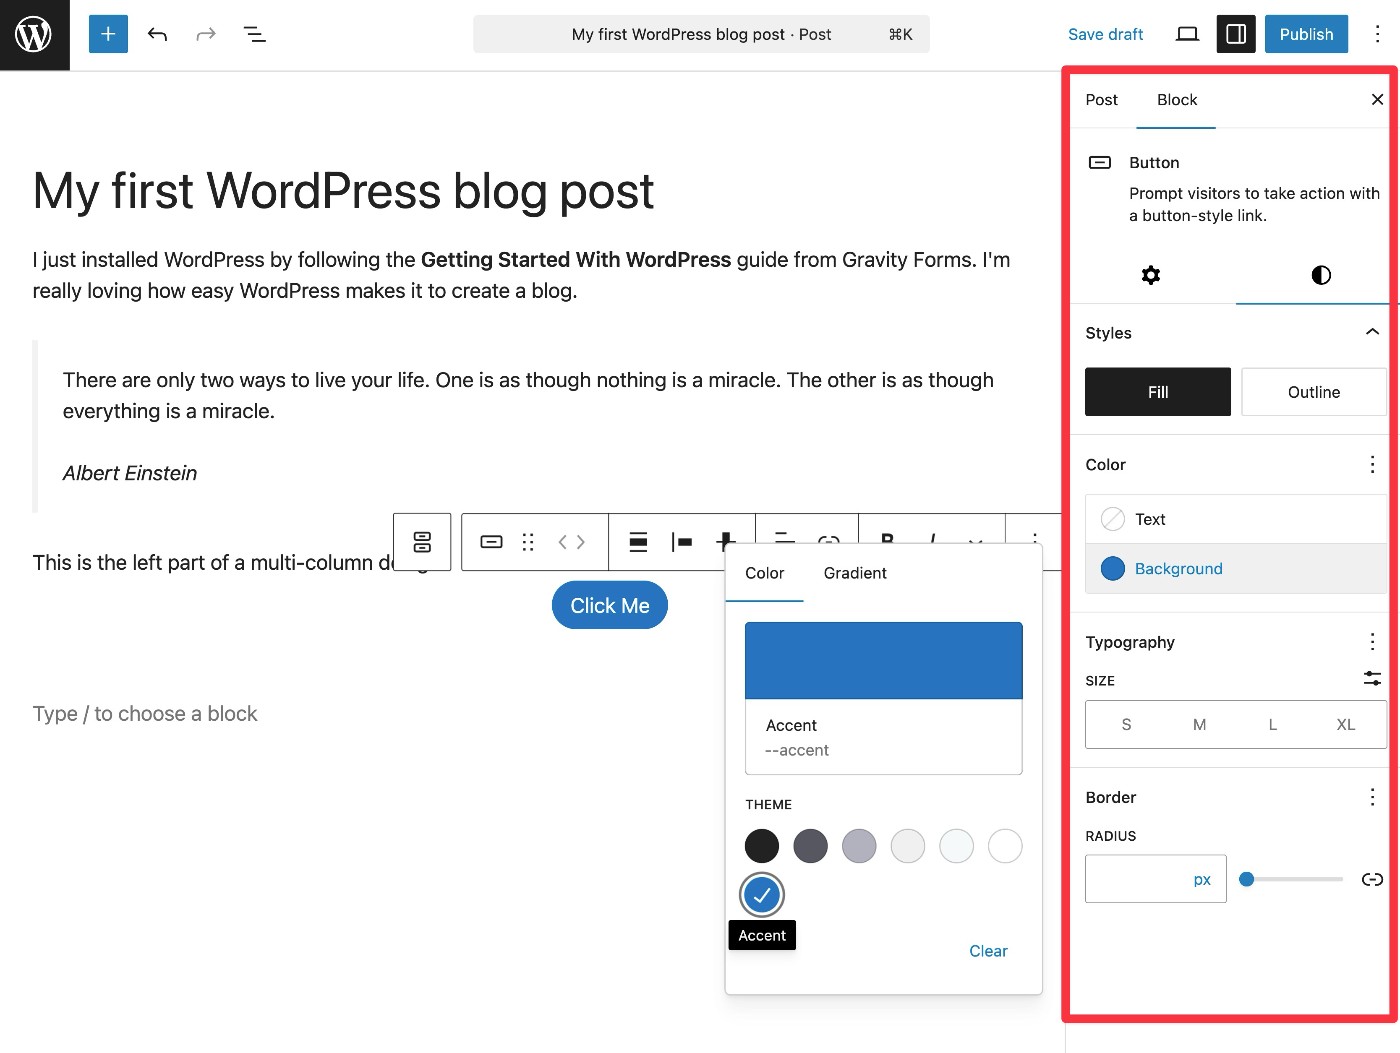
Each block also has its own unique settings, which you can access in a sidebar on the right.
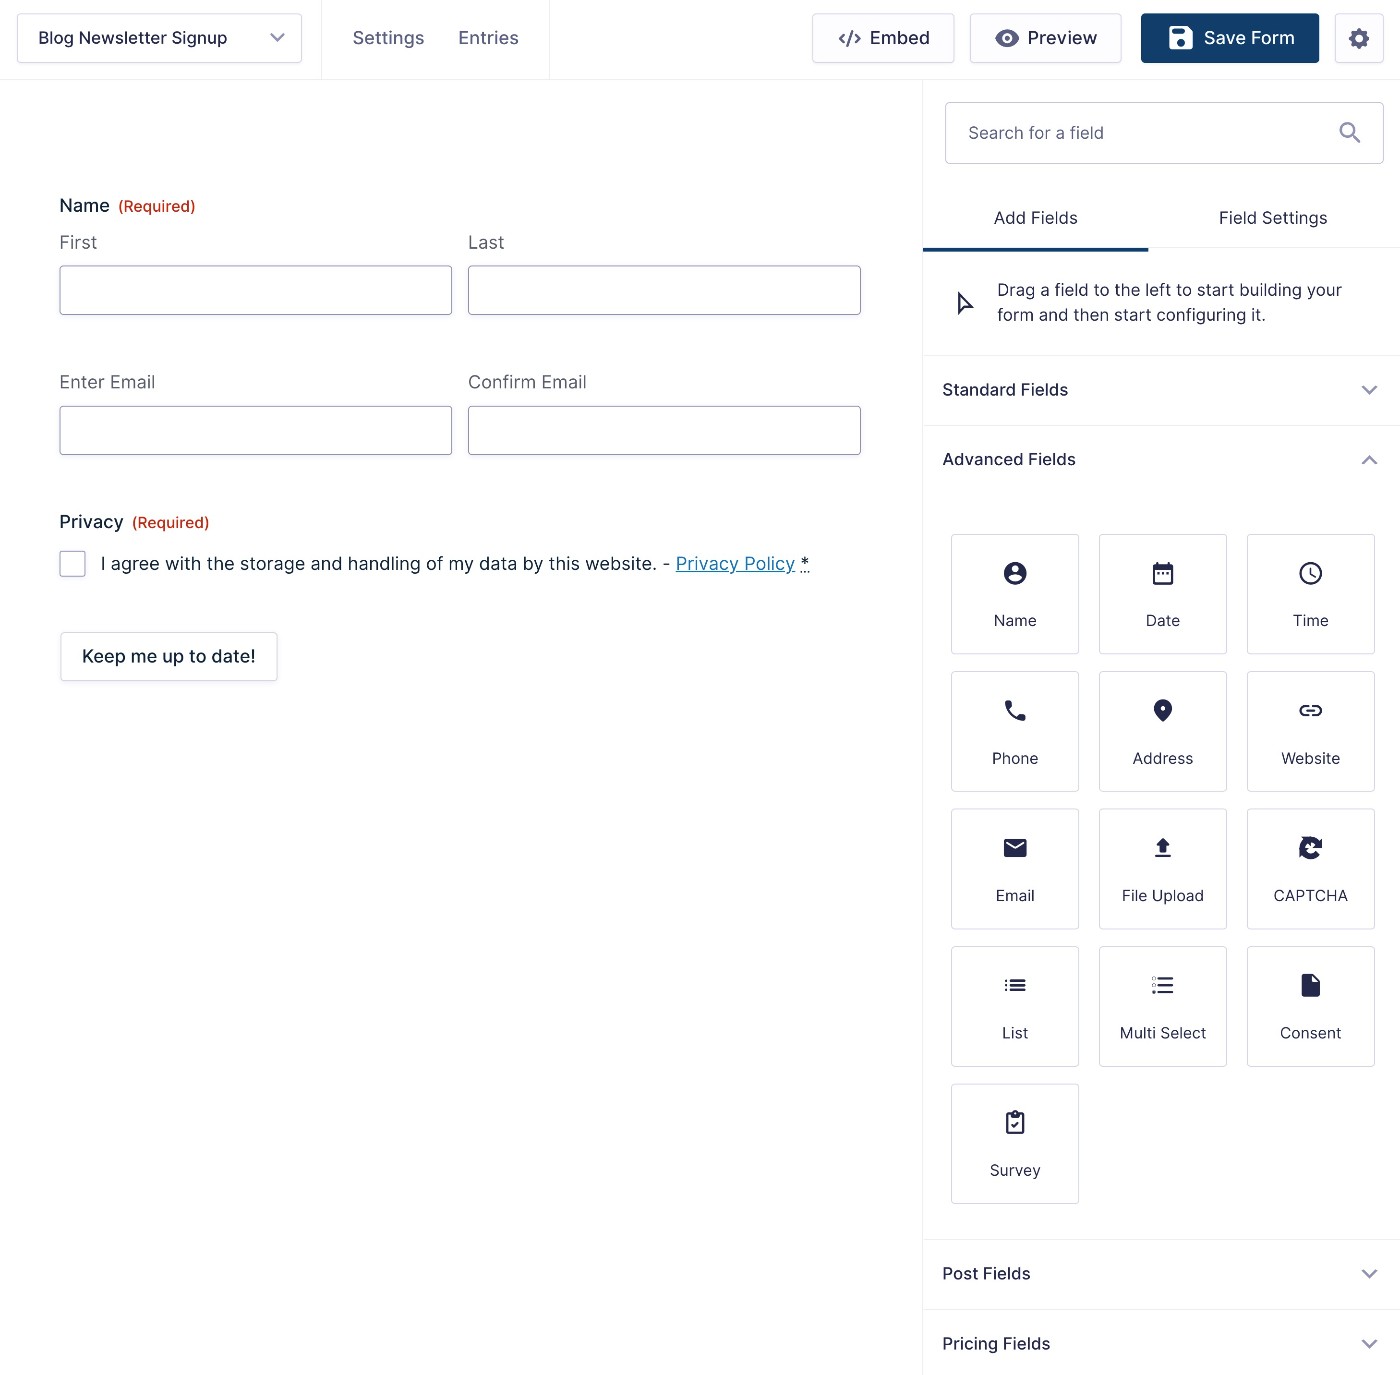
If you want access to additional blocks, you can also install plugins. For example, the Gravity Forms plugin gives you a Form block, which is helpful if you want to include an email newsletter signup form in your blog posts (or any other type of form, such as a survey).
You can also find dedicated block plugins, such as GenerateBlocks, Kadence Blocks, Spectra, and more.
3. Set up featured image, categories, tags, and other metadata
Once you’ve finished adding the content of your post, you’ll want to configure some basic organizational and technical information before you publish your post.
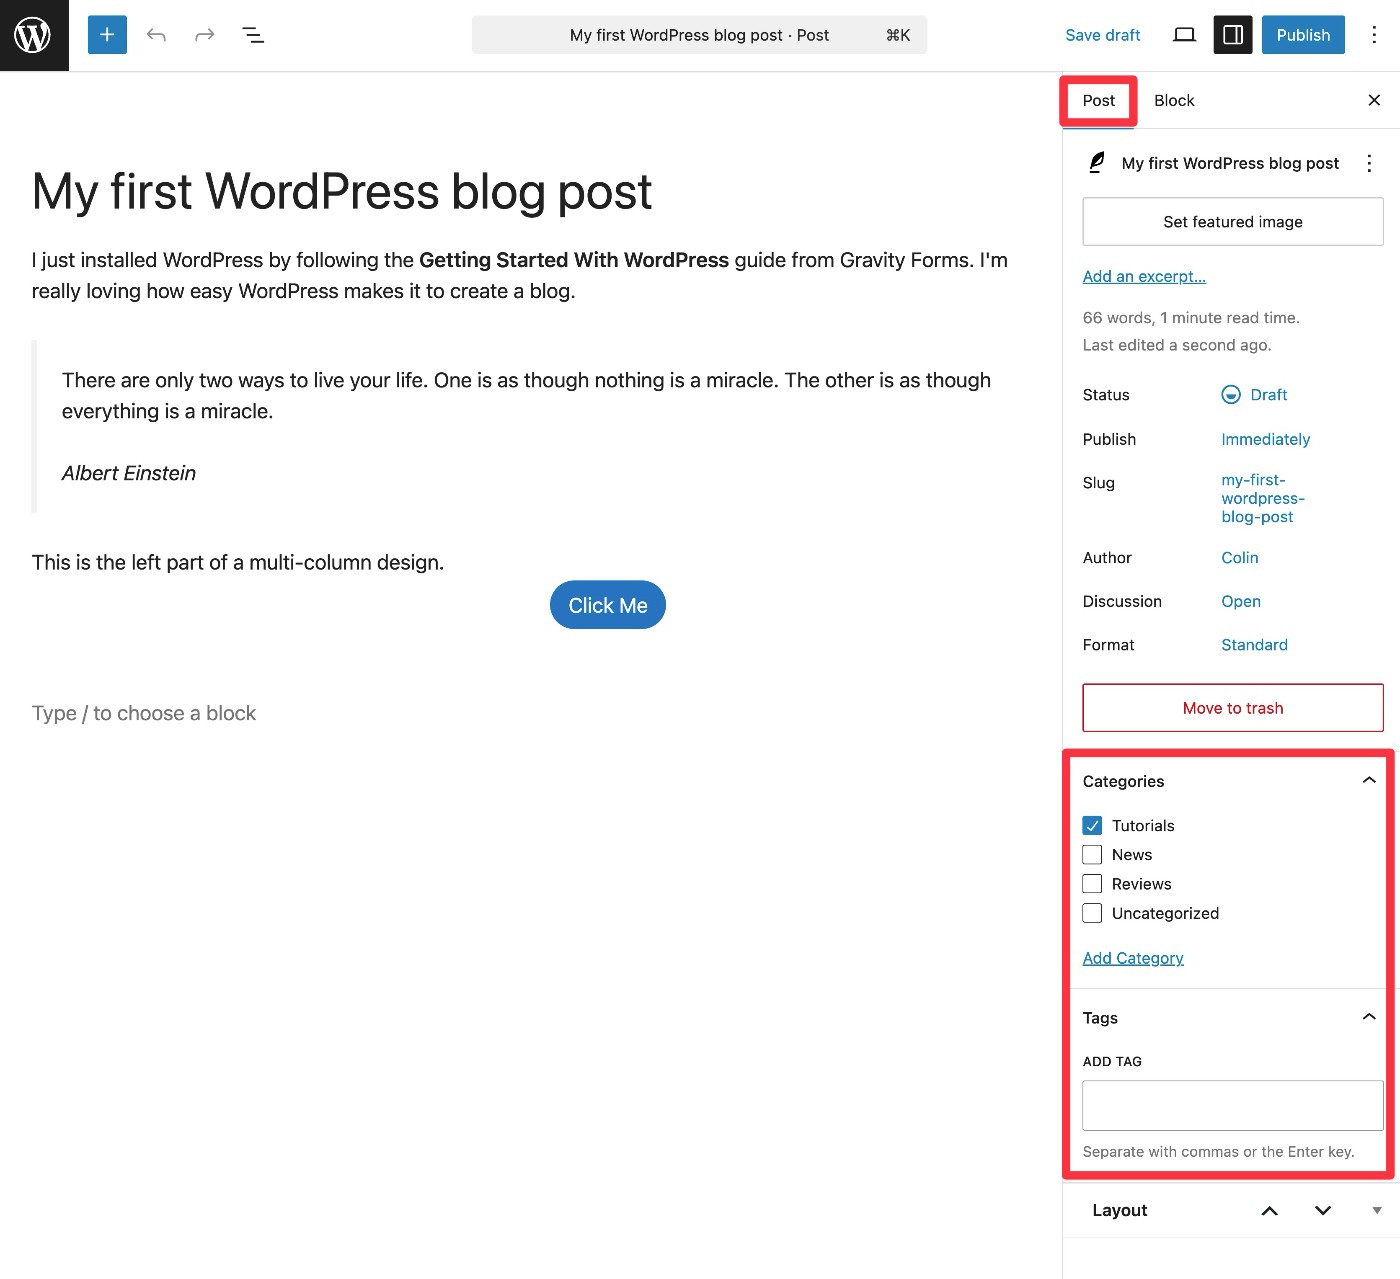
You can access all of these options in the Post tab of the sidebar on the right side.
First, you’ll want to use the options at the top to do the following:
- Set featured image – This lets you add an image to the post. Many themes will display this image when listing posts on the main blog page, and some themes also show it on the individual post page. If needed, you can create a featured image using a tool like Canva.
- Slug – This lets you choose the URL of your post, which can be important for user experience and SEO. For example, yoursite.com/this-is-the-slug-of-the-blog-post.
- Discussion – You can choose whether to allow user comments (Open) or disable them (Closed).
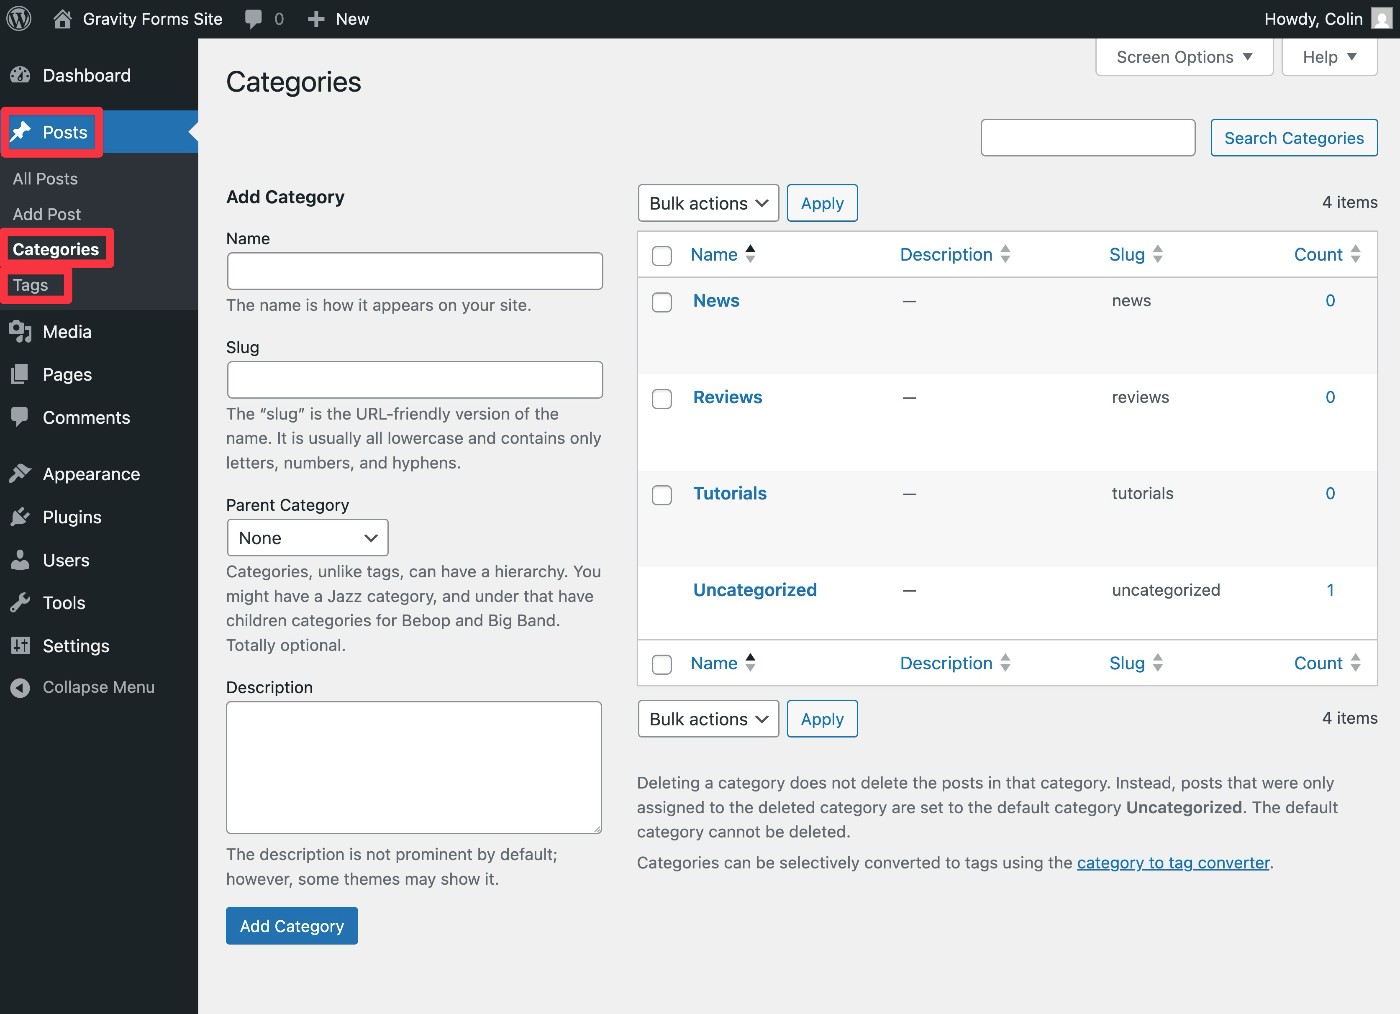
Below that, you can use the Categories and Tags areas to organize your post. We’ll discuss WordPress categories vs tags in more detail below, but the basic idea is that you must assign at least one category to each post, but using tags is completely optional.
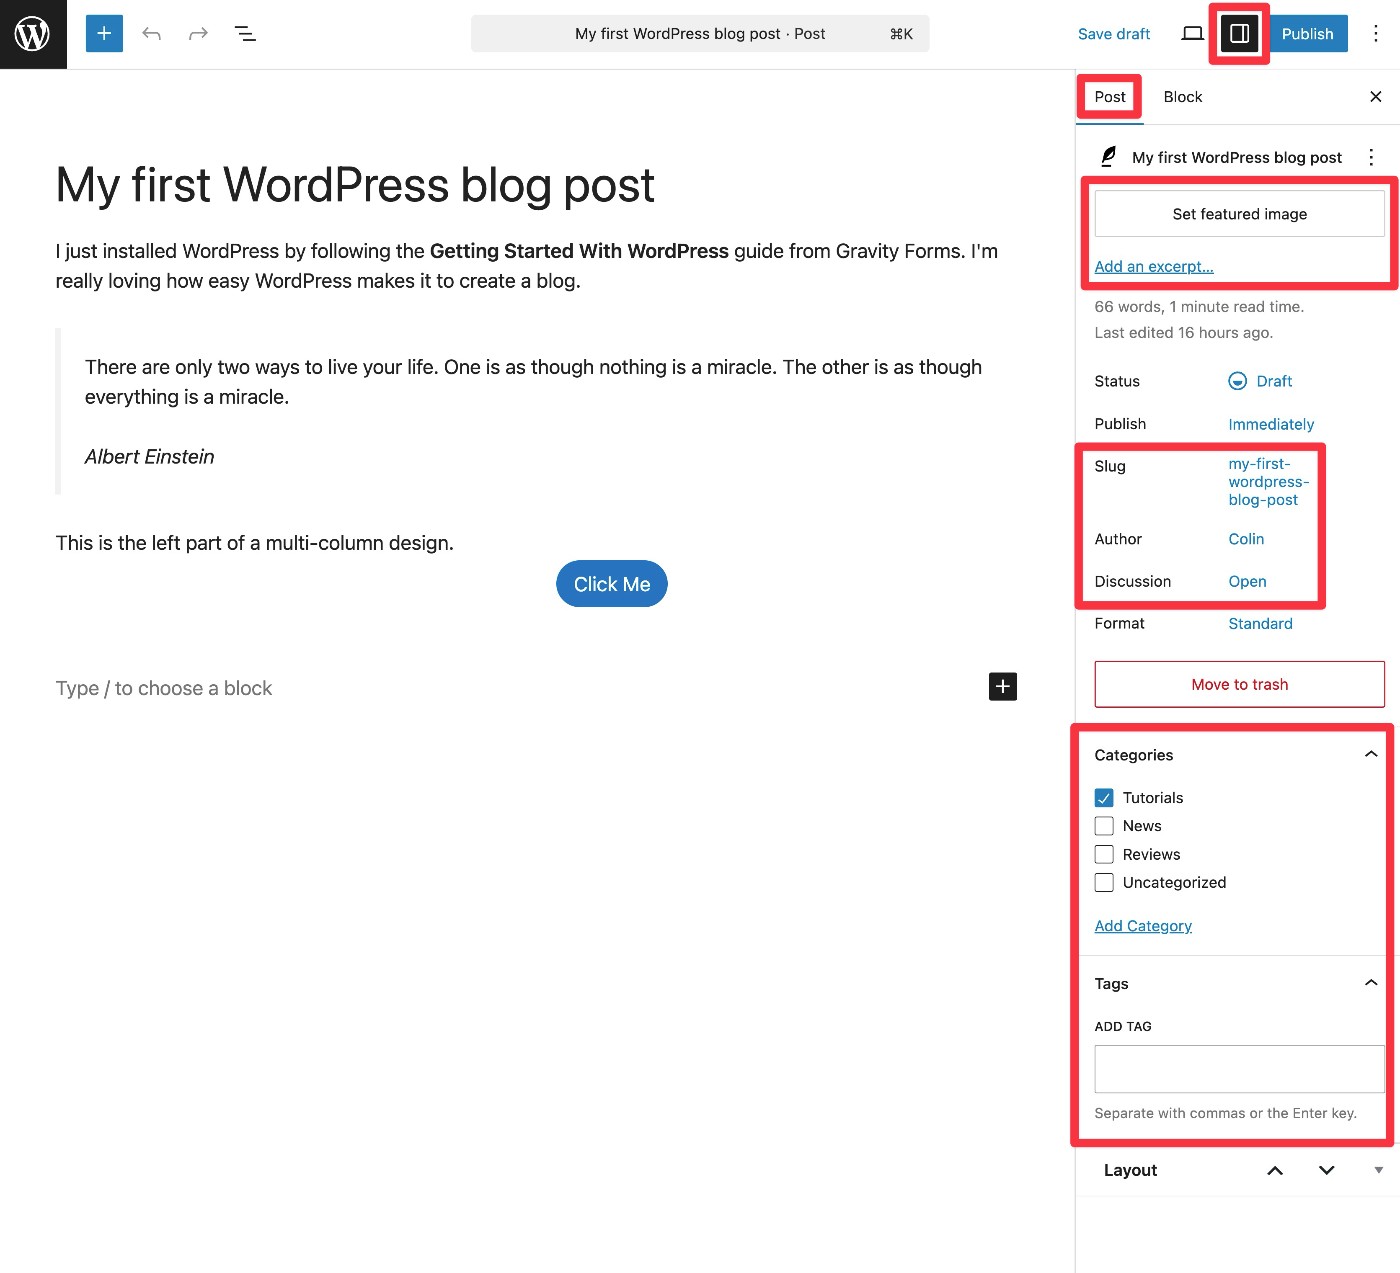
If you’re using an SEO plugin, you’ll also want to fill out the SEO details of your post using the options from your SEO plugin. We’ll cover this in more depth a little later in this post.
4. Publish your blog post
If you’re ready to make your blog post live, the last step is to publish the post.
You can do this by clicking the blue Publish button in the top-right corner of the interface.
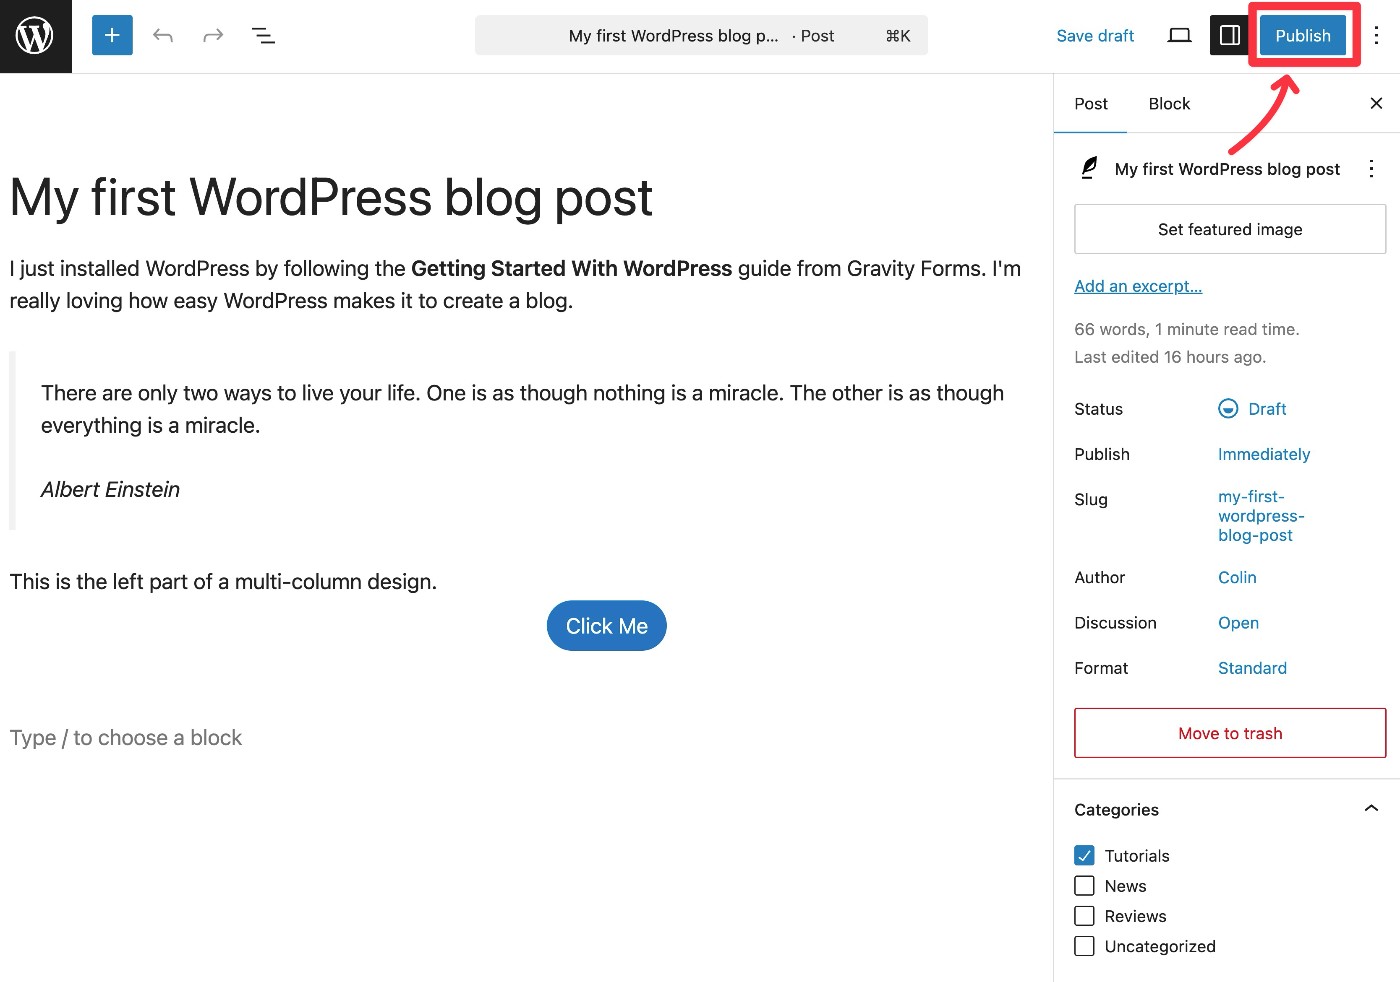
This will expand some secondary options. By default, your blog post will go live immediately. However, if you’d rather schedule it to go live at a specific time/date in the future, you can edit the Publish: Immediately option in the post metadata area.
Once you’ve confirmed everything, click Publish again to make your post live (or schedule it to go live on the date that you specified).

And that’s it! You just published your first blog post. You can repeat these steps each time you want to publish a new post.
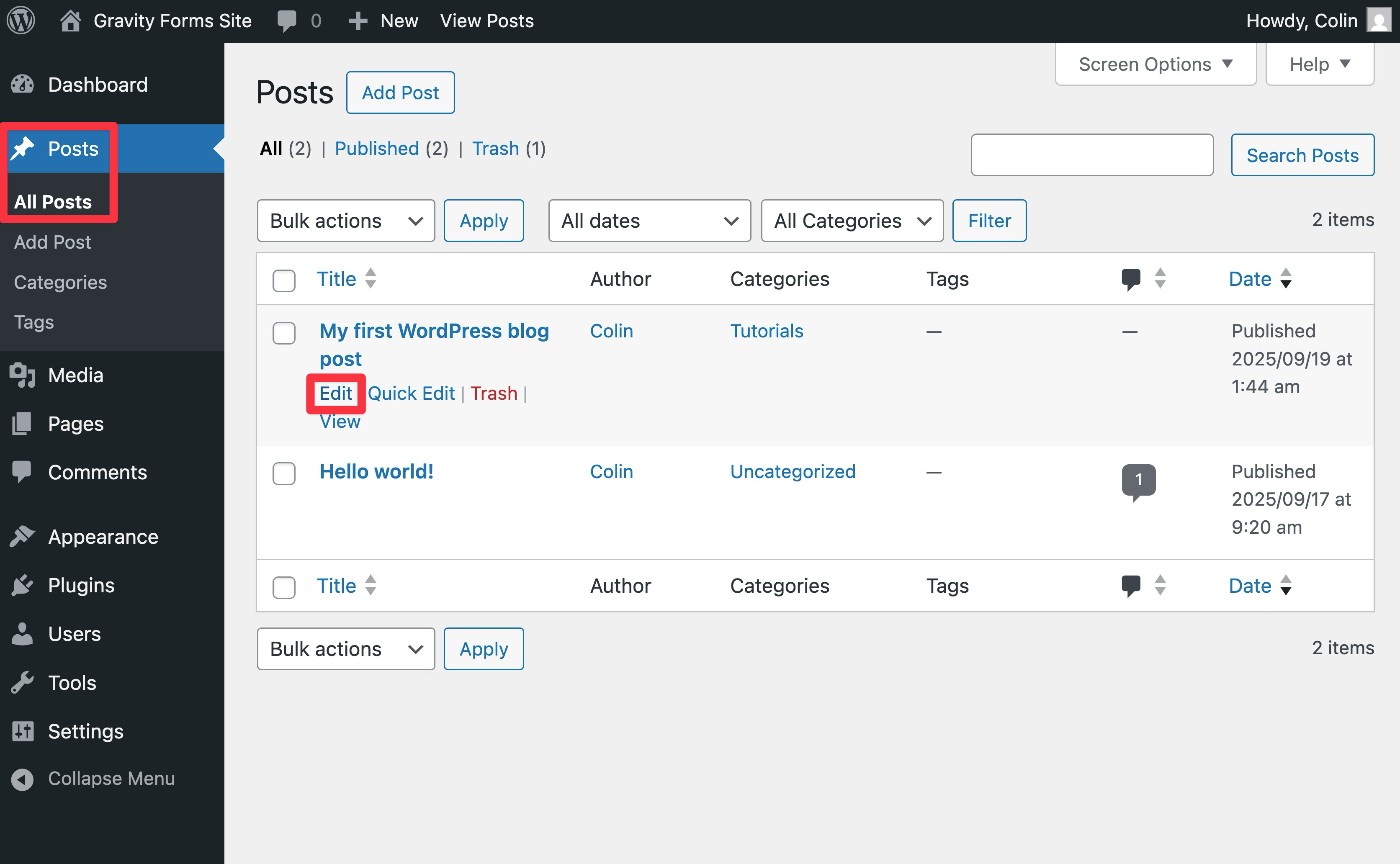
If you ever want to edit or unpublish your blog post in the future, you can go to Posts → All Posts. Then, hover over the blog post that you want to edit and choose Edit.
How to organize your blog posts: WordPress categories vs tags
As we mentioned above, WordPress gives you two default ways to organize your blog posts:
- Categories
- Tags
In more technical terms, these are called taxonomies. You can actually create your own custom taxonomies that go beyond categories and tags, but that’s beyond the scope of this post.
So – what’s the difference between WordPress categories vs tags?
- Categories are used for broader topic groups. They can also have parent/child relationships (AKA “hierarchical” relationships). For example, you could have a “Sports” parent category and then a “Basketball” child category inside that.
- Tags are for very specific topics and are very narrow in focus. They’re “flat” or “non-hierarchical”, which means they don’t have parent/child relationships. For example, you might use a tag if you write about a specific basketball player, as it probably doesn’t make sense to create an entire category just for one player (unless that player is a major focus of your blog).
You must assign at least one category to each blog post, but using tags is entirely optional. In fact, many websites decide not to use tags at all.
While working on a single piece of content, you can assign categories and tags from the Posts sidebar, as we showed you above.
You can also view and manage all of the categories and tags on your site by going to Posts → Categories and Posts → Tags, respectively.
How to grow your blog audience
Once you’ve started publishing content to your blog, you’ll want to find some ways to get your content in front of readers.
Here’s a quick rundown of some tried-and-true strategies for growing your blog audience…
Follow search engine optimization (SEO) best practices
If you want your blog posts to rank highly in search engines like Google, you should make sure you’re implementing important SEO basics such as adding an SEO title and meta description for each piece of content.
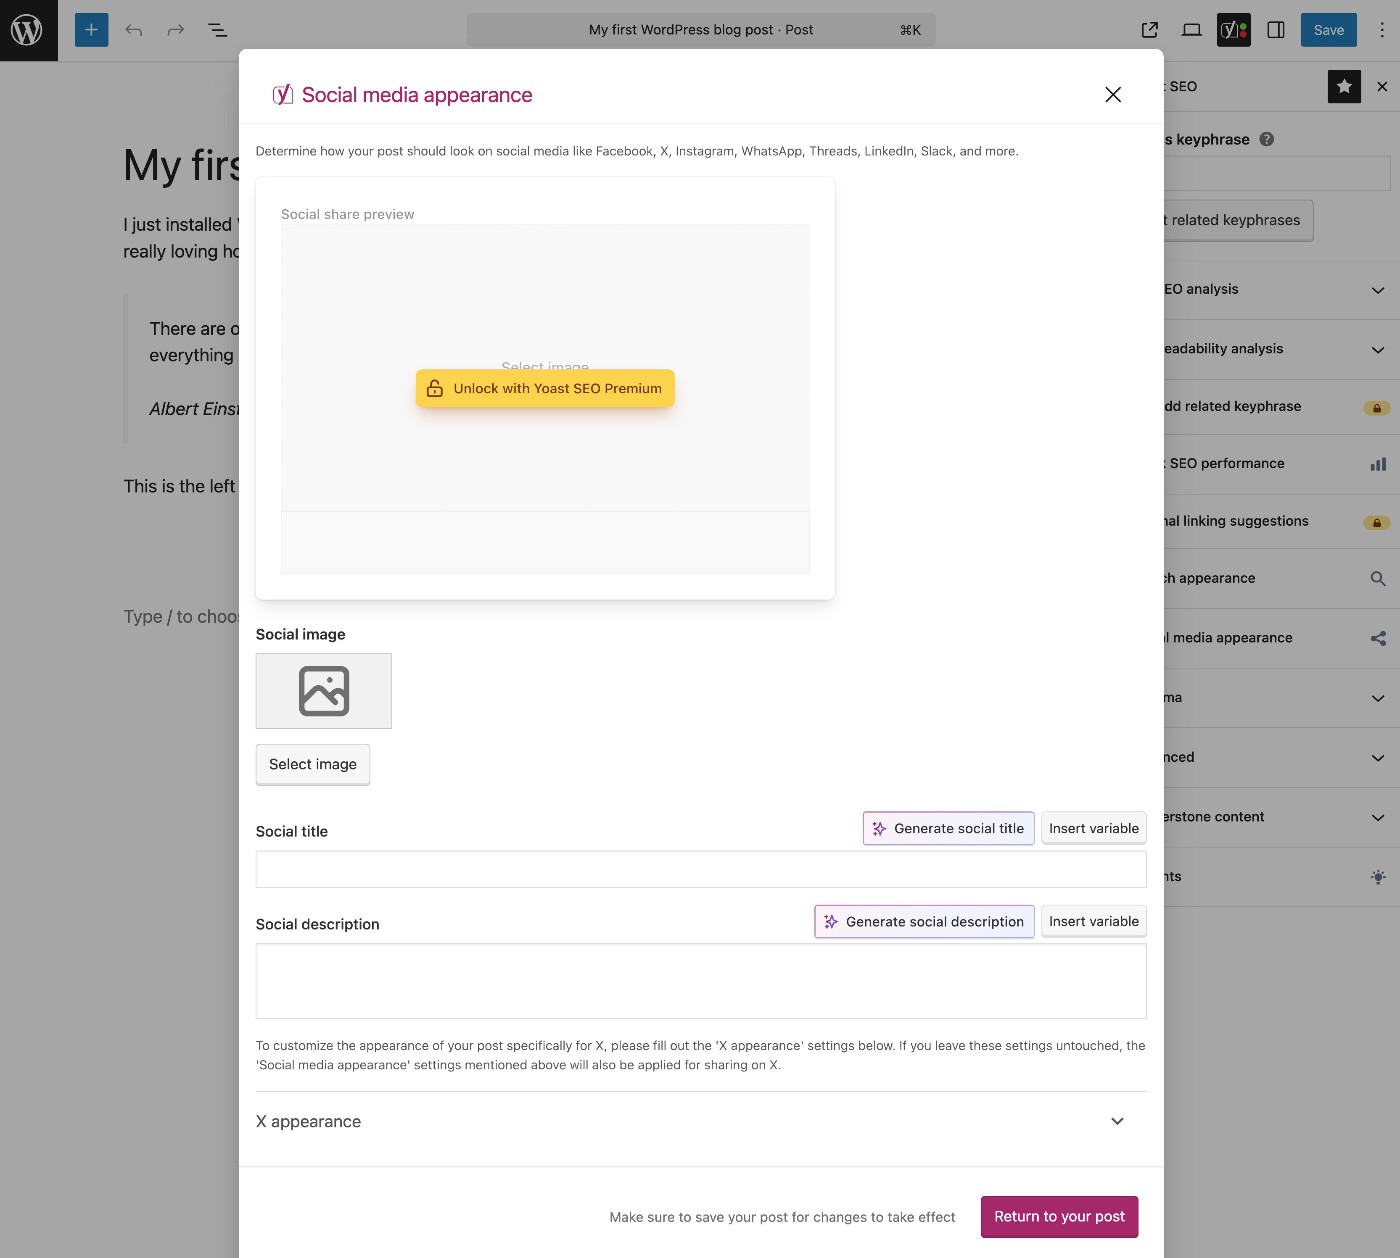
To do this on WordPress, you can use a free SEO plugin like Yoast SEO.
Once you install Yoast SEO, it will add new options in the editor sidebar where you can add the SEO title and meta description, along with accessing other helpful SEO tools and suggestions.
It will also add a box below the post editor, which you can use if you prefer that to working in the sidebar.

Create an email newsletter signup form
Creating an email newsletter is a great way to build a direct connection with your audience. Rather than worrying about search engine or social media algorithms, you’ll always have a way to promote your blog posts directly to your audience.
In fact, this is something we do here at Gravity Forms, as you can see at the bottom of this post.
To create your actual email newsletter, you’ll need an email marketing service. There are lots of great options, but Mailchimp and Kit are two popular options that offer free plans to get you started. You’ll only need to pay once your subscribers grow past the free plan’s limits, which is a good problem to have!
To actually grow your email list, you’ll want to place email subscribe forms on your website. You can create these email subscribe forms using the Gravity Forms plugin.
Gravity Forms lets you build your email subscribe form using a simple drag-and-drop editor and embed it anywhere on your site using blocks or shortcodes.
You can also connect your email subscribe form directly to your email marketing service, which means that Gravity Forms will automatically sync subscribers to your preferred service after they submit the form. We have guides on how this works for both Mailchimp and Kit, as well as other services:
Share your blog posts on social media (and encourage others to do the same)
Another tried-and-true tactic is to share your blog posts on your own social media profiles, while also encouraging your visitors to share content on their profiles.
If you installed the Yoast SEO plugin that we mentioned above, it also gives you options to control how your content will appear when it’s shared on social media, including the featured image and title that appear in most social feeds.
Note – if you don’t set a dedicated social media share image and title, it will just use the title and featured image from your post.
Get started with your WordPress blog today
Regardless of what you’re using WordPress for, creating a blog is a great way to engage with your existing audience and grow your site to reach new people.
To get started, you’ll want to set up a dedicated blog page on your site. Then, you can start publishing individual blog posts, and they’ll automatically appear on that blog page. To stay organized, you can use categories and tags, which will also get their own pages that list associated content.
To grow your blog, search engine optimization and social media marketing are both great strategies. Once you get people on your site, creating an email newsletter and encouraging people to sign up is a great way to build a long-term connection.
With the Gravity Forms plugin, you can easily create an email subscribe form that connects directly to your favorite email marketing service. You can see an example below – and feel free to use the form to join the Gravity Forms newsletter!

If you want to keep up-to-date with what’s happening on the blog sign up for the Gravity Forms newsletter!
"*" indicates required fields