

Have you ever wanted to setup a MailChimp drip campaign with Gravity Forms?
Email newsletters (broadcasts to your entire list) are great to keep your subscribers engaged, but they come with one pretty big drawback.
Your new subscribers only see new newsletters. That is, they only see the content you send after they sign up.
Let’s say you have a blog post that gets an unusually high amount of traffic. Or maybe it converts a lot of customers. That’s something you want to share with every subscriber, including the new ones who join your list after you’ve already promoted the post.
Or maybe you have a popular offer or discount that drives people to buy. You probably want to expose every subscriber to that offer, regardless of when they join.
And that’s why email marketing automation is so powerful.
With automation, you can schedule drip campaigns that send scheduled emails to your list. For instance, when someone joins your list, you might send them three emails over six days, each with content you want every subscriber to see.
Drip campaigns run in the background all the time. When a subscriber meets the right condition (in this case, when they subscribe), the email is automatically sent. You don’t have to do anything.
Drip campaigns aren’t just time savers. They produce 18X more revenue than average emails.
In order to set up drip campaigns, you need a tool to collect subscribers on your website (like Gravity Forms) and an email marketing tool.
There are a lot of email marketing tools to choose from, but MailChimp is one of the most popular (especially for new entrepreneurs on a tight budget). In this article, we’ll explain how to set up a MailChimp drip campaign with Gravity Forms.
Step 1: Install Gravity Forms
If you don’t already have Gravity Forms, grab it here and then follow the steps in our installation guide to add it to your WordPress site.
Step 2: Install the MailChimp Add-On
In order to set up a MailChimp drip campaign with Gravity Forms, you need a special add-on.
The MailChimp Add-On seamlessly integrates Gravity Forms and WordPress, so when people complete a form on your website, their contact details are automatically pushed to your MailChimp mailing list.
Learn more about the MailChimp Add-On here.
In your WordPress dashboard, hover your mouse over the “Forms” link in the left menu. In the popup window, click “Add-Ons.” The page that appears will display a list of all available Gravity Forms Add-Ons.
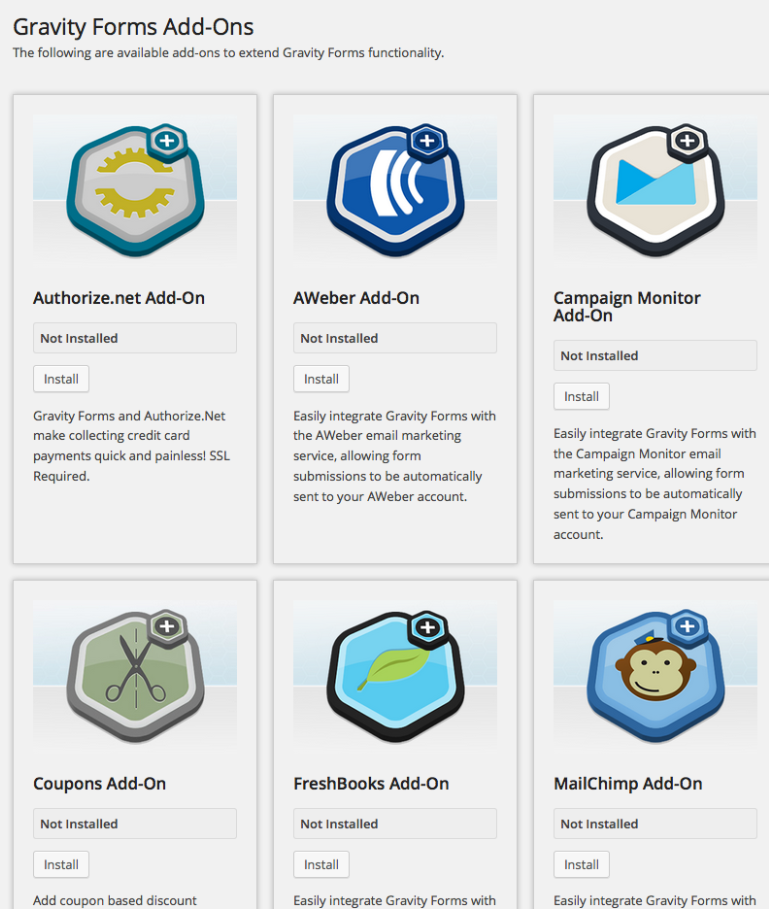
Simply find the MailChimp Add-On and click the “Install” button. WordPress will download and install it, but make sure to click the “Activate Plugin” link that appears.
Step 3: Grab Your MailChimp API Key
The Gravity Forms MailChimp Add-On needs a special key from MailChimp to link both tools together. You’ll find this key in your MailChimp account.
(Don’t have a MailChimp account yet? Click here.)
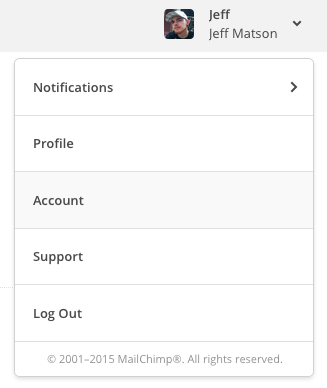
In your account, click your name at the top right, then click “Account” in the popup menu.
On the next page, click the “Extras” menu item and then “API Keys.”
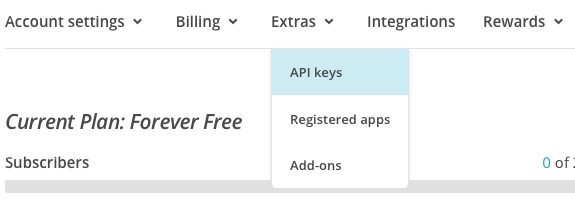
Finally, click the “Create a Key” button to generate a new API Key. The page will reload and you’ll see a new key in the list. It will look like a long string of random numbers and letters.

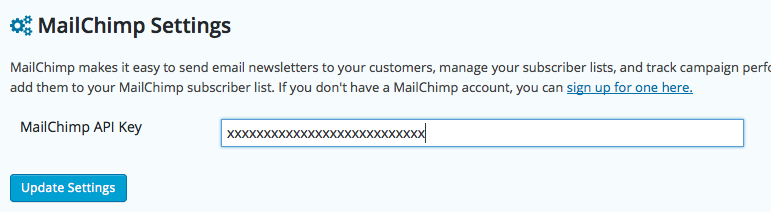
Copy the key and head back to your WordPress dashboard. Hover over “Forms” on the left menu and click “Settings” in the popup menu.
On the settings page, click the “MailChimp” tab to access Gravity Forms’ MailChimp settings. Enter your API key and click “Update Settings.”
Step 4: Create a Feed for the MailChimp Add-On
Before you can push your form data to your MailChimp drip campaign, you need to create a feed. A feed determines which information gets sent to MailChimp and how MailChimp uses it.
Click “Forms” on the left menu of your WordPress dashboard and then click the form you want to use with MailChimp.
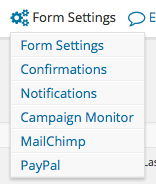
Once you’re in the form, click “Form Settings” on top and then click “MailChimp” in the popup menu.
On the next page, start by clicking “Add New” next to “MailChimp Feeds.”
First, give the field a name. Use something simple, clear, and unique. Select the MailChimp list you want to associate with this form. (Didn’t create a list in MailChimp? It’s easy. Learn how here.)
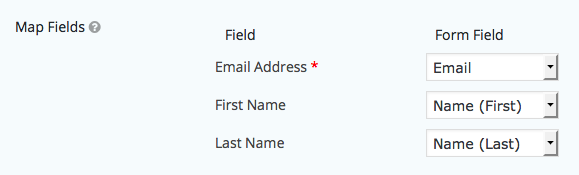
In the “Map Fields” section, select the MailChimp fields (in the right column) that should match with your form fields (in the left column). This makes sure the data from your Gravity Forms fields go to the correct place in MailChimp.
If you want to play around with conditional logic, check the “Opt-in Condition” box. If you want your new subscribers to confirm their subscriptions, check the “Double Opt-In” box.
Once you’re happy with the settings, click “Update Settings.”
Step 5: Create Your MailChimp Drip Campaign
At this point, your Gravity Form should be configured to push all new signups to your MailChimp list. When someone completes the form, their name and email will appear in MailChimp after a few moments.
Your next step is to create the MailChimp drip campaign that will be sent your new subscribers.
In your MailChimp account, click “Campaigns” at the top left. Then click “Create Campaign” on the right. In the popup, click “Create an Email” then select the “Automated tab.”
(You can also skip those steps by launching the automation builder.)

MailChimp offers a number of templates to get you started. You can add, edit, and adjust them however you like. Let’s start with the “Welcome new subscribers” template. Select it, give it a name, then click “Begin.”
The next page shows your drip campaign structure. At the moment, you only have one email.
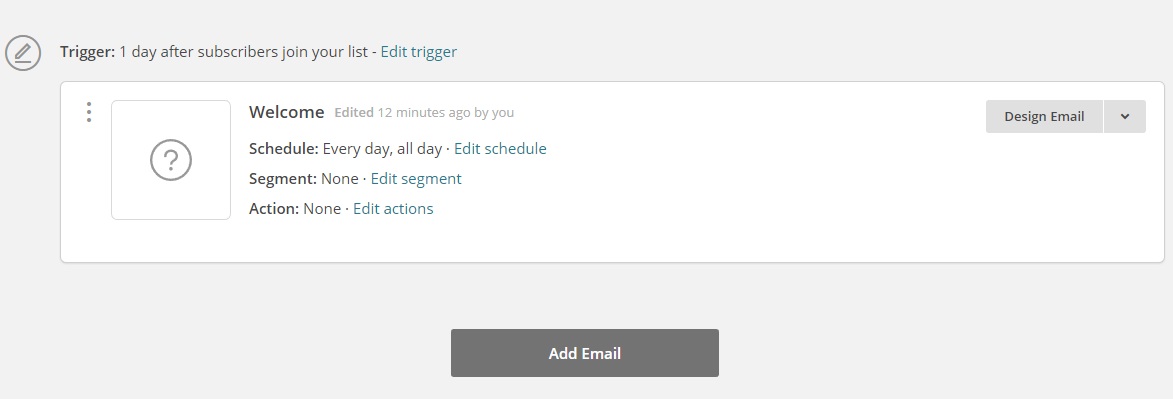
Notice above the email it says “Trigger: 1 day after subscribers join your list.” This means the MailChimp drip campaign will begin a day after they subscribe. Click “Edit trigger” to change this. You can set any delay or just click the box for “Trigger when subscribers are imported” to send the first email the moment they subscribe. Click “Update Trigger” to save.
On the right hand side of your first email, you’ll see a button called “Design Email.” Click this to enter MailChimp’s designer and create the first email in your campaign.
Give your first email a name (for your eyes only) and a subject line.
You can then choose to start with a MailChimp template or design your own email from scratch.
Designing a great MailChimp drip campaign email is a big topic that we won’t cover in this post. If you need some inspiration, check out MailChimp’s portfolio site or use Really Good Emails to see what some of the best email marketers in the business produce.
After designing your email, click “Save and Continue” at the bottom.
Back at the drip campaign structure page, add an additional email by clicking the big “Add Email” button. You’ll notice a second email appear below the first.
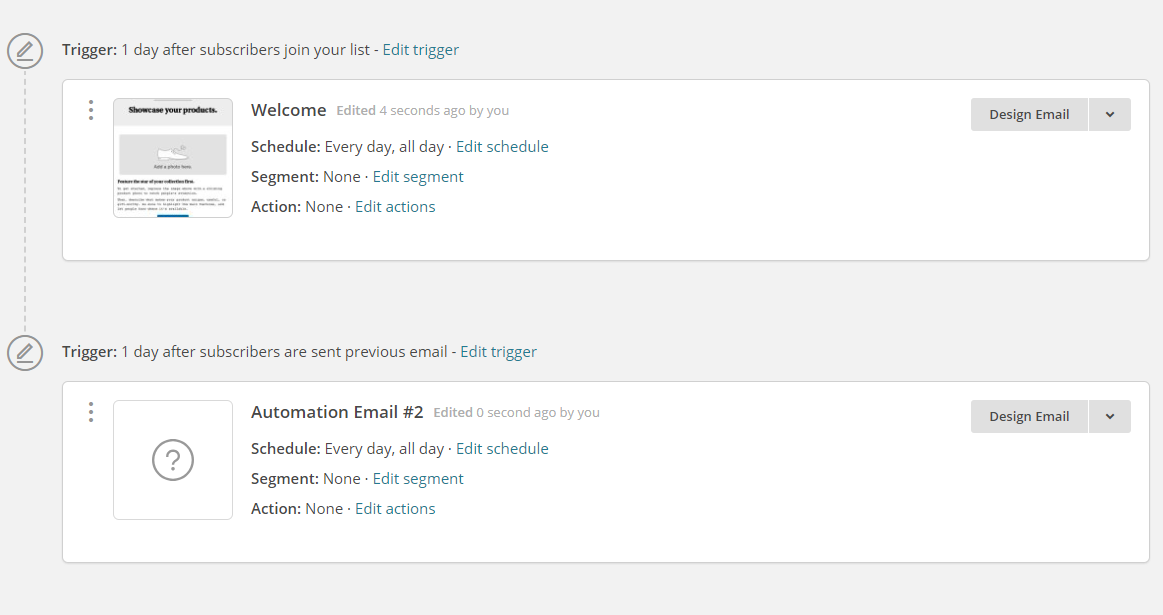
You can set a trigger for the second email as well. In this case, the default is to send one day after the previous email, but you can change this by clicking the “Edit trigger” link.
Just like the first email, you’ll have to design the second one with your own content.
You can create as many emails as you like, though most MailChimp drip campaigns include three to seven emails. Automating lots of emails is good, but don’t bombard your subscribers so much that they unsubscribe.
For each email, you can choose a segment of your list to send to. For instance, you might only want to send the email to a portion of your list.
You can also choose an action for each email. An action is a way you want your MailChimp drip campaign to behave when the email is sent. For instance, once the email is sent, you might want to move the subscriber to a new list, update a field, or add them to a group.
Once you’re happy with your emails, click the “Next” button at the bottom right. Resolve any issues on the next page and click “Start Workflow.”
Your drip campaign is all set!
Going Forward with MailChimp Drip Campaigns
You’re collecting emails, so you may as well use them. MailChimp drip campaigns are efficient tools to get the most value out of that email list you’re building. With MailChimp and Gravity Forms, you can deliver your best content, products, and offers to every subscriber.


