
No matter what kind of form you have on your website, new submission notifications are crucial. After all, if you don’t know that a new form has been submitted, then you can’t process the information, or reply to potential clients and customers, which could end up costing you revenue.
Therefore, it’s essential that form notifications get delivered to the right people and at the right time. In today’s article, we’ll discuss what form notifications are used for, the common problems with form notification delivery, and how you can send notifications reliably with a transactional email service.
Let’s jump in…
What Are Form Notifications Used For?
By default, Gravity Forms email notifications are used to notify you of new form submissions. They are also commonly used to send a record of the information submitted to the person who has filled out the form.
However, you can also use notifications to:
- Notify your sales team that a new order has been placed on your site
- Send a notification to your content editor that a new guest post has been submitted
- Send a personalized email to the person who submitted the form outlining next steps
And this is just for starters! Across the Gravity Forms community, form notifications are used in a variety of ways to suit the nature of the form, the audience, and the business.
For more information on how to use notifications to suit the needs of your business, check out this article – How to Configure Custom Notifications.
Common Problem With Form Notifications
One of the most frequent problems with form notifications is that the emails aren’t delivered reliably. This often happens because your web server doesn’t support the PHP mail function which is used by WordPress to send emails from your site that are generated by contact form plugins.
Because of this, best practice is to use a transactional email service to deliver your form notifications. Gravity Forms integrates with three different transactional email services: SendGrid, Postmark, and Mailgun.
Let’s take a look at what they have to offer…
Gravity Forms SendGrid Add-On

The SendGrid Add-On seamlessly integrates SendGrid with Gravity Forms to allow you to push all of your form notifications directly to the SendGrid API.
Simply install the add-on and connect your SendGrid account with Gravity Forms. You can then sync any new or existing form with SendGrid, automatically sending form notifications through the SendGrid service when a form is submitted.
Gravity Forms Postmark Add-On

The Gravity Forms Postmark Add-On enables you to easily send your form notifications within the Postmark email service as well as take advantage of additional email features within Postmark. These include the ability to track form notification data, such as if a notification has been opened, enabling you to analyze notification performance.
Gravity Forms Mailgun Add-On

Mailgun markets itself as a transactional email service for developers, offering robust APIs that help you to send and track emails reliably. Similarly to SendGrid and Postmark, the Mailgun Add-On makes it easy to deliver form notifications more reliably and also allows you to track open and click rates, giving you insight into how people interact with your email notifications.
How to Integrate SendGrid with Gravity Forms
Now that we’ve covered the features offered by the transactional email Add-Ons, let’s take a look at how to integrate one of them with Gravity Forms. For the purposes of this tutorial, I’ll be using the SendGrid Add-On.
1. Install Gravity Forms
First things first, if you don’t have Gravity Forms yet, you’ll need to purchase a license. Our transactional email Add-Ons are available with all the Gravity Forms licenses, so just select the option that best suits your needs.
Once you’ve purchased the license, download the plugin and then log in to your WordPress website.
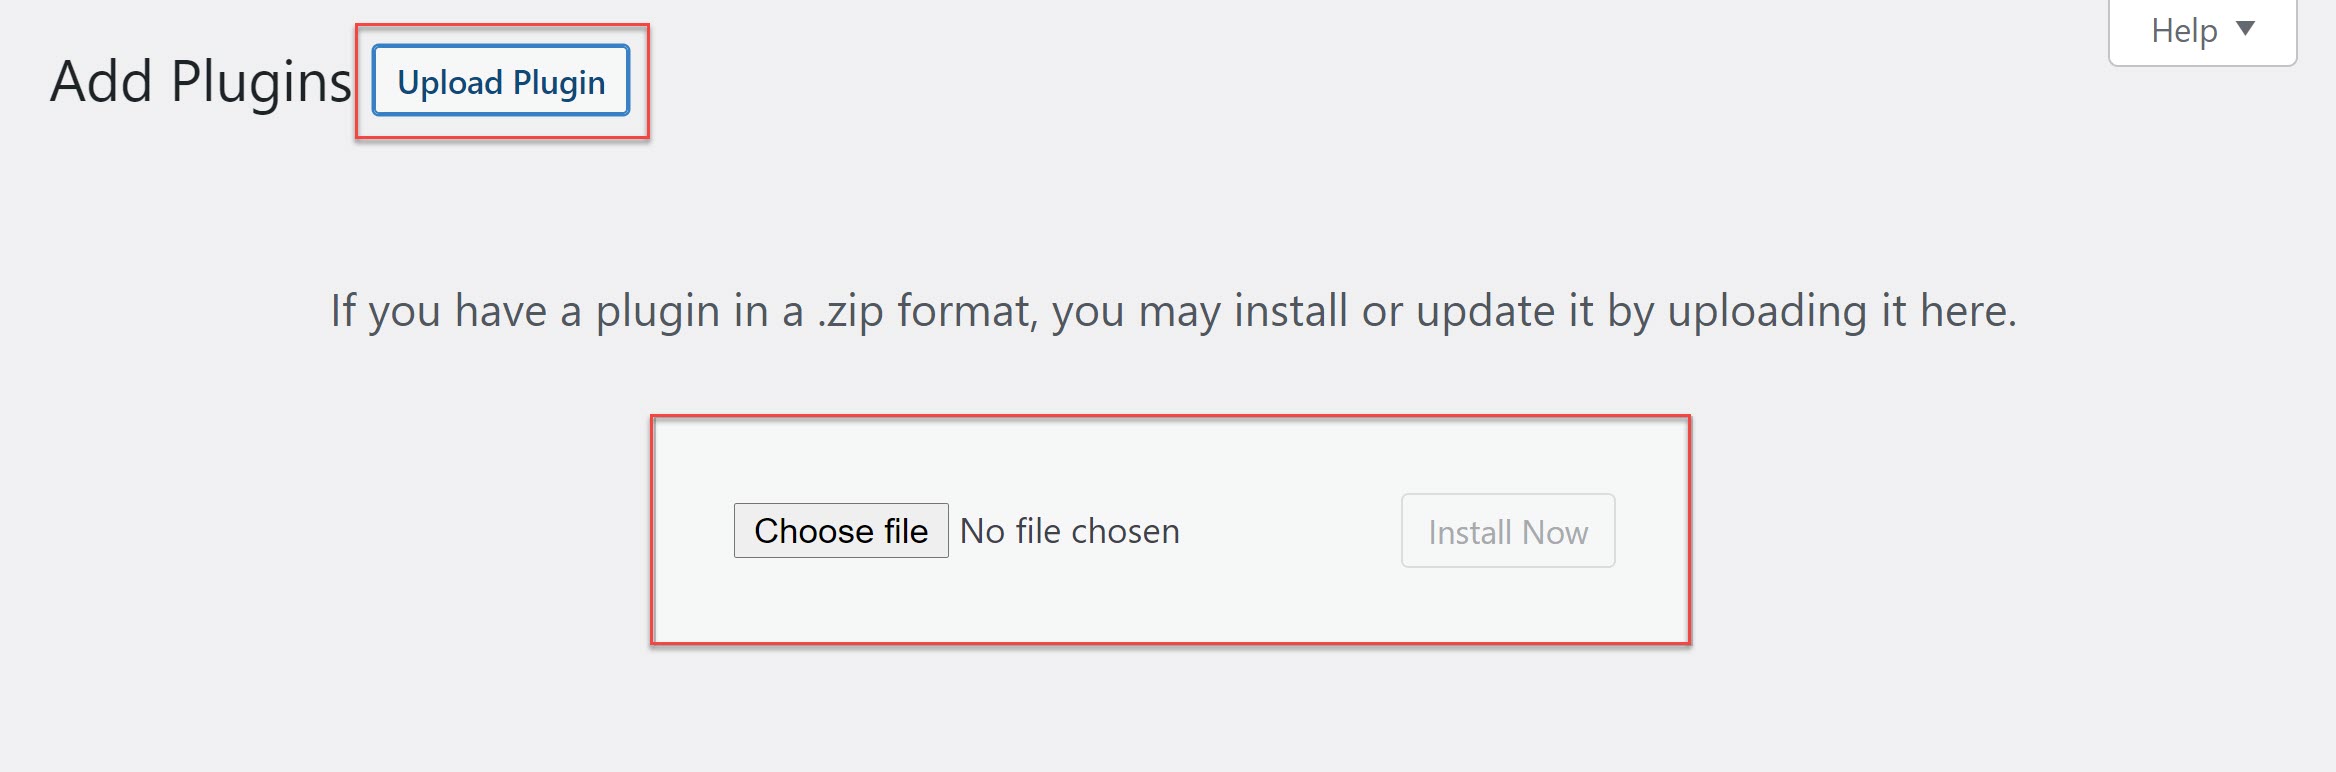
Within your WordPress admin, go to Plugins > Add New > Upload. Locate and select the plugin zip file then press Install Now. After installation, click Activate and follow the instructions to register the plugin with Gravity Forms.
For more information on how to get started with our plugin, check out this video tutorial – How to Install Gravity Forms on Your WordPress Website.
2. Create A Form
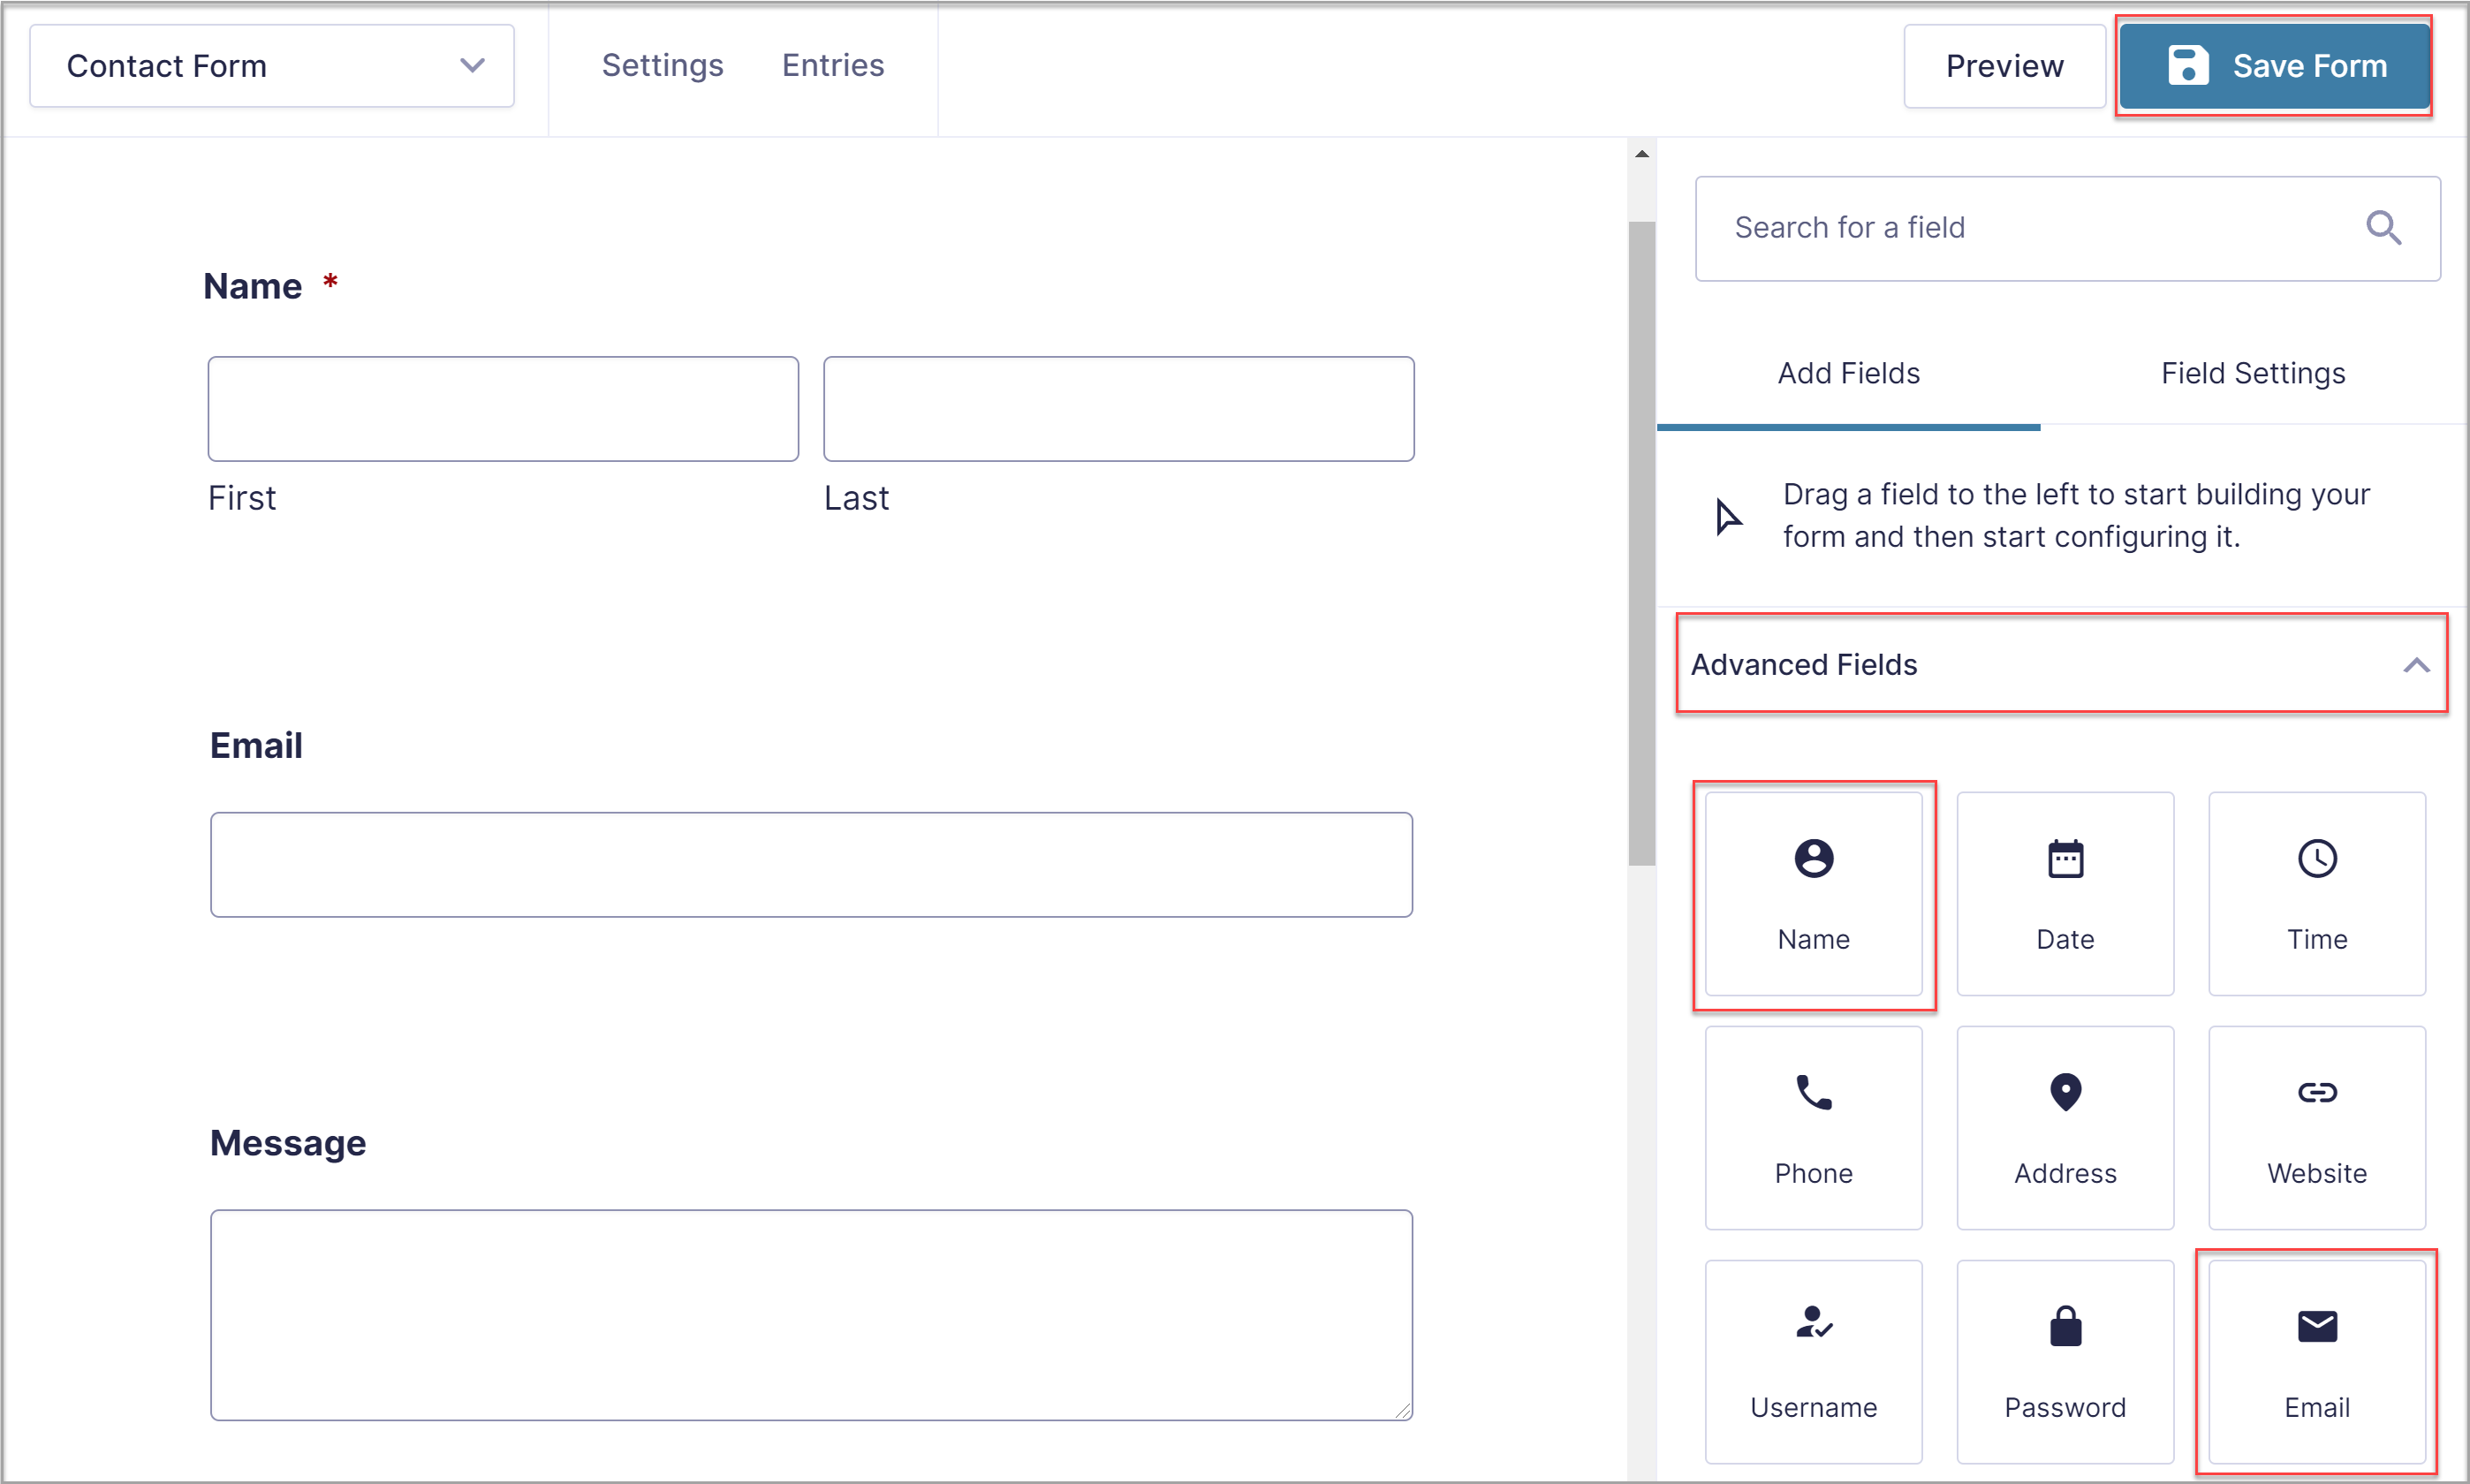
The next step is to create a form. You can start from scratch by going to Forms > New Form. Give the form a name and then add the necessary fields.
In this example, I’ve created a simple contact form by adding the Name, Email, and Paragraph Text field where users can enter their message. Save the form when you’re done.
For more information on creating a form, have a read of this article – How to Create a Form in WordPress.
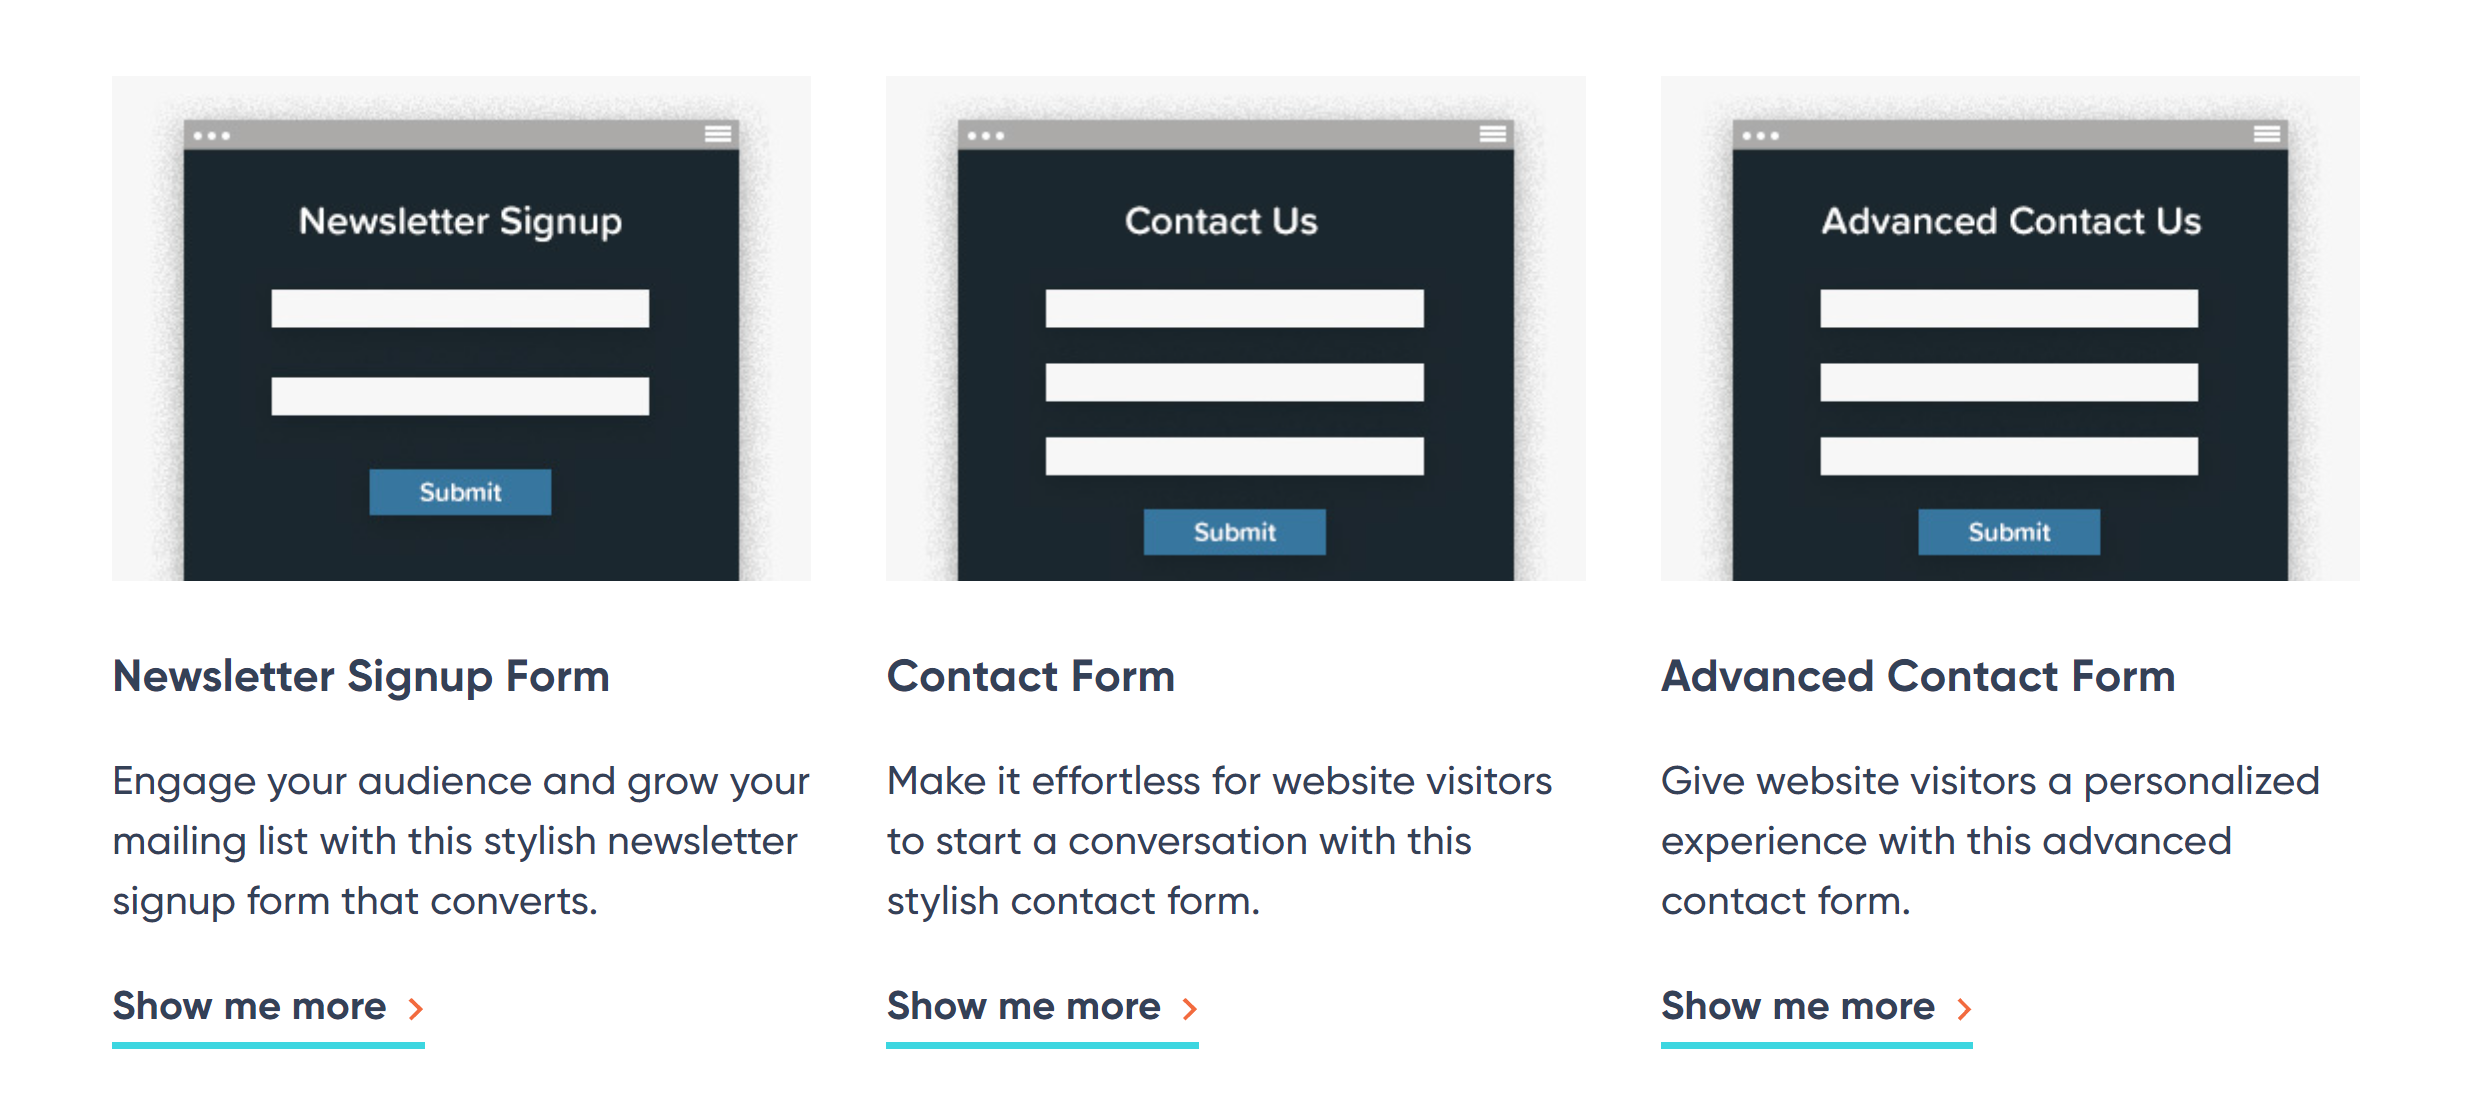
Alternatively, you can select a premade form template from our form template library. These templates are free to use and fully customizable, making them a great starting point for any project.
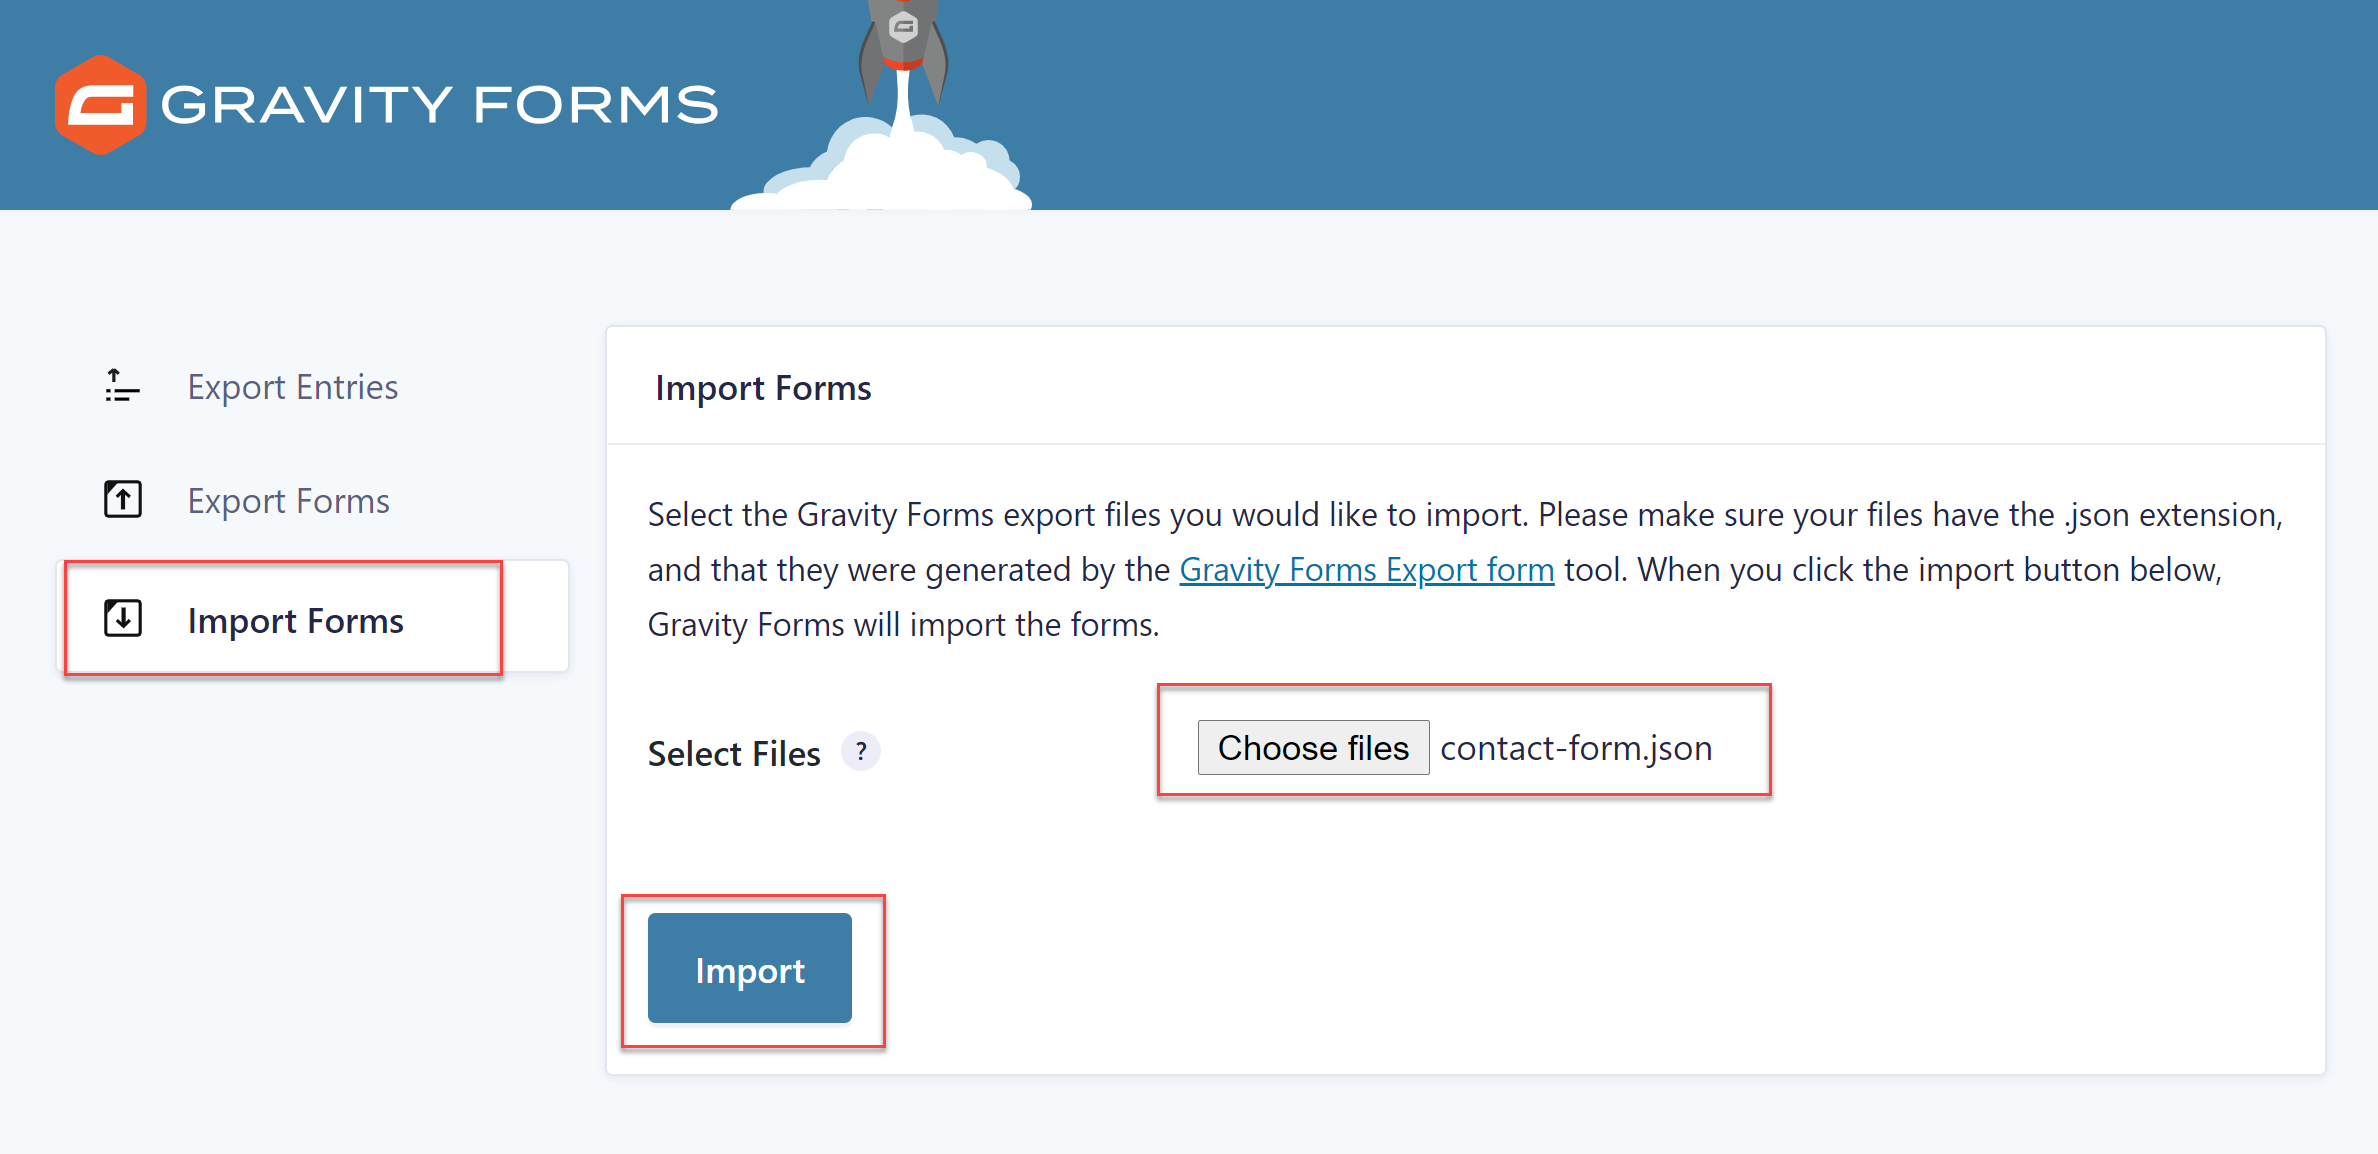
Once you’ve chosen the form template you want to use, download it to your computer. Then, go to your WordPress dashboard and click on Forms > Import/Export > Import. Locate the form template and press Import.
This will import the form onto your site, allowing you to proceed with the next step of editing and customizing the form.
To help you get started with a pre-built form template, check out this article – How to Import and Customize a Basic Contact Form.
3. Install the SendGrid Add-On
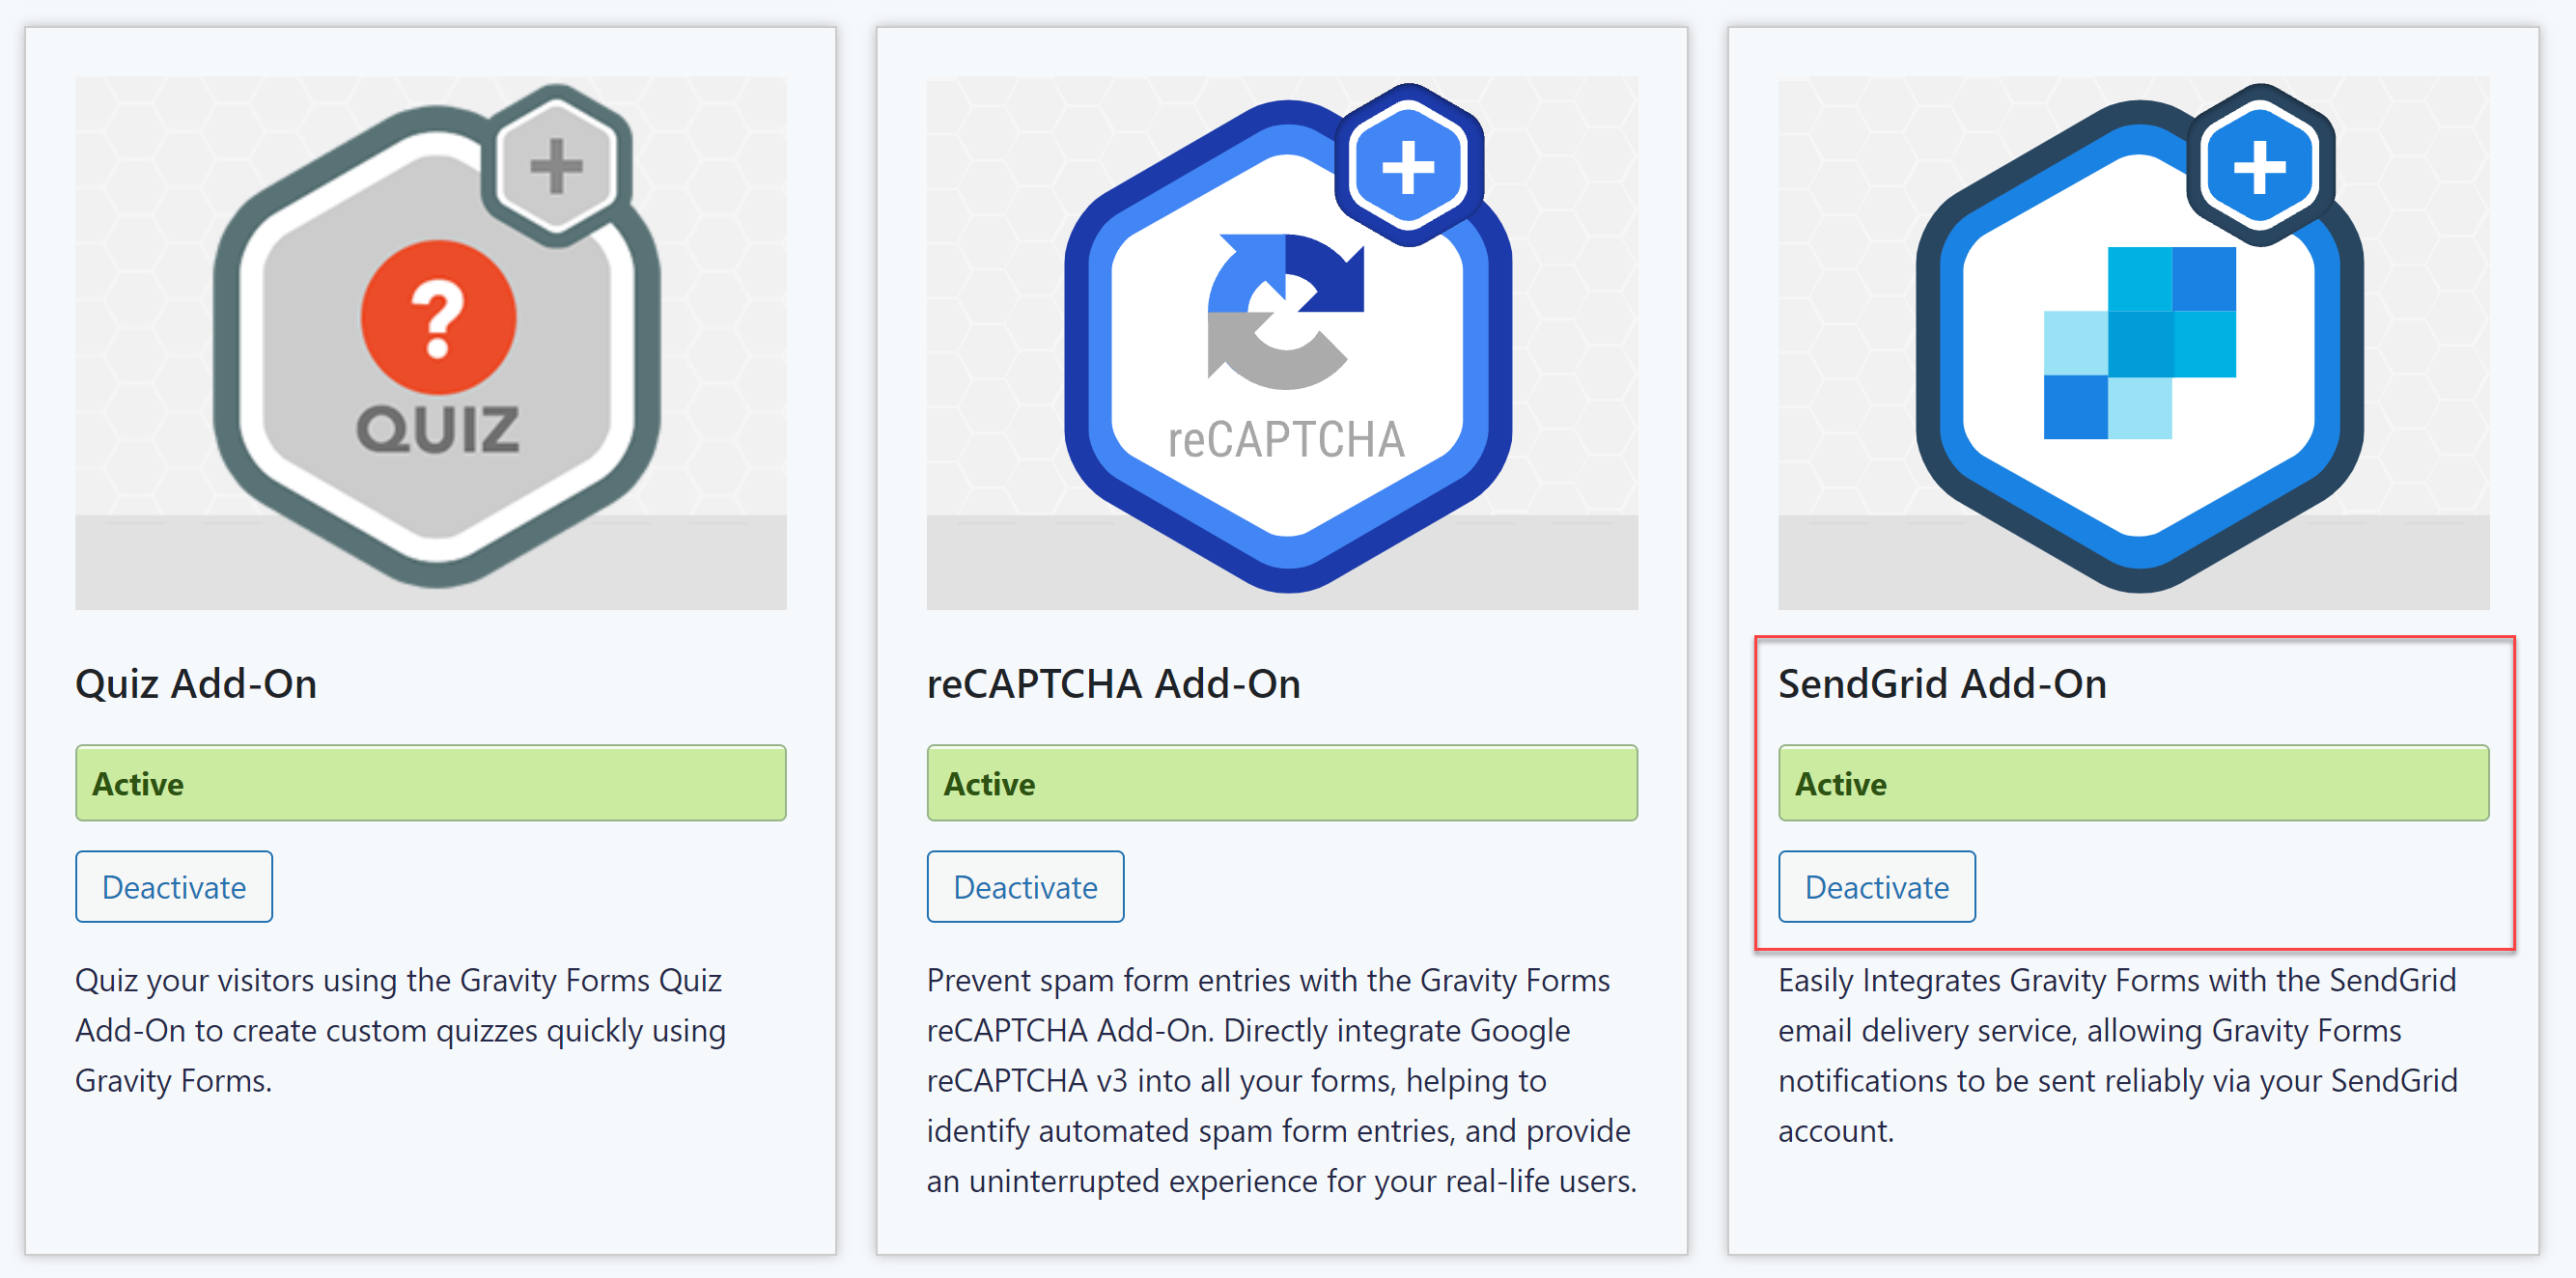
Now that you have your form, it’s time to install the SendGrid Add-On. Go to Forms > Add-Ons and scroll down until you’ve located the SendGrid Add-On. Then select Install > Activate.
4. Setup the SendGrid Add-On
After installing the SendGrid Add-On you’ll need to enter a SendGrid API key into the Gravity Forms SendGrid Settings.
If you haven’t done so already, sign up for a free SendGrid account. The free account lets you send 100 emails/day so it’s a good option if you’re just getting started.
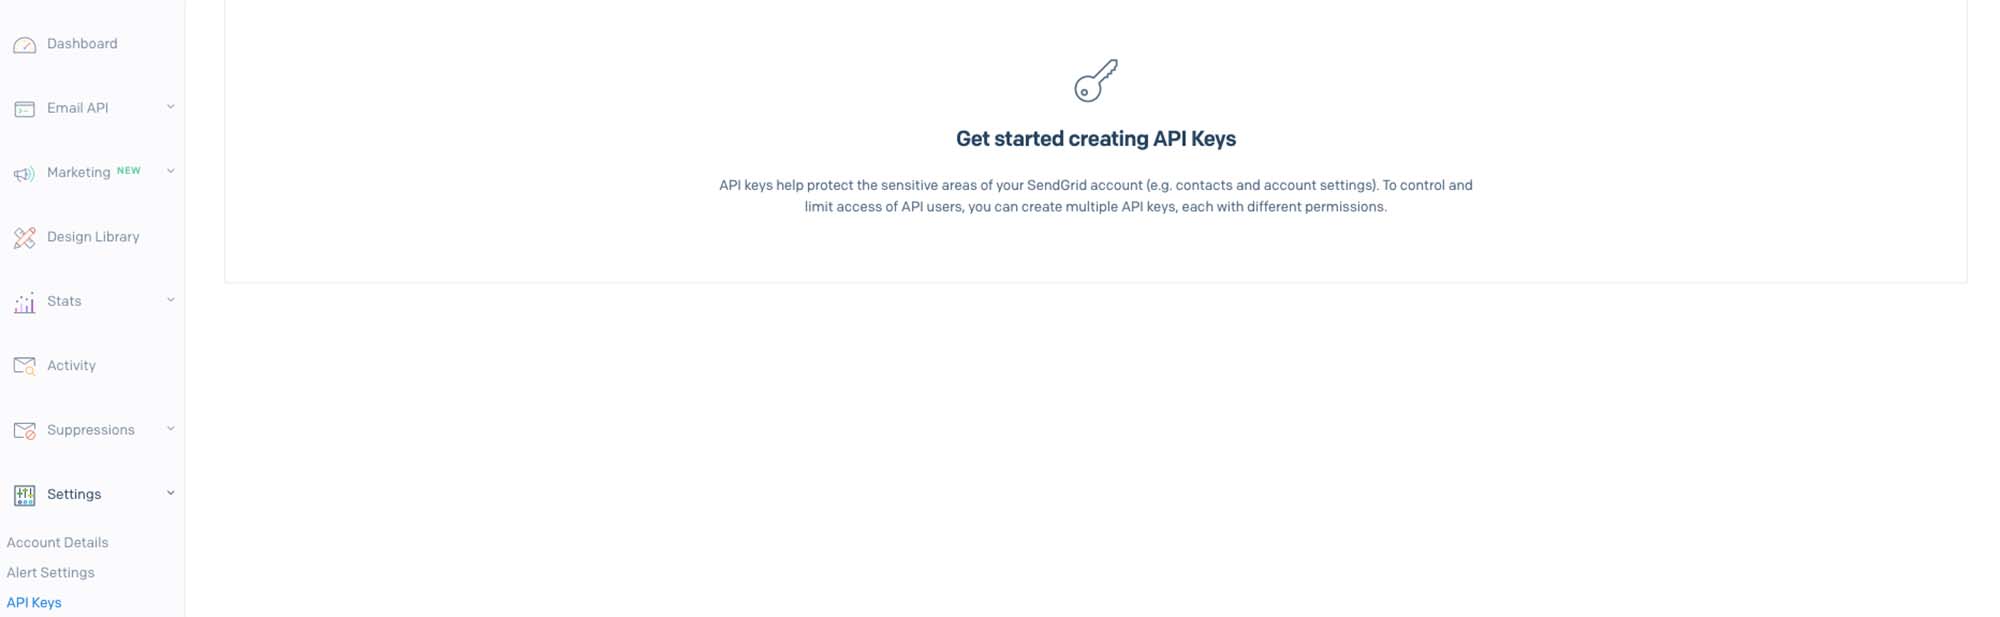
Then, within your SendGrid account, click on Settings > API Keys, and follow the instructions to generate the key.
Once created, copy the key and navigate back over to your WordPress dashboard. Select Forms > Settings > SendGrid and paste in the API key you’ve just generated.

Click Update Settings. If everything has been set up correctly, you’ll see a green checkmark beside the box. You can then start setting up your form notifications to use the SendGrid service.
5. Configure Form Notifications
By default, Gravity Forms will create a notification that is sent to the site admin when a new form has been submitted. Click on Edit under this notification.
You will see a setting labeled Email Service – within this setting, select the SendGrid option. You can then modify the notification to ensure it goes to the right person and includes the necessary information.
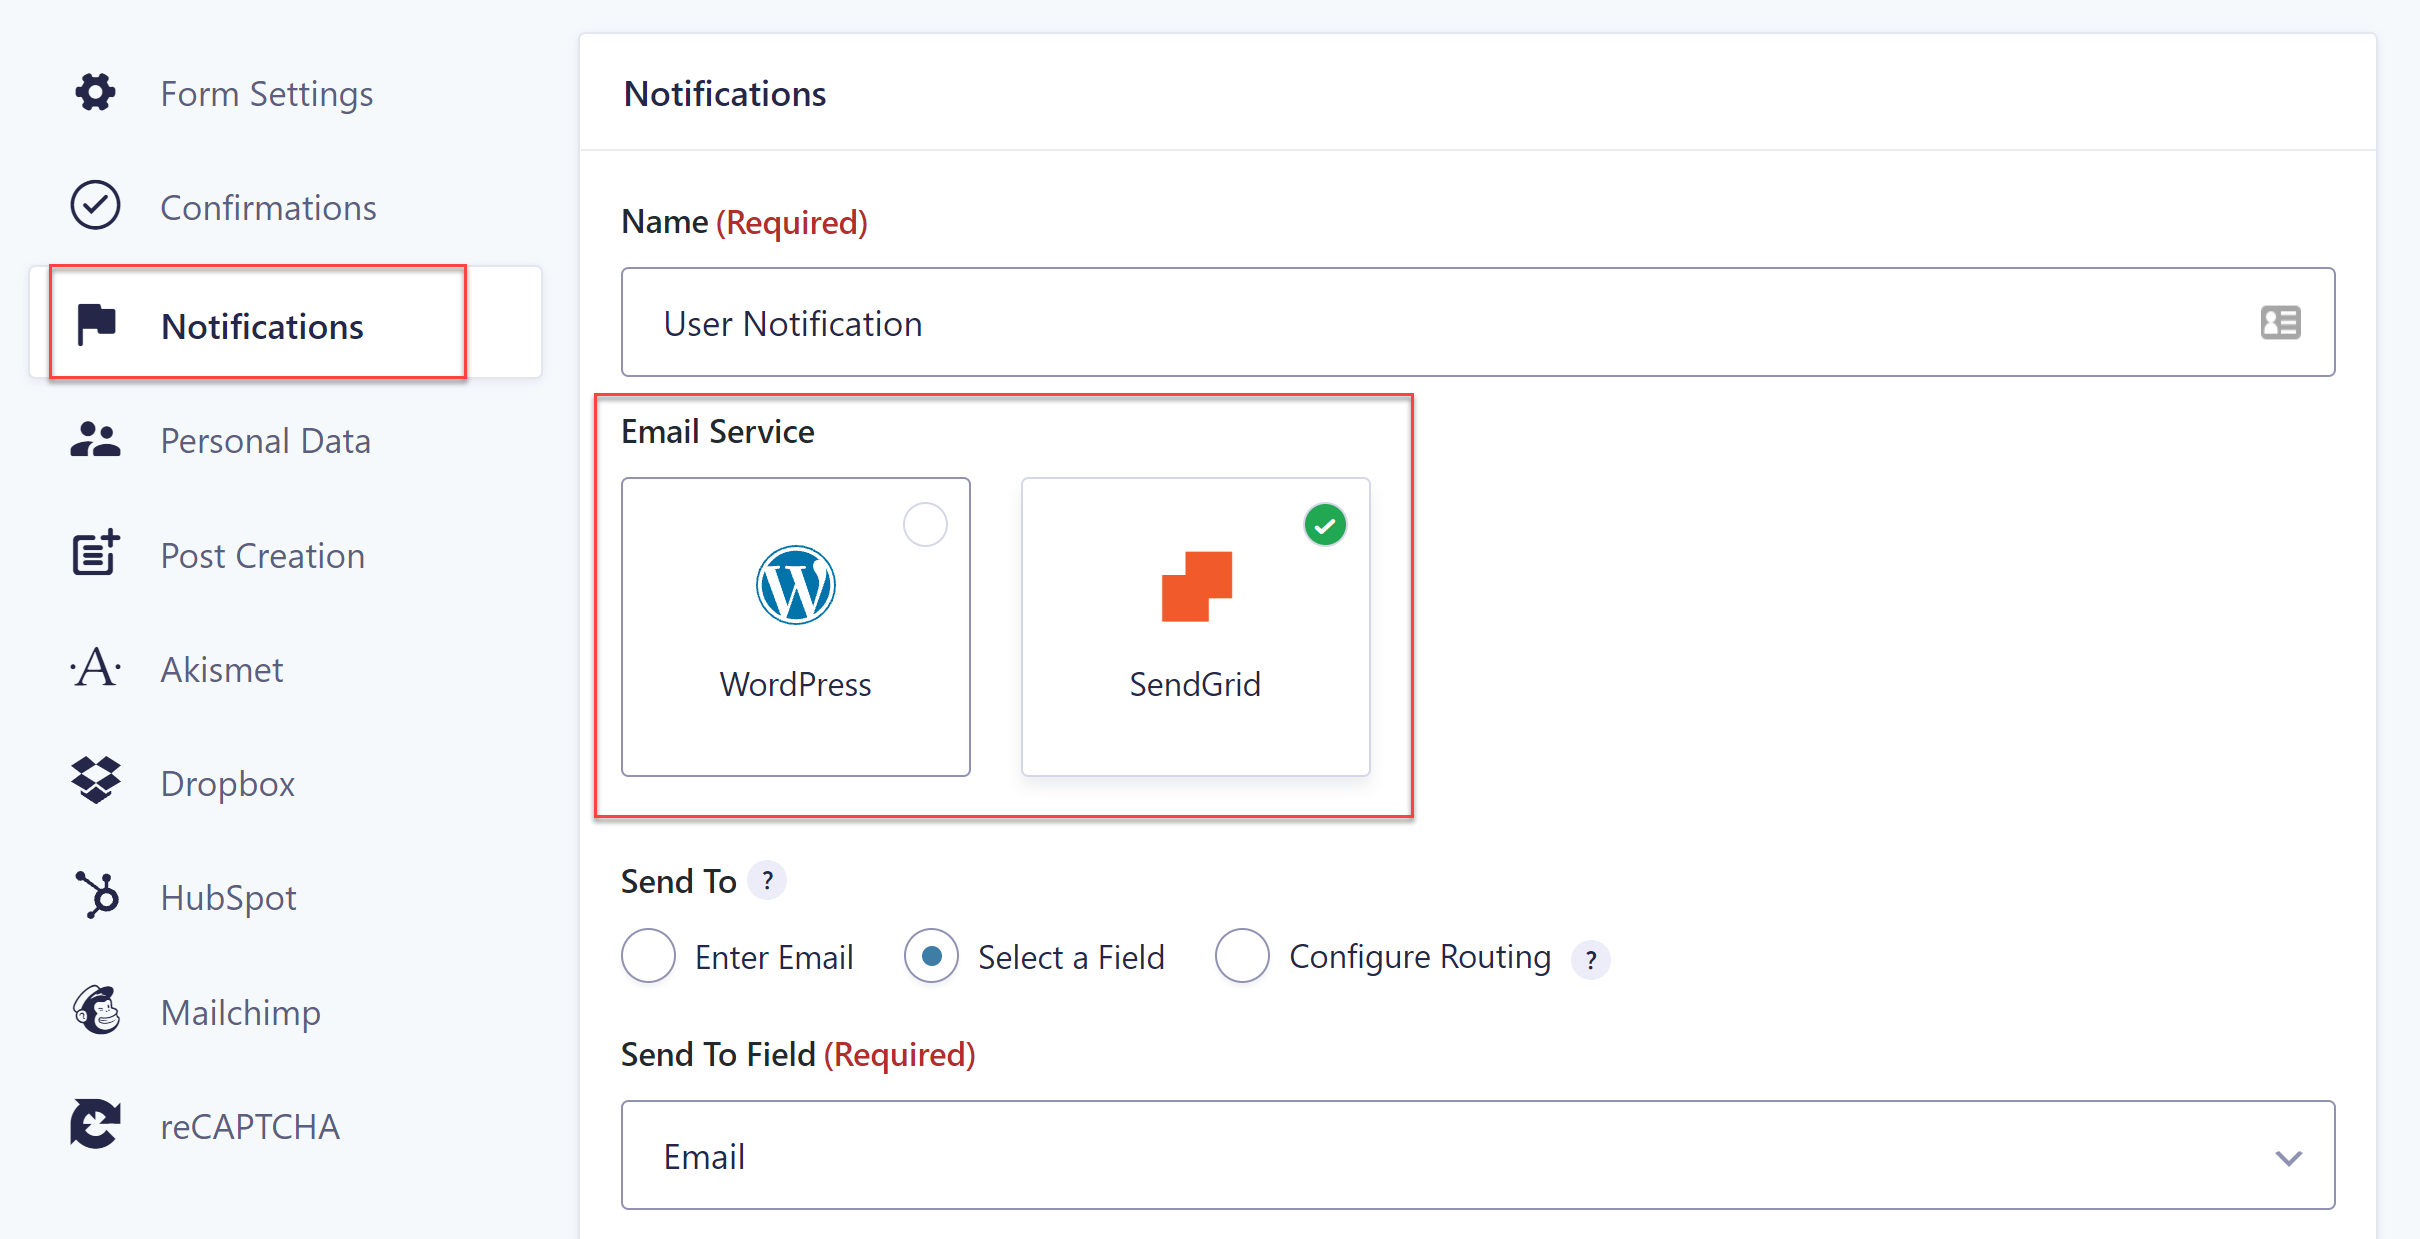
In a similar fashion, you can set up additional form notifications. Simply go to the form’s Notifications tab and click Add New. Select SendGrid for the email service and then configure the notifications to your liking. You can use merge tags, set the email the notification should be delivered to, customize the message, and much more.
When you’re done, click Update Notification. Your form notifications will now be delivered through the SendGrid service.
For more information on setting up notifications, check out the Gravity Form Documentation.
Ready To Setup Form Notifications With a Transactional Email Service?
Making sure form notifications get delivered is easy with one of our transactional email Add-Ons and Gravity Forms.
If you’re not yet a Gravity Forms customer and would like to test out everything in this article before you buy, simply sign up for a free personalized demo of our form builder.
Within the demo you can take a look at all the features, install an add-on or two, create a form from scratch, or customize one of our premade templates. Enjoy!
Already sold on using Gravity Forms? Purchase our premium WordPress form plugin today!
Newsletter
If you want to keep up-to-date with what’s happening on the blog sign up for the Gravity Forms newsletter!
"*" indicates required fields