

Written by the Editorial team at CosmicGiant…
Adding a contact form to your organization’s website that allows visitors to contact multiple departments can be very efficient. But it’s unlikely that everyone in your company needs to see all of the entries. Not only is it a pain to sift through entries that don’t apply to your department, some information may need to be kept private.
Enter Advanced Permissions from CosmicGiant!
With Advanced Permissions you can control any entry by user or user role, right from your WordPress dashboard. In this post, we’ll show you how to achieve a high level of granularity over your form entries quickly and easily. Let’s get started…
Get Started with Advanced Permissions
To get started with Advanced Permissions, you need to be using Gravity Forms to create your forms.
Then you need to purchase the Advanced Permissions plugin from CosmicGiant.
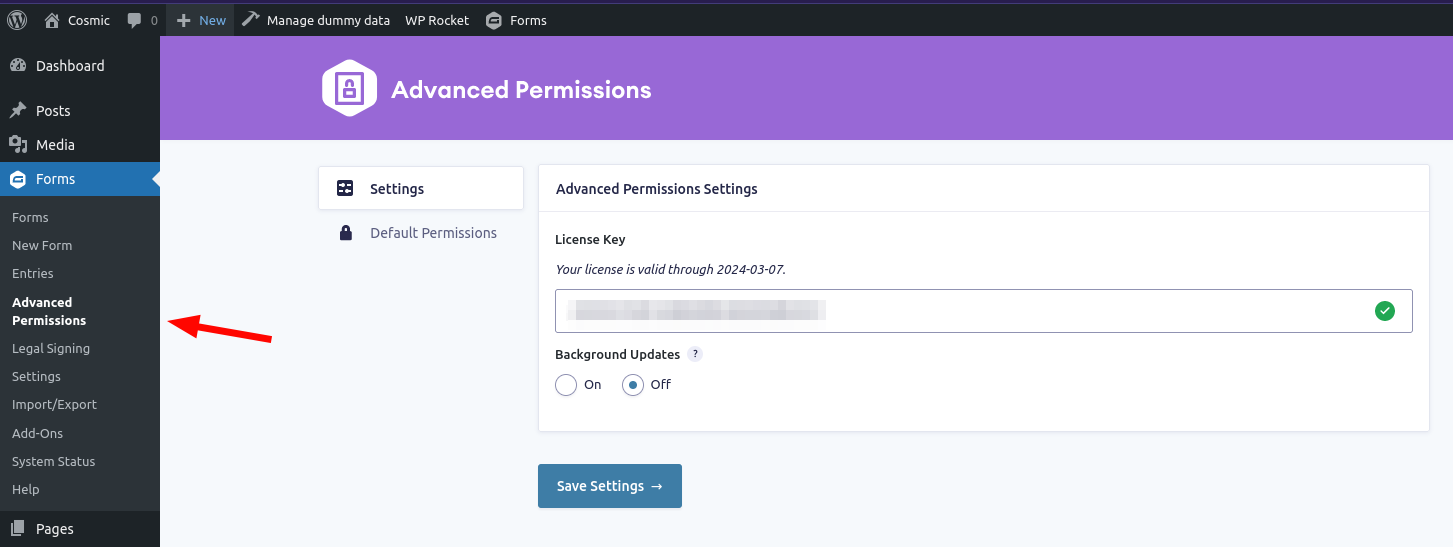
Once you activate Advanced Permissions, you’ll see it as a new item in the WordPress admin panel under your Gravity Forms menu.
Contact Form Permissions Setup
It’s easy to set up Advanced Permissions. We’ll use a simple contact form to show you how.
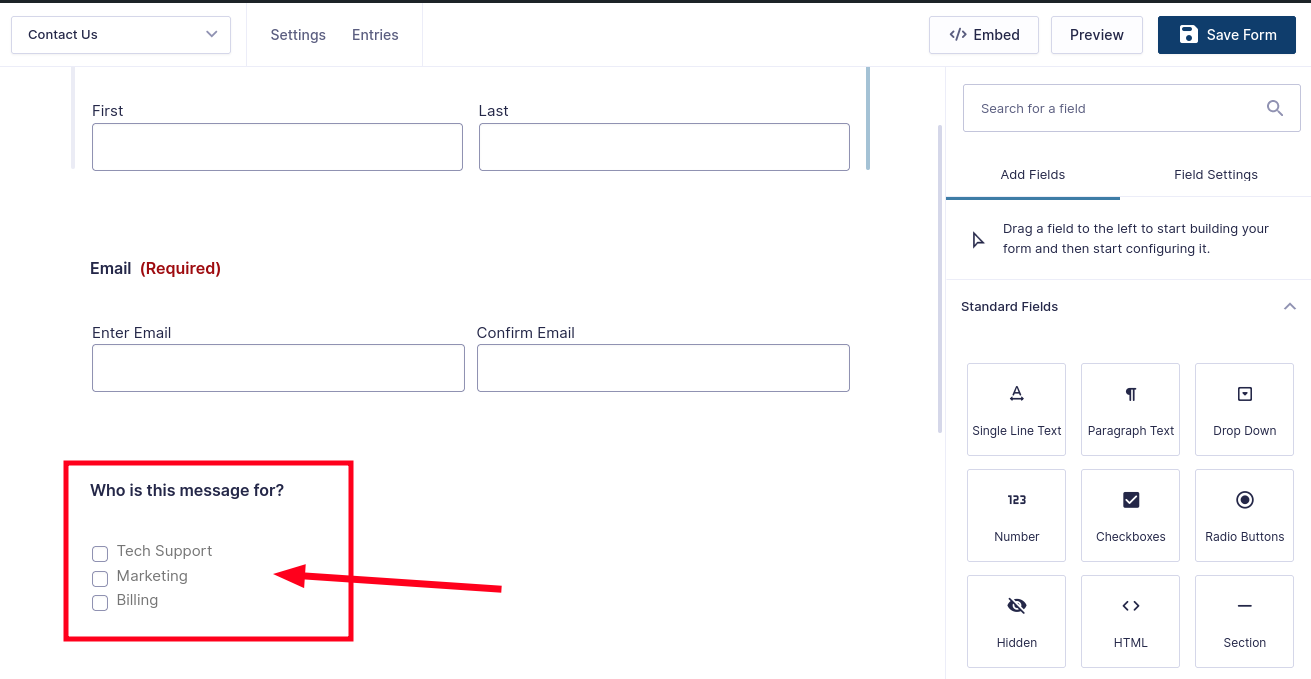
This contact form is for visitors to send a message to the correct department. There are fields for their name, email address, and a message, plus multiple choice selections for Tech Support, Marketing, and Billing.
Now we need to control who gets to see entries. For example, Tech Support doesn’t need to see the entries sent in to Marketing. So how do we control who sees entries meant only for specific departments? Let’s set up some permissions.
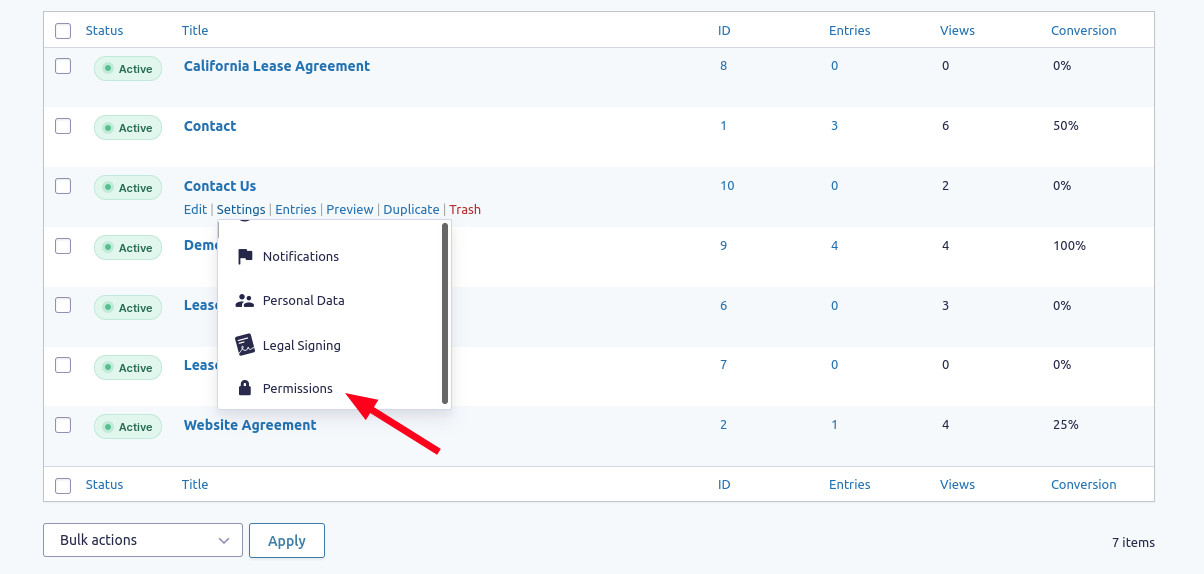
In the form editor, you can select Settings at the top of the page, then Permissions. If you’re in the list view of all your forms, hover over the form name, Settings, then click Permissions.
Entry Permissions
When you’re in the Permissions area, select the Entry Permissions tab.
You need to set up a rule and some conditional logic. This will target entries for specific users. In our example, there were already separate users created for each of the departments; billingdept, marketing, and techsupport. With those users created, we can set up separate rules for each.

On the Entry Permissions screen select Add Rule by User. Under Permission by User, select the user for which you want to create the rule. For example, we want to prevent Tech Support from seeing entries from Marketing or any other department. In the next column select Cannot See, and in the third column, choose Entries matching all of the following.
A Conditional Logic menu will appear. You need to select the field in the form you want to target. In our case, it’s the Who is this message for? field which allows a visitor to choose a department for the message. In the next the columns, choose is and then Tech Support from the dropdowns. The conditional logic will hide any new entries from our Tech Support team except the ones the visitor has selected specifically for Tech Support.

Rinse and repeat, adding new rules and conditional logic for the billingdept and marketing users so they can’t access entries except the ones meant for them.
Click Save Entry Permissions, and that’s it!
Testing the Permissions
First, make a couple of dummy entries on your form on your website. It’s important to note that Administrators have access to all entries, so if you’re logged in as admin you’ll see all the entries. The other users are not admins, so you’ll need to log in as those users to test your rules.
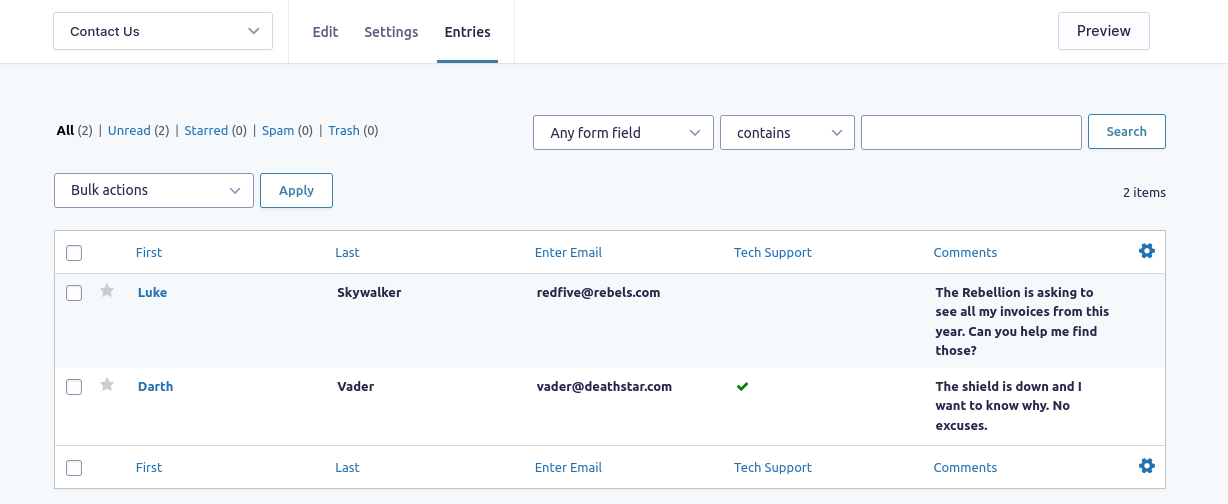
For example, logging in as the billingdept user, you will only see the entries meant for them.

You can create as many specific user roles as you want and set up rules for them. If you create individual department head or management users, you can add another layer of granularity to your form entry permissions.
Easy Form Entry Control on Your WordPress Site
Now you can control access to form entries at a high level without leaving your WordPress dashboard. With Advanced Permissions you have the ability to allow the right people to get the most entry data they need while keeping secure information walled off from employees who should never have access.
Try Advanced Permissions today and see how easy it is to get the granular control you need.


