
At times, setting up a quick and simple form for receiving PayPal payments on your WordPress site is far easier than a full e-commerce solution. While full solutions offer things such as inventory management and a deeper checkout process, it’s often overkill to deploy a large-scale solution for just a few items.
Using a form on your WordPress site is also beneficial if you have advanced product configurations or a complex order process. For example, if you have a product with hundreds of different configuration options, using a form like a custom hat configuration tool (Yup! That’s powered by Gravity Forms!), you might find that using a WordPress form builder to be a much better option.
Building a Basic Payment Form
Before you can start taking PayPal payments from your forms, you’ll need to build it first. Of course, if you have already built your form and just need to set up PayPal, feel free to skip to the next section. If you’re following along, here’s what you’ll need:
- A WordPress site.
- A PayPal account.
- Gravity Forms.
- The PayPal Payments Standard or PayPal Payments Pro add-on for Gravity Forms.
Got it? Awesome! Let’s get started:
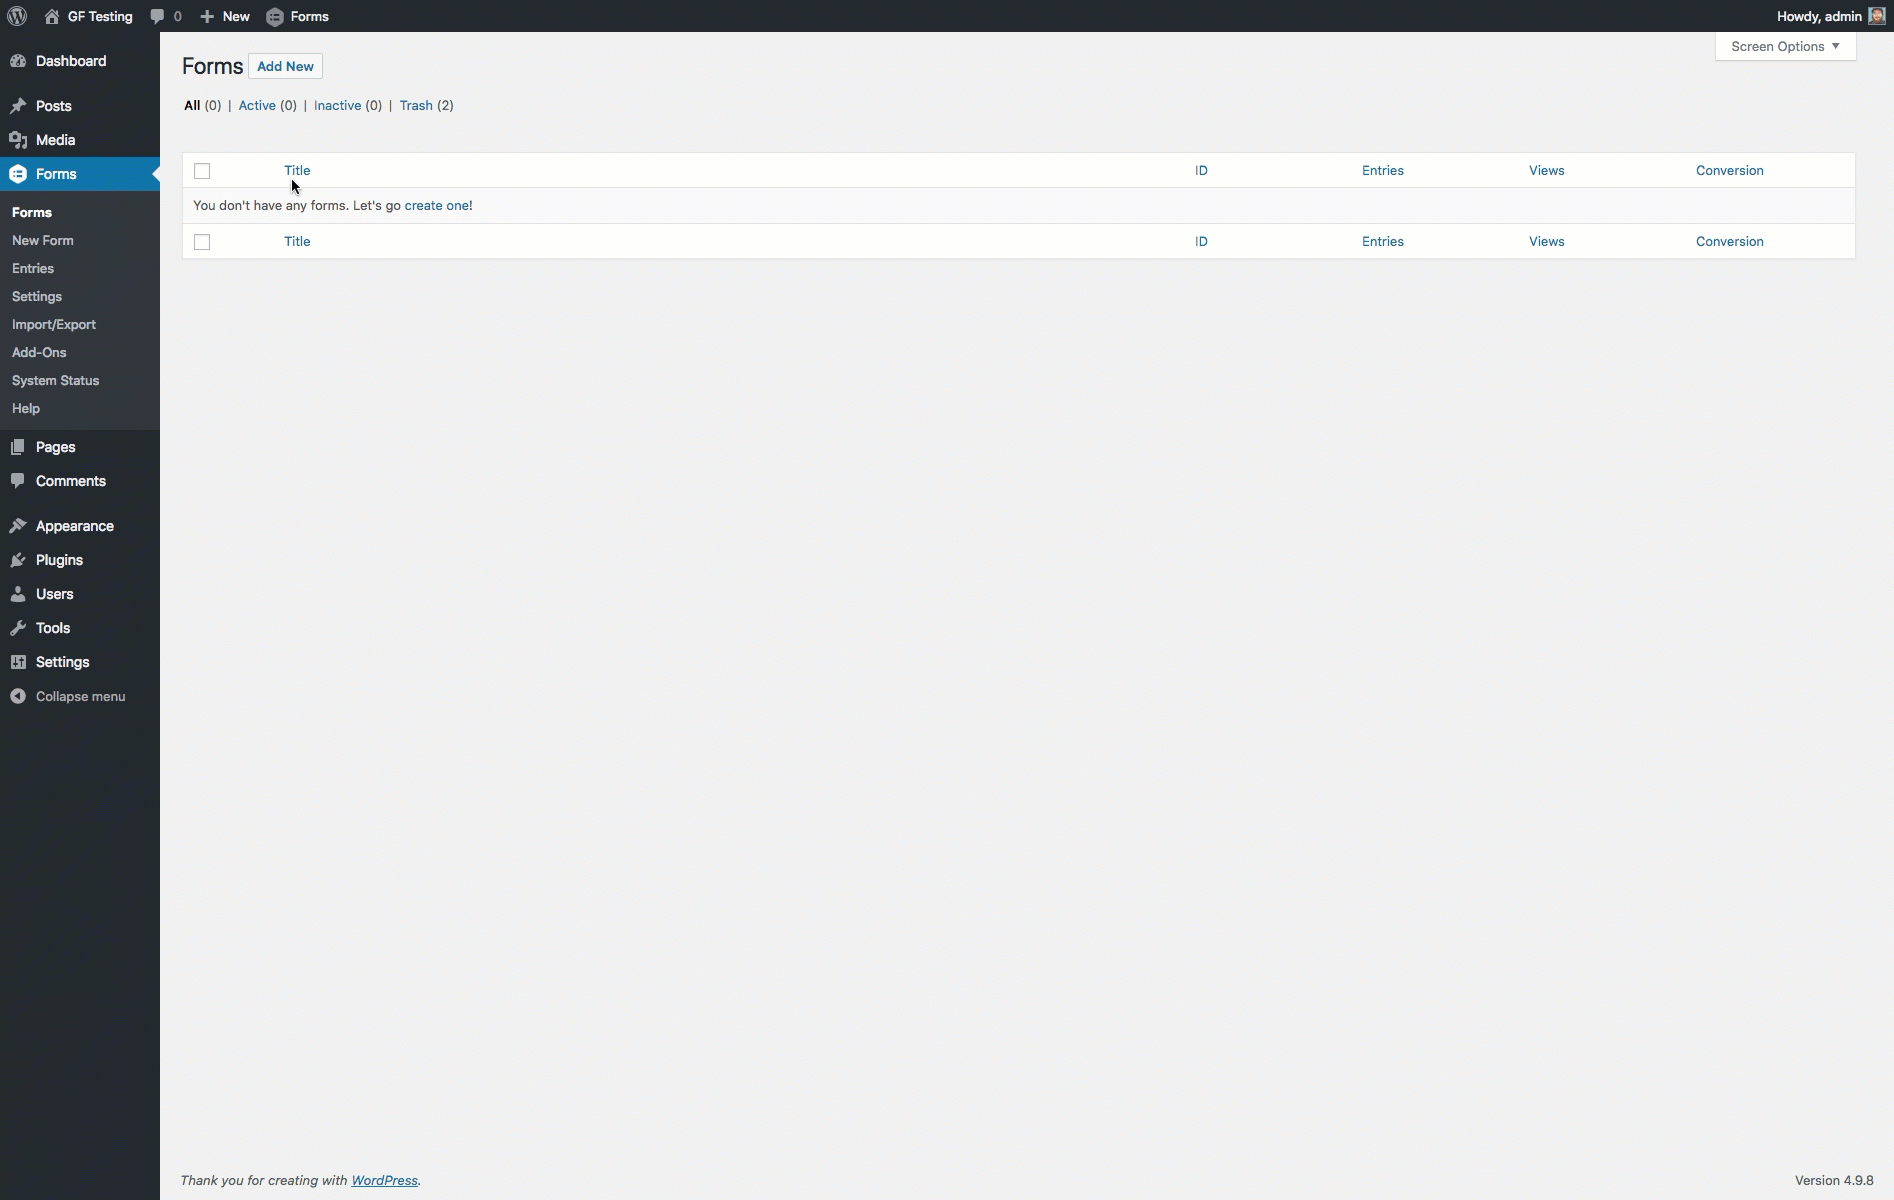
- Begin by creating a new form within Gravity Forms. This is done by clicking on Forms on the left-hand side of your WordPress admin and then clicking on Add New. Name your form and click the Create Form button.
- The first field you’ll need is the Product field. On the right side of the form editor, open the Pricing Fields section, then click on the Product field button to add the field to your form.
- Next, you’ll need a Total field for PayPal to read the payment total from. Inside the same Pricing Fields section, click on the Total field button to add the field to your form.
You’ve now created a basic payment form! Of course, we’ve left out things such as quantities and product options for the sake of simplicity, but we’ll go over those a bit later.
Configuring PayPal Settings

If you’ve been following along, you’ve created a form that will allow you to sell products using any of the payment add-ons available for Gravity Forms. Next, you’ll need to set up the payment gateway that will be handling the payments when the form is submitted. In this case, that payment gateway would be PayPal.
- From within the form editor on your newly created payment form, look to the top menu and hover over Form Settings, then click on PayPal. This will open the Feed Settings for the PayPal add-on.
- Next, you’ll need to create a new feed for the PayPal add-on. To do so, click on the Add New button.
- You’ll now be presented with the settings for your new PayPal feed. The first setting you’ll want to put in place is the Feed Name. Inside this setting, enter a name for your newly created feed. Don’t worry too much about the name, it’s just for you to be able to identify it later if you need to change something.
- The next setting you’ll need to input is the email address associated with your PayPal account. Simply enter that email address into the PayPal Email Address field.
- We typically advise that you test your payment forms before taking any sort of live payments. If you want to test the form before running real transactions through it, select Test within the Mode setting.
- Finally, set the field that holds your total payment amount by selecting it in the Payment Amount setting. If you already have a Total field on the form you’re configuring, it should already be set to that field. If not, you may need to adjust it to reflect your individual needs.
Once you’ve made your changes, be sure to save your feed. There are other options available when taking payments via PayPal, but for the sake of simplicity, we’ve purposely left them out. If you would like more information on the various other fields that you can set when creating a PayPal feed, take a look at our article on creating a feed for the PayPal add-on.
Setting Up The PayPal IPN
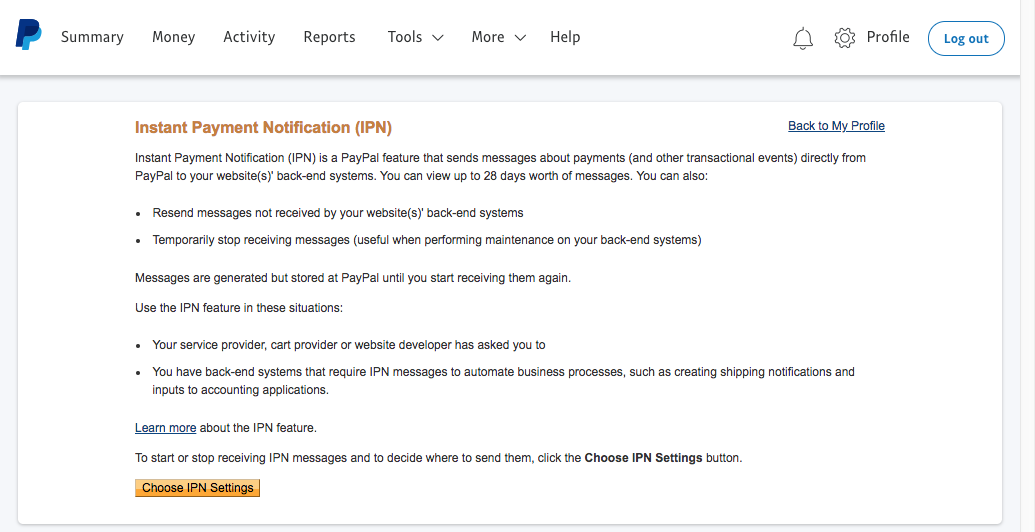
In this article, we’ve covered how to create a form that takes PayPal payments as well as passing those form submissions over to PayPal to complete the transaction. But how does PayPal relay the transaction data back to your form to know that payment was completed? That’s where the PayPal IPN settings come in.
- To configure your PayPal IPN, you’ll first need to get your IPN URL from within Gravity Forms. To do so, navigate to the Gravity Forms PayPal add-on settings by clicking on the Forms menu item in your WordPress admin, click on Settings, then navigate to the PayPal settings tab.
- Within the PayPal add-on settings, you’ll notice a URL listed there. Copy this into somewhere you can remember it later, as you’ll need to provide it to PayPal soon.
- While you’re inside the PayPal add-on settings, select enable the PayPal IPN Setting checkbox here as well. Don’t forget to save your settings after you select it!
- Now that you have your IPN URL, you’ll need to give it to PayPal. In a new tab, open the PayPal IPN Settings page, and click the Choose IPN Settings button.
- Remember the URL that you copied on step 2? Paste it into the Notification URL. Then, enable it using the IPN Messages setting and save your changes.
Congratulations! You’ve now established communication from PayPal to your site. Now that PayPal is able to communicate with your WordPress site, Gravity Forms will be able to determine if form payments are successful.
Additional Payment Form Settings
Remember earlier when we mentioned that there were additional settings that you could set such as quantities and product options? It’s time to dig into those optional settings that will help you build the perfect payment form.
Standard Product Pricing
Inside Gravity Forms, most options are handled on a per-field level by clicking on the field in the form editor. The same goes for pricing fields. If you need to change the standard price of an item on your form, click on the field, then enter the amount into the Price setting.
Adding Shipping Costs
If you’re selling a physical product, you’ll likely want to charge some sort of shipping cost. To do so, simply add the Shipping field to your form (located inside the Pricing Fields section of the form editor). Within the field settings, you can then set your shipping fees.
Disabling Quantity Fields
If you only sell single items and don’t want the ability for people to set a quantity, you can disable the Quantity section of the Product Field by selecting the Disable Quantity Field option in the field settings.
Allowing User-Defined Pricing
If you’re doing something like taking donations on your forms, you might want to allow you users for set their own price when filling out your donation form. In that case, simply go to the settings on your Product Field and change the Field Type setting to User-Defined Price. Setting this option will allow users to set their own price on submission.
Need More?
If you need more information on accepting PayPal payments using WordPress and Gravity Forms, feel free to browse our extensive PayPal add-on documentation or leave a comment below.
Do you have a unique use-case or want to show off your PayPal forms? Let us know! We love seeing all of the great things that people use Gravity Forms for!


