How to Display User-Submitted Posts in a WordPress Front-End Post Table

There are many situations where you might need to display user-submitted content as a WordPress front-end post. For example, you can use this sort of implementation to create a document library, a directory, or a listings website.
The good news is that by using Gravity Forms, you can have your site’s users submit posts, save them as WordPress posts, and display them in a WordPress front-end posts table.
In this tutorial, we’ll walk you through the step-by-step process of displaying user-submitted posts in a WordPress front-end post table using the Posts Table Pro plugin.
When You Might Need to Display User-Submitted Posts in a WordPress Front-End Post Table
Here are some common scenarios where you might need to display user-submitted content in a WordPress front-end post table:
- Document library. Many sites have a front-end document library that users can upload articles, publications, or other documents to. This is particularly useful for businesses with an online presence and educational (or research) institutes.
- Directory website. Real estate websites and event websites need an easy way to collect listings from users and showcase them on the front-end. For this, you can use Gravity Forms to collect information from users and display them in a WordPress front-end post table. This is also useful for membership sites and educational institutes that need to create member or staff directories.
- Online contests. You can organize all sorts of contests – such as design contests, poetry contests, or short film competitions – and showcase the submissions on your site’s front-end along with voting features.
Using Gravity Forms with the Posts Table Pro plugin, you can create these types of websites (and many more) in a few simple steps.
How to Display User-Submitted Posts in a WordPress Front-End Post Table Using Posts Table Pro
Here, we’ll show you how you can display user-submitted posts in a WordPress front-end post table. For this tutorial, you’ll need the Posts Table Pro plugin installed on your WordPress site.
Step #1: Collect User-Submitted Posts Using Gravity Forms
The first thing you need to do is create a new form to collect content from your site’s visitors. Here’s how:
Log in to your WordPress website and head over to Forms > New Form. Give your form a title and description to get started.
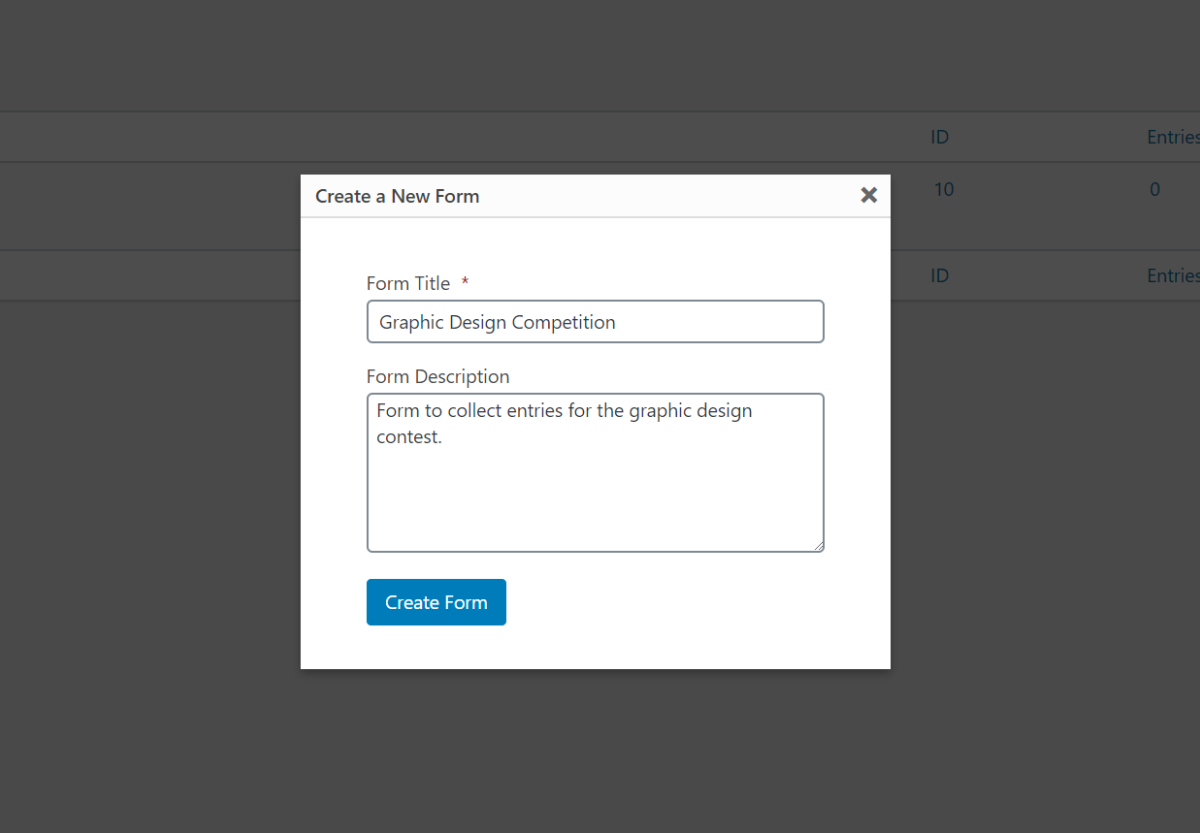
Click the Create Form button to continue. Use the Gravity Forms form editor to create your form. Use the File Upload field type (under Advanced Fields) to let users submit content.
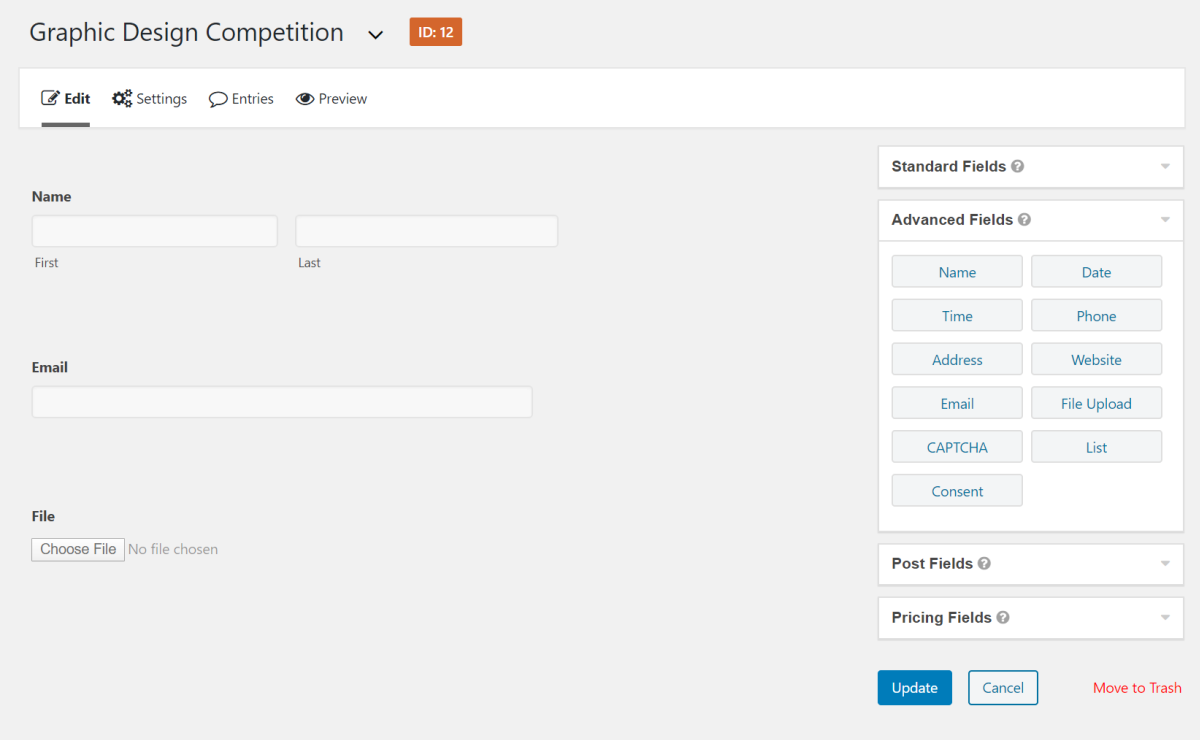
Once you’ve built your form, click the Update button to save changes.
Next, create a new page by going to Pages > Add New and add the Form block (under Embeds) to your page. Use the dropdown menu to select the form you just created.
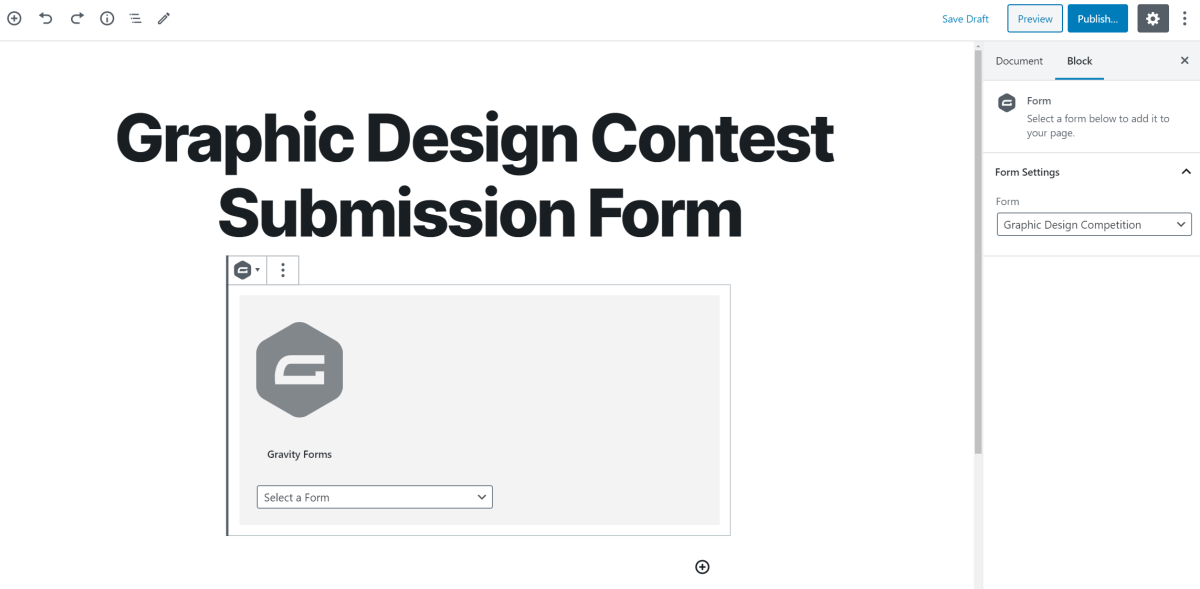
When you’re done, click the Publish… button to continue. It should something like this on the front-end:

Step #2: Store the User-Submitted Post as a WordPress Post or Custom Post Type
By now, you’ve created a front-end form that collects user-submitted content. Depending on your specific needs, this might be text-based content, a document or file, or media files such as images, video, or audio.
Each user submission that you get through the form will be emailed to you and stored in the WordPress database. However, you can also store this content directly to your website as WordPress posts, products, or custom post types. The key benefit of doing this automatically is so you don’t have to manually input each entry to your website.
There are two ways to do this:
Method #1: Use Gravity Forms to store user-submitted content as a WordPress post
You can use Post Fields in your form to automatically generate a WordPress post when the form is submitted. For example, you can use the:
- Title field to collect the user’s name.
- Body field for details about the submission.
- Post Image for images.
Following our example, we can tweak the form we created in Step #1 as follows:
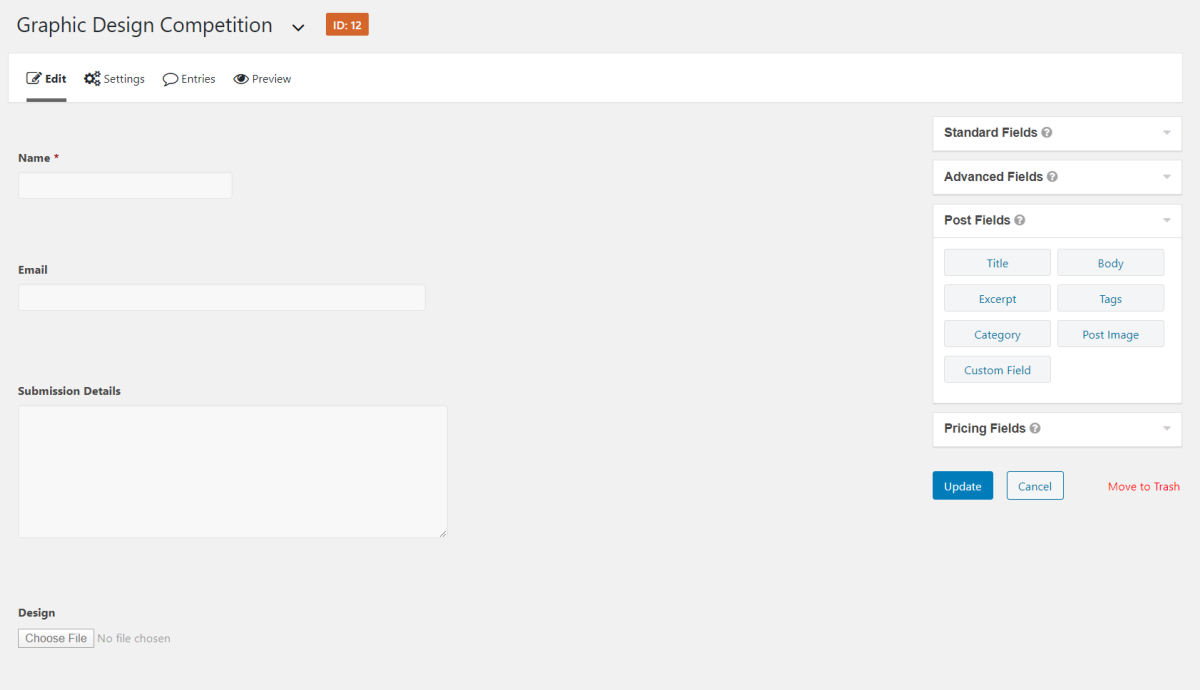
If you want to keep user-submitted content for moderation, make sure you set the Post Status to Draft for each post field you add to your form. Your form should now look something like this:


Check out Gravity Wiz’s full tutorial on how to use Gravity Forms to create user-submitted posts for step-by-step instructions.
Method #2: Use Gravity Forms to create a custom post type
If you run a blog or publish content regularly, you might want to create custom post types instead of regular WordPress posts out of user-submitted content. This will help you keep things neat and organized on the back-end.
The first thing you need to do is create a dedicated custom post type for user-submitted content. Following our example, you could create a Graphic Design Contest Entries custom post type. This way, you can separate all user-submitted entries from your regular content.
This is also the method you should follow if you want to store your Gravity Forms submissions in a custom post type created by a different plugin. For example, if you’re using a membership plugin or an events plugin that creates its own custom post type, you can use this method to store user-submitted content directly to it.
Here’s what you need to do:
Install and activate the free Gravity Forms + Custom Post Types plugin to your WordPress site. Use Pods to create a custom post type, if you don’t already have one. Finally, follow the step-by-step instructions provided on the plugin page to map your Gravity Form fields to the custom post type.
Step #3: Display User-Submitted Posts in a WordPress Front-End Post Table Using Posts Table Pro
By now you’ve set up a form that lets you collect user-submitted content and store it directly to WordPress either as a post or custom post type. The next step is to display these posts in a WordPress front-end post table. For this, you’ll need the Posts Table Pro plugin.
Using Posts Table Pro, you can list posts and custom post types in a front-end posts table with search, sort, and filter options. Each user-submitted entry will be displayed on a separate row in the table. This makes it easy for visitors to browse through the entries, search for a specific entry using the search bar, sort them by any column, or use filters to narrow down their search.
How to list user-submitted content in a WordPress front-end post table
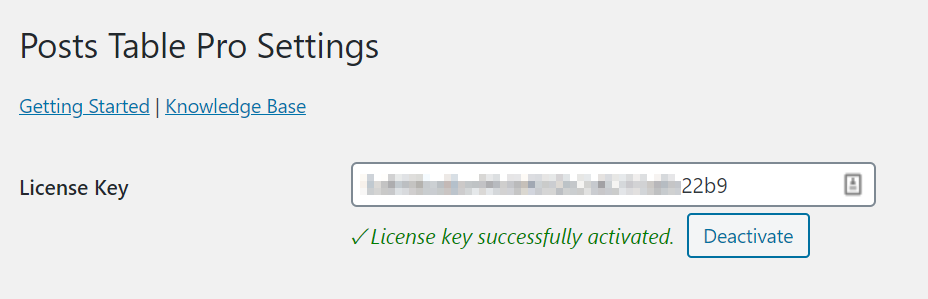
Get the Posts Table Pro plugin and install it on your WordPress site. You’ll receive a license key and the plugin files in the confirmation email. Head over to Settings > Posts Table Pro from the admin panel and enter your license key to activate the plugin.
At the bare minimum, you should configure the following settings on the Posts Table Pro Settings screen.
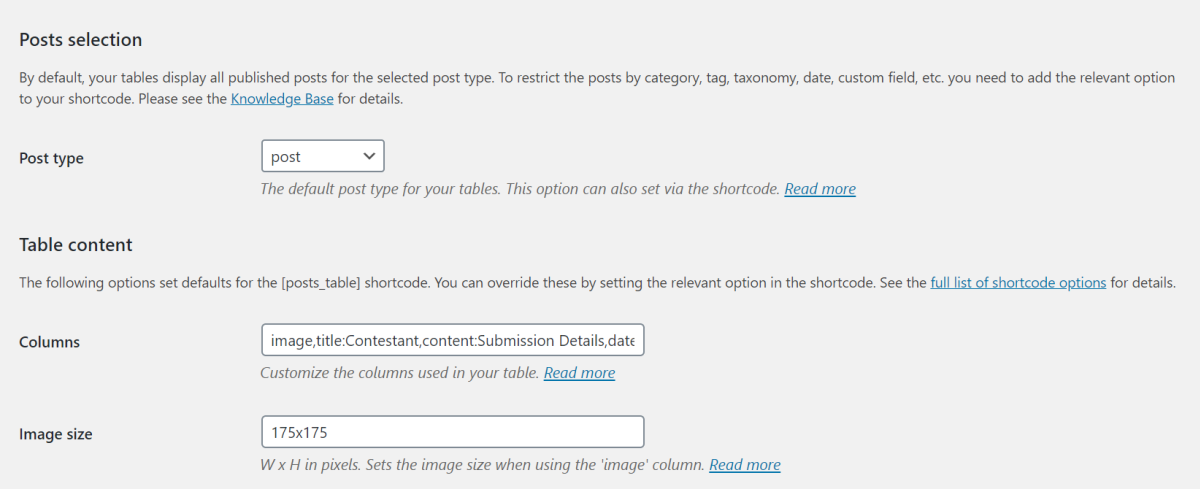
Set the Post type to post if you’re storing user-submitted content in WordPress posts. However, if you created a custom post type, select the correct slug for it. Customize the Columns you’d like to have appear in the WordPress front-end post table.
In addition to this, you can also configure Sorting and Table Controls settings based on your preferences.
Click the Save Changes button to continue.
Create a new page to display the WordPress front-end post table on. Add a shortcode block to it with the [posts_table] shortcode.
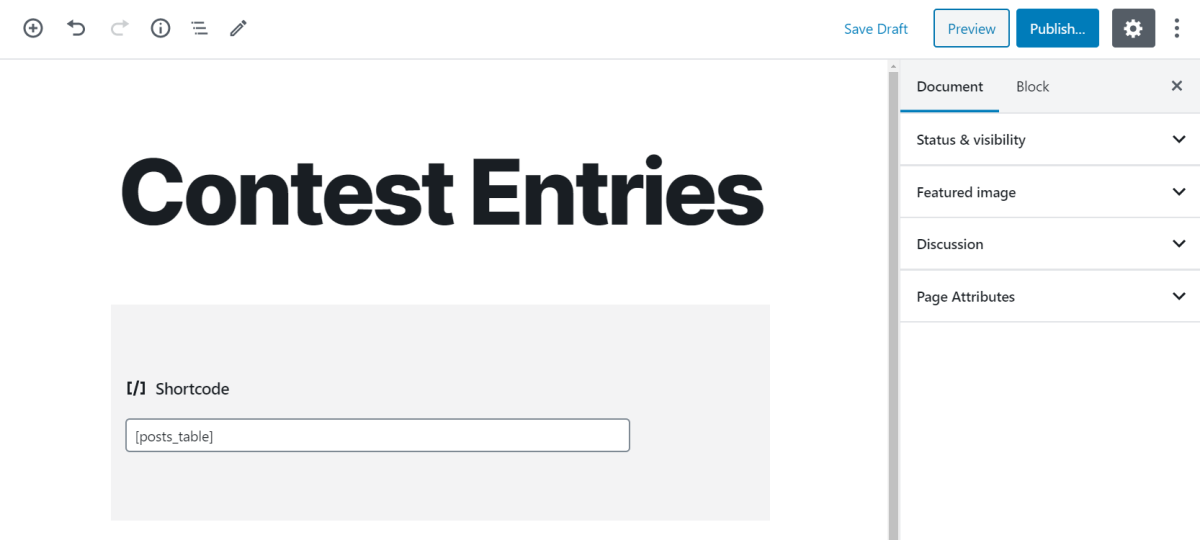
Click the Publish… button to continue. Preview the page on your site’s front-end. You should be able to view all of the user-submitted entries in a neat table layout. It should look something like this:

Using Posts Table Pro, you can add multiple tables to your WordPress site with each one displaying a different set of posts or custom post types. You can decide which user-submitted content to display in the front-end tables based on category, taxonomy, custom fields, date, and more.
Bonus: Let Users Edit Posts After They’ve Submitted Them
You might need to let users edit their submissions after they’ve filled out and submitted the form. There are two easy ways to do this:
You can use the Posts Table Pro plugin in tandem with a front-end spreadsheet editor plugin like WP Sheet Editor. This will add an Edit link above or below the table layout that logged-in users with the correct user role can click to modify their submissions.
Another way to let users edit their posts after submission is by using the front-end editor plugin Editus. This plugin lets users edit the post content from the single post on your website instead of directly on the front-end table layout.
Display User-Submitted Posts in a WordPress Front-End Post Table
You can use Gravity Forms to collect user-submitted content and store it directly to WordPress either in a post or a custom post type. Once that’s done, you can use Posts Table Pro to create a WordPress front-end post table and display the listings, entries, or submissions on your site’s front-end.
Ready to display user-submitted content in a front-end post table? Get Gravity Forms and Posts Table Pro today!

If you want to keep up-to-date with what’s happening on the blog sign up for the Gravity Forms newsletter!